

2008–2024 Peterbilt 389 Alpha Series ReadyFit LED Headlight Bulb Kit Installation Instructions



Find the right light, bulb and mounting style for your truck.
Chrome, exterior and interior upgrades with truck-specific browsing.
Start with your make and model, then check each part’s fitment notes.
Lighting, accessories, wheels, tires and suspension in one place.
Remove factory low beam bulb and dust cap.
Install the new H11 Alpha Series LED bulb.
Ensure the bulb is fully seated and locked into place.
Install the provided extended dust cap to accommodate the LED heat sink.
Repeat for both sides.
Remove factory 9005 high beam bulb.
Install the Alpha Series 9005 LED bulb.
Ensure bulb is fully locked into the housing.
Connect factory wiring to bulb connector.
Repeat for both sides.
After installing all bulbs:
Start the truck (engine must be running — not accessory mode).
Turn on Low Beams.
Then turn on High Beams.
You may see a “Bulb Out” warning when activating the high beams.
This is normal.
Wait approximately 1 minute.
If the warning disappears:
The Can-Bus system has successfully relearned.
No further action is required.
The warning should not return.
If the warning:
Does not disappear
Or reappears every time high beams are activated
Then the included Can-Bus error modules are required.
The modules are plug-and-play.
Important Note:
The pin orientation is reversed on the 9005 connector.
To install:
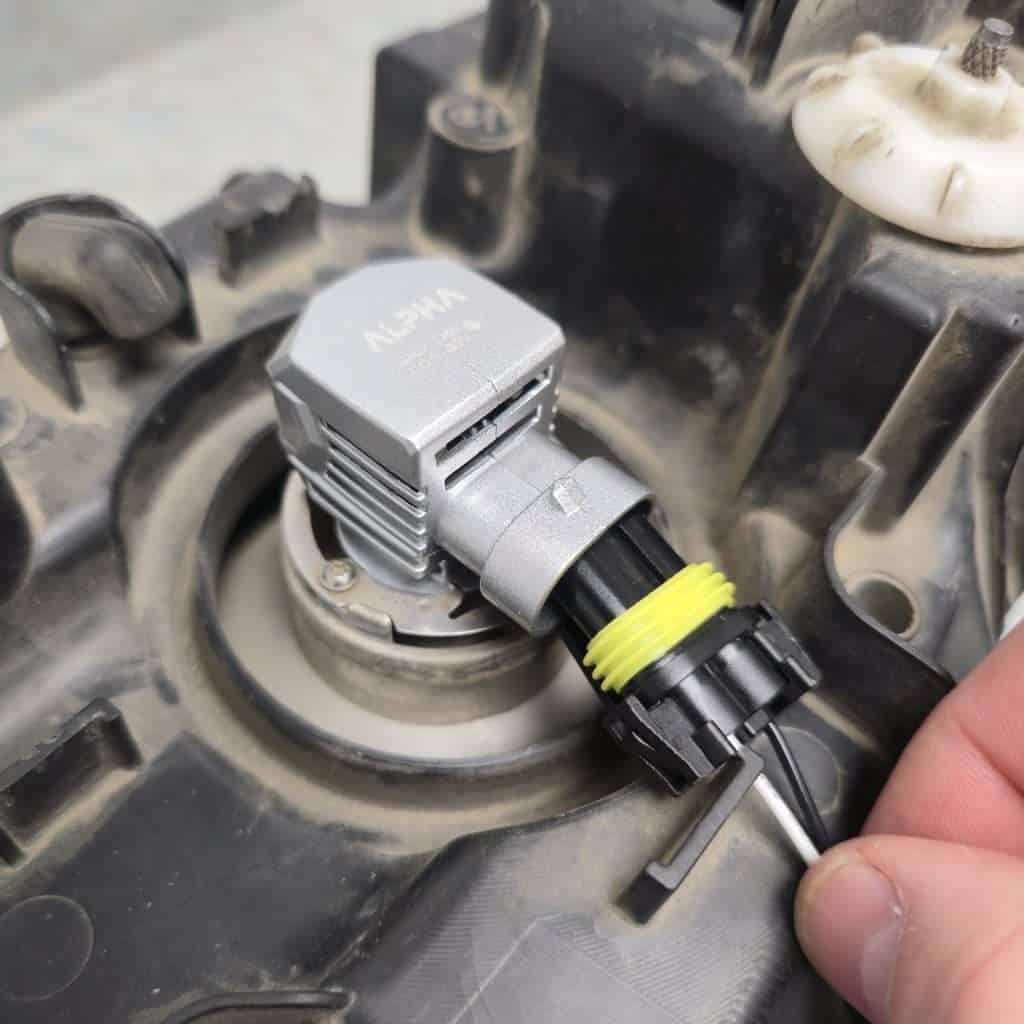
Plug factory harness into the error module.
Plug module into the LED bulb.
The connector will be installed with the clip reversed and not clicking into place.
This is normal.
If desired, you may re-pin the connector for proper clip orientation.
Repeat for both high beam bulbs.
Start the truck.
Turn on Low Beams.
Turn on High Beams.
Wait up to 1 minute.
The warning should clear and remain off.
The LED connector is polarity sensitive.
Simply:
Unplug the connector
Flip it 180°
Plug back in