

WH0244-1 · 4-pin
Halogen without Blind Spot
DD7649 / DD4150 · 2021–2023 Ford F-150
This is the F-150 C1R procedure, including both tail-light signal connections. It is not the generic C1 Sport installation. Have an 8mm socket ready, park securely and confirm the receiver has an open back before starting.
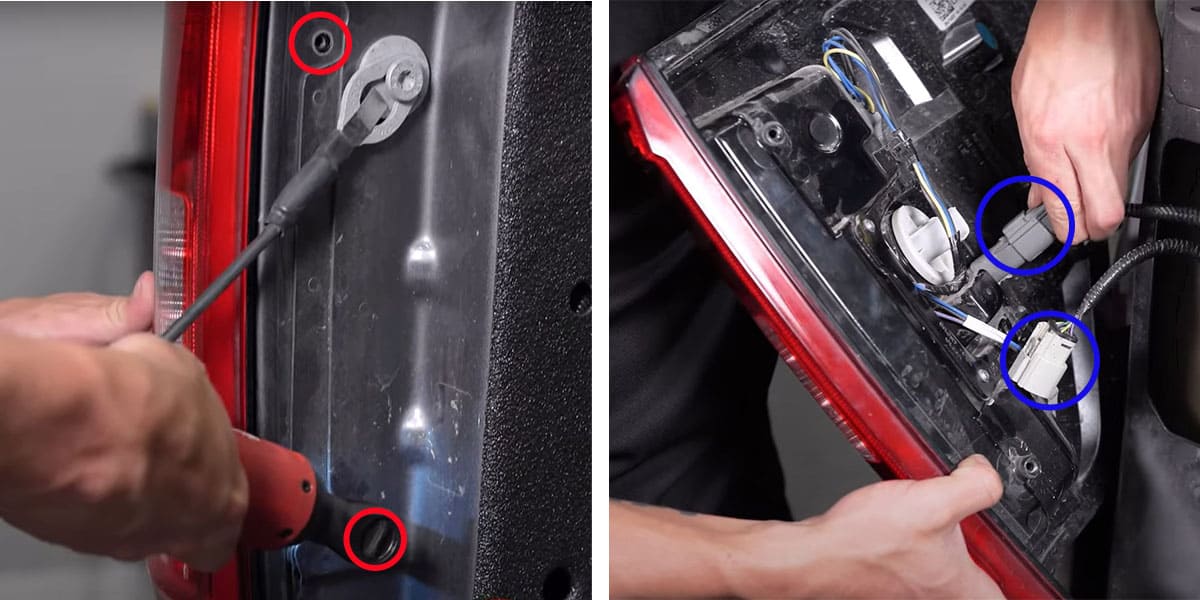
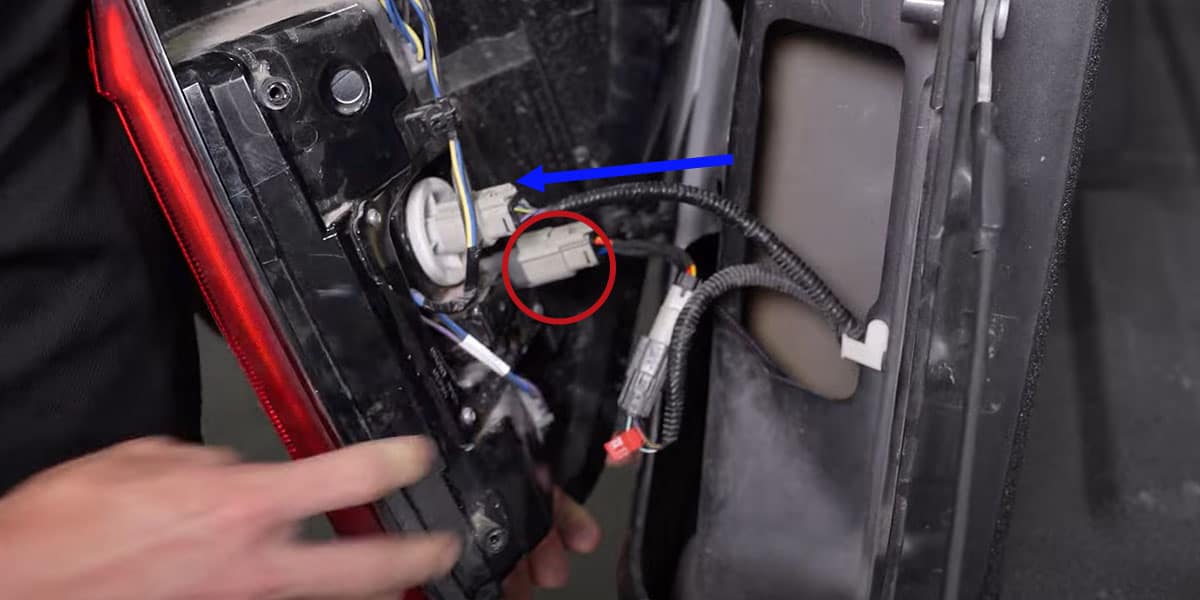
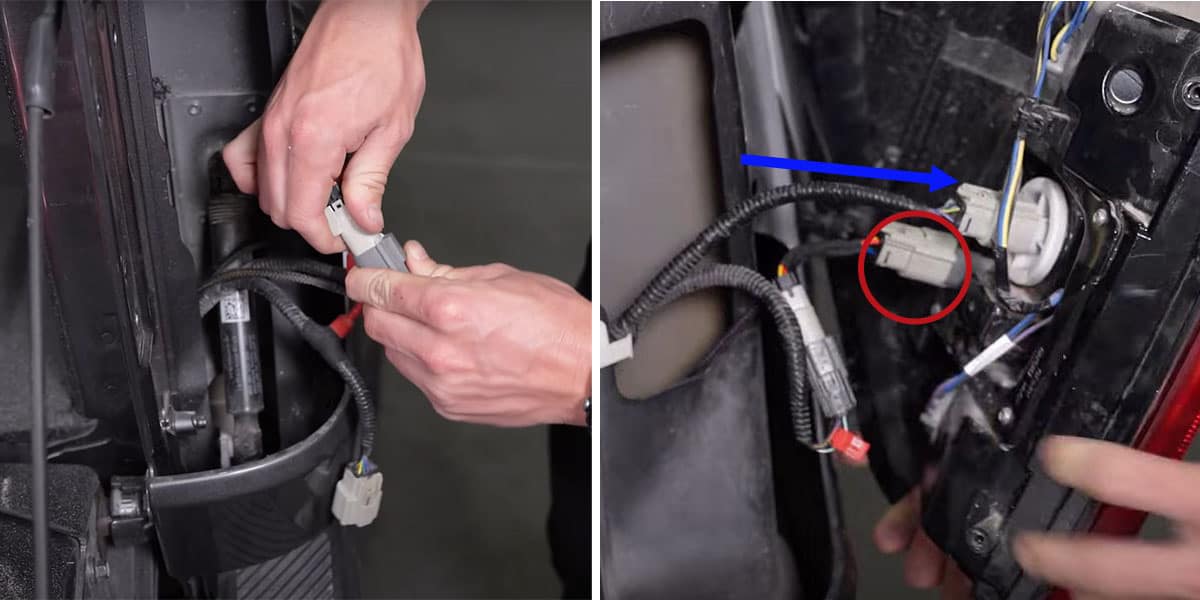
Lower the tailgate. Remove the two driver-side retaining bolts with an 8mm socket, then pull the lamp free of its ball clips. Disconnect the two plugs highlighted in the photo and set the lamp aside. Repeat on the passenger side.
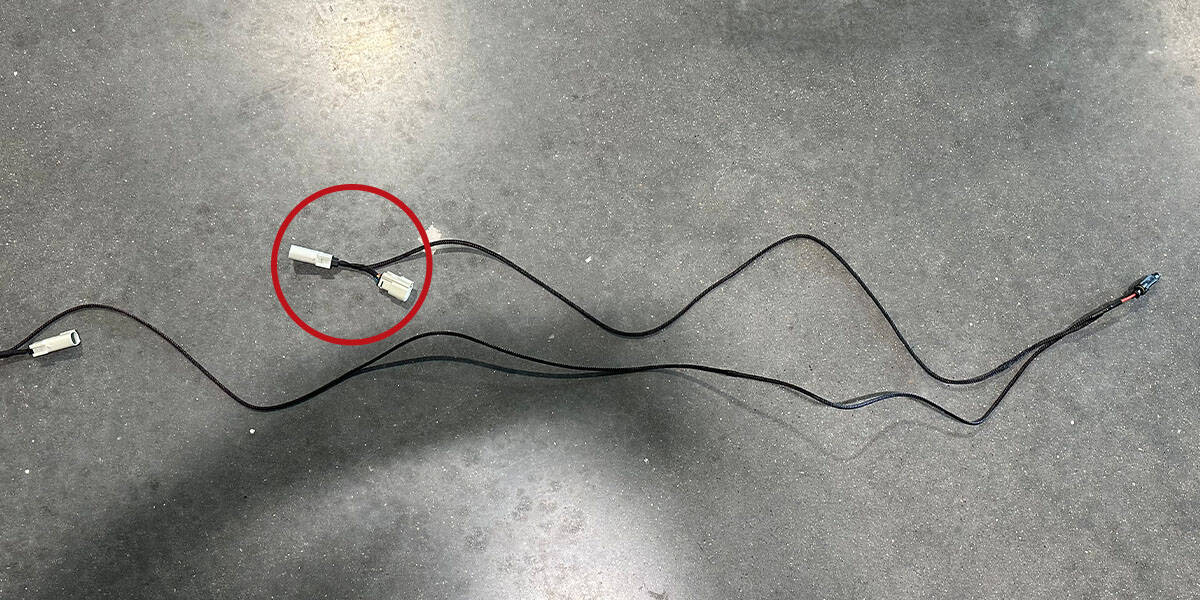
Compare the factory tail-light functions with the original selection table. Choose the matching supplied signal harness. Its shorter branch from the AMP connector goes to the driver side; do not select by appearance alone.
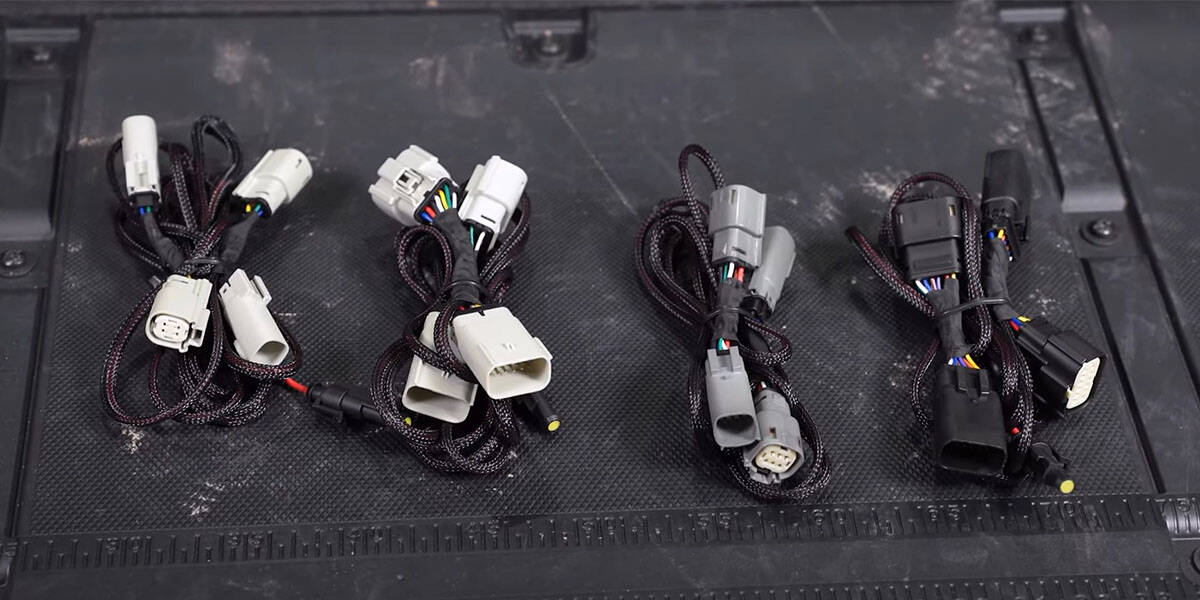
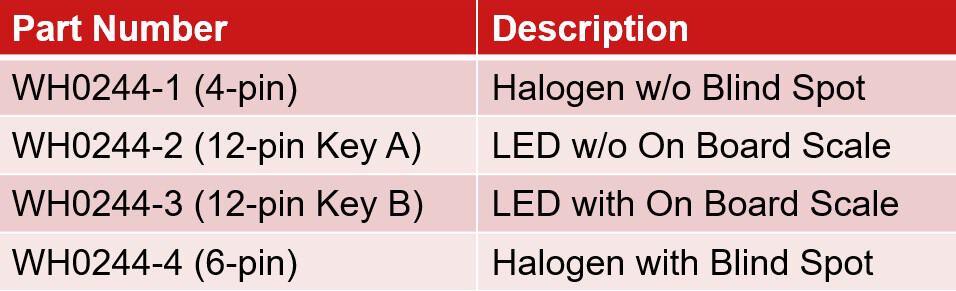
Halogen without Blind Spot
LED without On Board Scale
LED with On Board Scale
Halogen with Blind Spot
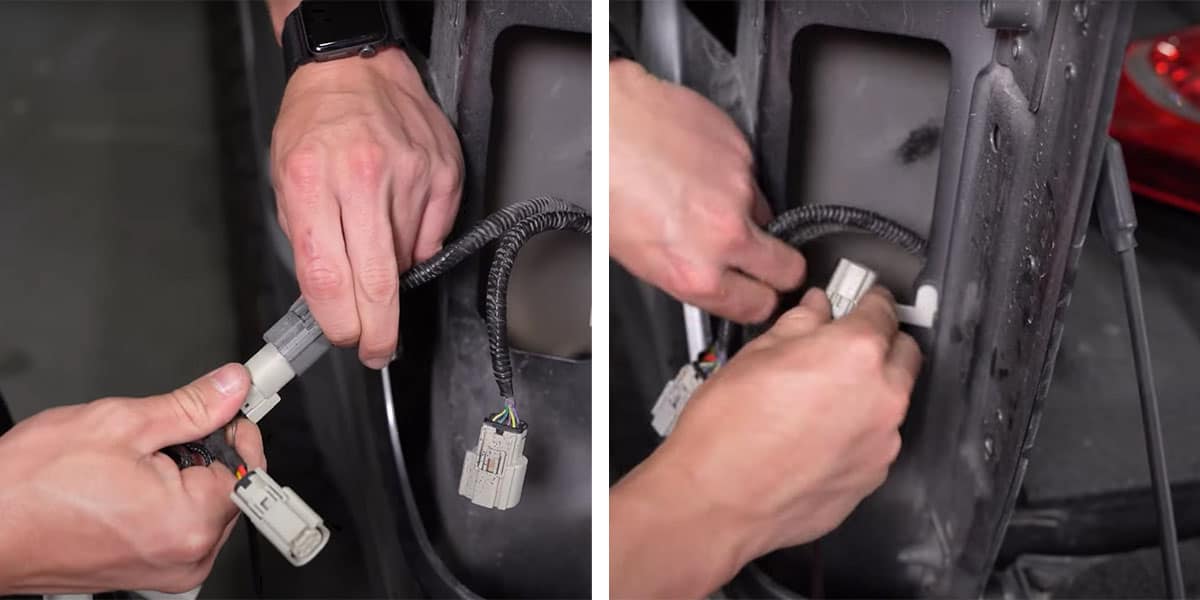
Connect one lead of the shorter branch inline with the matching factory harness. Route the remaining signal harness down through the tail-light pocket beside the original loom.
Reconnect the upper factory plug shown by the blue arrow. Connect the remaining signal-harness lead at the lower connection highlighted in red. Seat the lamp’s ball clips and reinstall its two original bolts.
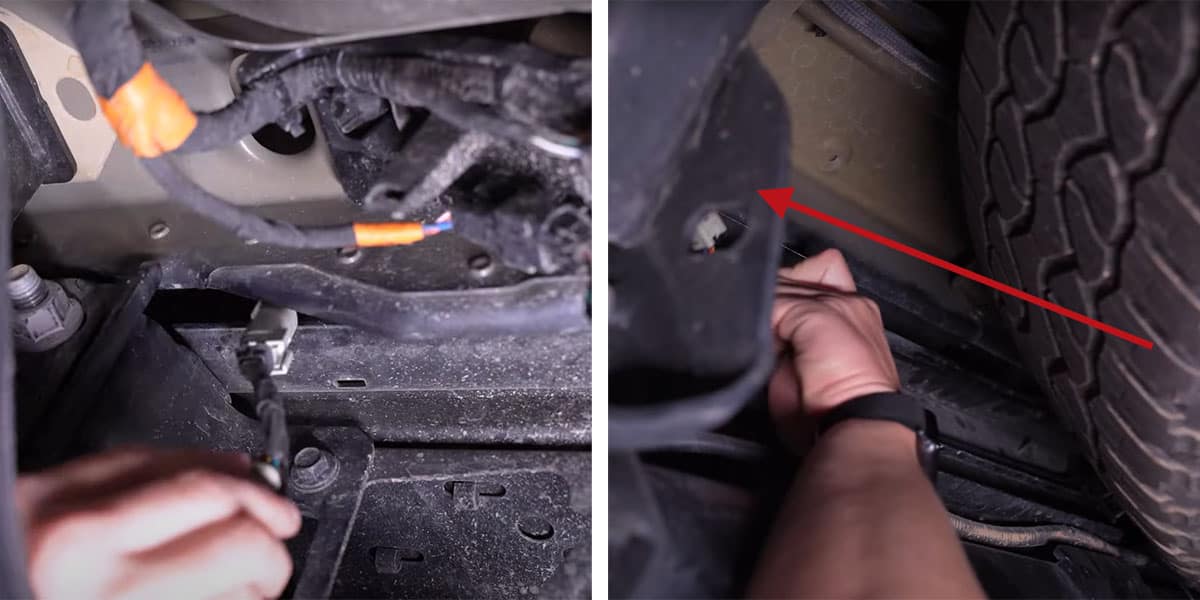
From below the vehicle, bring the remaining harness toward the passenger side, over the two frame rails beside the spare tire as illustrated. Keep the routing clear of moving or hot parts.
Feed the signal-harness branch up through the passenger-side tail-light pocket.
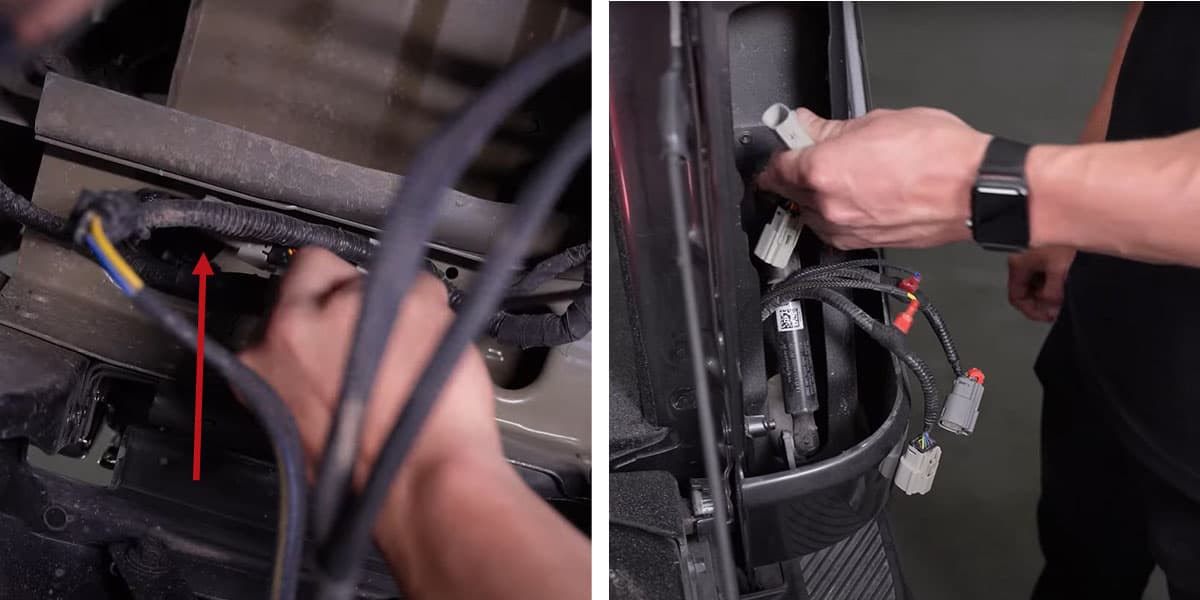
Connect a signal-harness lead inline with the matching factory plug. Reconnect the upper factory plug and the other signal lead at the indicated lamp connectors. Seat the lamp and reinstall its two bolts.
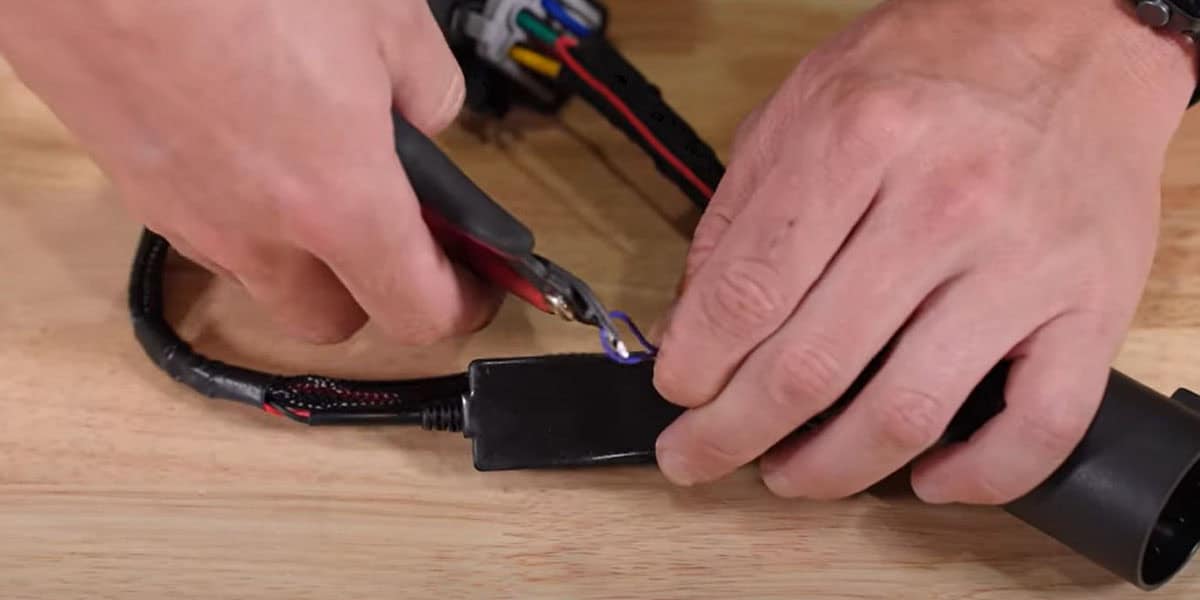
For steady brake-light operation, the manufacturer directs you to cut the designated purple wire loop on the C1R harness. Leave it intact to retain SafetyStrobe. Identify the exact loop in the diagram before making this optional, irreversible cut.
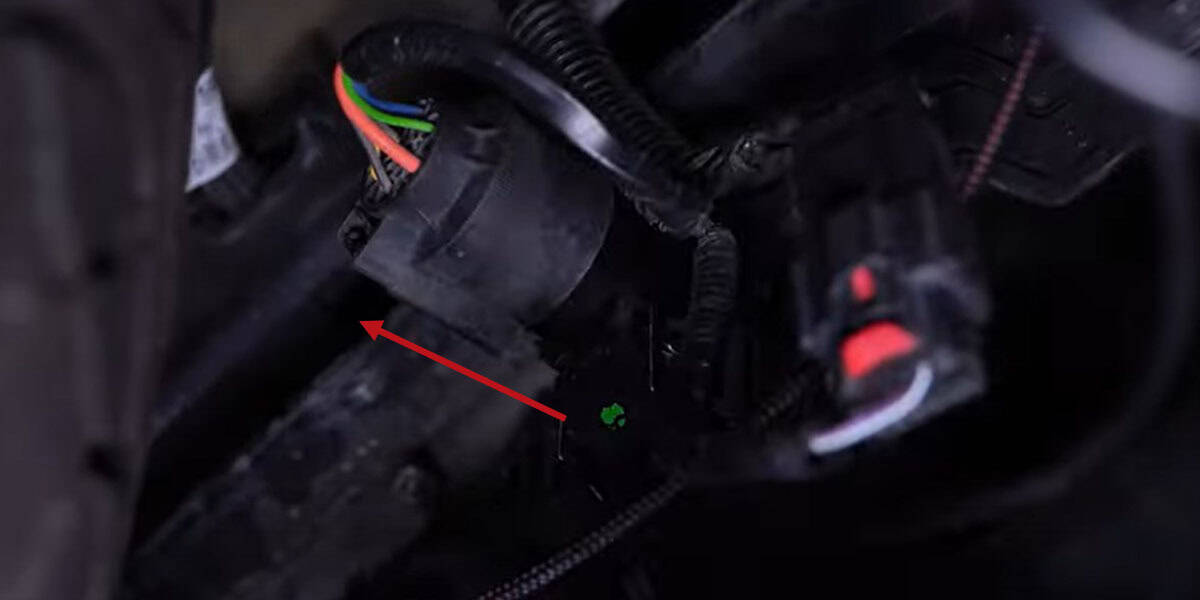
Under the bumper, release the factory harness from the rear of the 7-pin trailer connector.
Locate the AMP connector near the middle of the tail-light signal harness and remove its protective cap.
Connect the female AMP plug on the tail-light signal harness to the male AMP plug on the C1R HitchMount harness.
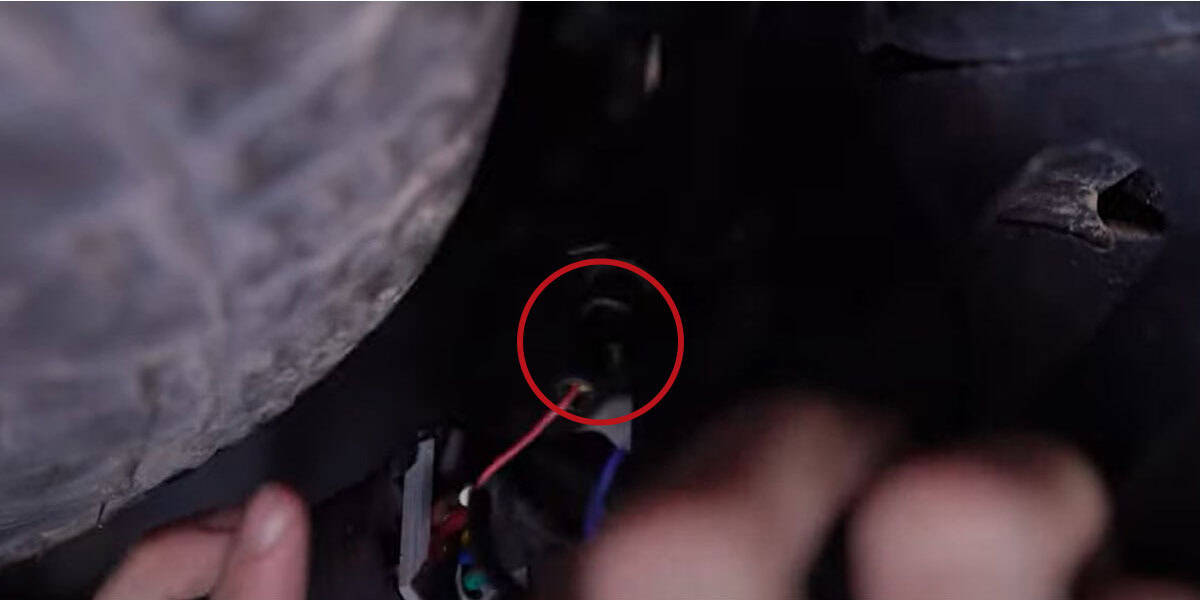
Fit the C1R harness between the factory trailer loom and the rear of the bumper’s 7-pin socket.
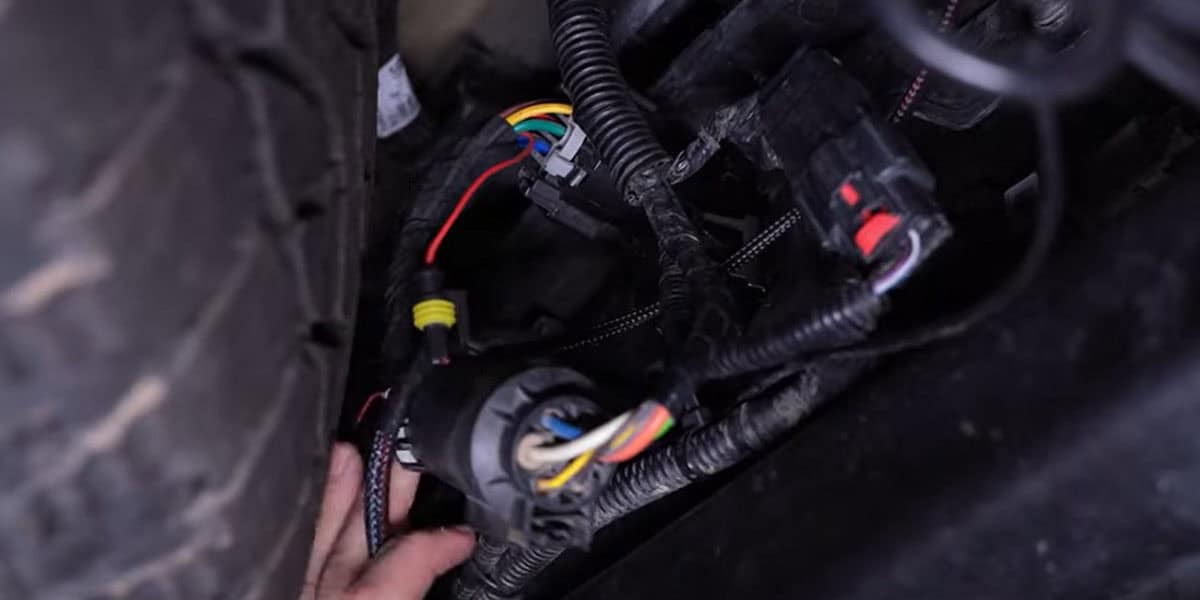
Route the DT end through the open back of the hitch receiver to the front. If the receiver is closed or obstructed, stop and confirm the correct mounting solution; do not assume this guide authorizes receiver drilling.
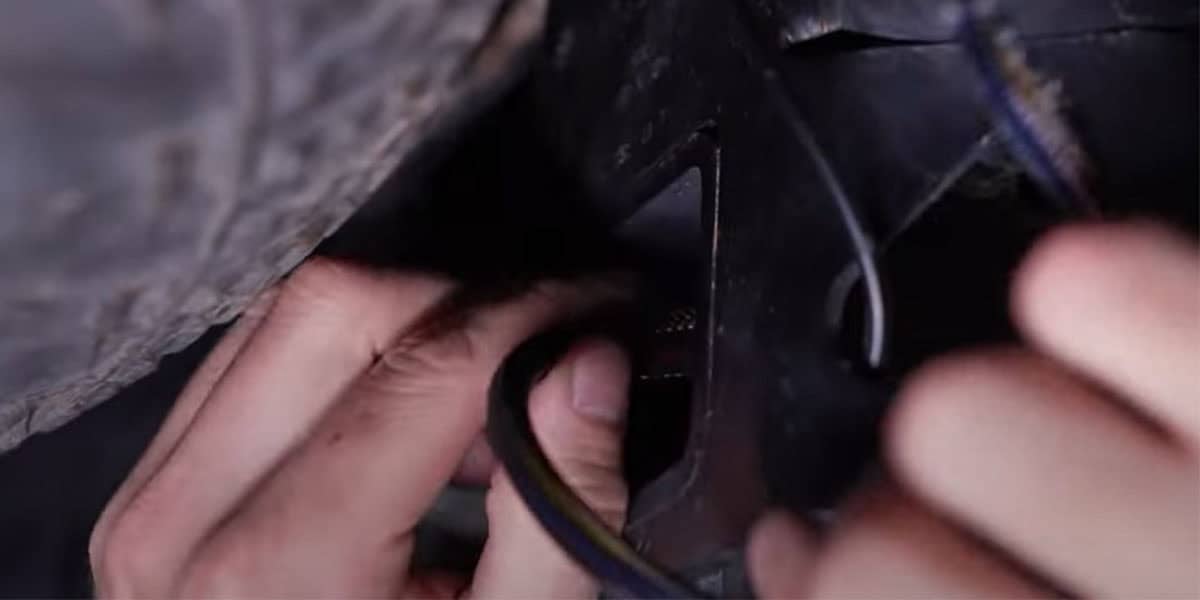
Remove the DT connector’s protective cap and plug it into the C1R pod.
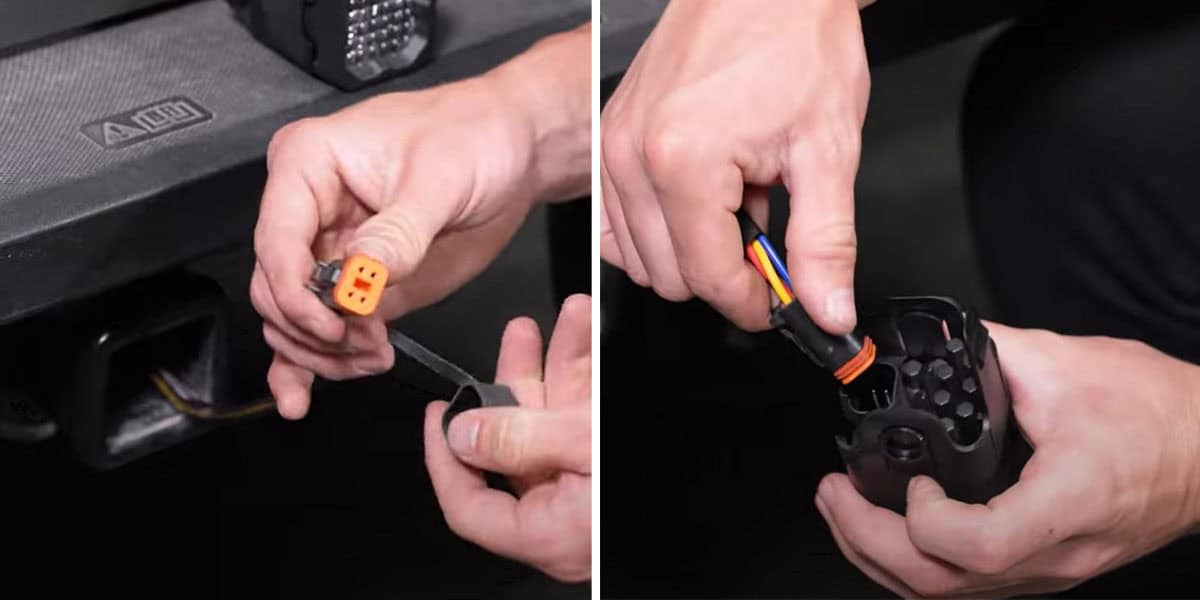
Push the lamp and mounting sleeve into the receiver until the side clips snap into place. Check that it is retained securely.
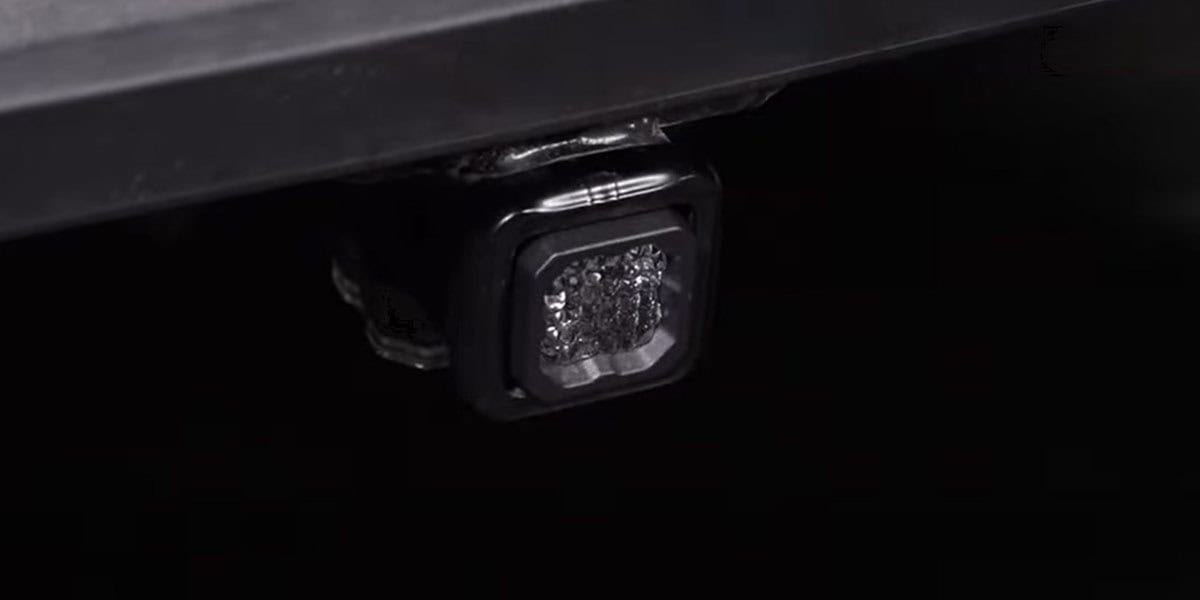
Verify the White reverse light, low-output Red running light and Red brake function. Carry out the reverse check with the vehicle secured and the area behind it clear. Check for trailer-system warnings, then secure the harness with the supplied zip ties.
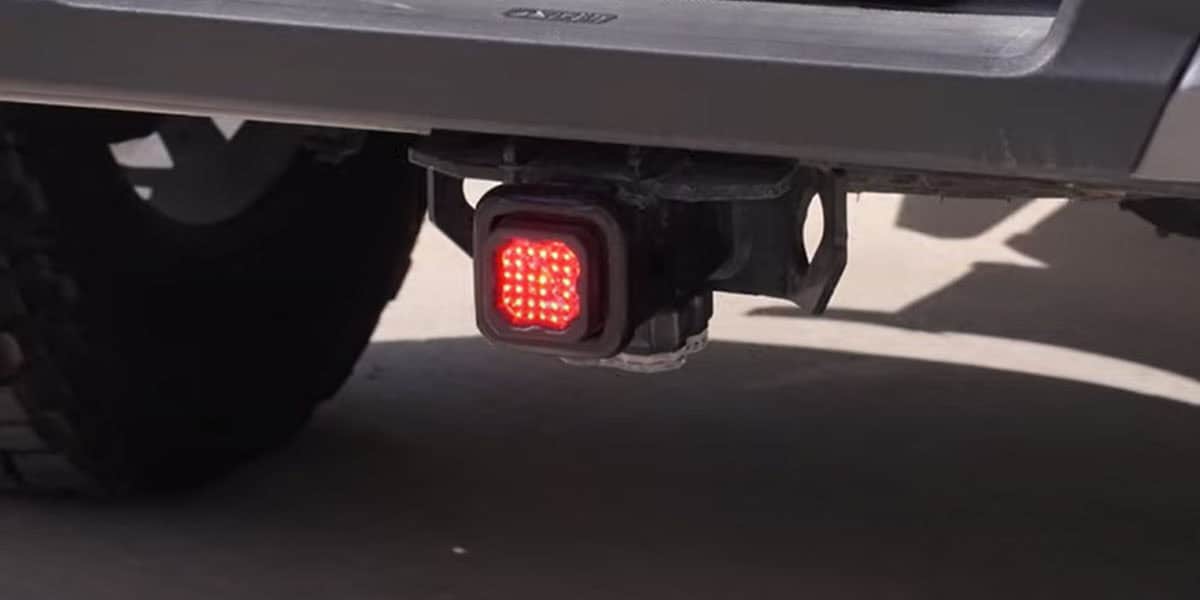
Press both side clips and slide the light out. Disconnect the DT plug, reinstall its protective cap and secure the connector clear of the receiver until the light is used again.
A locking pin is not included. To use one, Diode specifies removing the circular sections of both retention tabs, connecting and inserting the HitchMount, then aligning and sliding the pin through. Watch the manufacturer’s close-up procedure before modifying the sleeve.