

Jeep Wrangler JL / Gladiator JT: 7in LED Headlight Adapters
Check the exact lamp, equipment notes and supplied parts before starting.
BTS INSTALLATION GUIDE · JEEP JL / JT
Install the Morimoto LF630 adapter housings around a compatible 7-inch lamp pair, connect the pigtails and set the final aim.
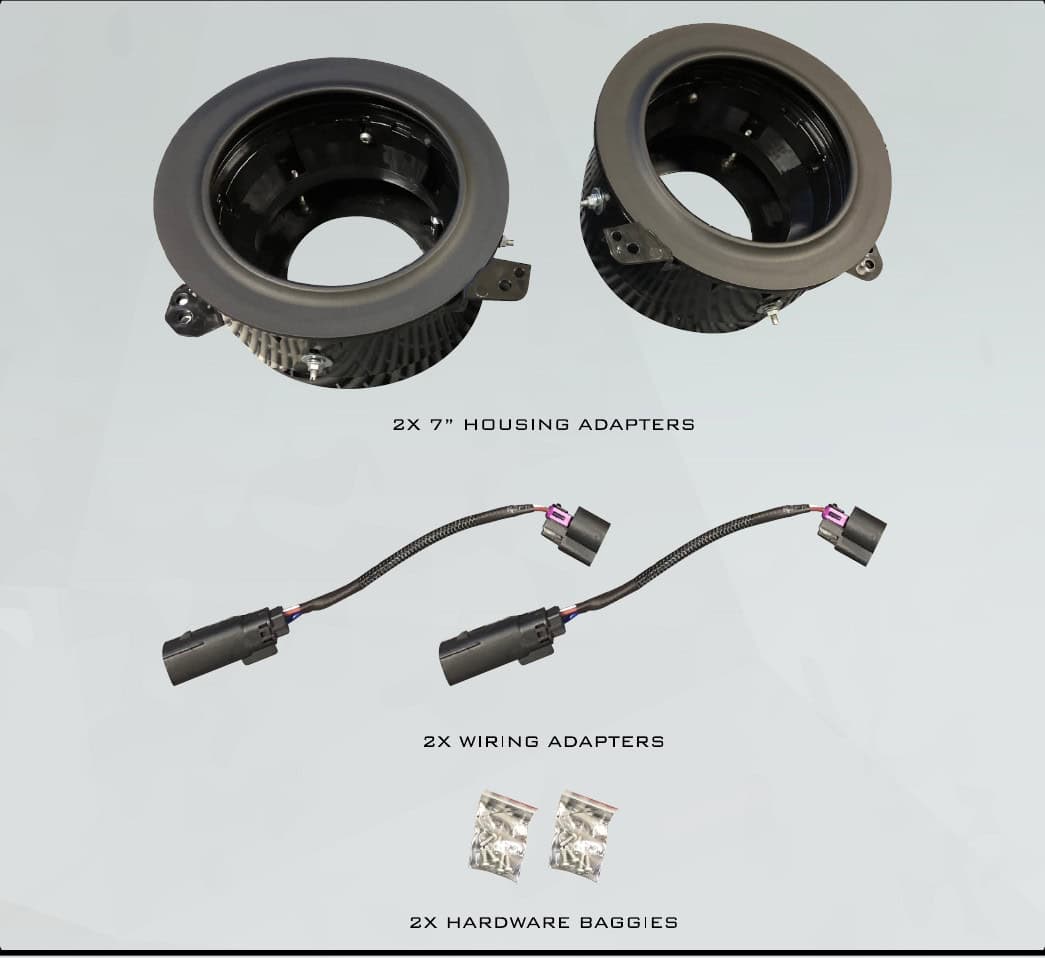
LF630 provides the housing adapters, wiring adapters and hardware. The lamps are separate. Morimoto lists the JL adapter for vehicles without factory LED headlights; match the exact vehicle equipment and lamp connectors before ordering.
On the Jeep JL, Morimoto says the Sealed7 turn-signal feature will not work because of CAN bus compatibility. This adapter does not remove that limitation.
Park on level ground about 10–15 feet from a clear wall. Mark the original headlight pattern with masking tape and leave the Jeep in that position until aiming is finished.
Remove the six top clips, then pull the grille forward to release the lower friction clips.
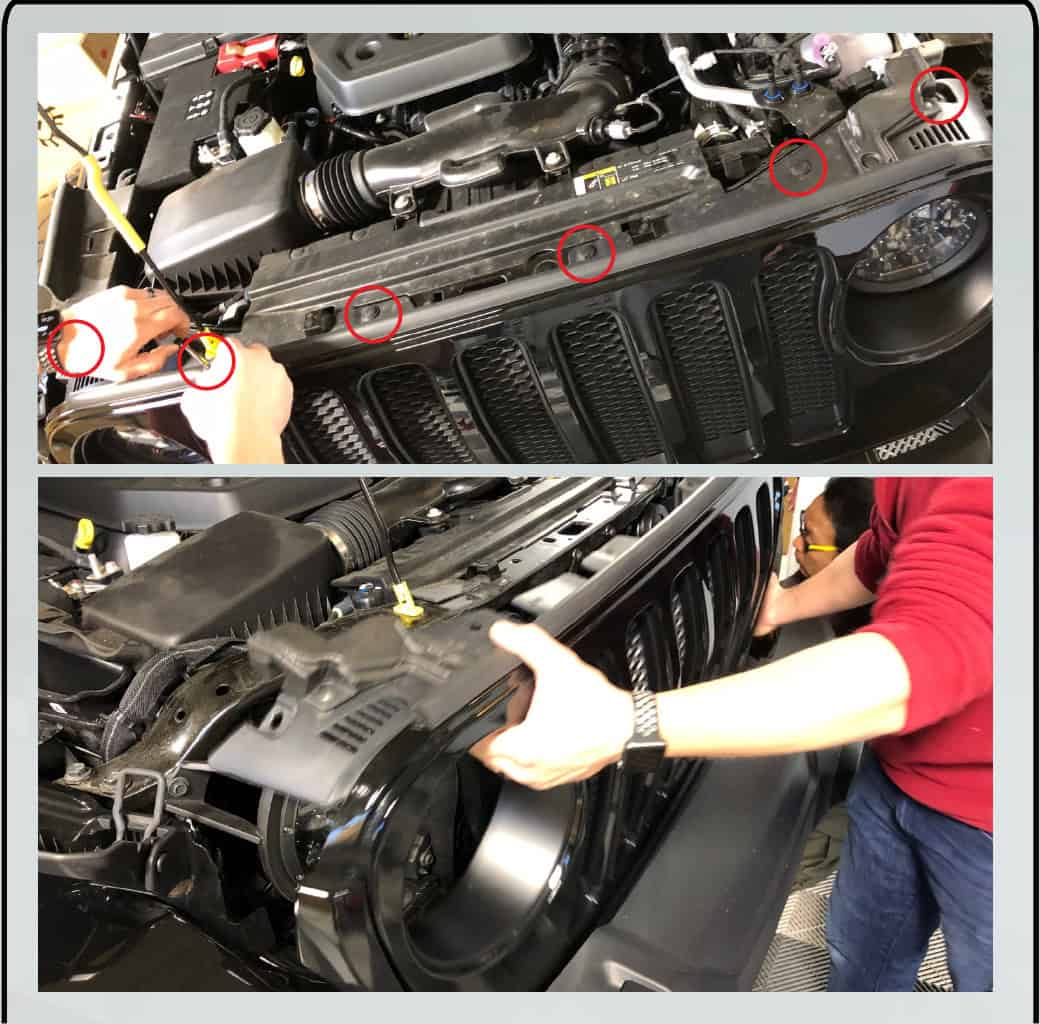
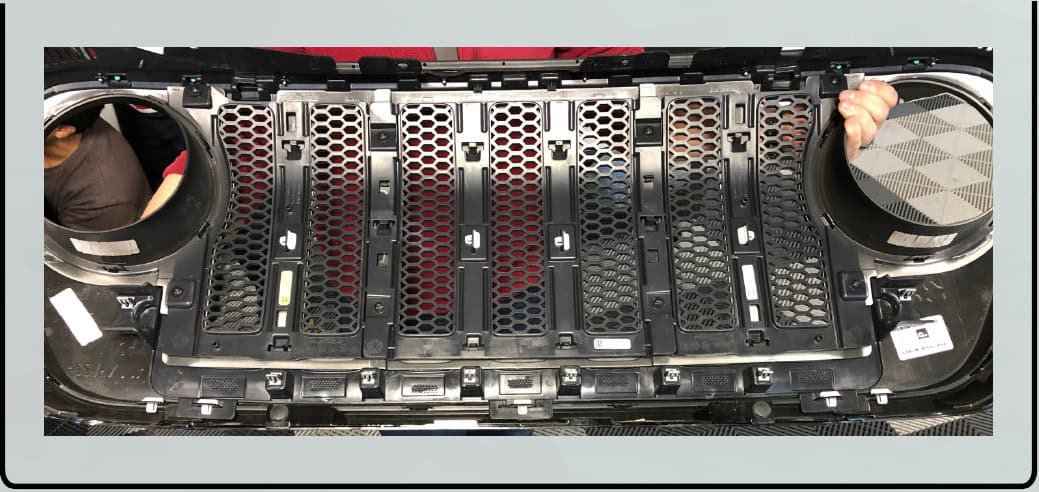
Remove each lamp’s three 10 mm bolts. Support the housing, pull it free and disconnect the factory plug.
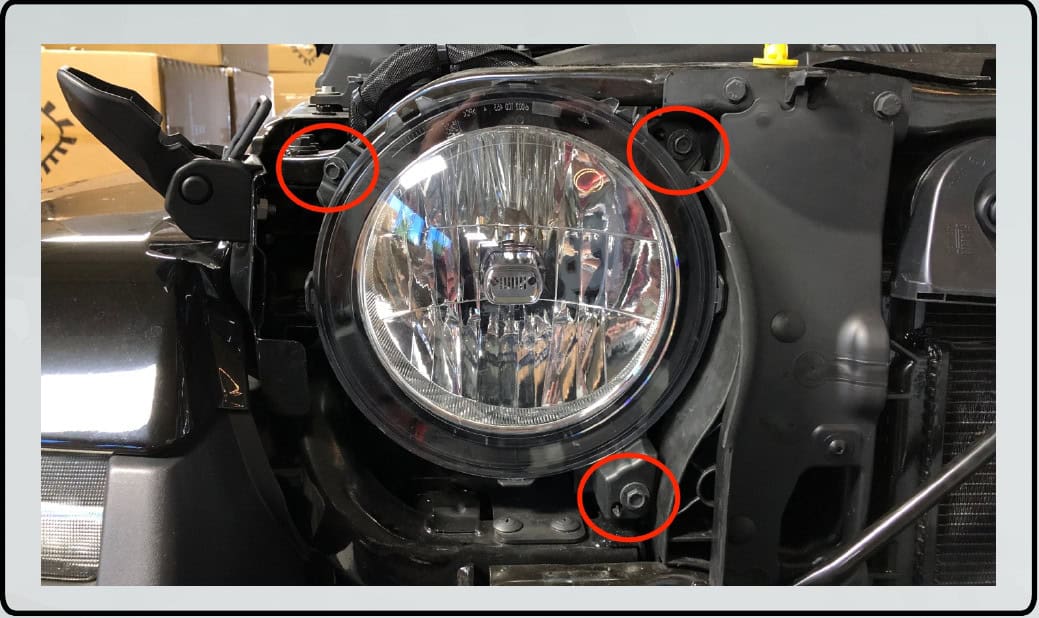
Identify the bucket, bezel, mounting ring, pigtail and hardware. The lamp pictured in the original instructions is an example of a separate 7-inch lamp; it is not included with the adapter pair.
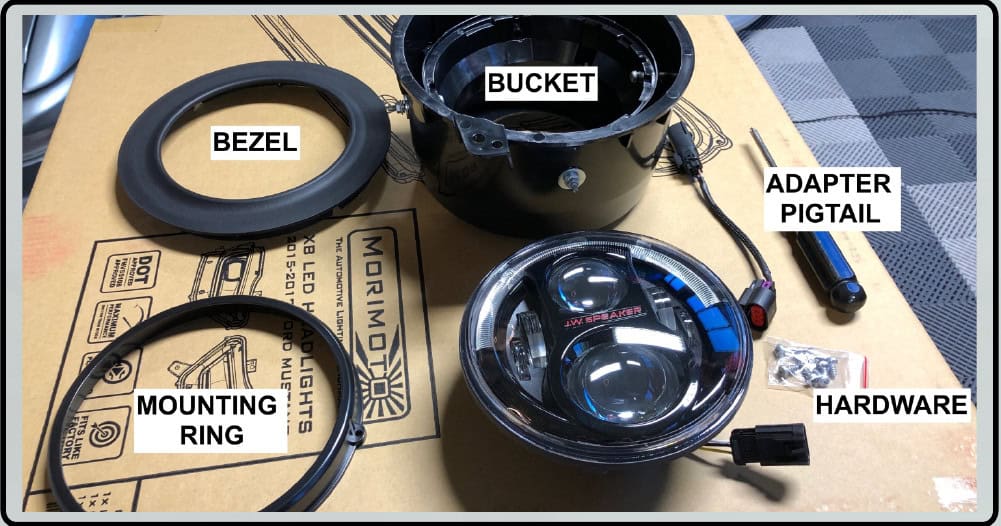
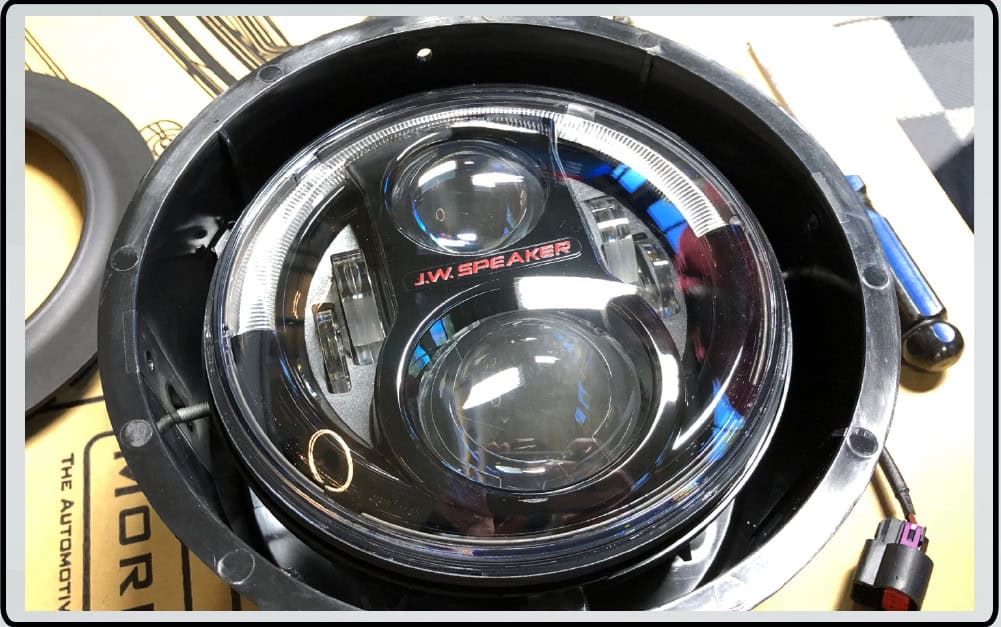
Match the lamp’s three rear locating tabs to the three notches inside the bucket. Position the top of the lamp between the bucket’s upper mounting points so it drops fully into place.
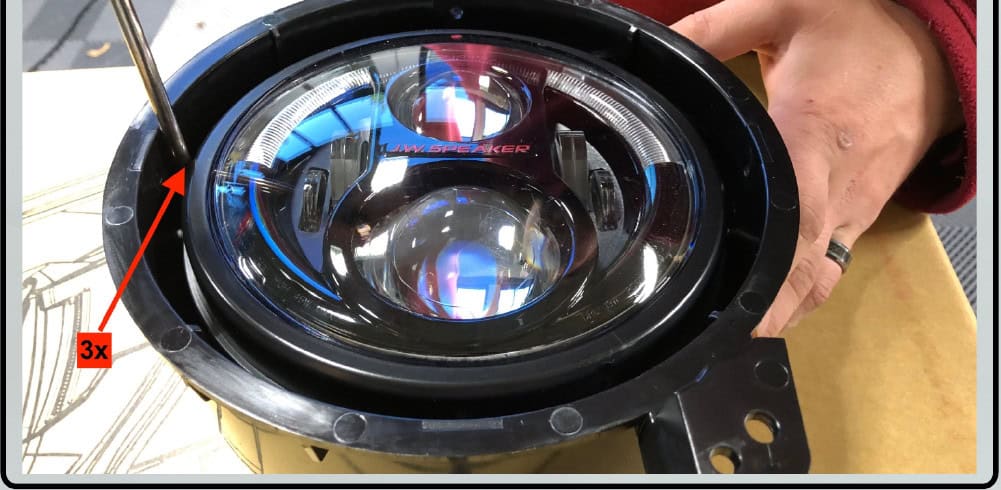
Use the three smaller Phillips screws from the hardware bag to secure the ring from the front.
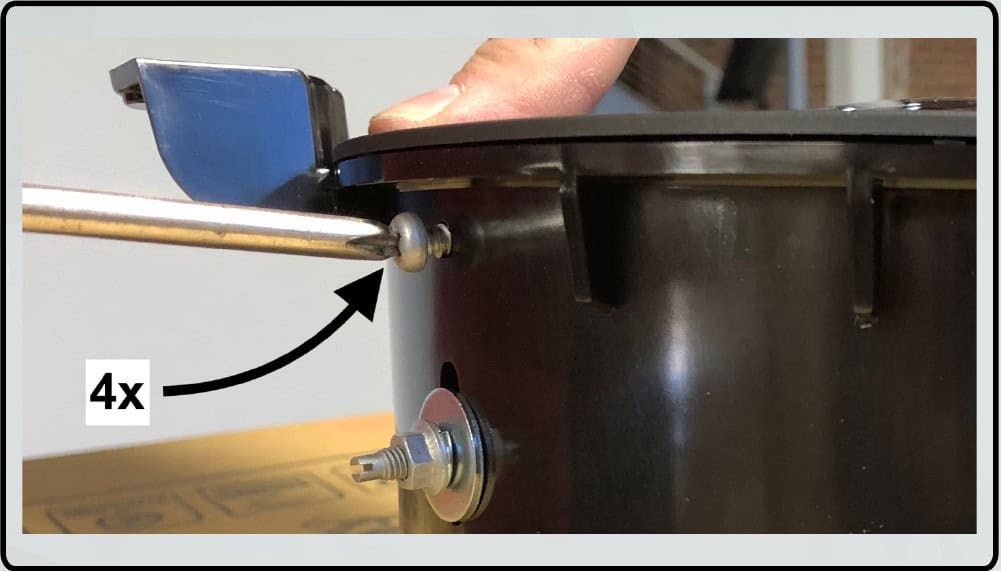
Align the bezel’s perimeter slots and screw holes, press it into place, then secure it with the four larger Phillips screws.
Plug the adapter into the separate 7-inch LED headlight, then connect it to the Jeep harness.
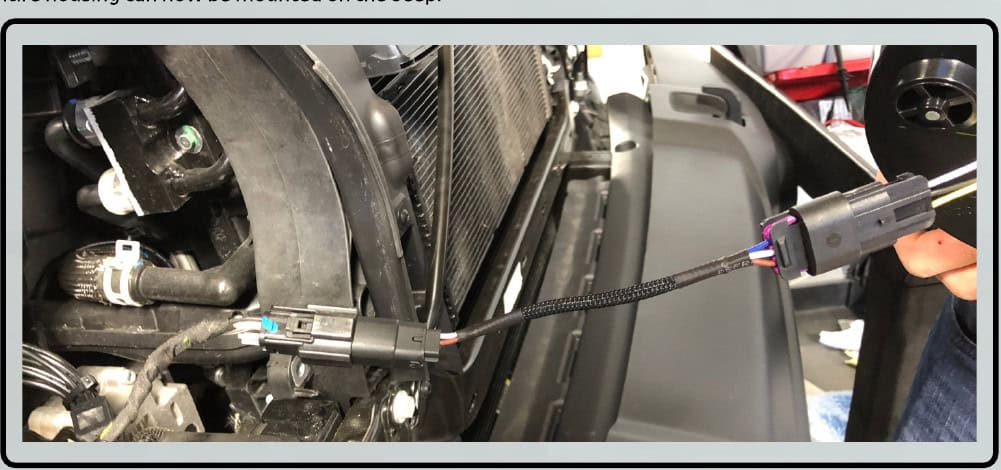
Line up the locating studs and holes completely before tightening the three original 10 mm mounting bolts on each side.
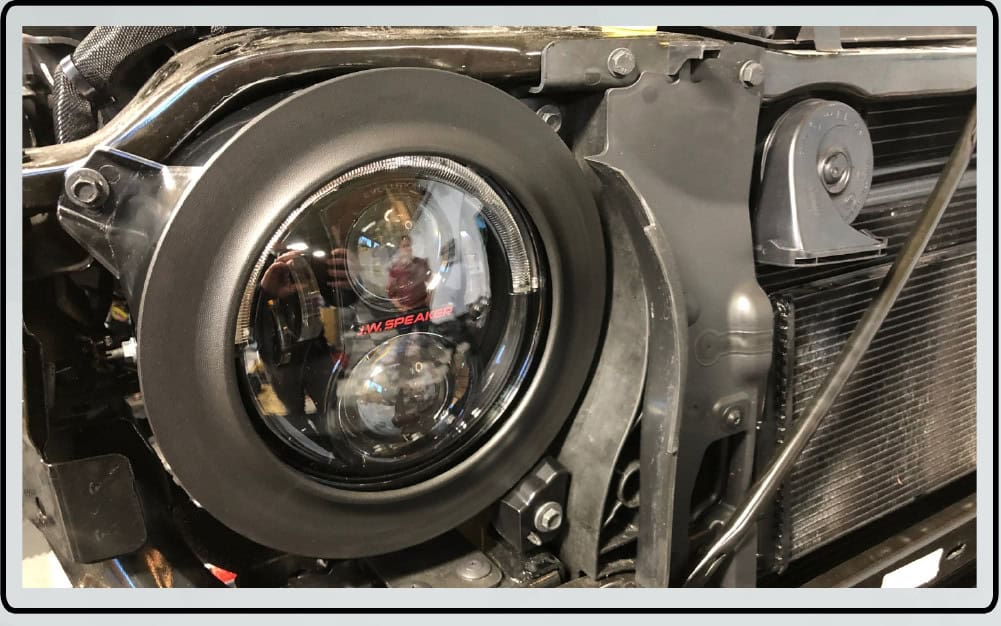
With both assemblies installed, compare their pattern with the original height marks. Reach the top vertical adjuster from the side with a Phillips screwdriver and fine-tune the beam.
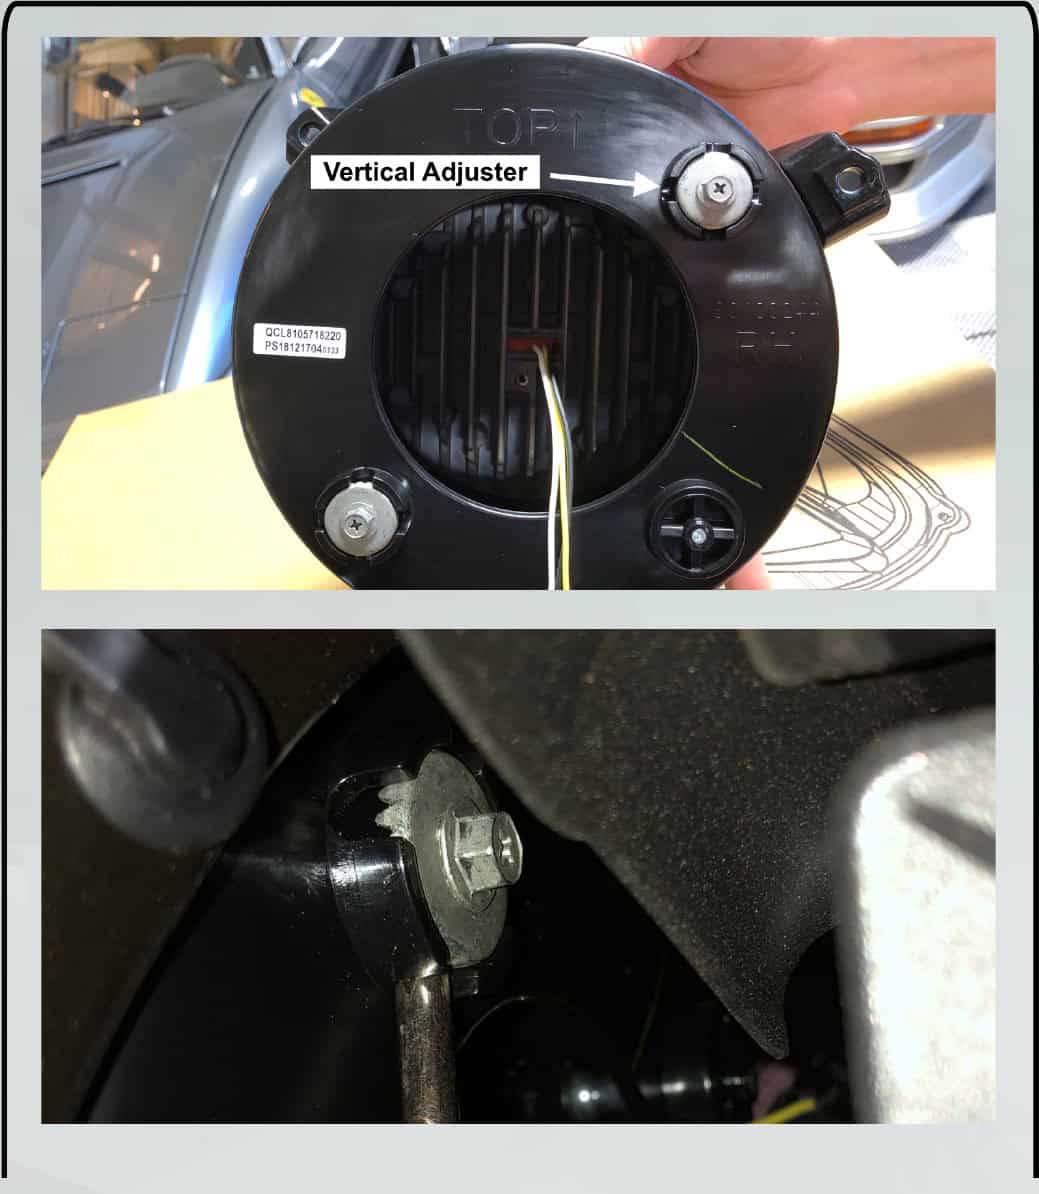
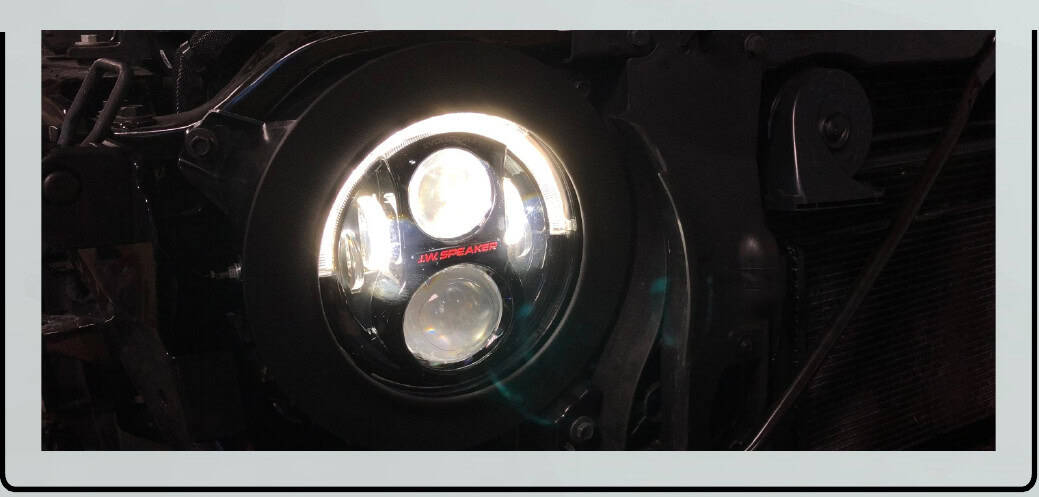
Remove the assemblies again to tighten the three bolts around the outside of each bucket. These prevent the lamp from shaking; the manual cautions against overtightening. Reinstall the assemblies.
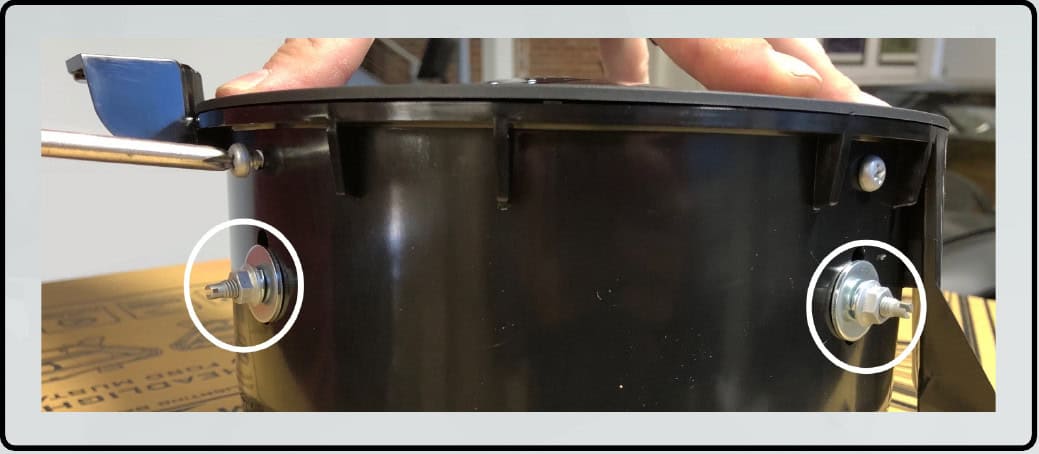
Refit the grille and its clips after the lamps are secured and checked.
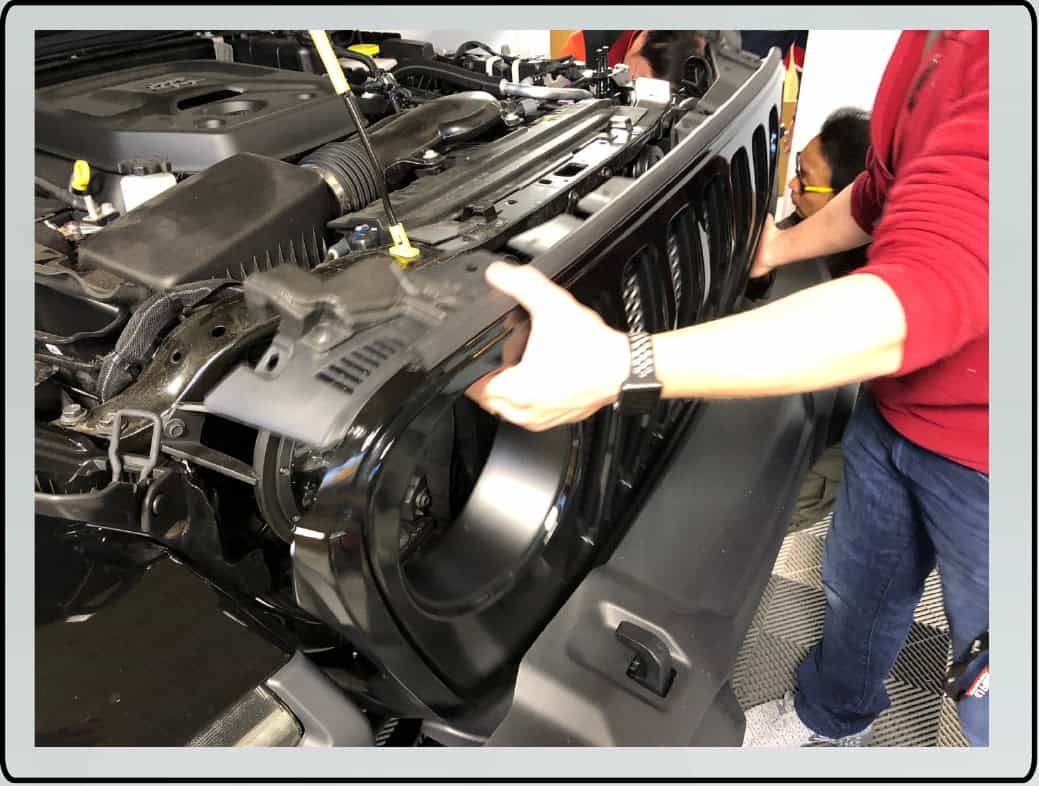
Original Morimoto LF630 manual. The illustrated J.W. Speaker lamp is an installation example, not a representation of an included lamp.
Check the exact lamp, equipment notes and supplied parts before starting.
Planning a Wrangler installation? Compare the matching lighting products and the checks that matter for JK and JL builds.
Compare Jeep Wrangler JK and JL lighting · Read the Wrangler lighting upgrade guide