

The BTS build guide · Wrangler JK & JL
A useful lighting build starts with the part of the drive you want to improve. Headlights shape your everyday road view. Fog lights fill a different part of it. Ditch lights and roof bars add off-road coverage, while tail and reverse lighting solve problems behind you. Choose those jobs first, then match the hardware to your Jeep.
Use the Wrangler lighting collection to compare the exact products, photos and installation guides. This guide explains how the pieces fit together, including the checks that matter before ordering.
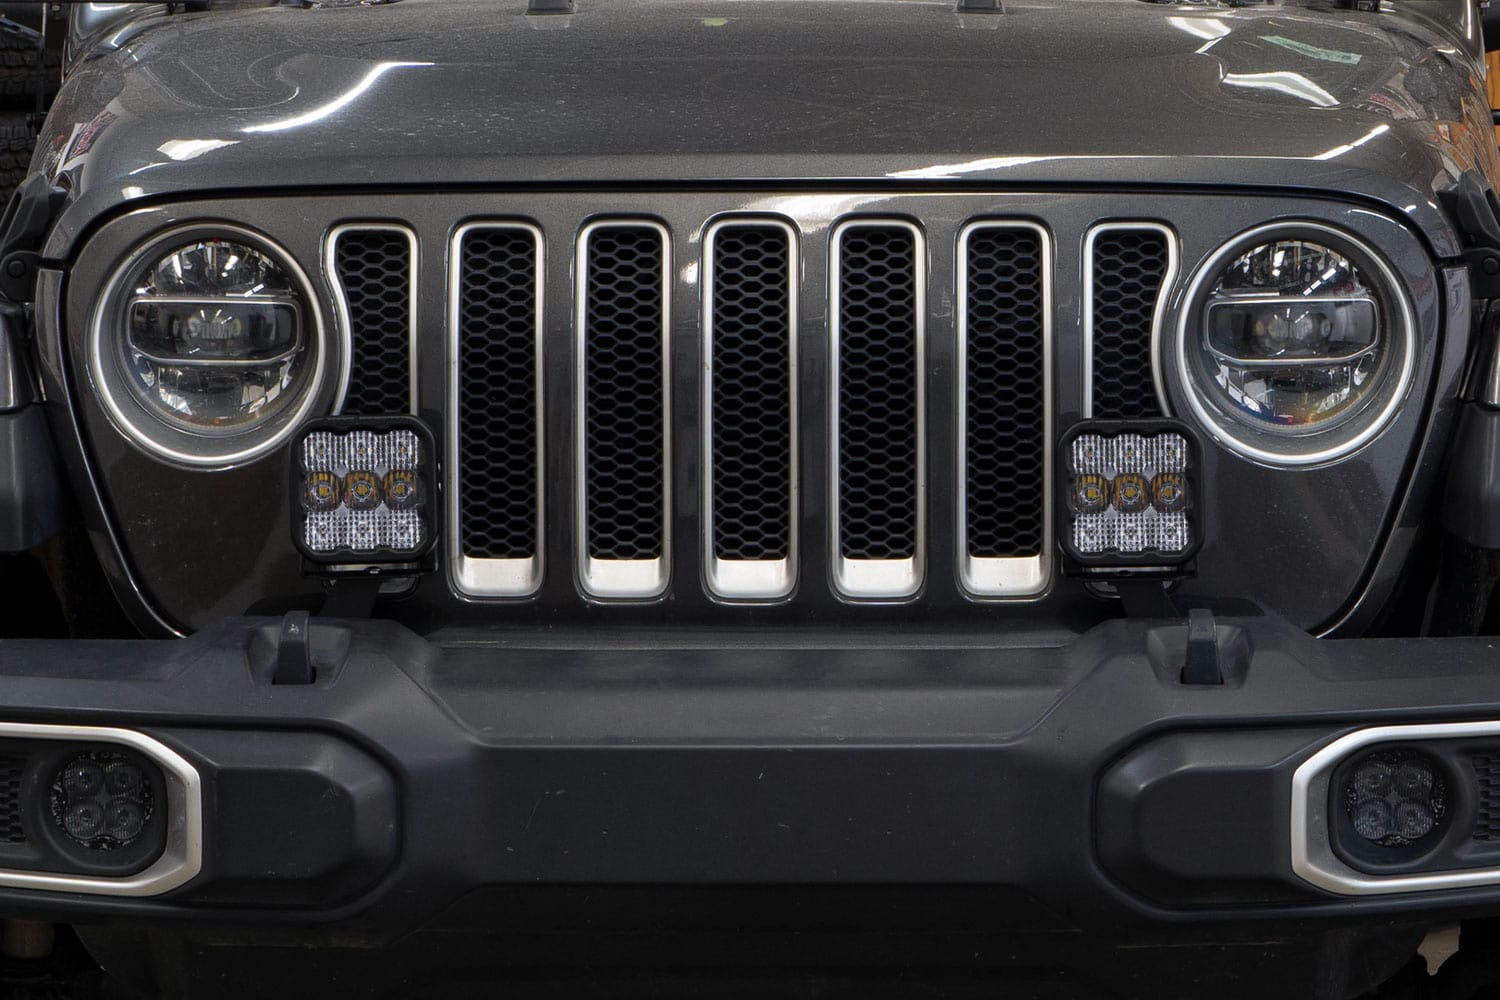
1. Identify the Jeep and its original equipment
Model year alone is not enough for 2018. Both JK and JL applications appear in that year, and their lighting systems are not interchangeable. Confirm the generation before looking at trim, bumper or lamp options.
Record the original headlight type and connector, the fog-light mounting arrangement, whether the bumper is factory plastic or steel, and any existing wiring changes. For tail lights, note whether the Jeep has blind-spot monitoring. For windscreen and roof lighting, check the exact trim exclusions and cable route.
These are separate checks. A lamp that looks the right size can still need different mounting hardware or wiring. Use the product’s equipment notes and illustrated guide together; neither an installation photograph nor another Jeep’s trim name confirms your vehicle.
2. Choose a complete headlight setup
For a supported halogen-equipped JK, compare the Morimoto Super7 pair and JK Sealed7 kit. Their kits list the required drivers or anti-flicker components. Retaining rings, the original connector and final aiming still matter.
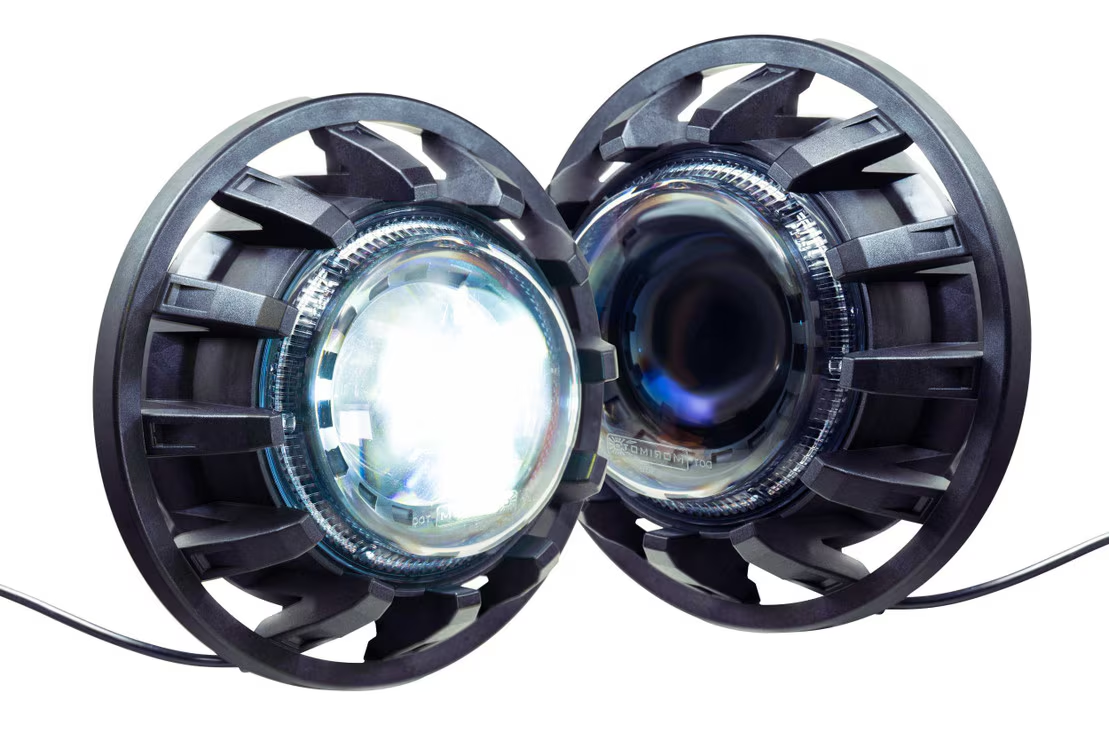
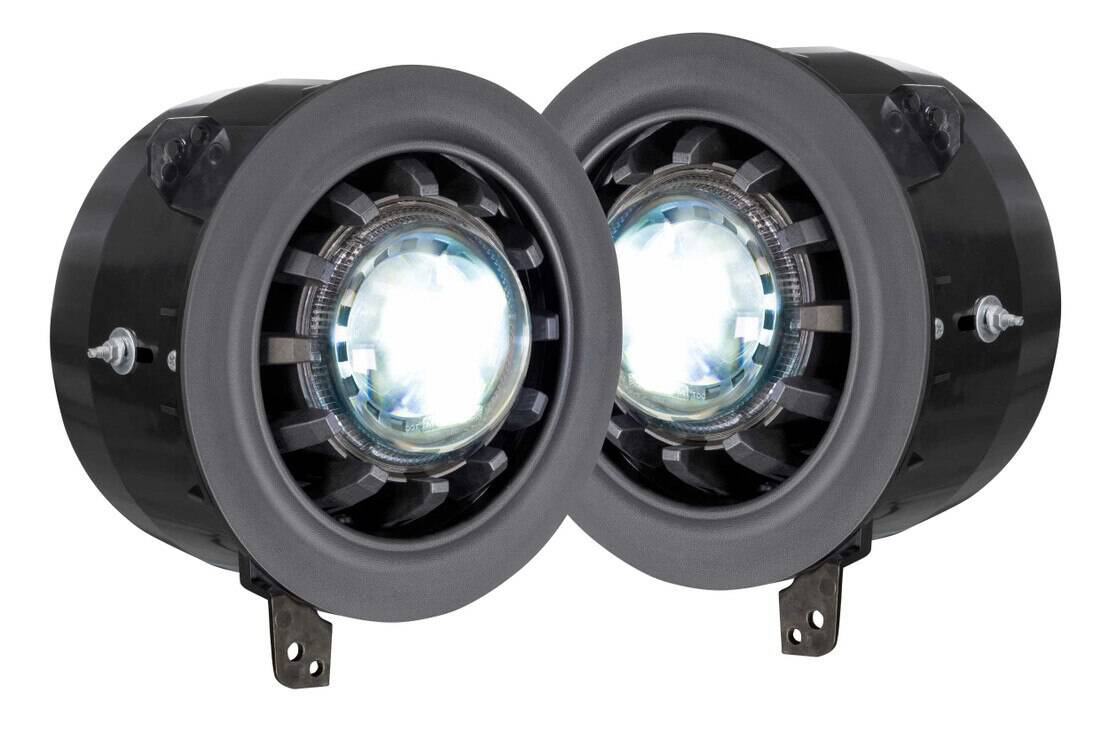
For a JL, compare the Super7 kit and Sealed7 kit with the correct JL mounting assemblies. The LF630 adapter package is a different purchase: it supplies adapters for compatible separate 7-inch lamps and is listed for original non-LED headlights.
The Diode Dynamics Elite and Elite Max pair adds a different projector and halo design. Both share the main bi-LED projector; Max adds auxiliary trail and display functions. Diode Dynamics specifically excludes Canadian-spec vehicles from this Jeep application. That restriction belongs to this product and should not be generalized to every Wrangler light.
Check quantity as carefully as fitment. The generic LF271 Sealed7 lamp is sold individually, and the United Pacific replacement assembly is selected by Driver or Passenger side. Those are different purchases from a complete vehicle pair.
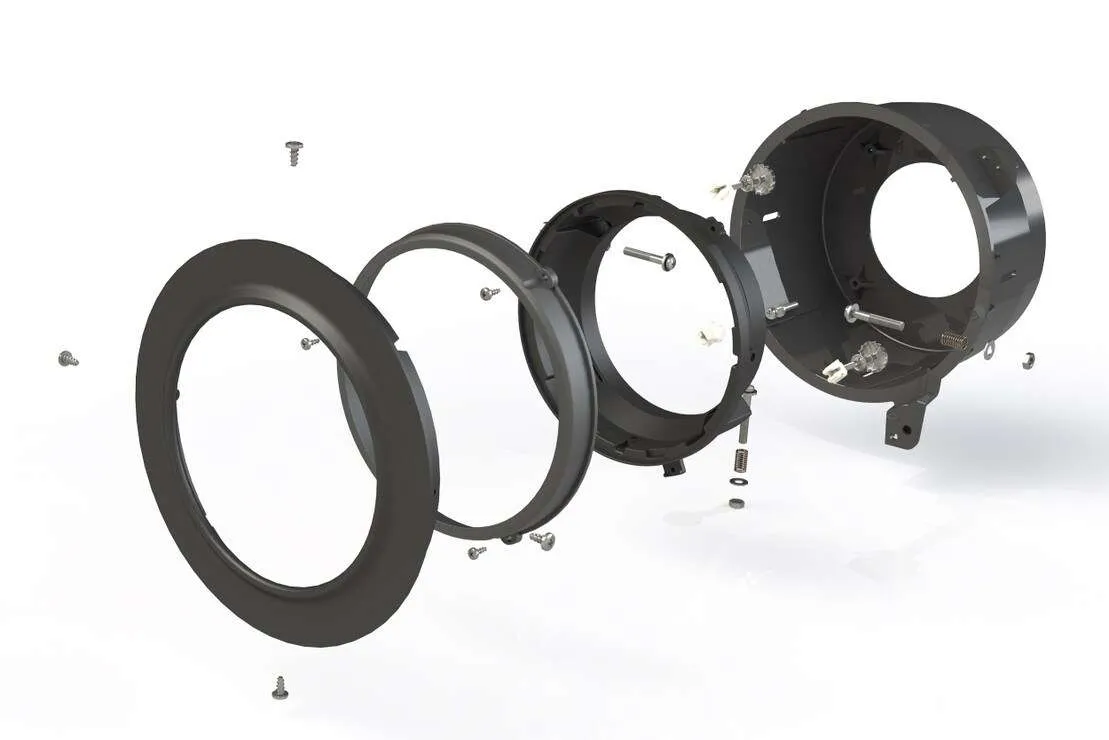
Before removing the grille, review the Super7 JK installation guide or the Super7 JL installation guide. The photos show the correct retaining hardware and connections.
3. Match fog lights to the bumper
Fog-light shopping starts with the bumper and the original lamp mount. A JK plastic-bumper SS3 Type M kit and a factory-steel Type MR application are not interchangeable because the pod face looks similar. JL mounting also varies by bumper and trim.

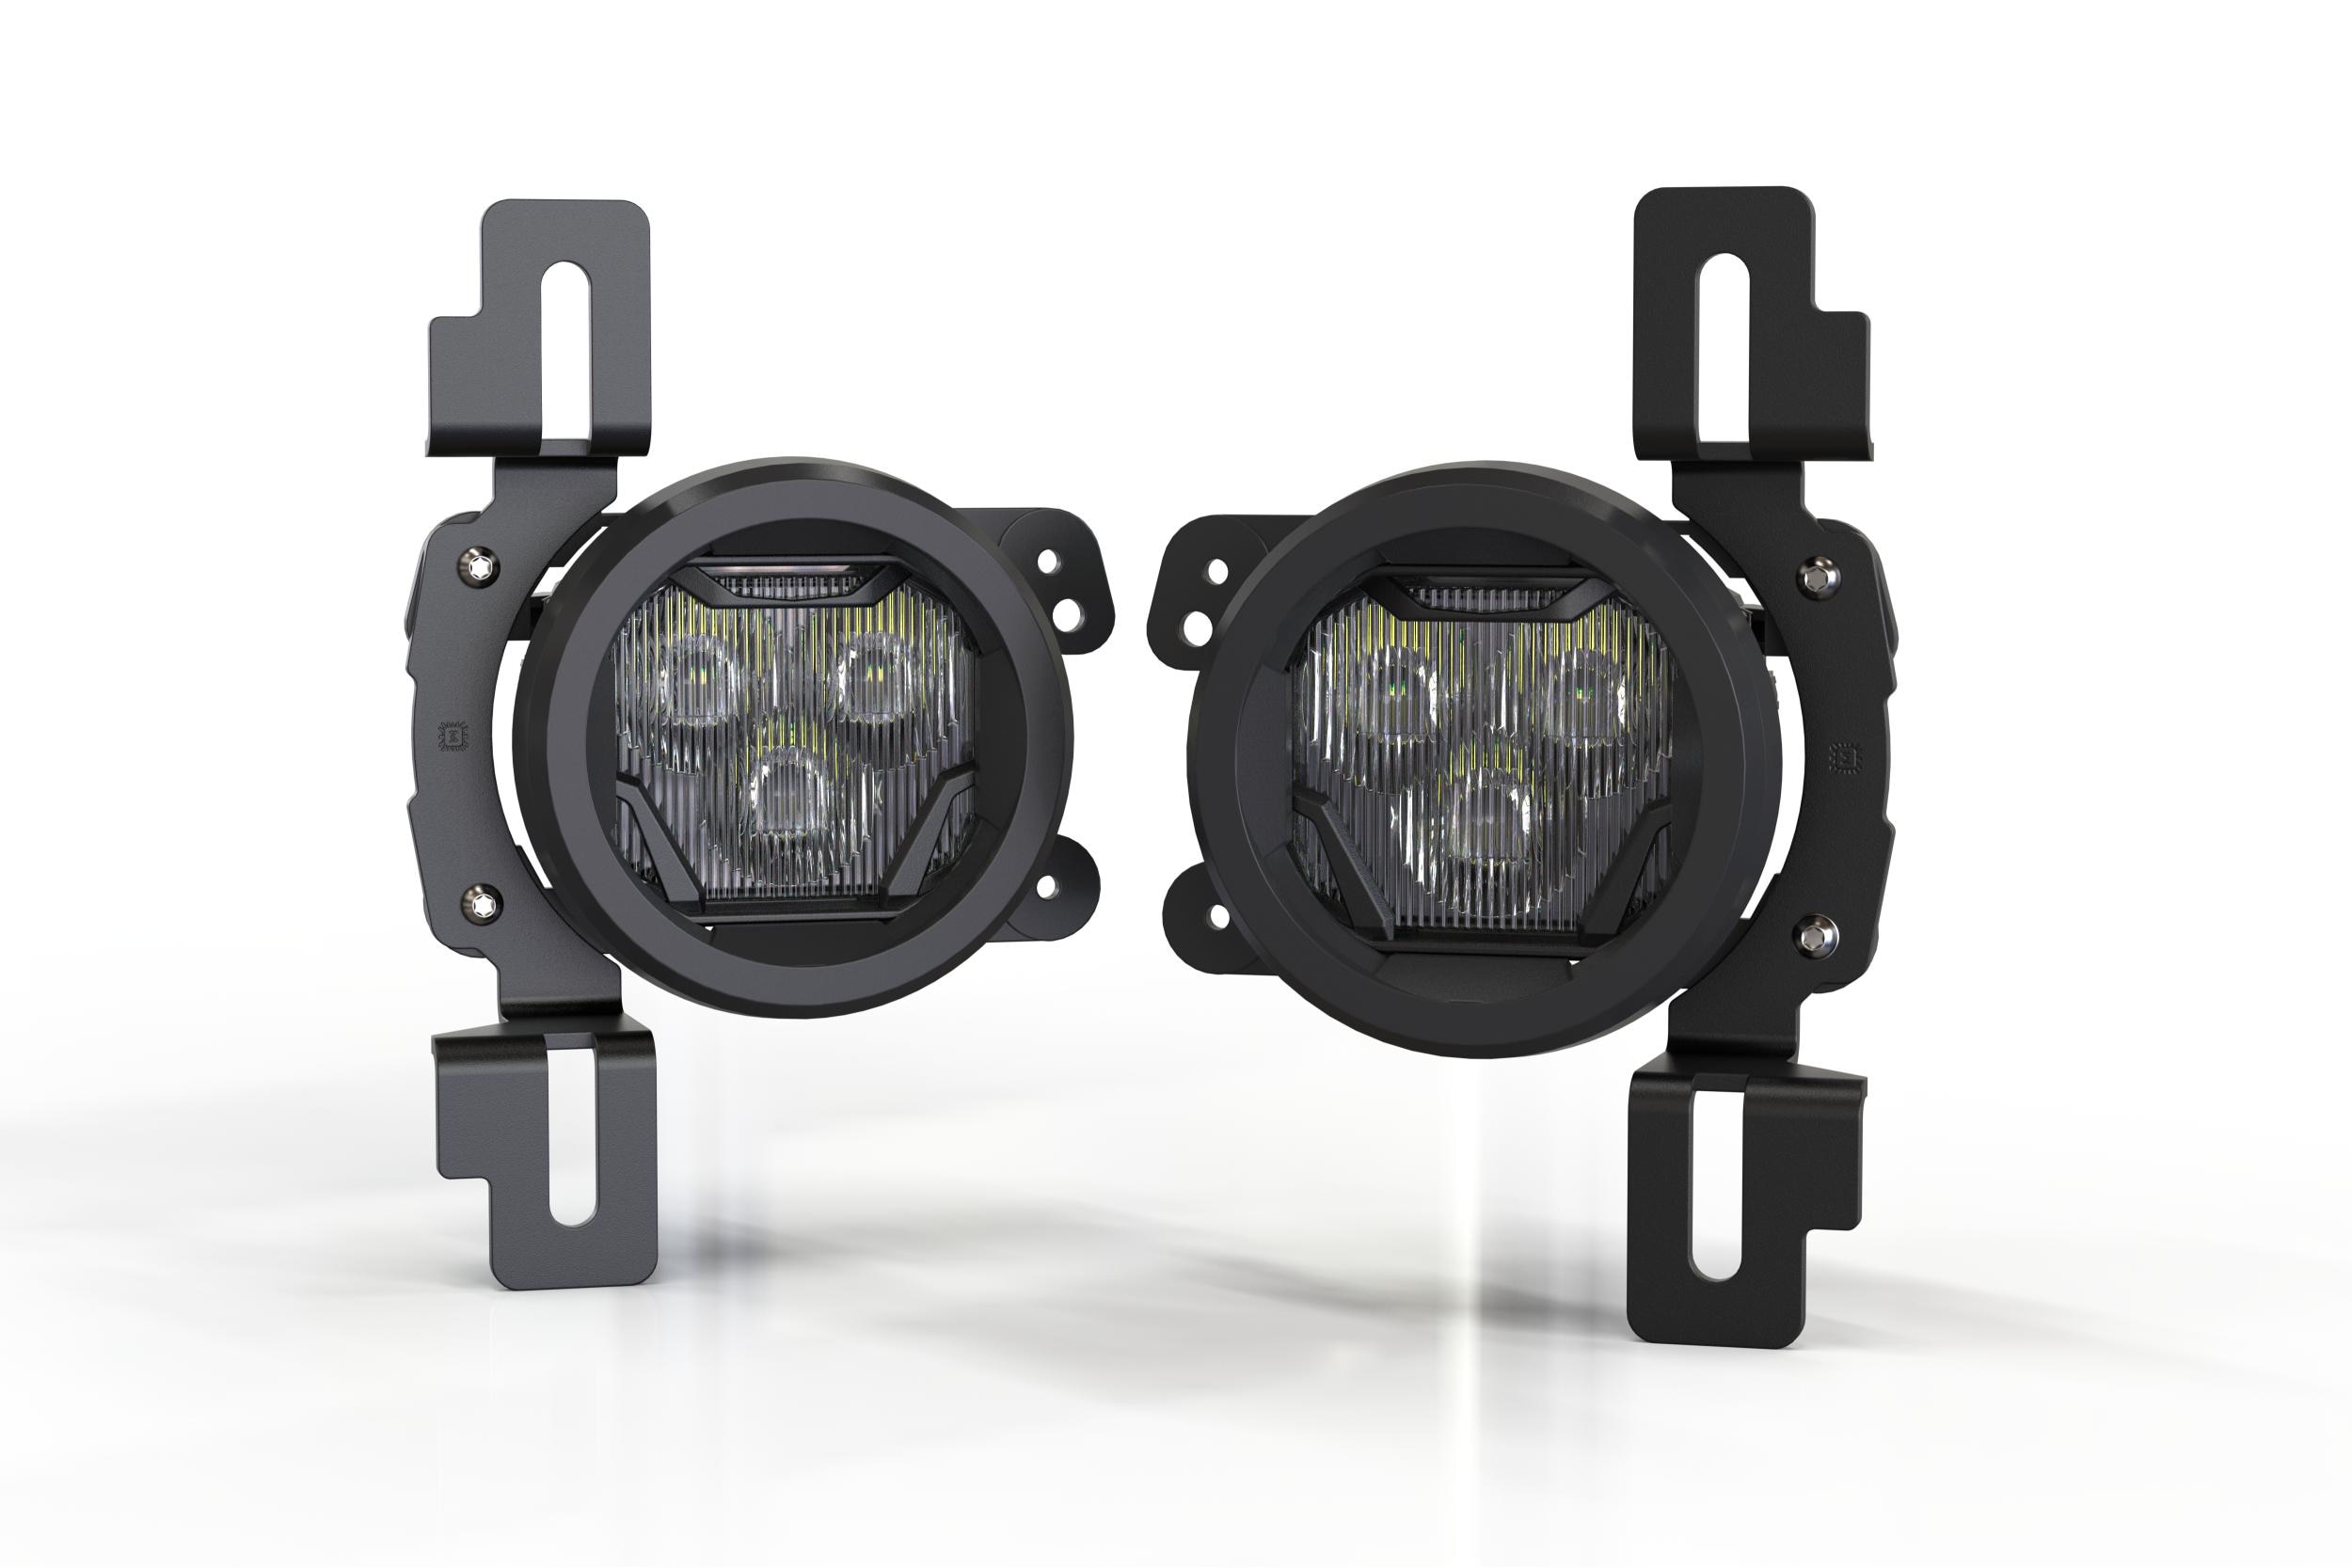
Compare Elite Type M fogs, Elite Type MR fogs and the applicable SS3 family on the collection page. Distinguish the main fog beam from any separate backlight or daytime-lighting feature. A colour label for an accent does not mean the main beam changes colour.
Morimoto offers separate JK 4Banger fog kits and JL 4Banger fog kits. The JK kit is listed here for 2007–2017, with two separate BAF060 adapters required for 2007–2009. The JL NCS Wide kit requires a Sahara or Rubicon with original non-LED fogs and excludes Sport.
For a simpler replacement, compare the Morimoto Type M XB fog pair with its exact application notes. Its optional Yellow film is a physical film choice, not an electronic White/Amber output switch.
Use the illustrated SS3 fog installation guide to check the mount. For compatible switchable-output products, follow the SmartSelect programming guide for the exact control sequence.
4. Separate beam pattern, output level and colour
Beam pattern determines where the light goes. Fog, Driving, Combo and ditch-light options serve different mounting locations and tasks. A wide fog optic is not the same configuration as a long-range driving light. Use the manufacturer’s matching pattern images rather than choosing only by wattage or the number of pods.
Output level is a separate choice. Sport/Pro/Max and NCS/HXB identify product-family options; they do not create a universal ranking across brands. Compare the supplied optics and application first, then the source specifications for the exact configuration.
Main-beam colour is separate from accent lighting. White and Yellow kits may also have independent backlight features. Some SS3 products offer dual-colour main output, while other kits have a fixed colour selected at purchase. The product page states which system you are buying. Do not infer switchable output from a vehicle photograph showing amber accents.
Aim and installation matter after the choice. Vehicle load, suspension changes and mounting height affect the finished beam. The installation guide’s aiming instructions remain part of the job.
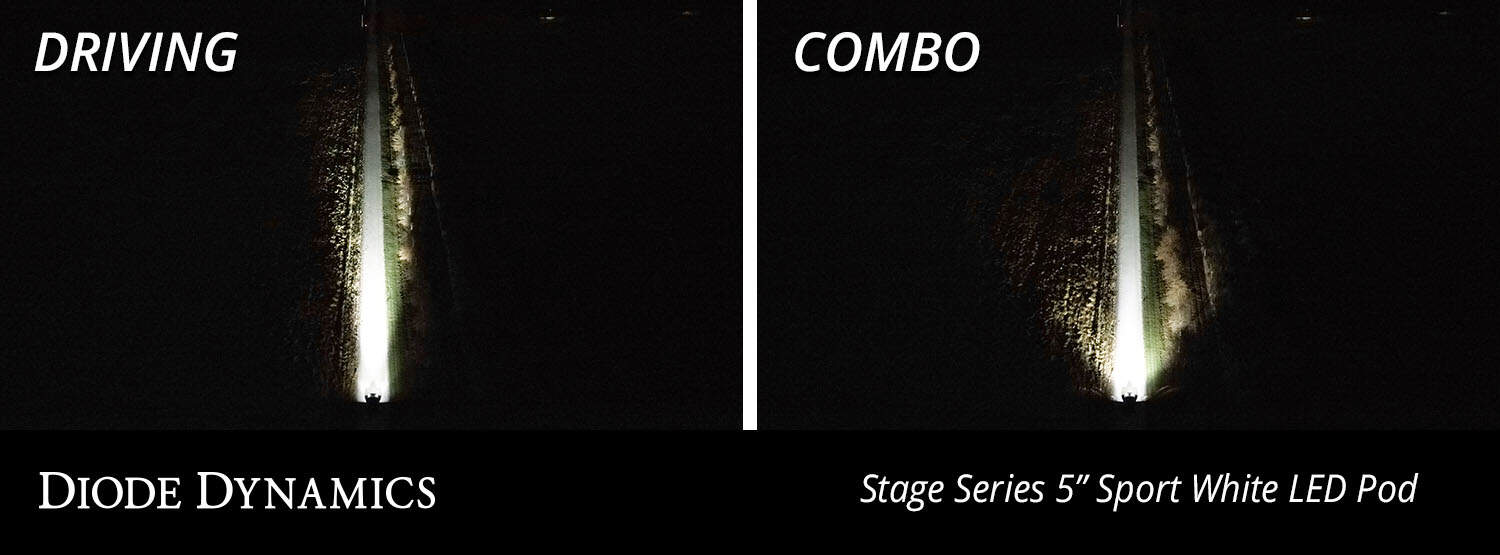
5. Put off-road light where you need it
Bumper or grille: a compact JL two-pod SS5 bumper kit leaves a different footprint from the JL grille CrossLink bar. JK owners have their own bumper-pod kit and grille CrossLink kit. Compare the exact bracket arrangement, interference notes and complete contents.
Ditch or cowl: choose a matched JK Morimoto 2Banger ditch kit or JL 2Banger ditch kit, or compare the Diode Dynamics JL cowl kit. These place light at the windscreen corners for off-road coverage. A pod’s fog-pattern specification does not make every A-pillar mounting position a road-fog installation.
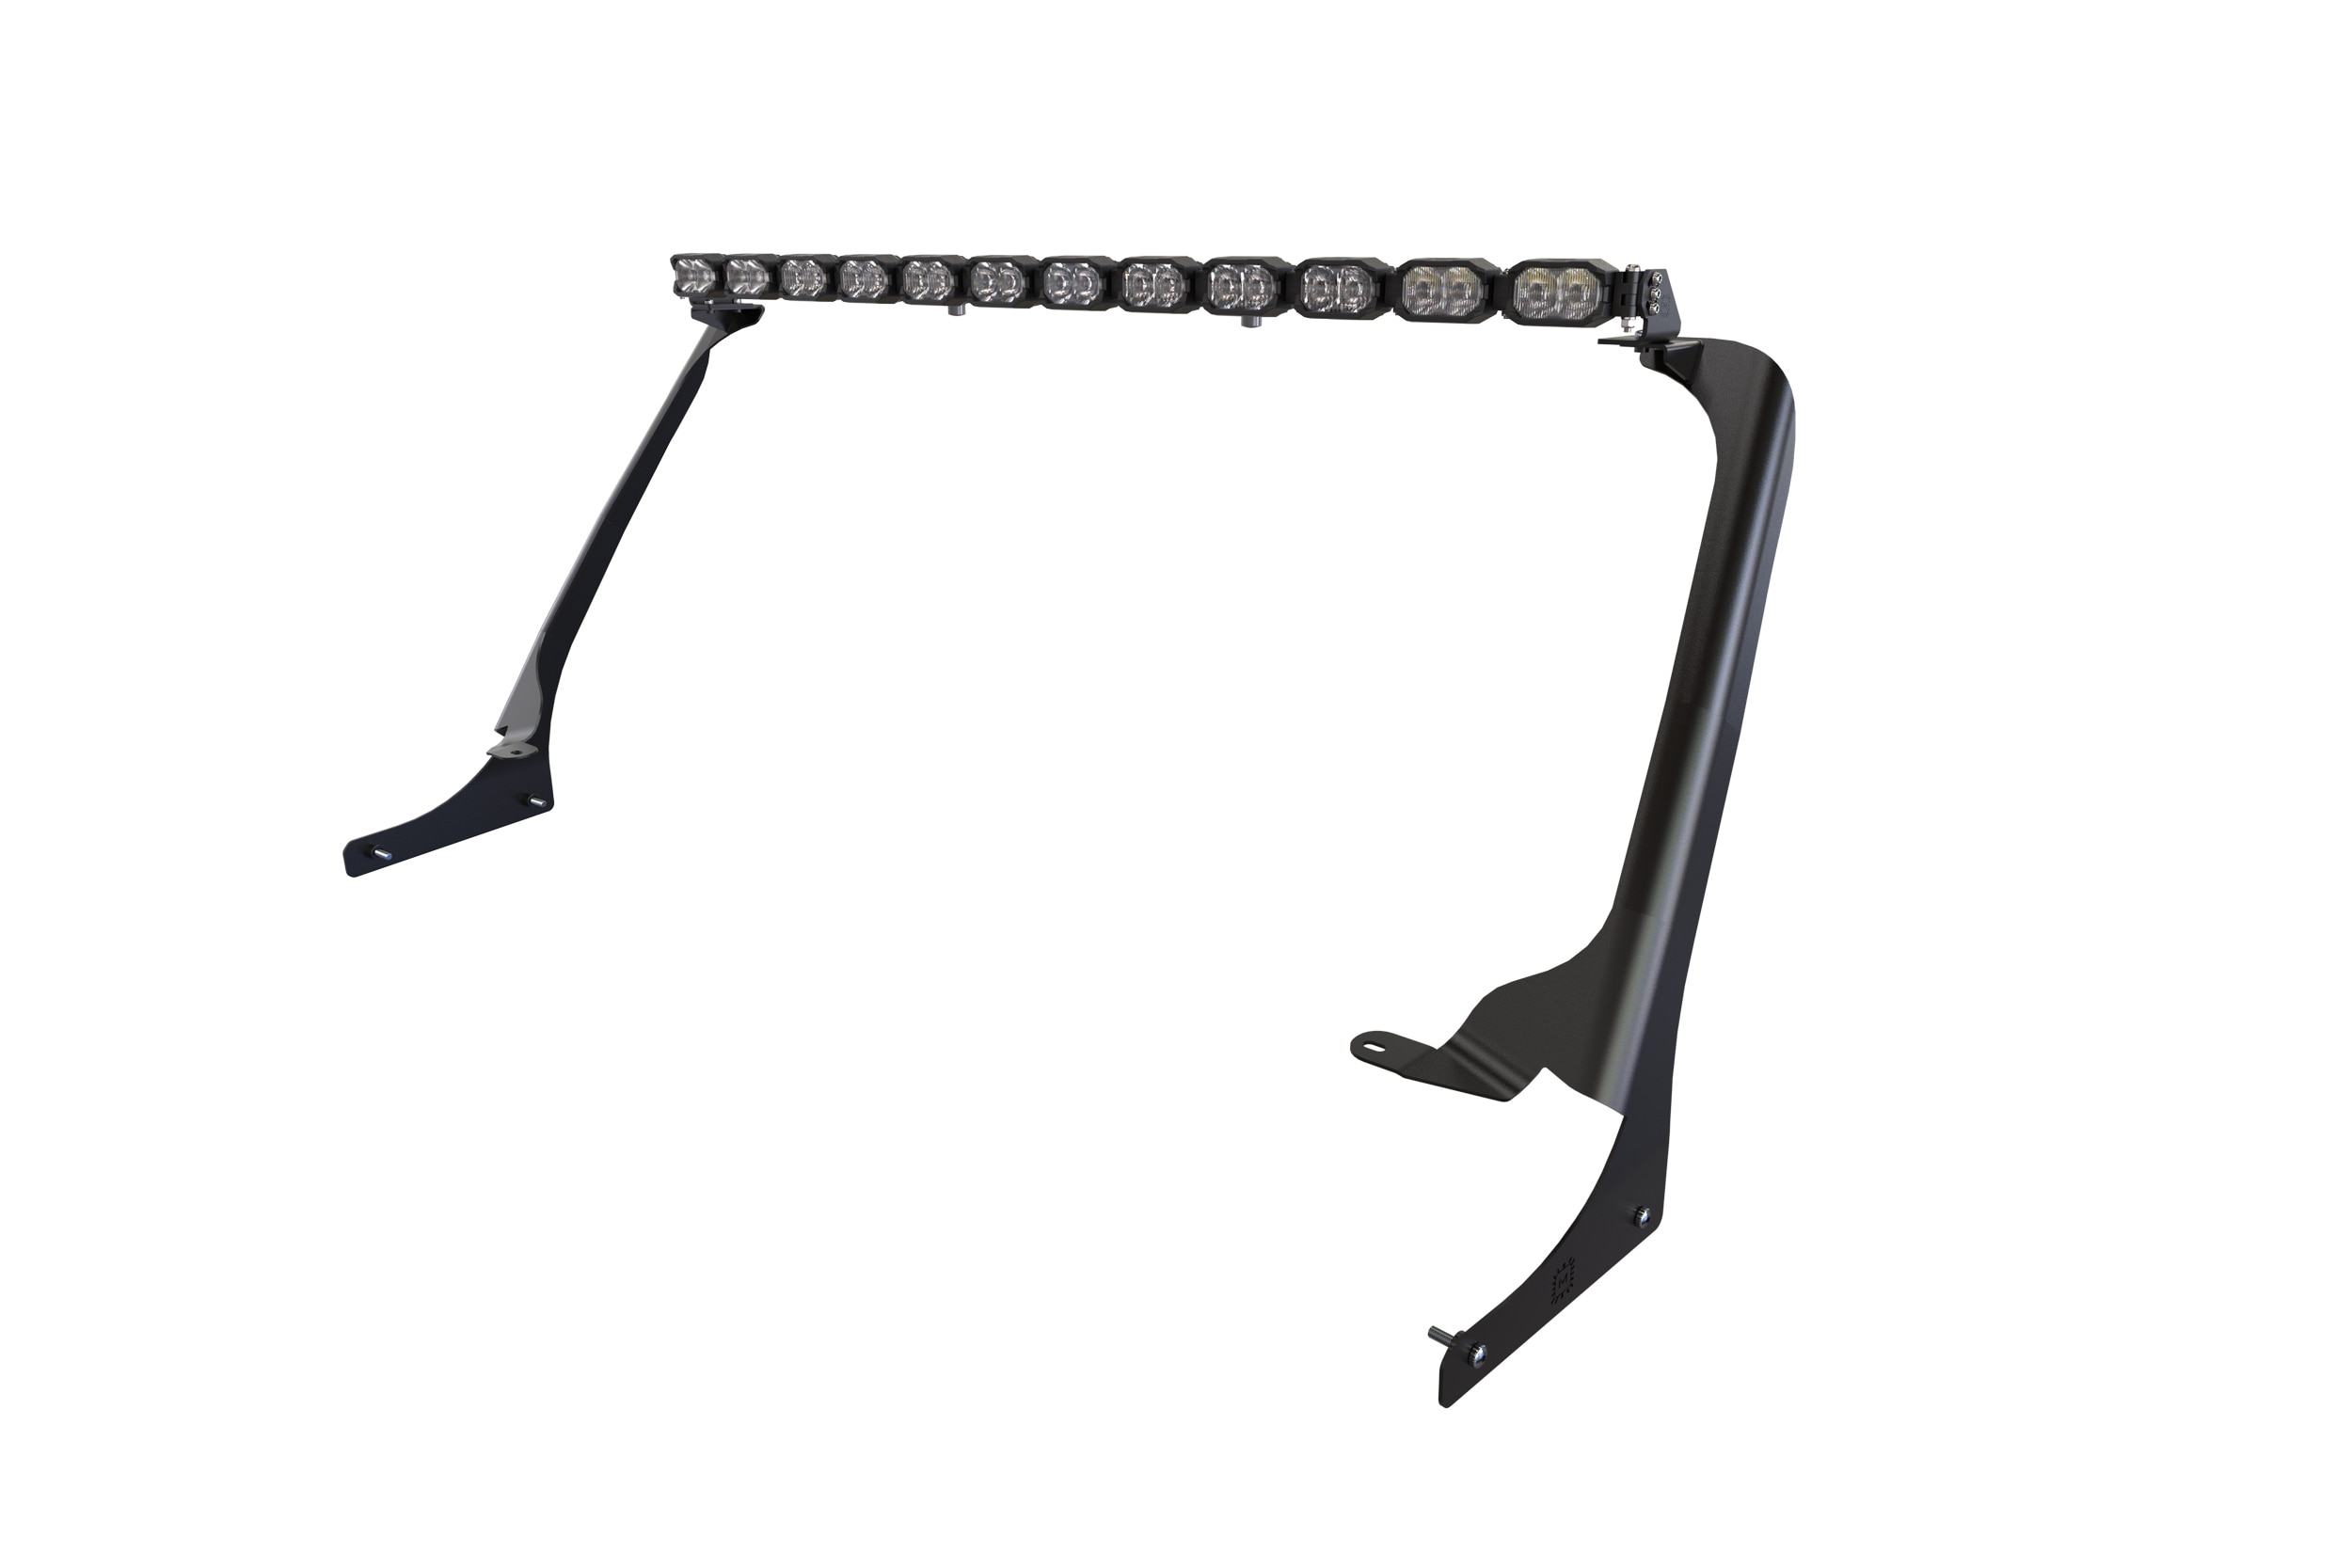
Windscreen or roof: the JK SS5 windscreen bar and JL SS5 windscreen bar use different vehicle mounts. Morimoto’s JL roof systems offer 12-pod 2Banger, 12-pod 4Banger and 7-pod BigBanger packages. Check their trim exclusions, especially 4xe/392 and the listed 2026 Rubicon variants. The Morimoto system requires a cable opening in the cowl.
Compare the installation guide before adding accessories. A complete roof kit already includes its listed vehicle mounts and harness. A BAF081 mount-only set is for a compatible bar you already own; buying it alongside the matching complete kit would duplicate the mounts.
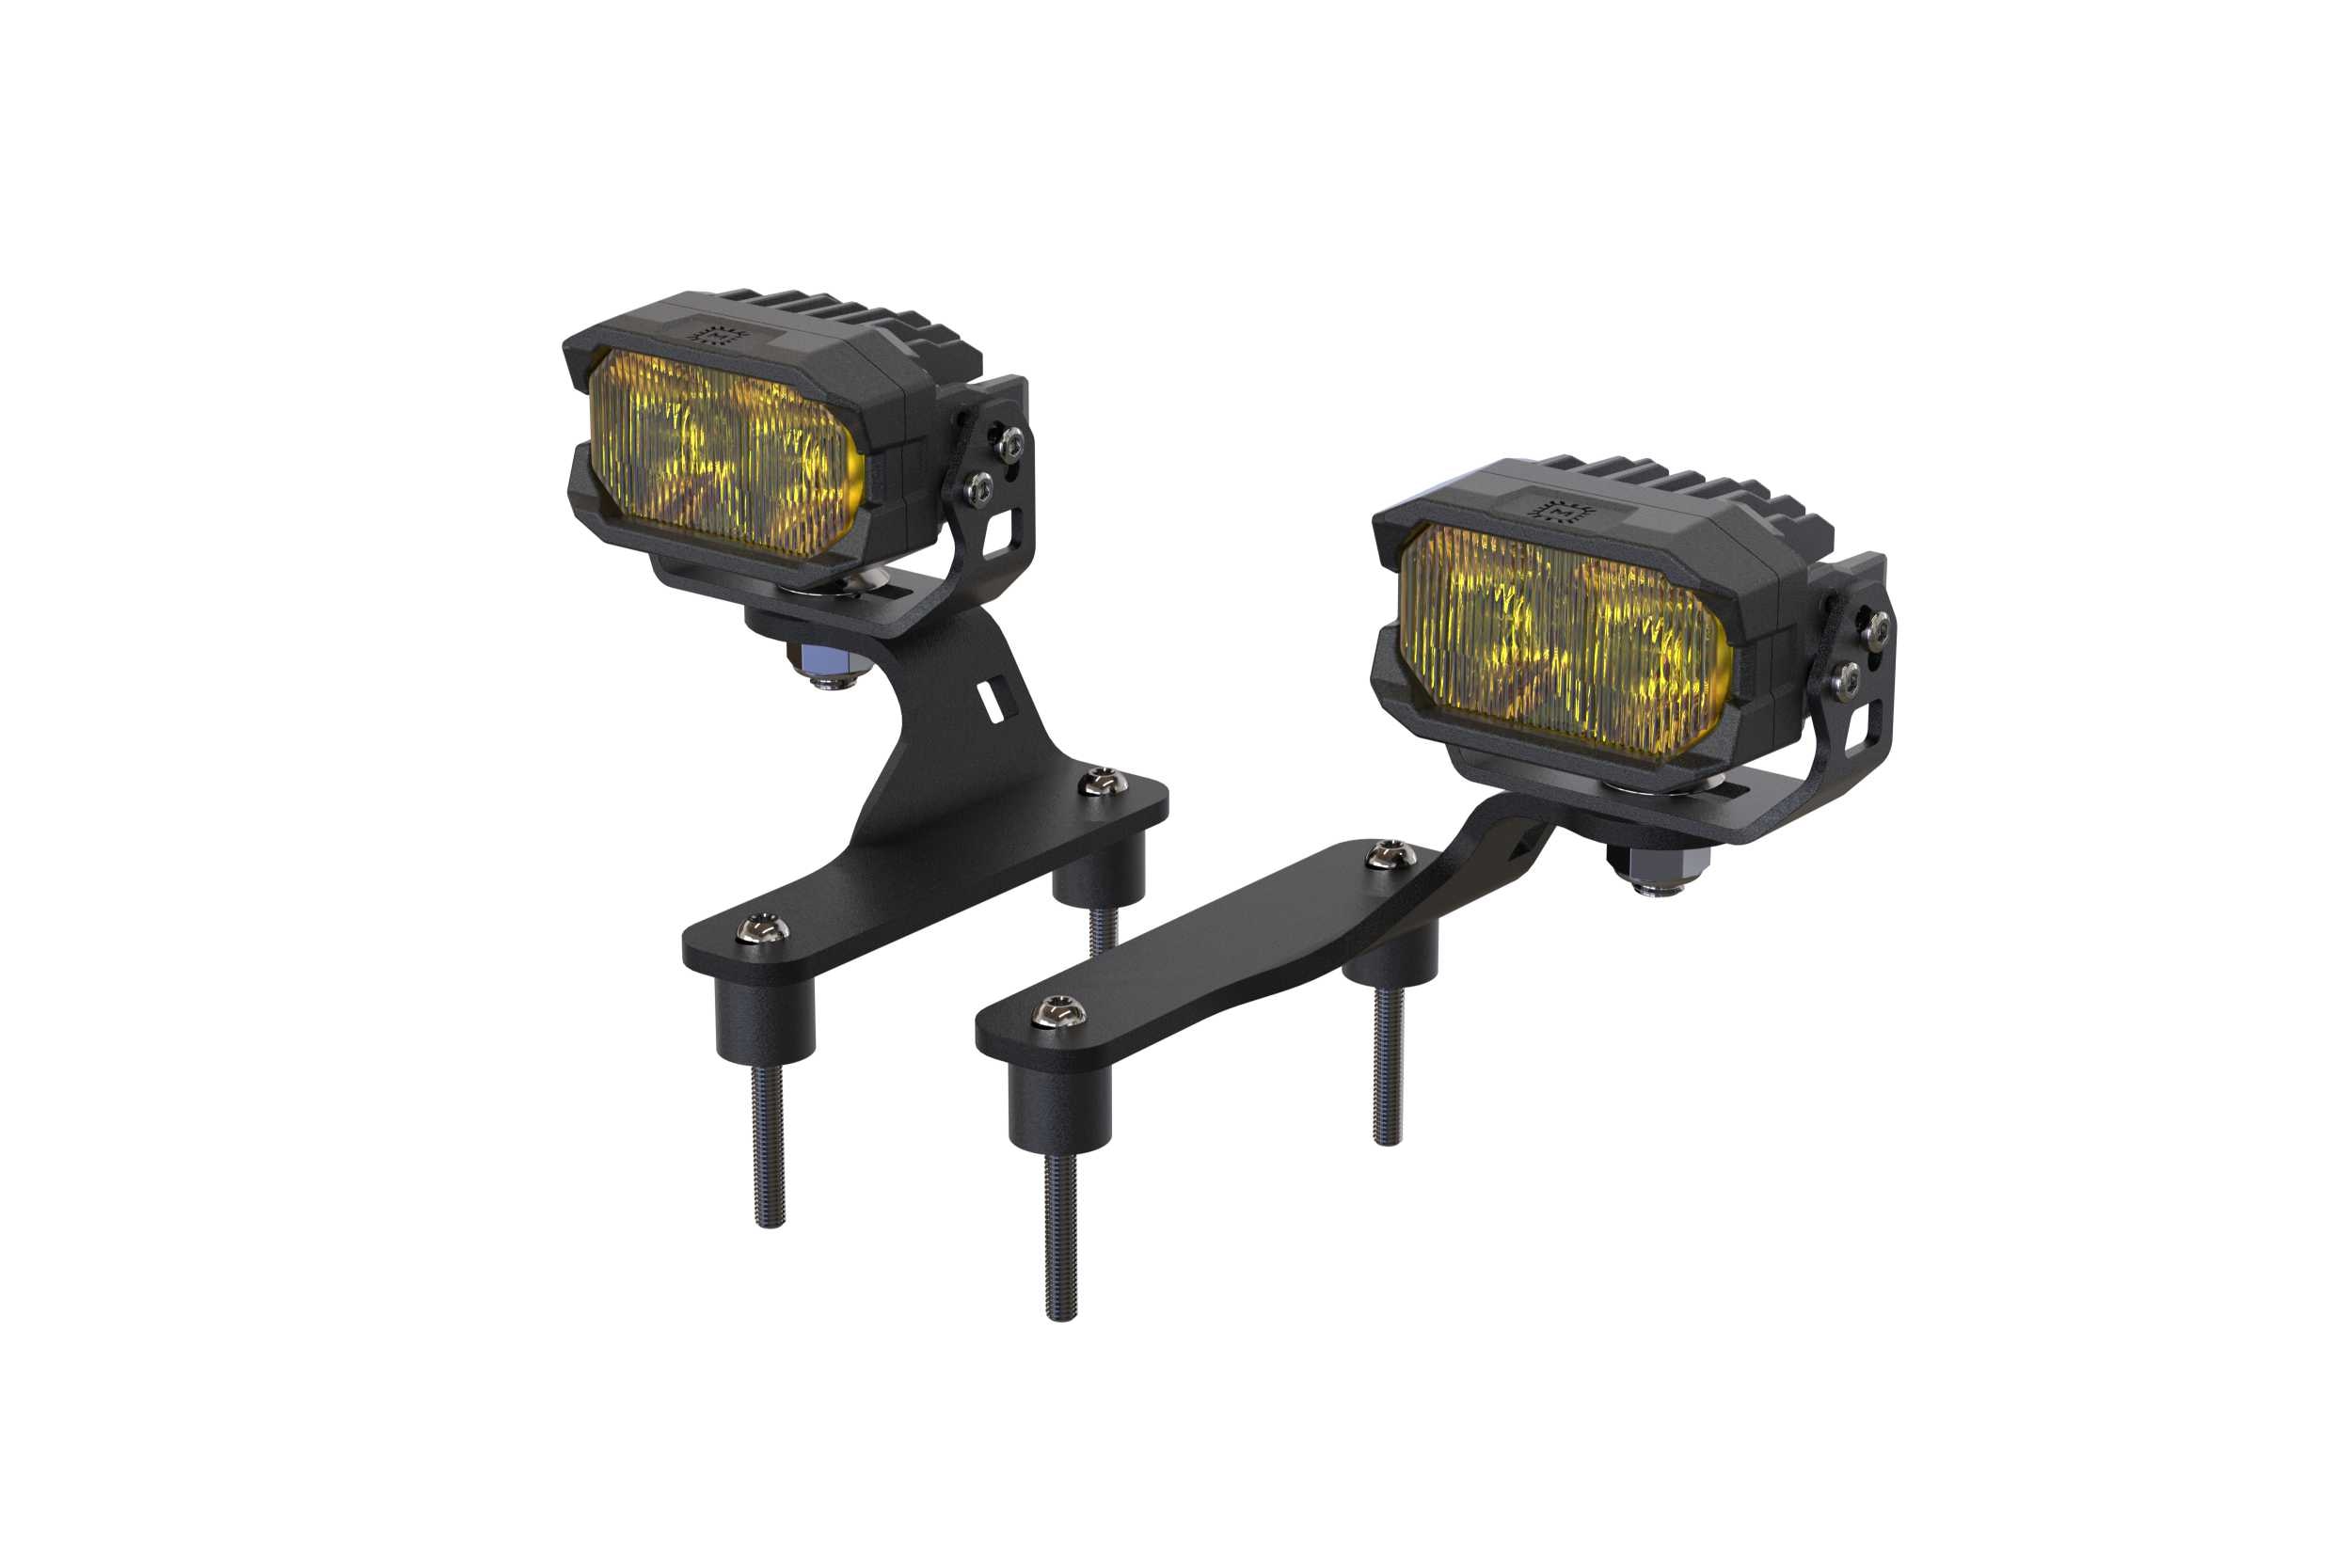
The JL SS5 bumper installation guide shows the bracket, fastener and clearance checks. Compare those steps with your bumper and winch before ordering.
6. Plan tail lights, markers and reversing separately
Tail-light styling should not obscure the equipment check. The Red-lens Morimoto XB pair and Smoked-lens pair have installation branches for the supported original equipment and blind-spot components. The FORM JL pair has a finite 2018–2023 application and its own wiring instructions.
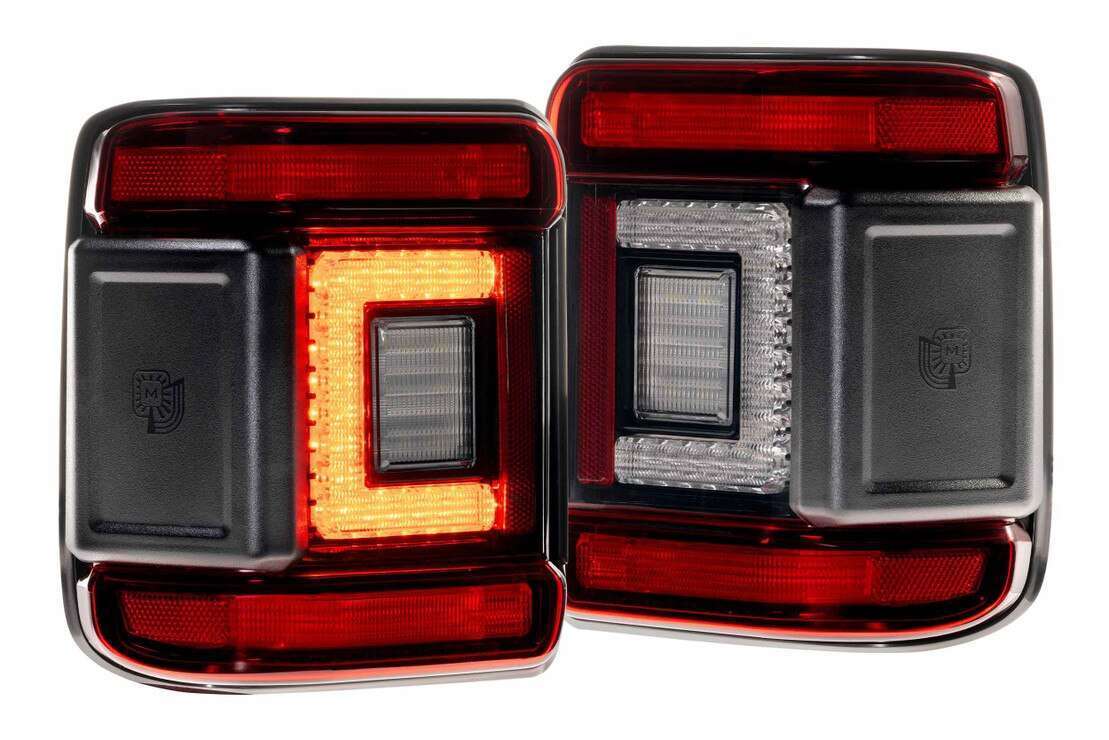
Fender lighting is a separate modification. Compare the XB fender lights, side-marker/vent lights and XRGB fender-chop system only after identifying the original fender and trim. A chop kit changes the installation much more than a lamp replacement.
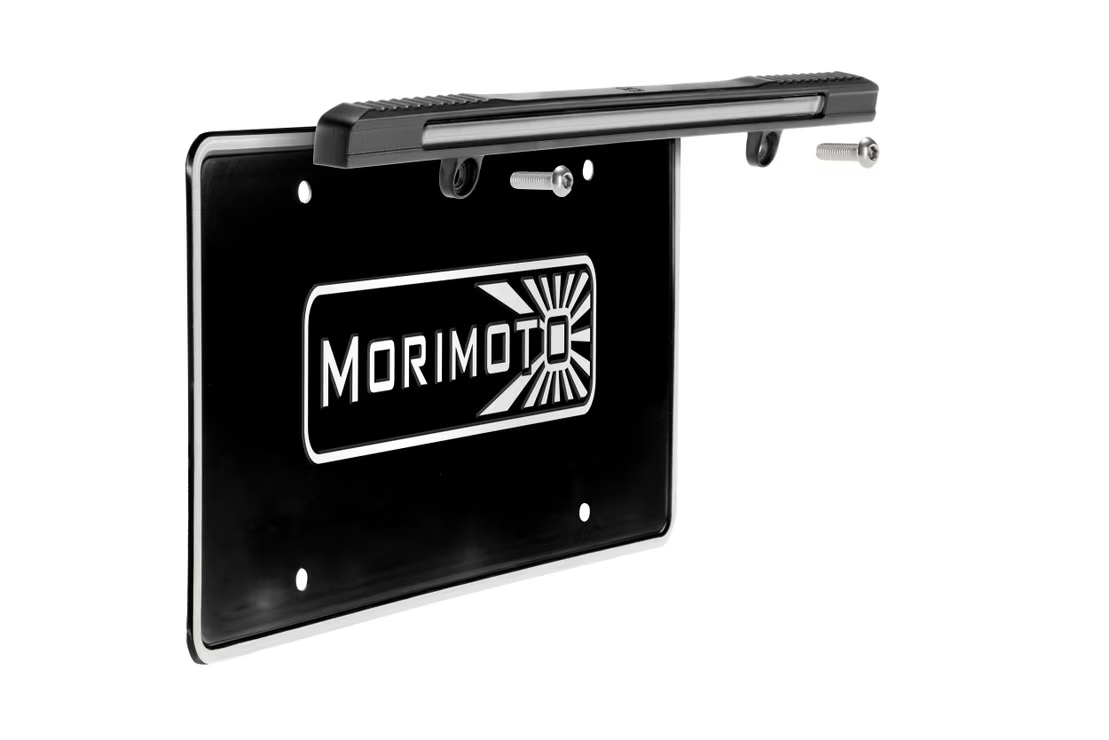
For reversing, the Morimoto Boost Bar can use a compatible XB Boost connection or its supplied reverse-circuit pigtail. Check plate-mount clearance. The HitchMount C1/C1R requires the correct open-back receiver and compatible trailer connection, and must be removed when the receiver is needed for towing.
The LFZ17 licence-plate lamp illuminates the plate. It is not a substitute for an auxiliary reverse light or the vehicle’s tail lamps.
Review the illustrated JL XB tail-light guide for the factory blind-spot equipment and original connector steps.
7. Plan wiring before adding more lights
List the functions you want to switch independently, then read the harness requirements for each kit. Keep road lighting, off-road lamps and accent functions clearly identified. Do not assume that a bracket package includes the relay harness, controller or lamps.
The JK D-Switch kit and JL D-Switch kit are distinct from JK hub mounts and JL hub mounts sold for an existing system. Check the exact circuit limits and installation guide before combining loads.
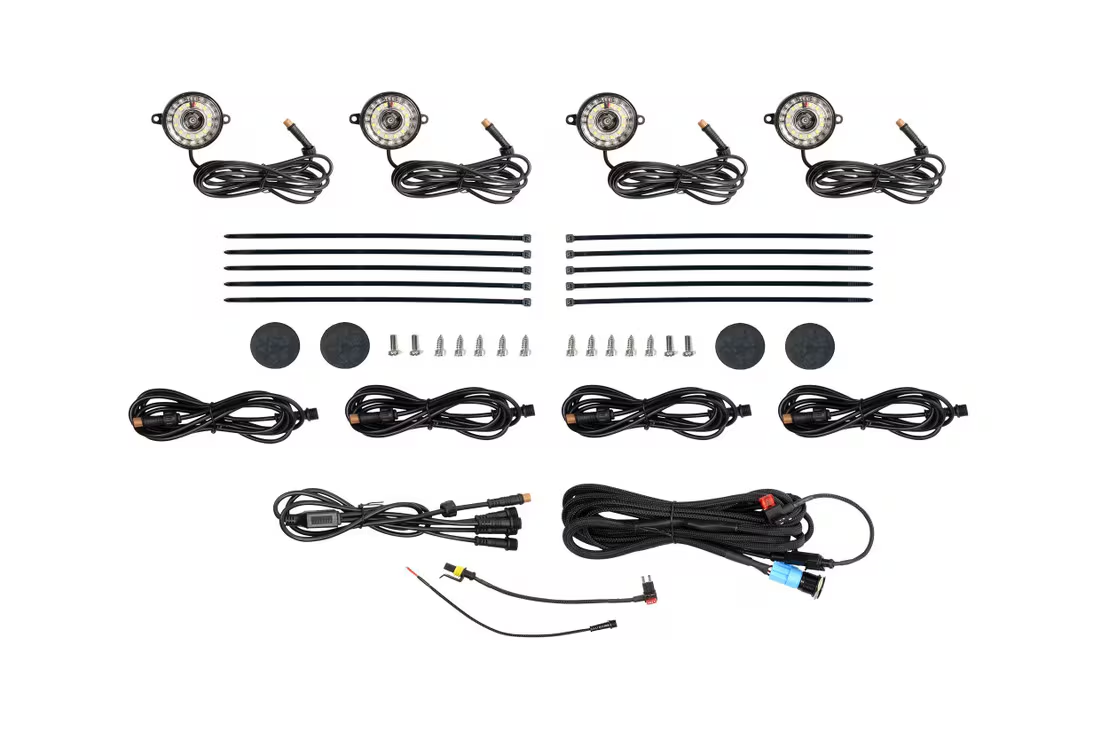
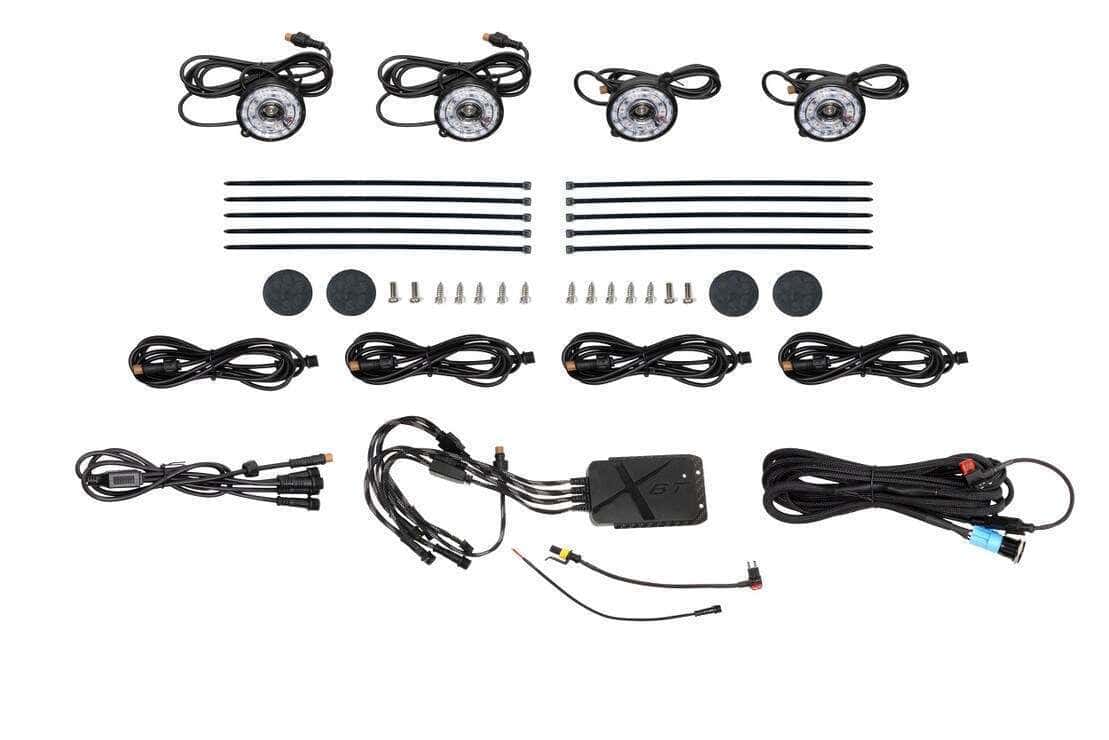
For underbody lighting, compare White rock lights and RGB rock lights. These are universal wired systems, not Wrangler-specific brackets. Plan protected cable routes, mounting surfaces and clearance through steering and suspension movement. A magnetic lamp mount does not mean every part of the installation avoids drilling.
Use the matching illustrated guide to identify clips, fasteners, connectors and aiming steps. Keep the unchanged manufacturer PDF available alongside the BTS instructions, and follow the instructions supplied with your exact hardware revision.
A practical order for the build
- Identify the original equipment. Confirm JK/JL, lamp type, bumper, connectors and any previous wiring changes.
- Choose the first useful upgrade. Start with the lighting function that falls short during your actual driving.
- Check the complete package. Count lamps, drivers, mounts, harnesses and optional adapters before adding accessories.
- Read the installation guide. Understand clip removal, cable routing, drilling and aiming before starting.
- Install and test one system at a time. Check every intended function and secure the wiring before moving to the next upgrade.
Browse the complete Wrangler JK/JL lighting collection for product photos, exact options and linked guides. If the original equipment is unclear, send BTS the year, generation, trim and clear lamp/bumper photos before ordering.