

Featured photo: a 4Runner lighting example with a DEK roof rack and SS40 lightbar. Other lighting and vehicle upgrades are separate.
A useful lighting upgrade starts with a job: seeing the road more clearly, adding controlled fog light, lighting a trail edge or making the cargo area easier to use. On a 2014–2024 Toyota 4Runner, the right part also depends on the original lamps, trim and front-end equipment.
Use this guide to compare the options, then open the complete 4Runner lighting collection for the exact products and current choices.
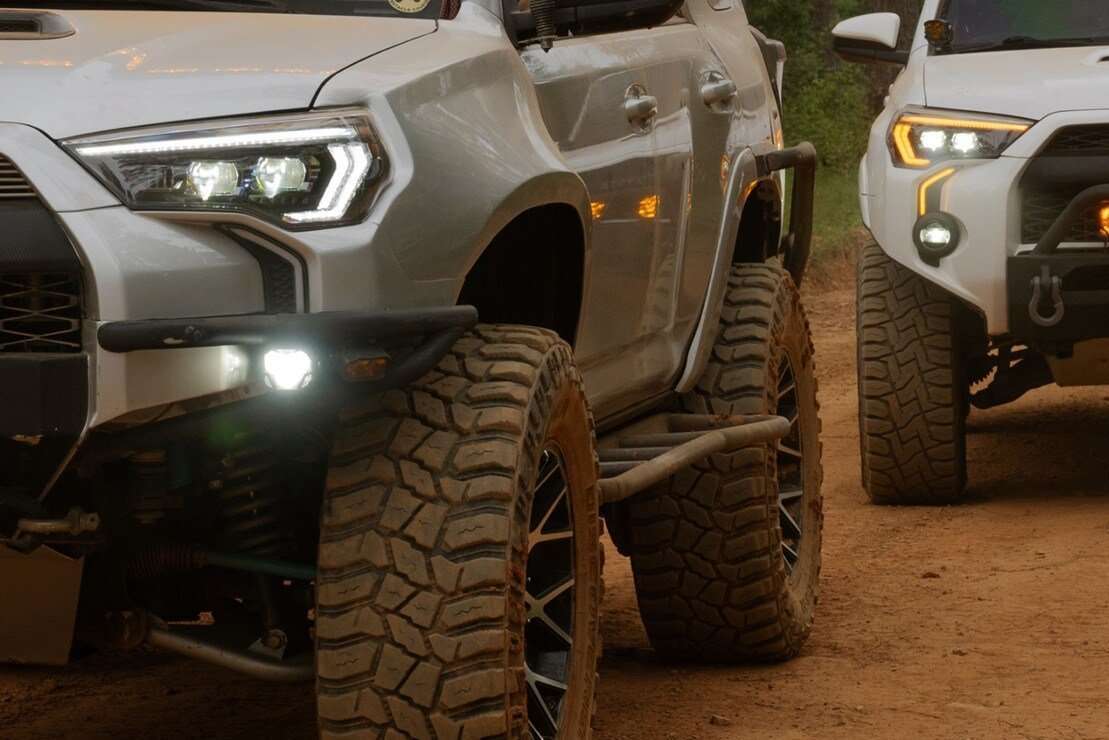
Identify the factory lights before buying
Morimoto’s current installation guide separates the original headlights into three branches:
- 2014–2020: halogen low and high beams.
- 2021, except Limited, Nightshade and TRD Pro: LED low beam with halogen high beam.
- 2021 Limited, Nightshade and TRD Pro; all 2022–2024: LED low and high beams.
These branches describe the original equipment. A previous owner’s swap can change what is on the vehicle, so inspect the lamp and connectors. A replaceable-bulb upgrade does not fit a sealed LED assembly just because the year appears on a broad catalog page.
The illustrated factory-headlight chart is a useful starting point. The newer Evo family includes its installation adapters; LF531H-2 and LF531H are separately listed harnesses for earlier XB assemblies.
Choose headlights for the features you will use
XB Evo combines a full headlight replacement with Frost-Free lens heating. XB Evo Hybrid is a different, nonheated option. Do not assume that a similar shape means the same heating or control functions.
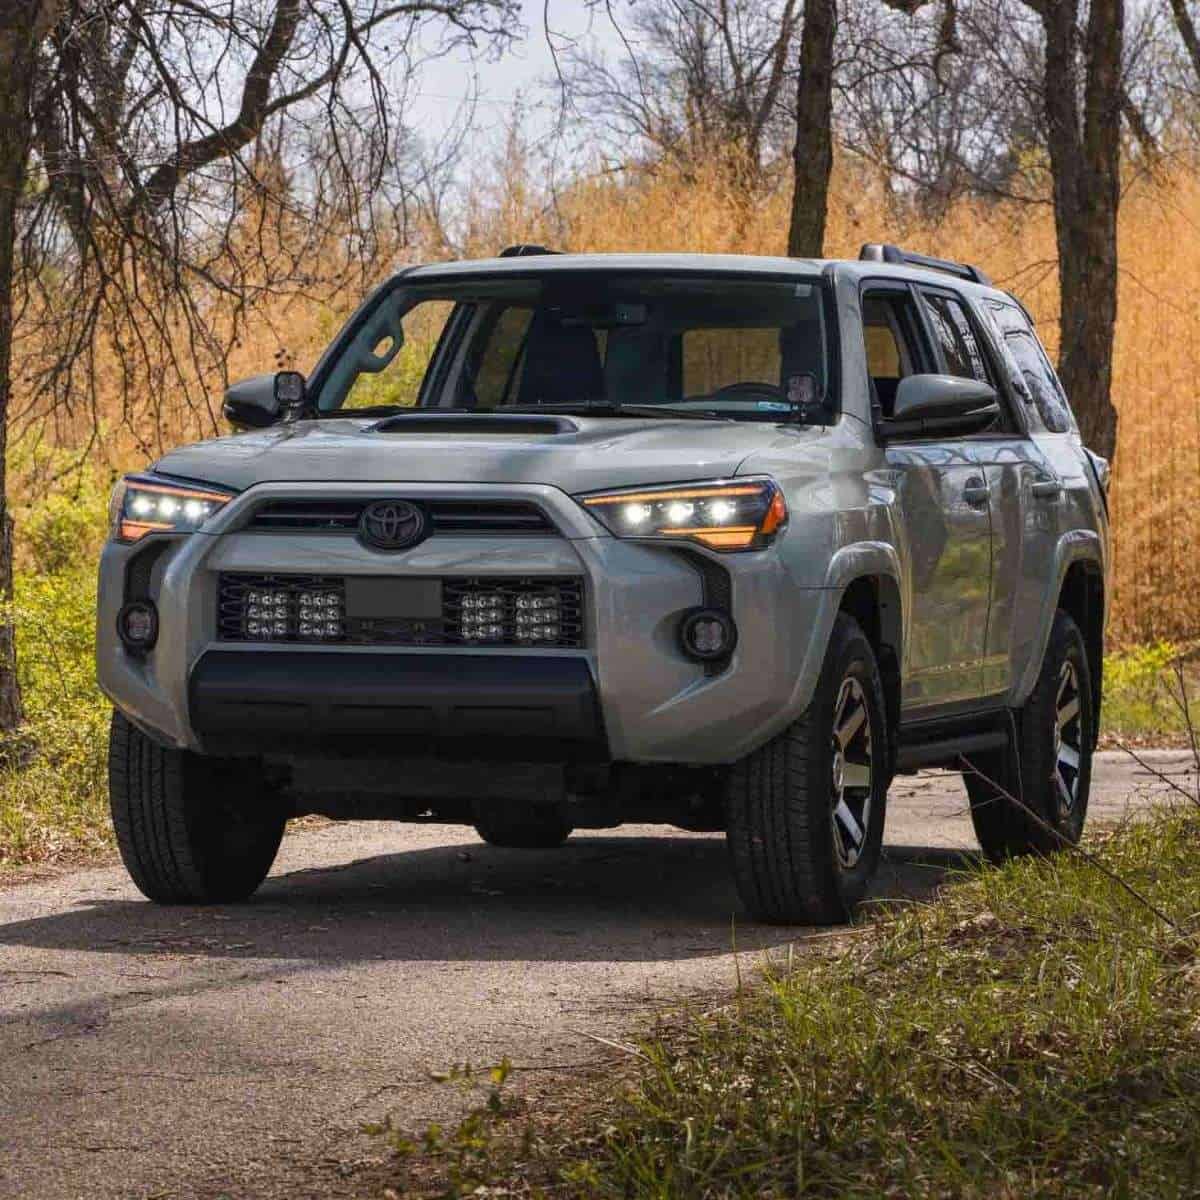
FORM FL0017 provides another complete projector-headlight route. Review its daytime-running-light setting and the equipment-specific connections in the FORM installation guide. Aim any new headlight pair after installation.
Keep headlight accessories model-specific
SC8 Supercharged drivers fit LF2-531 and LF2-531Y only. Morimoto states that they produce non-compliant peak intensity and must not be used on public roads; restoring standard intensity requires reinstalling the original drivers. They are not a universal way to upgrade factory Toyota lamps.
Fitted protective film must match the exact headlight lens, while halo retrofits require opening, mounting, wiring and resealing. The 90 mm halo application stops at 2021; it is not the Tacoma 80 mm kit or a blanket 2022–2024 retrofit.
Choose the beam first, then the colour
A fog lamp should spread controlled light close to the road. A Spot or Combo auxiliary lamp serves a different job, even when it fits a similar mounting bracket.
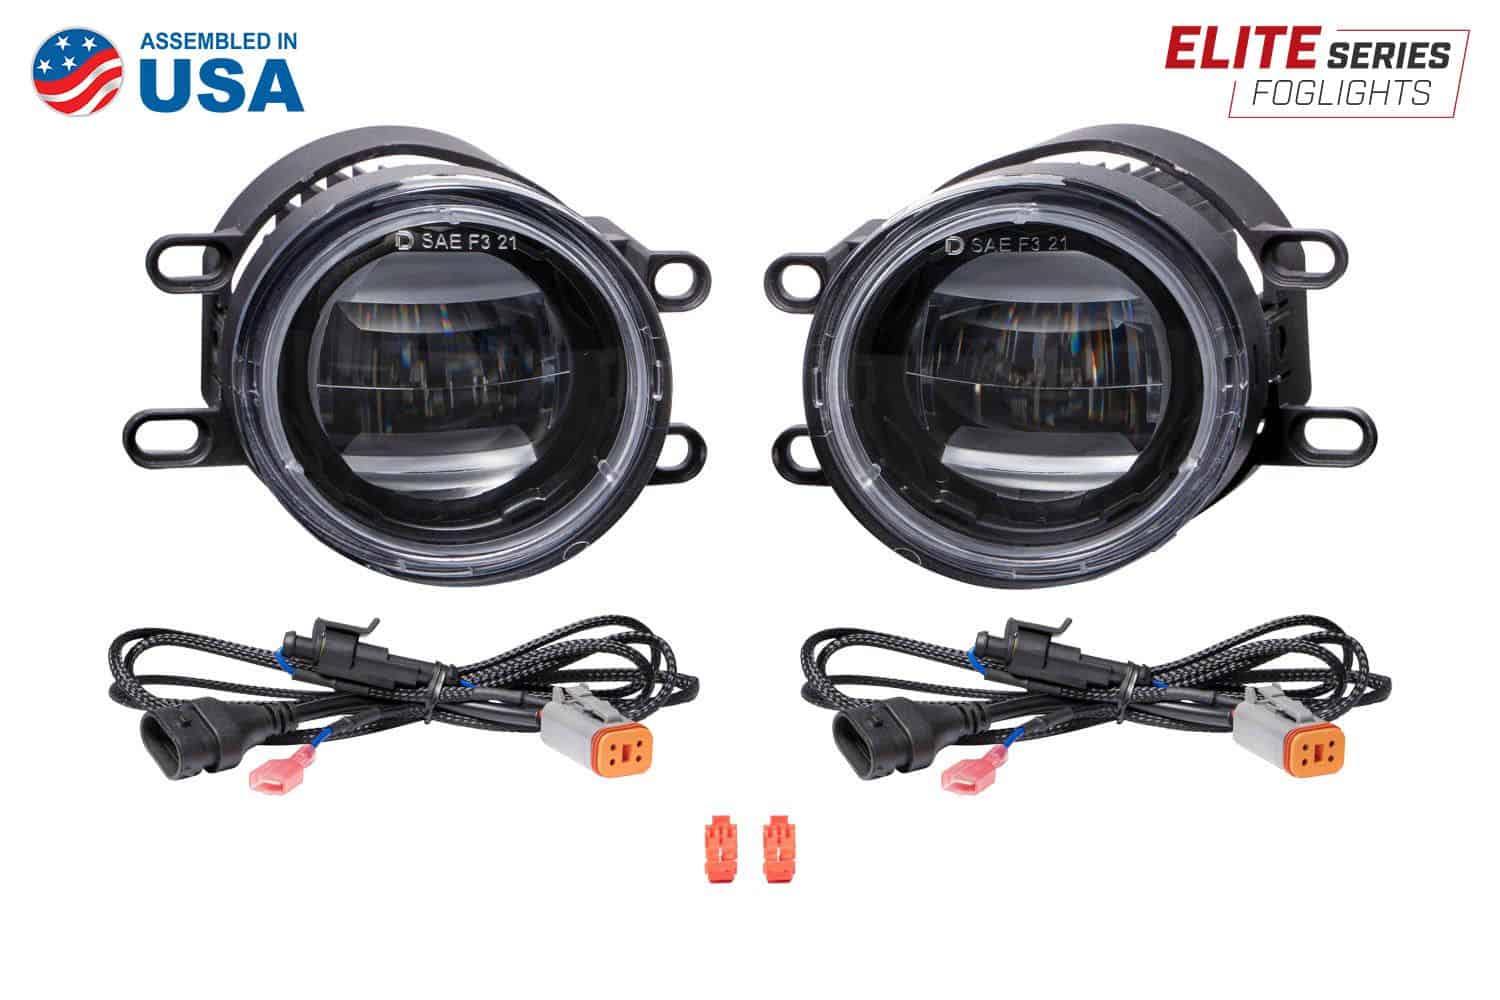
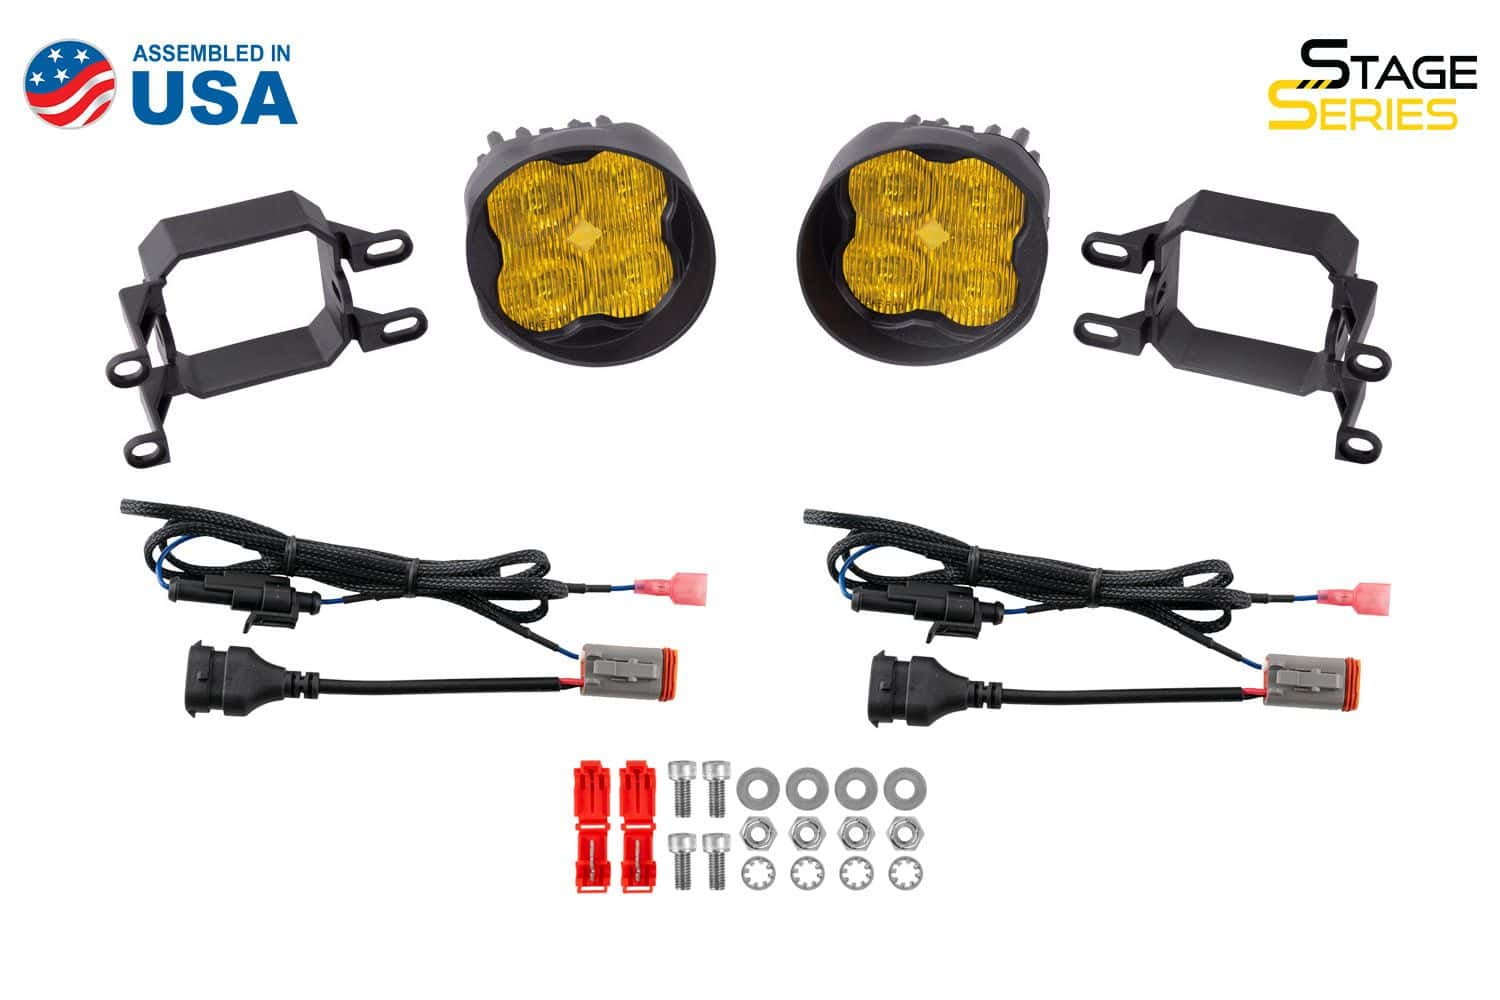
Elite Type B, SS3 Type B and SS3 Dual Color are replacement kits for Toyota Type B fog-light applications. Diode lists these Type B kits for all 2014–2024 4Runner trims. Use the 4Runner SS3 installation guide for the backlight wiring and beam aiming. On SS3, the Amber backlight is an accent circuit; it is not the main fog beam.
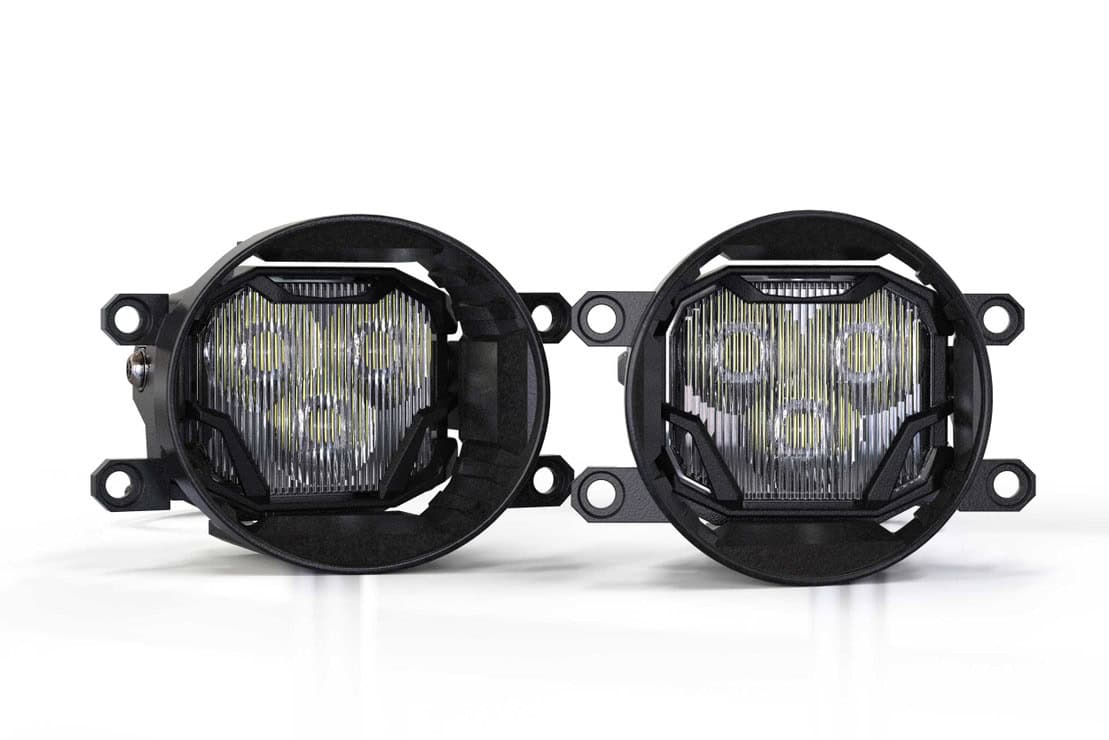
The 4Banger Type T family has four SAE Wide choices: NCS or HXB performance, each in White or Yellow. Check the original fog mounting and connectors before choosing. XB White, XB Amber, Evo White and Evo+ White/Yellow are additional complete Type T fog choices.
For selectable-colour lamps, follow the exact SmartSelect programming steps. Test both lamps and aim them after fitting.
Plan trail lighting around the mounting space
Grille kits can hide auxiliary lighting neatly, but their fitment is more specific than “fifth-generation 4Runner.”
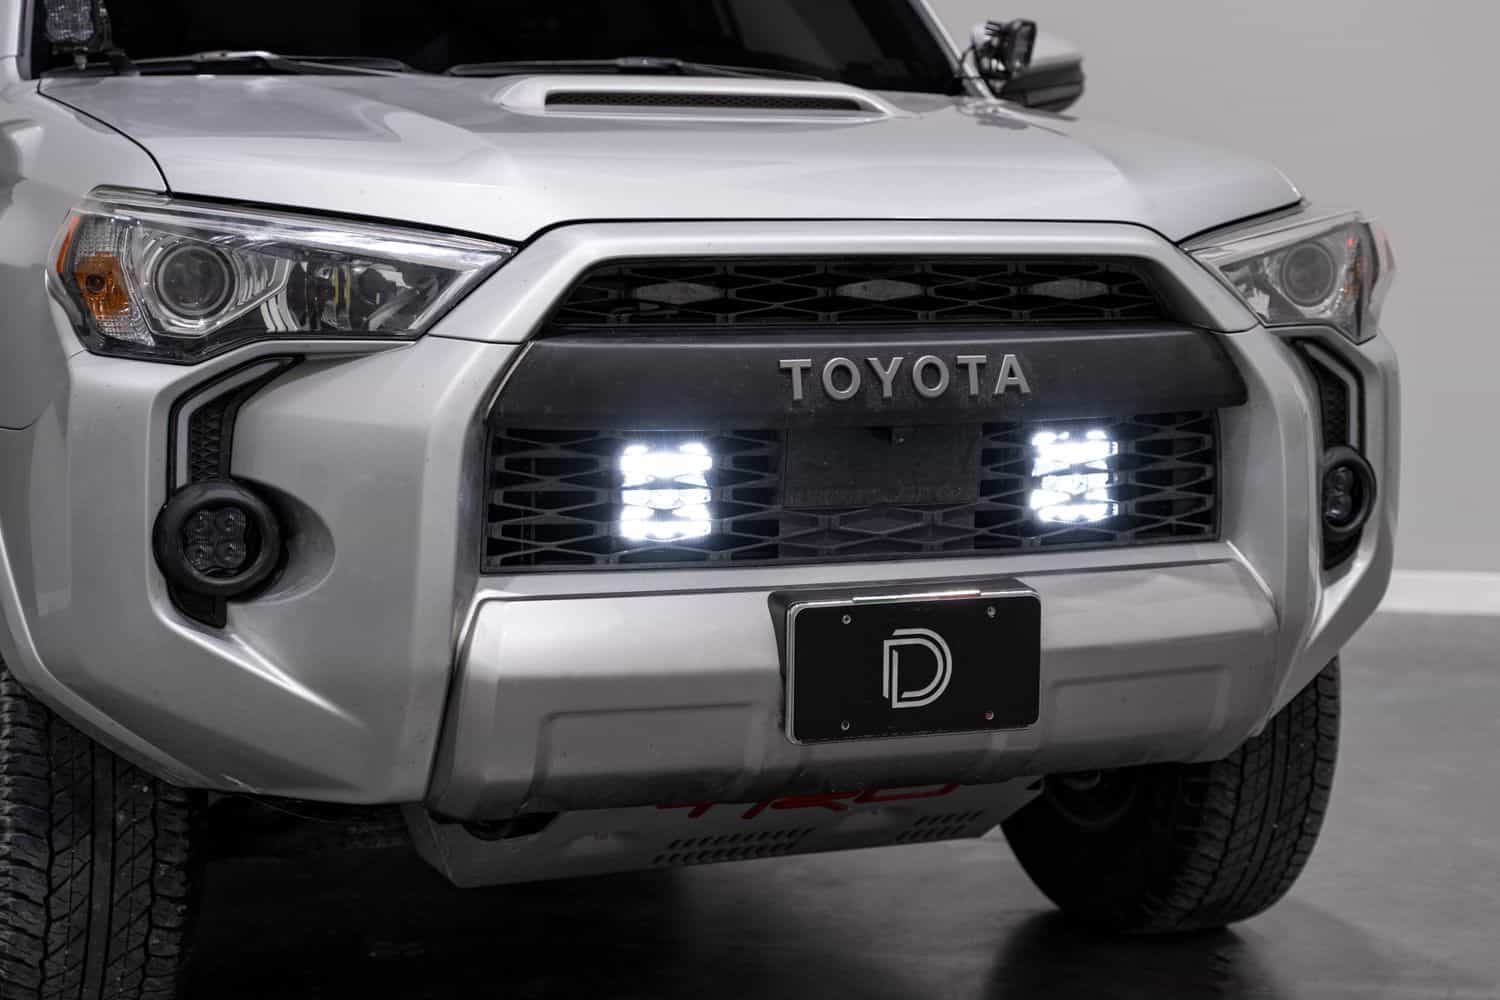
- SS5 stealth grille kit: excludes Limited and Nightshade. The optional fifth centre pod cannot occupy the Toyota Safety Sense position.
- Legacy SS30 stealth kit: 2014–2019 only, excluding Limited and Nightshade.
- SS6 grille kit: 2014–2019 applications, then TRD Pro only for 2020–2024.
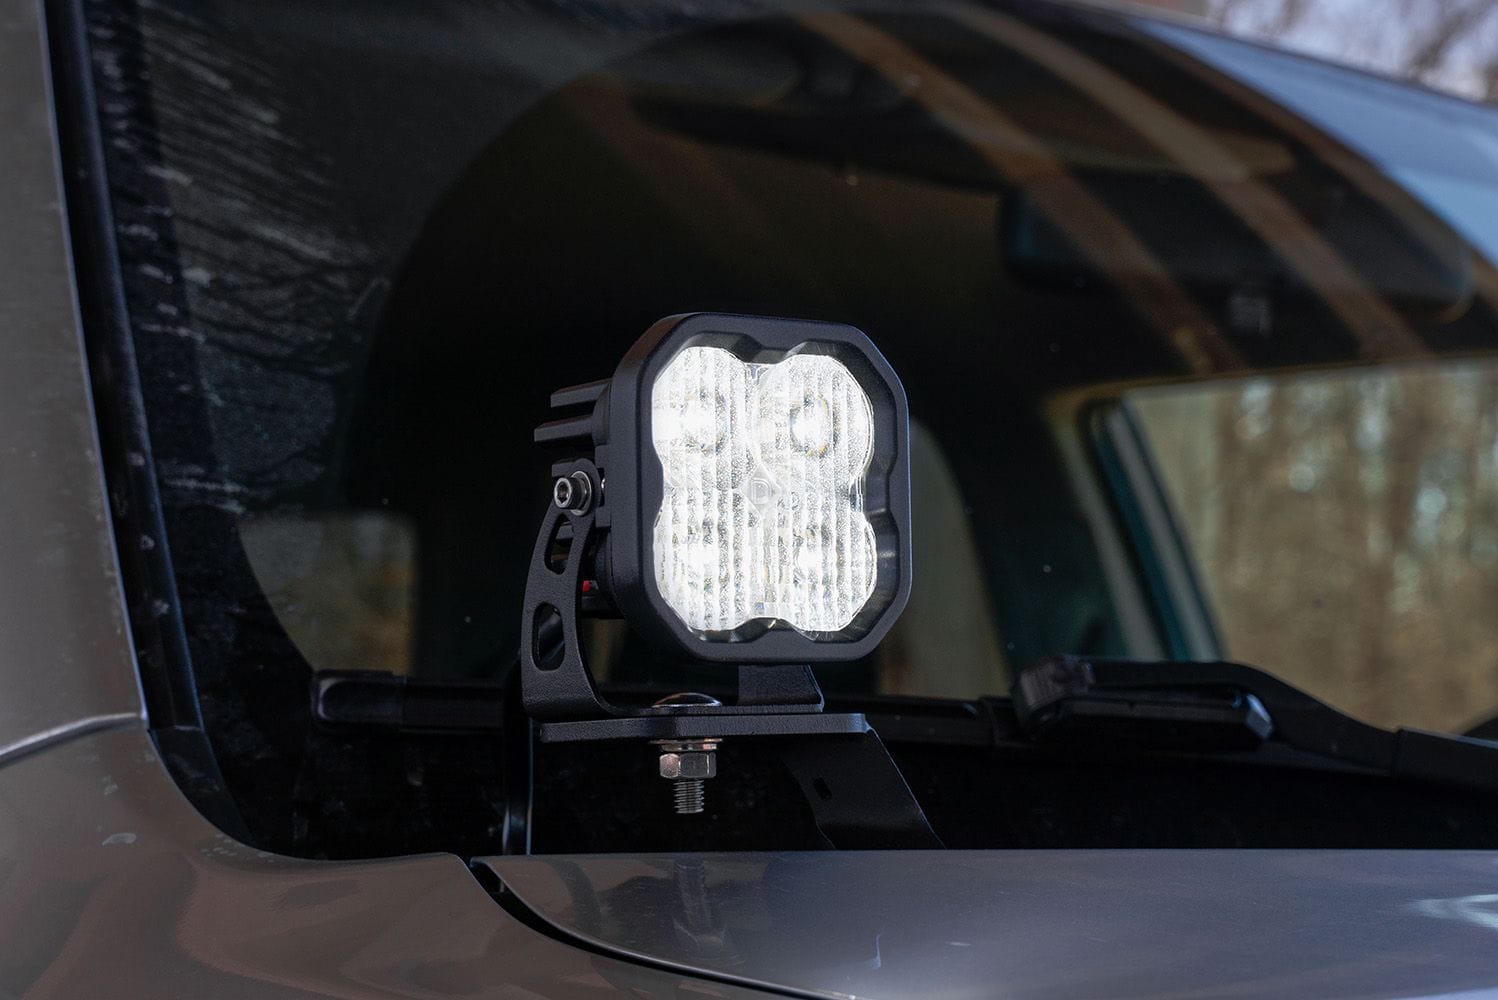
Ditch lights suit trail-edge and side-area illumination. The Diode ditch family and the current Morimoto kit choices need the correct hood-hinge brackets, beam pattern and fused harness. A brackets-only choice contains no lamps.
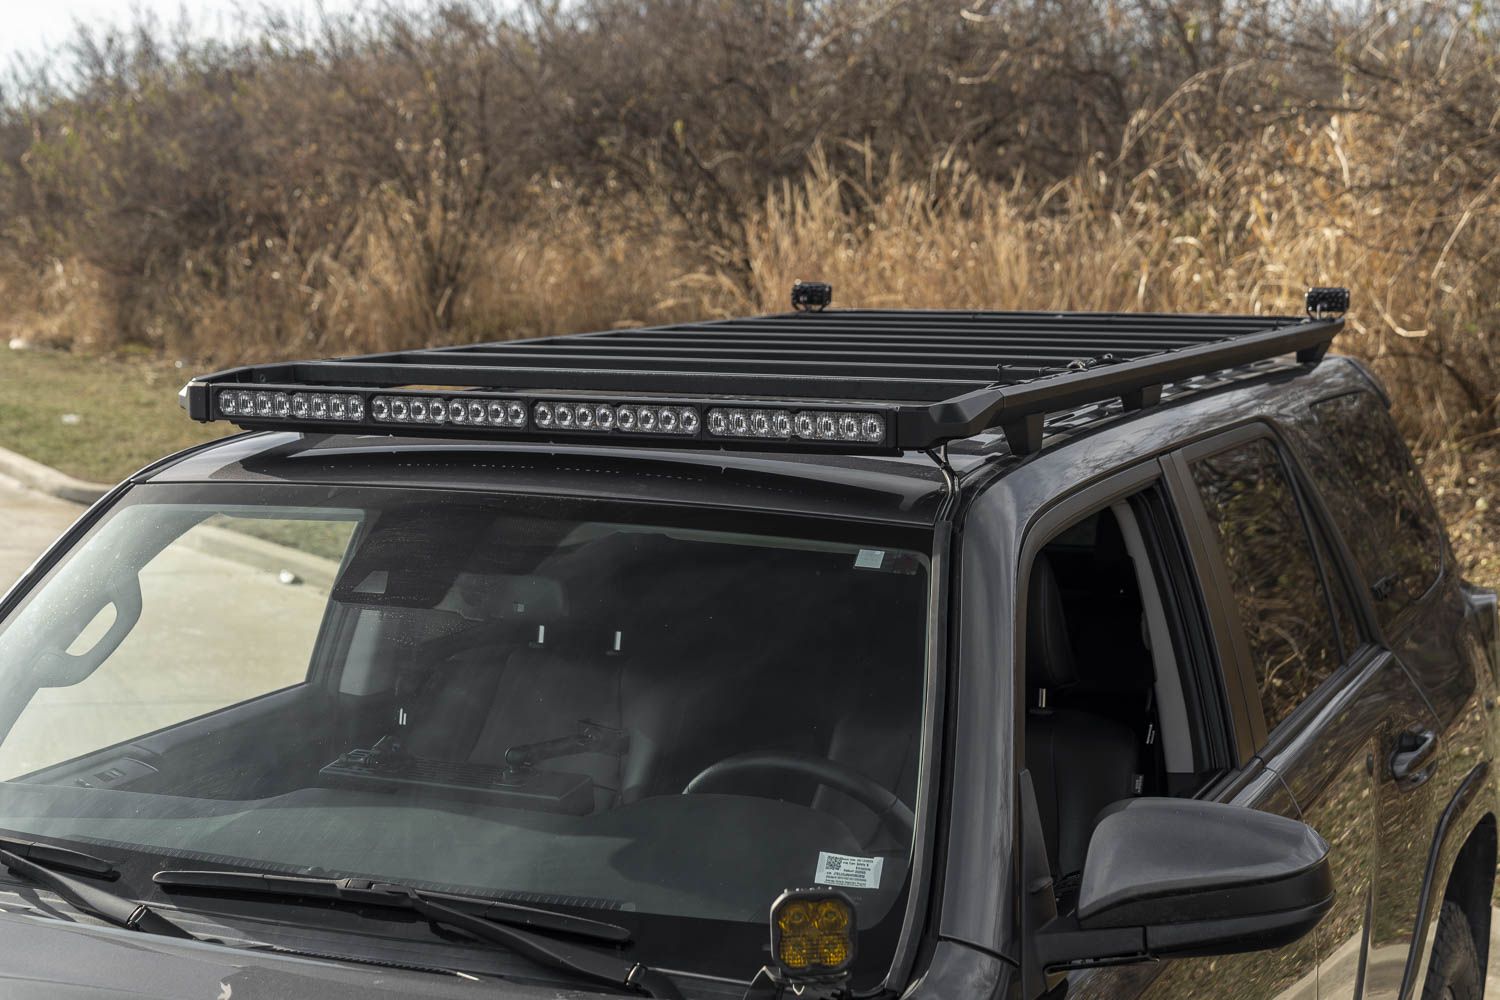
For roof lighting, DEK is a dedicated rack family. Prinsu/Sherpa CrossLink kits require a compatible rack and adequate wind-deflector width. Universal five- and six-pod bars need a suitable mount and wiring; the vehicle year does not supply those parts.
Rock lights are also universal installations. Choose the correct White, single-colour or RGBW kit and pod count, then plan where each cable can be protected from heat, suspension movement and sharp edges.
Separate appearance, signalling and reverse visibility
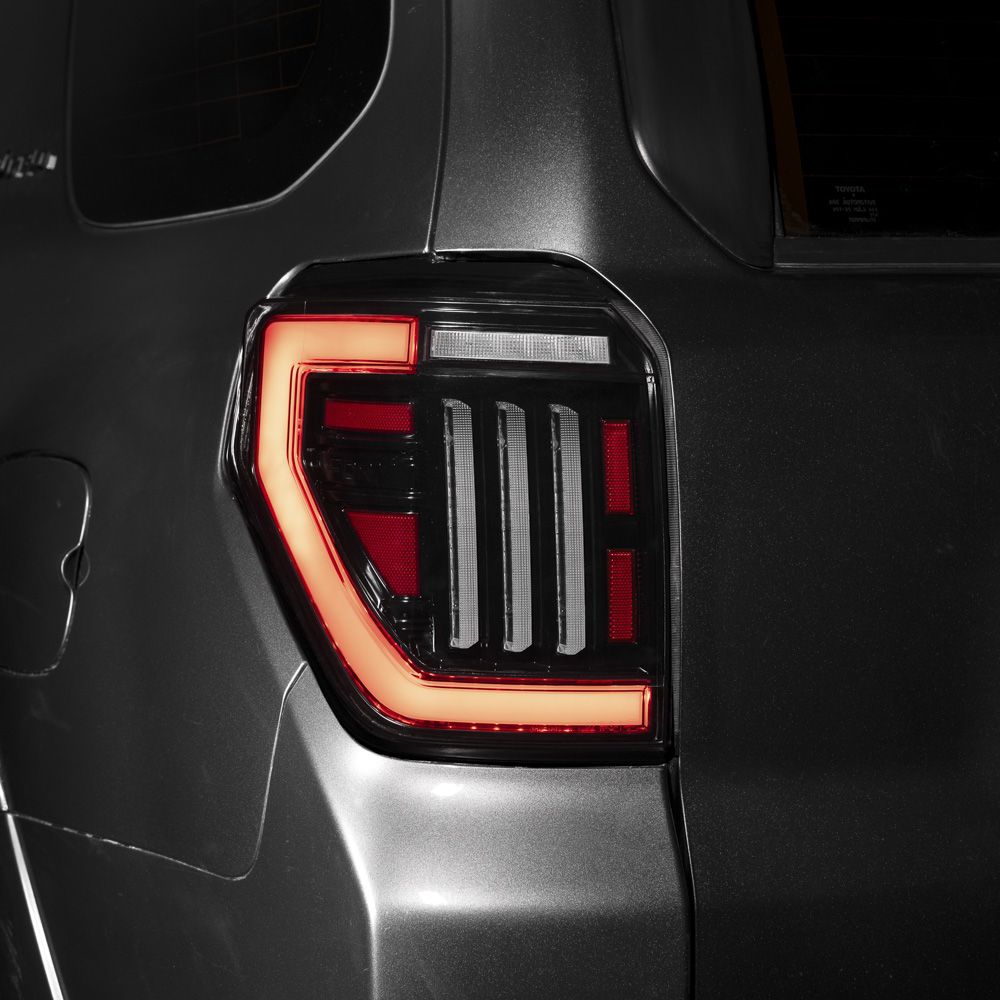
FORM tail lights and Morimoto LF738 Red or LF739 Smoked replace the complete pair. Follow their connector and startup/sequential setup instructions rather than transferring settings between brands.
Tail as Turn is a module route for USDM factory tail lamps, not a replacement housing. Its Stage 2 XPR backup-bulb option excludes TRD Pro and TRD Off Road; that package restriction does not remove the separate modules-only choice.
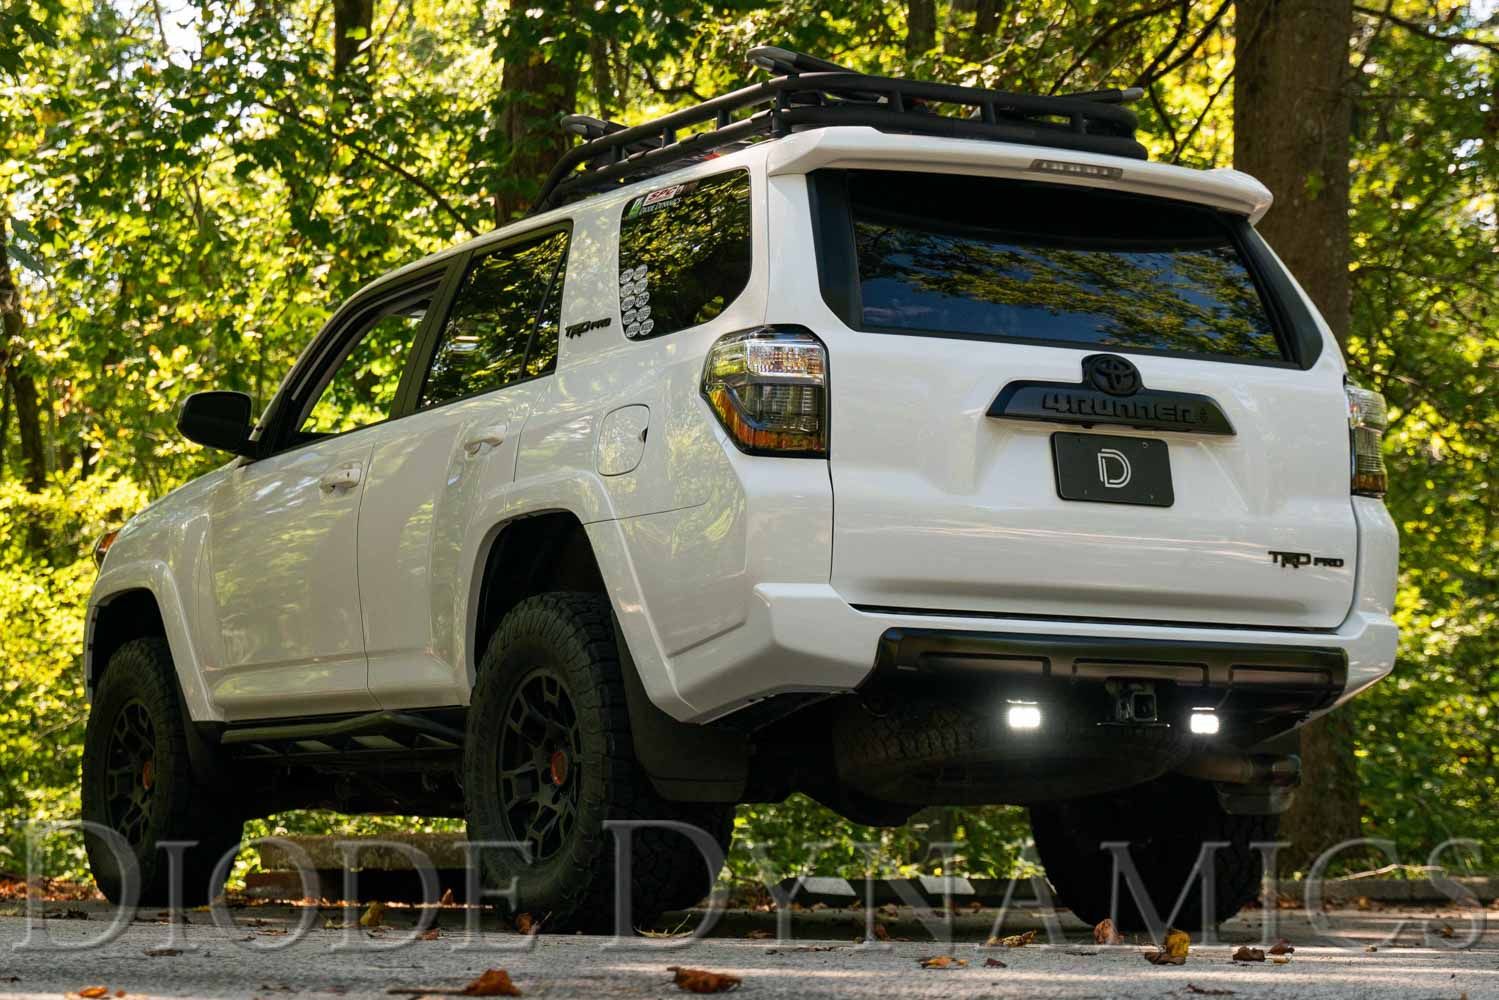
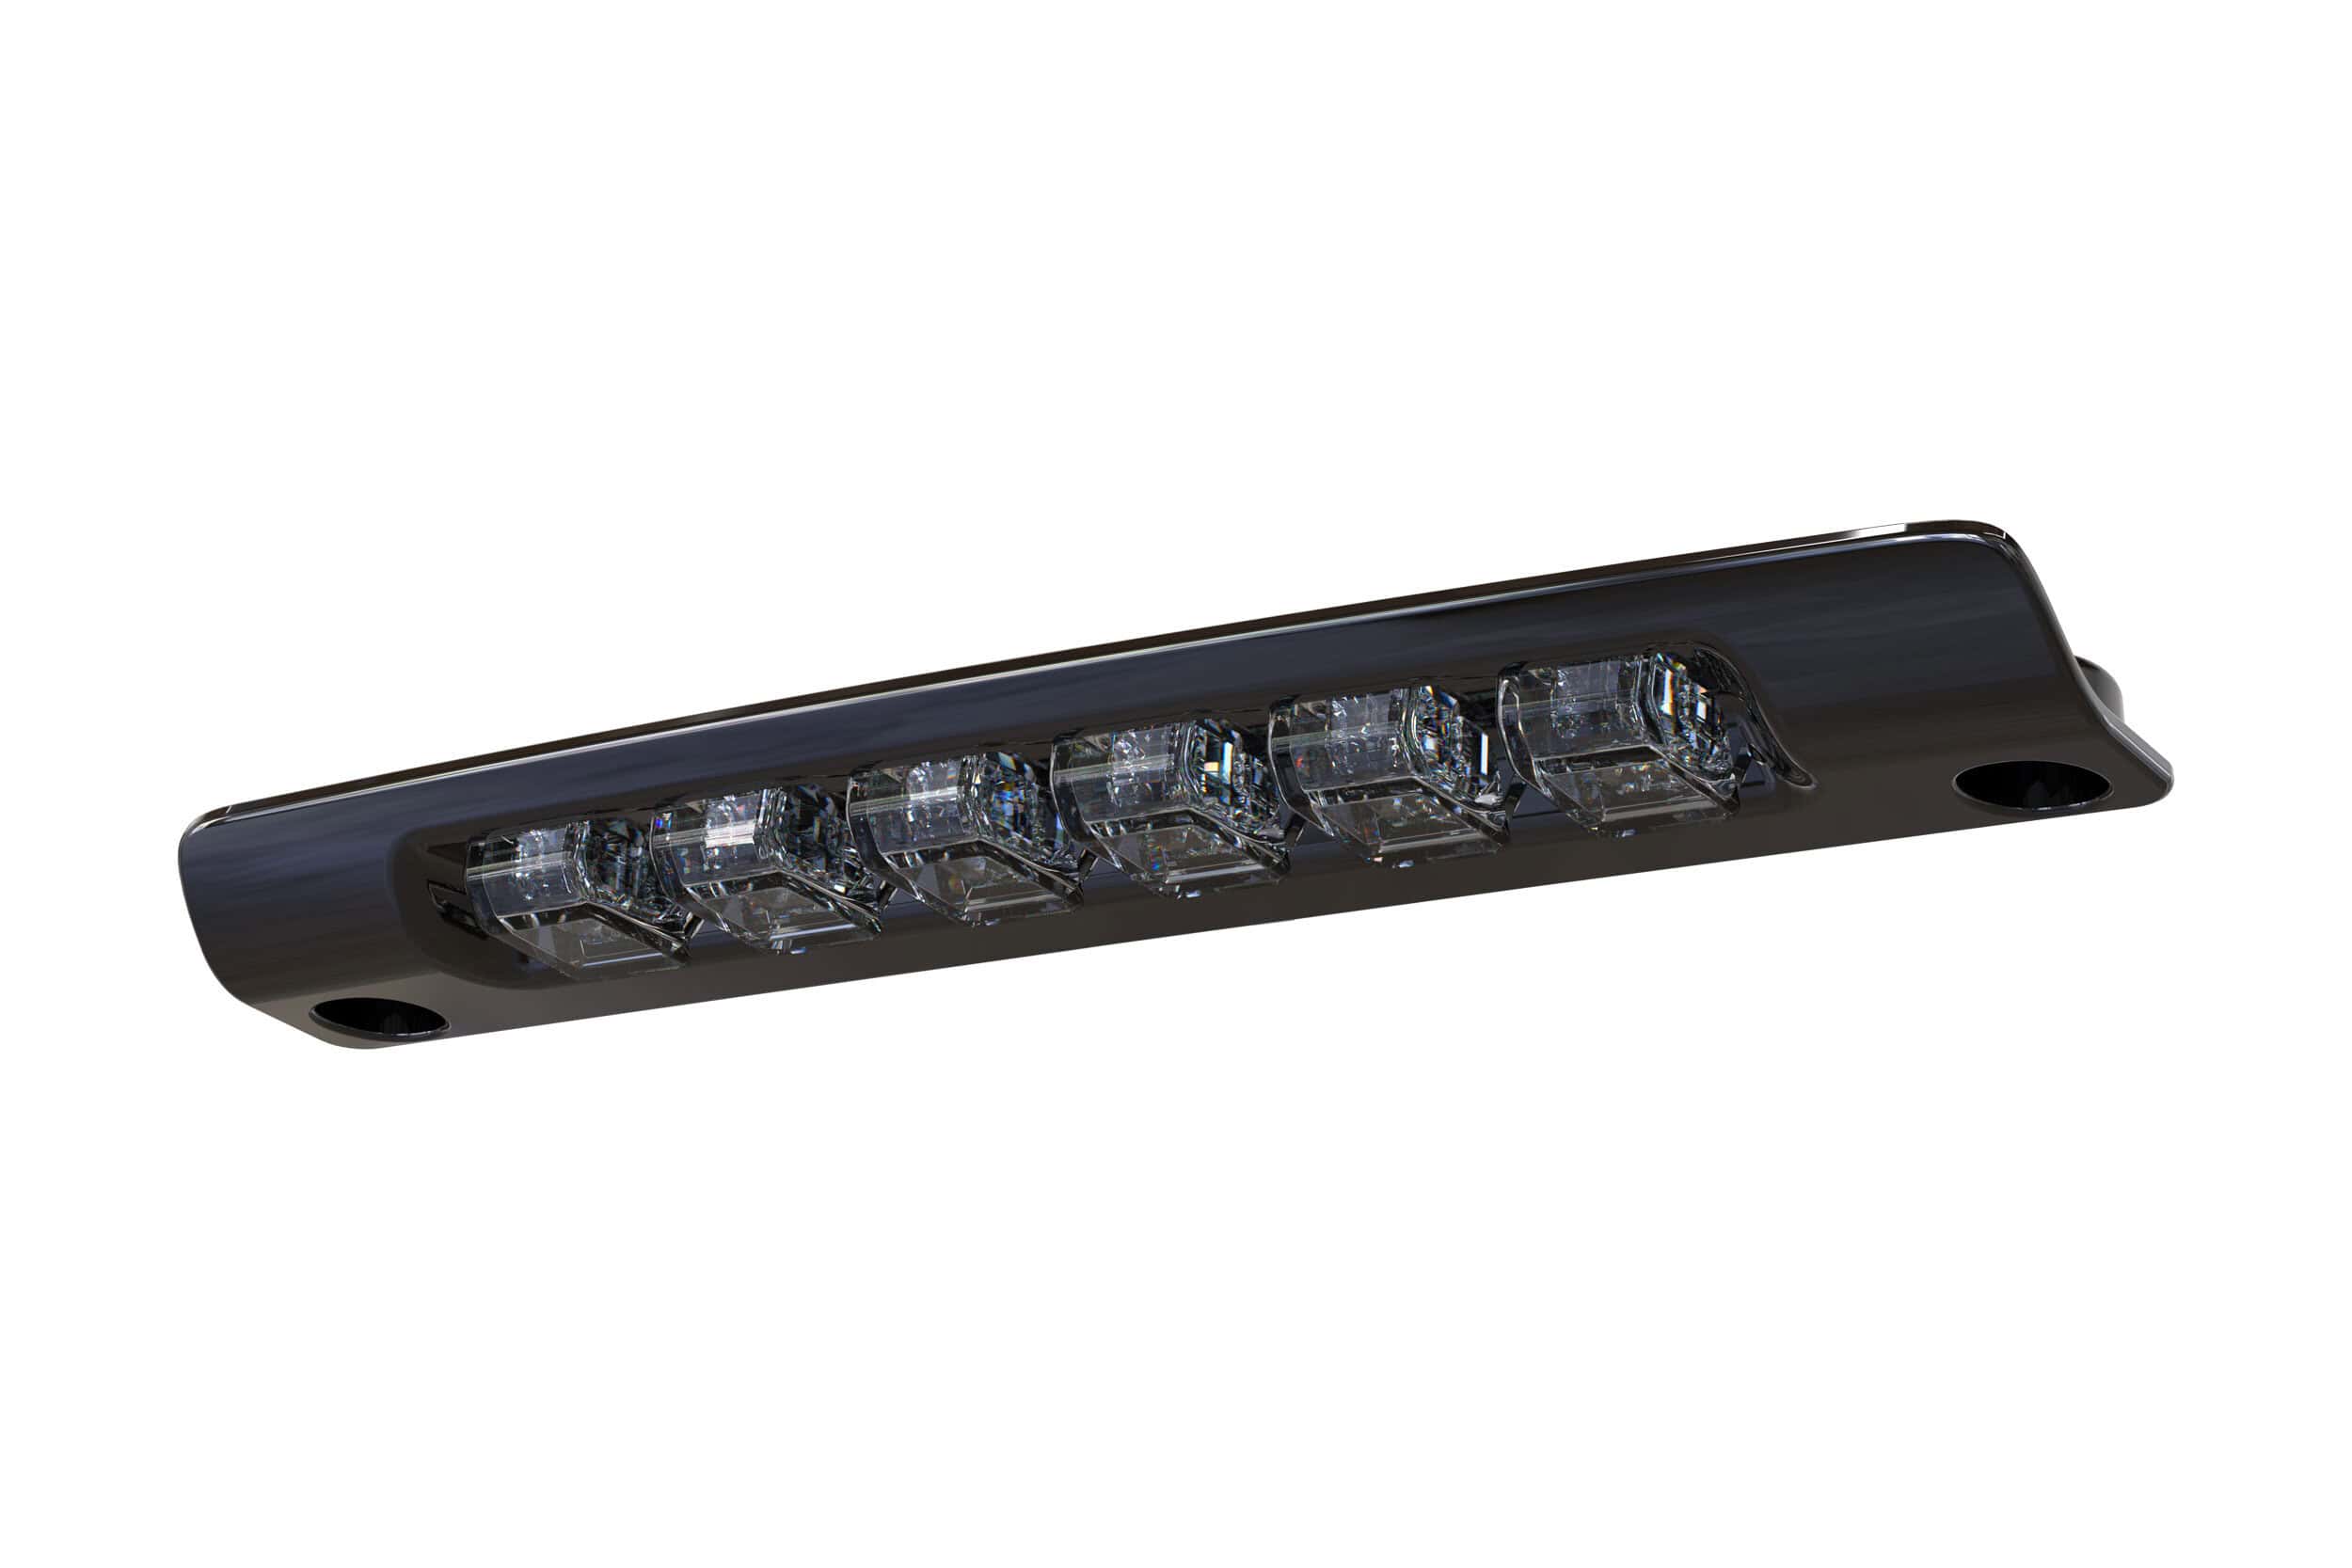
For more rear work light, compare the dedicated reverse kit, vehicle-specific harness, HitchMount and Boost Bar. The hitch solution needs a compatible open-back receiver and supported connector with the original tail lamps retained. BoostBar wiring depends on whether the vehicle has a supported Morimoto output or a tapped connection.
Smaller assembly upgrades include FORM plate lights and FORM mirror lights. The mirror pair requires factory mirror turn-signal lamps; it does not add that equipment to an unlit mirror.
Match the socket and the quantity
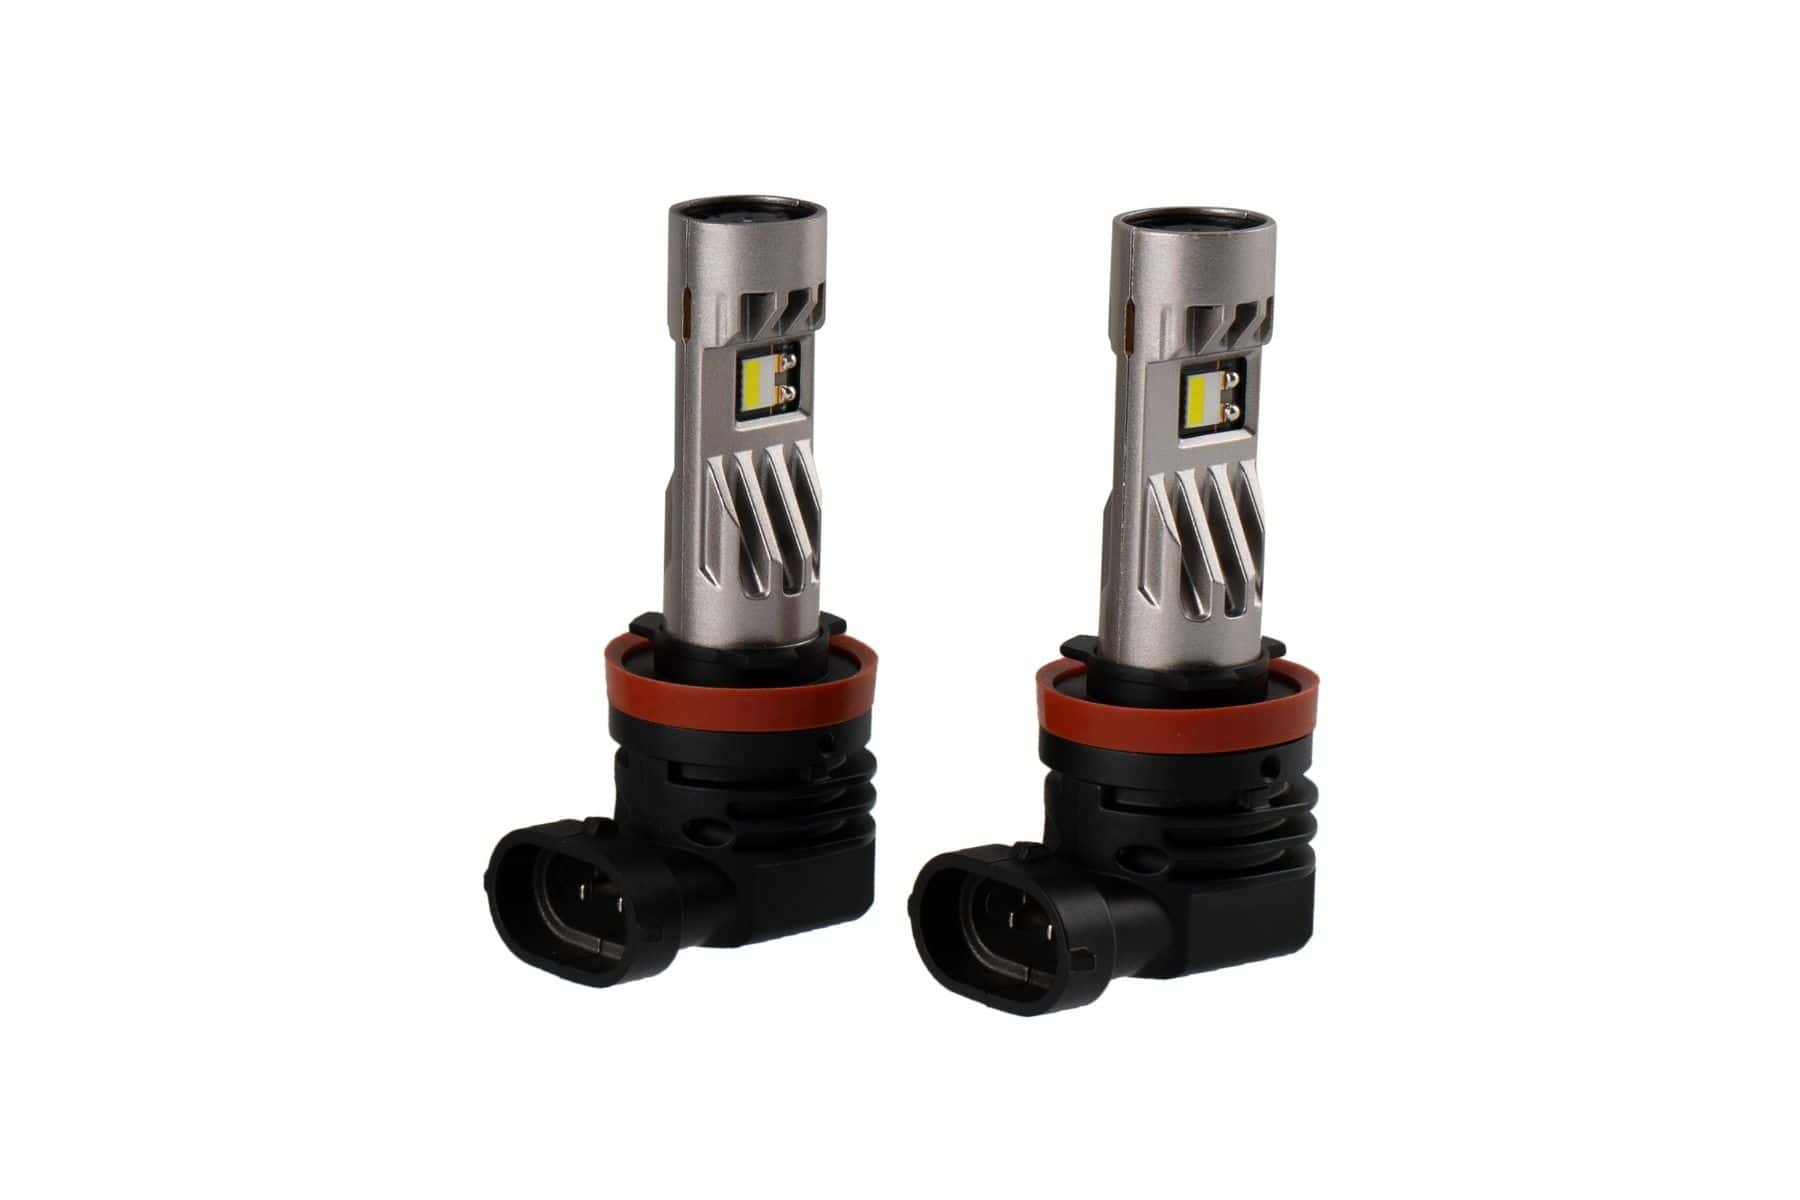
H11 low-beam bulbs apply to the 2014–2020 halogen lamps. The matched 9005 high-beam/anti-flicker package also requires a halogen high-beam socket: it is not for factory LED-high equipment. In its supported DRL application, the LED runs at full brightness.
For smaller lamps, check the position as well as the bulb size:
- Backup: the source lists a 921 pair.
- Map, vanity and door: match the listed 194 option or exact supported board; do not copy Tacoma vanity sizing.
- Dome: a 29 mm festoon is a single bulb.
- Trunk: the source pair may be two individually sold 31 mm festoons or the specified board option. Check the cart quantity.
- Puddle: the current source application stops at 2016.
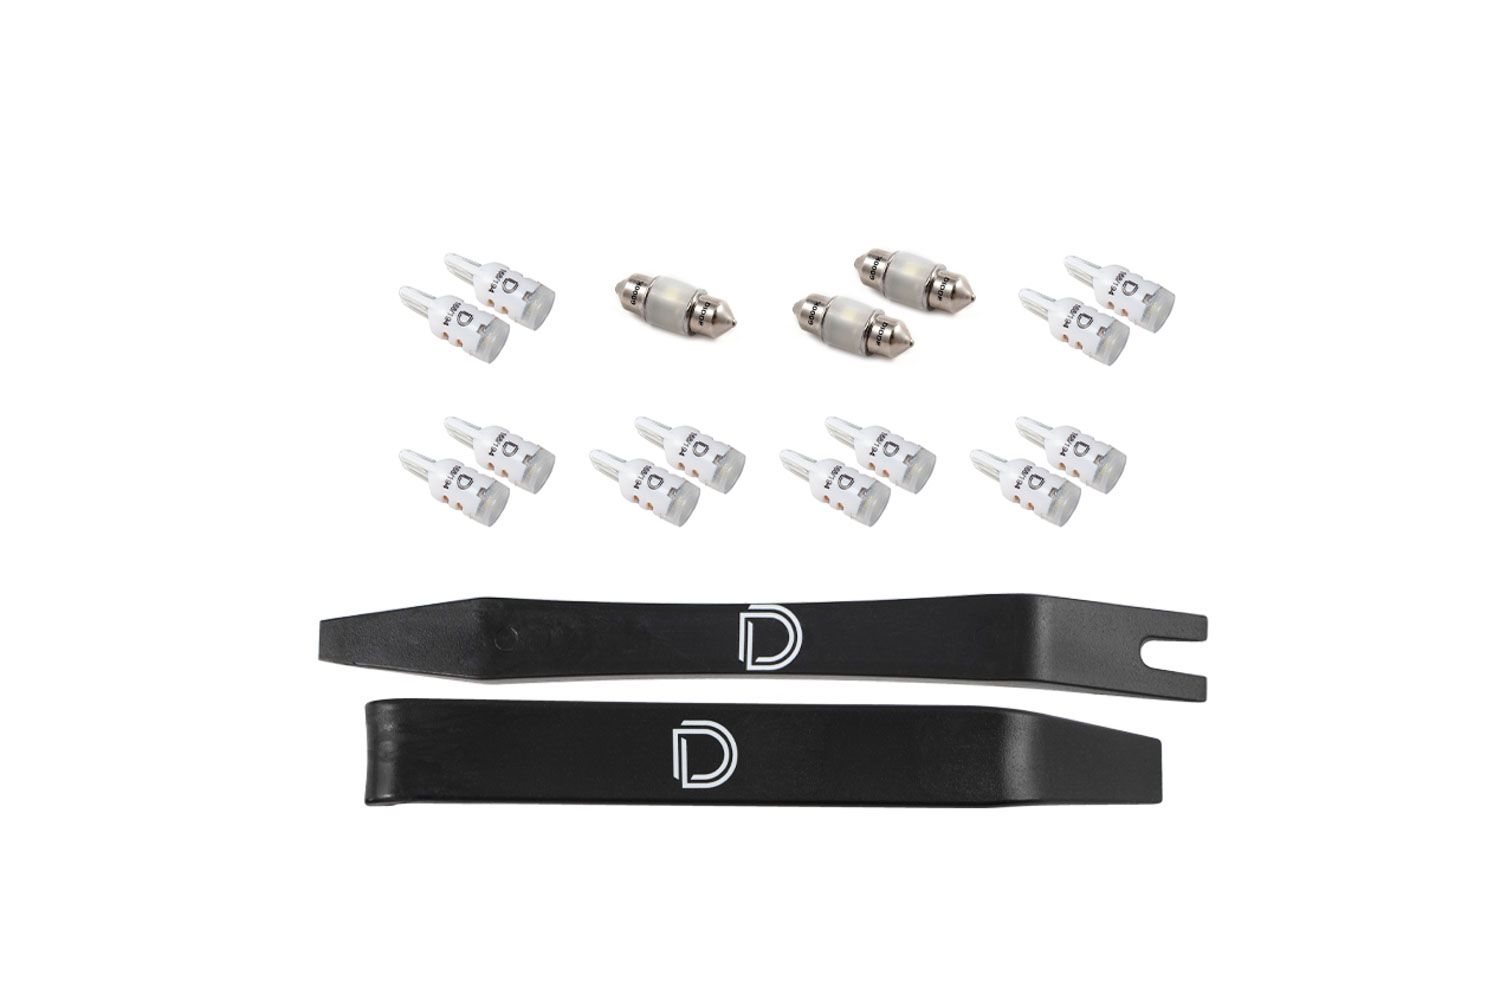
The complete interior kit is an alternative to selecting each location separately. Keep exterior signal colour and function separate from decorative interior choices. For turn signals, follow the exact load and wiring instructions and check normal operation before driving.
Build a short installation plan
- Record the original equipment. Confirm year, trim, factory headlight/fog type and any previous modifications.
- Check every box in the package. Distinguish lamps, brackets, adapters, modules and optional accessories.
- Read the matching illustrated guide. Use its connector positions, fuse route, sealing details and original diagrams.
- Test before reassembly. Check the intended beams, signals, brake/reverse functions and colour settings, then secure the wiring and aim the lamps.
Start with the Evo/Hybrid guide or FORM headlight guide, or use the full 4Runner guide list for the selected kit.