

2014–2024 4Runner FORM headlight installation
BTS INSTALLATION GUIDE · FL0017
Follow the FL0017 removal, DRL-colour selection and factory-equipment wiring steps before testing and aiming your new headlight pair.
Before you begin
Use a plastic trim tool, ratchet, 10 mm socket, needle-nose pliers and Phillips screwdriver. Keep removed hardware organised by location. Match the original lighting equipment to the adapter branch below; reconnect the original sensors and fog lights before the final test.
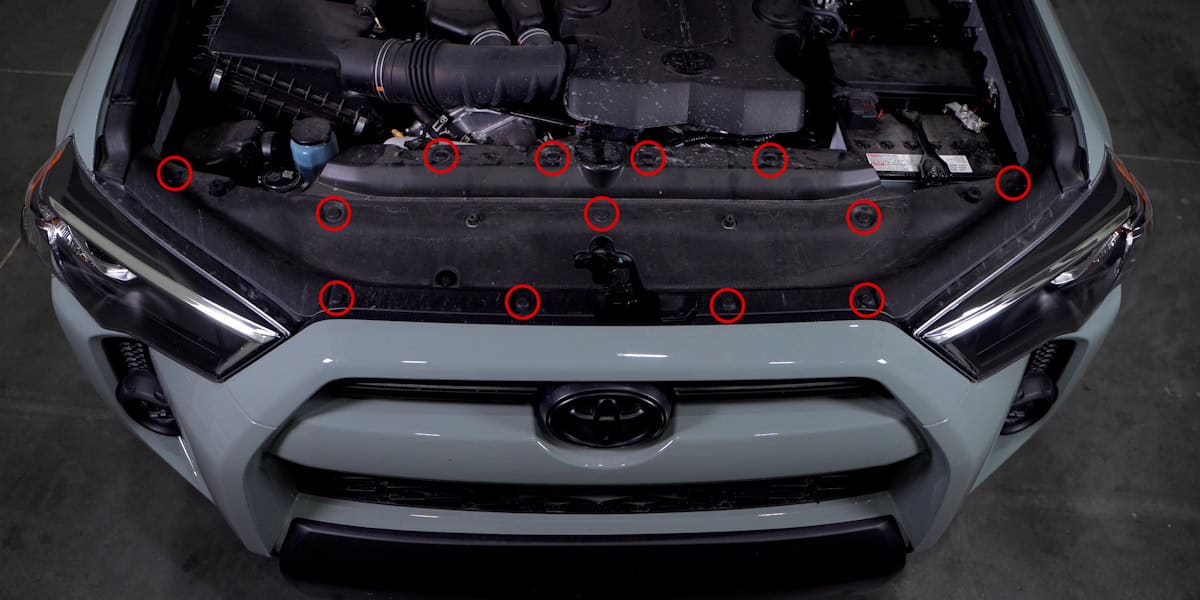
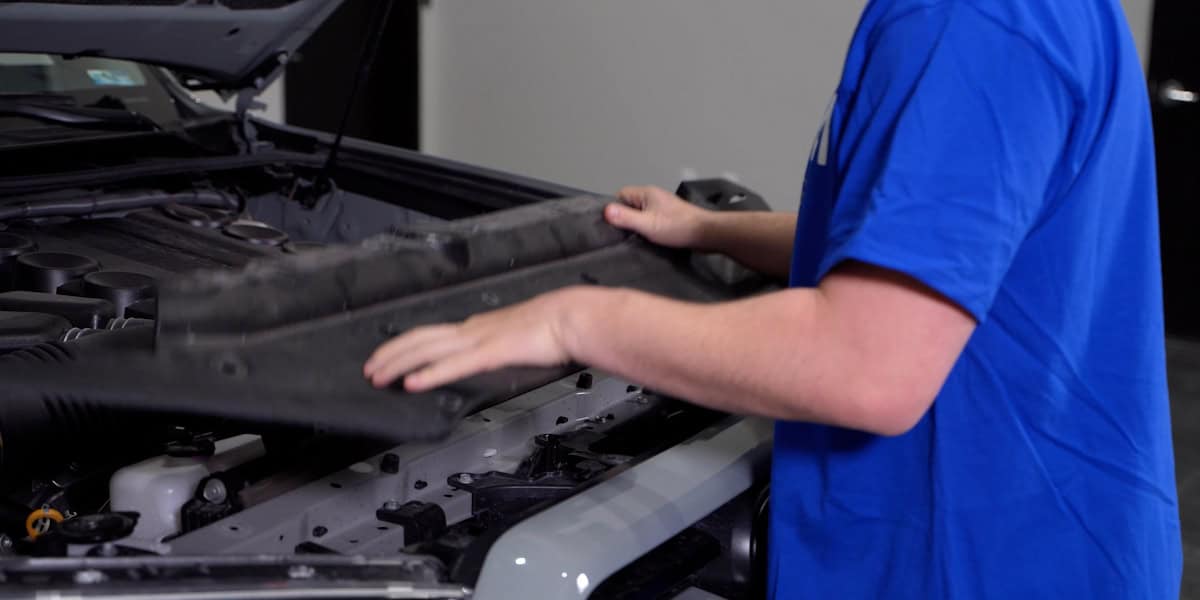
1. Remove the radiator cover
Release the thirteen plastic clips with a trim tool, then lift the cover clear.
2. Release the grille and bumper
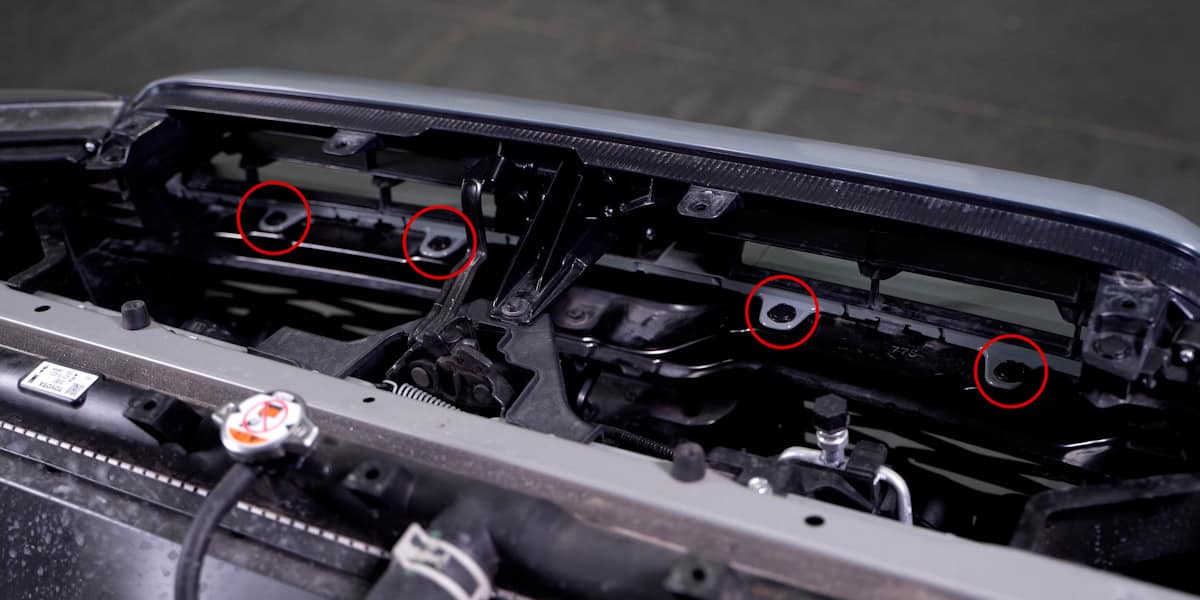
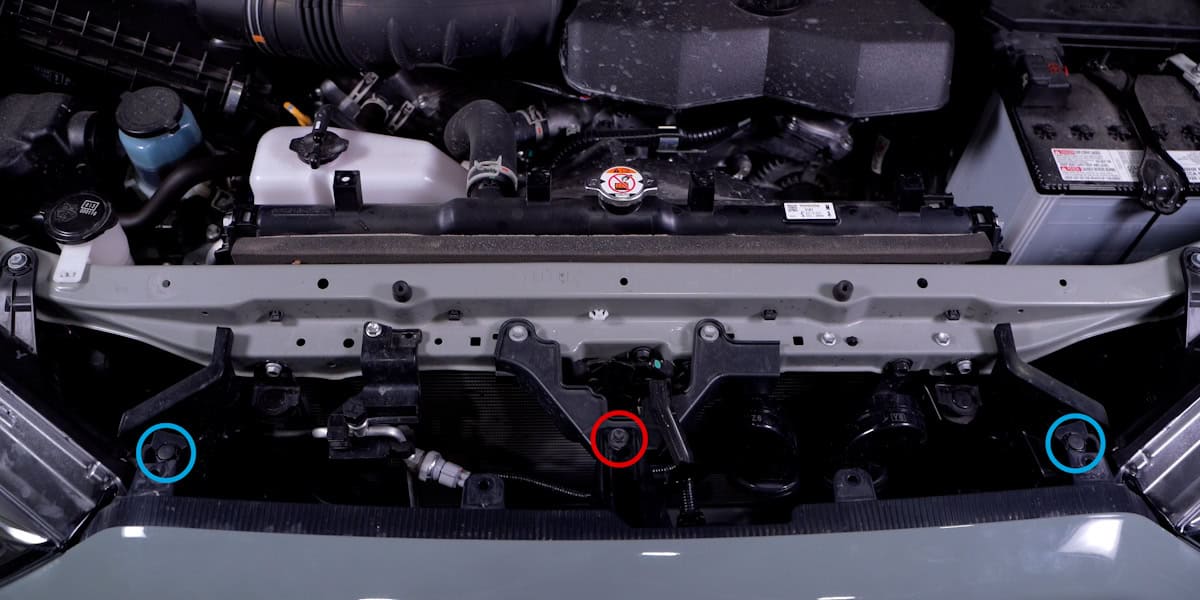
- Remove the four plastic clips behind the upper grille. Remove the central 10 mm bolt and the two clips along its top.
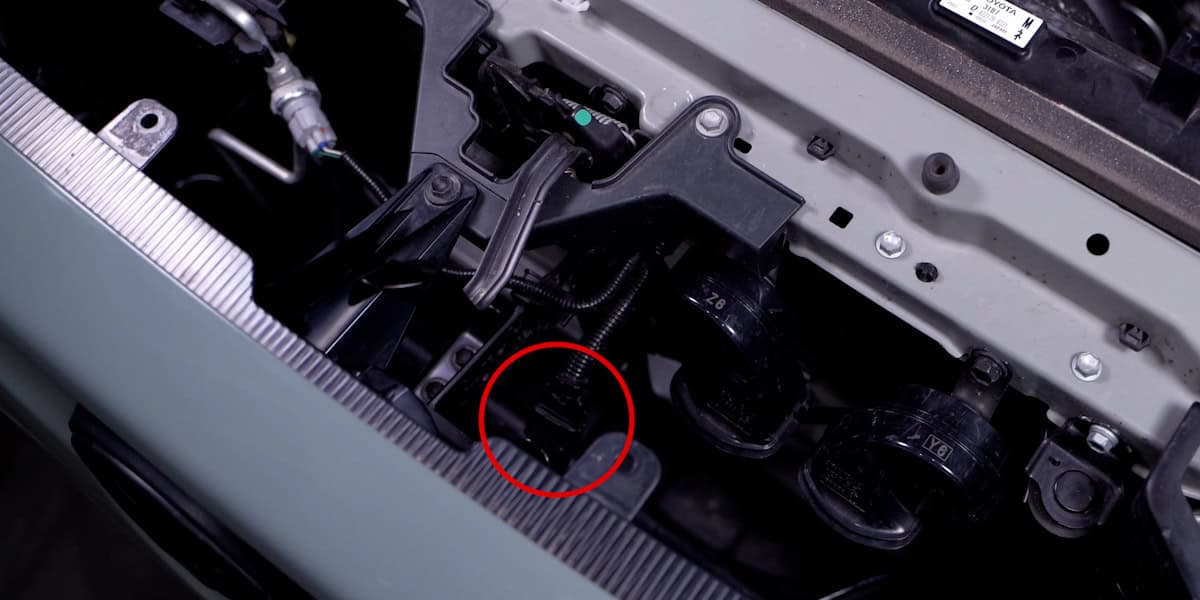
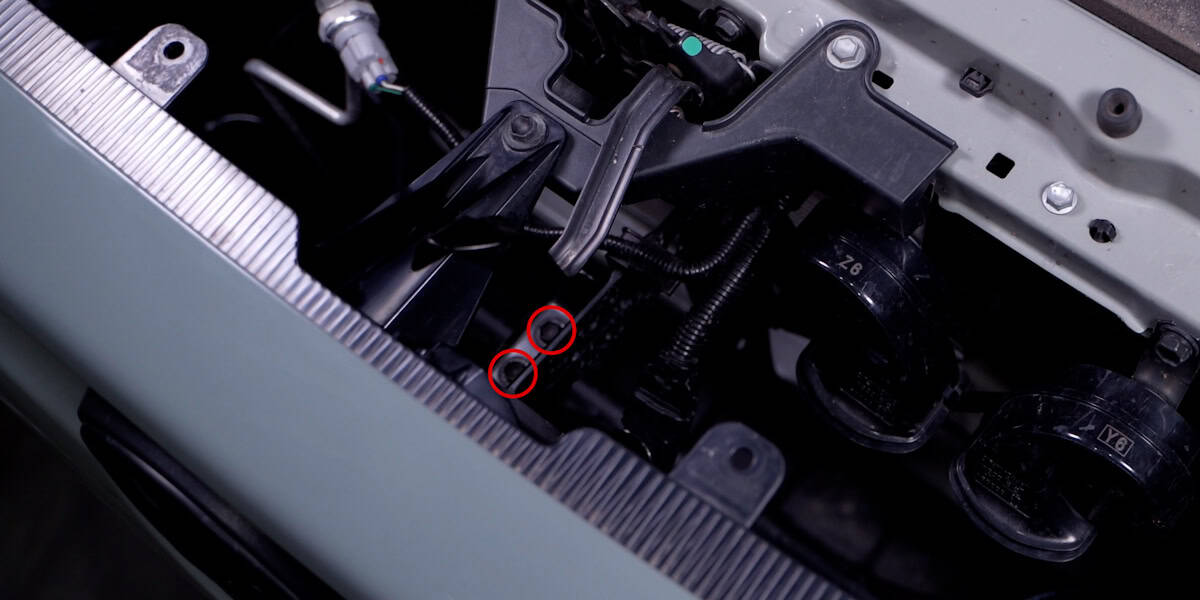
- If Toyota Safety Sense is fitted, disconnect its grille harness and remove the two 10 mm sensor bolts beneath the hood latch. Skip this sensor step if it is not fitted.
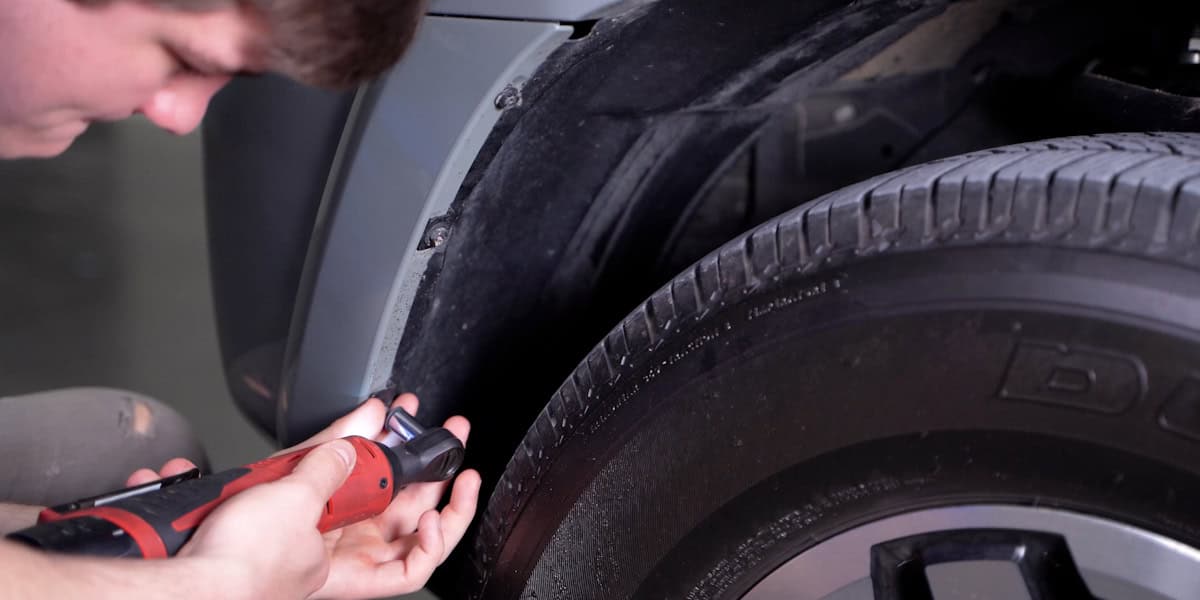
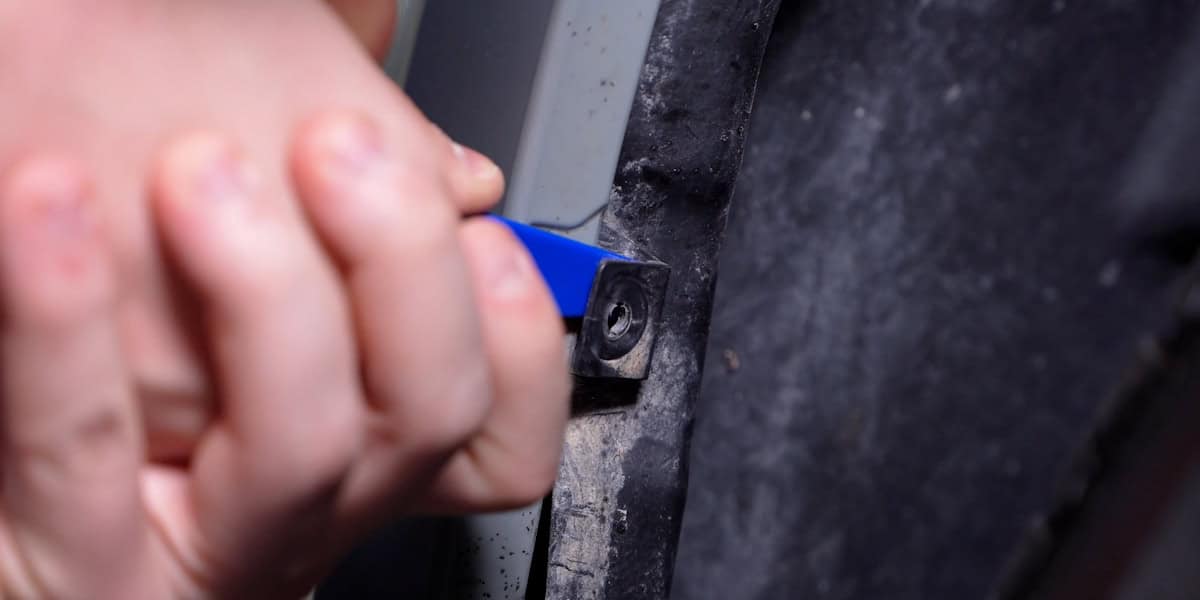
- Remove the three wheel-well 10 mm bolts and two liner clip nuts. Peel the liner back and disconnect the fog-light harness; repeat on the other side.
- Remove the six 10 mm bolts along the underside of the bumper.
- On 2020–2024 vehicles, disconnect the extra driver-side connector behind the liner by depressing its lock and rotating the white collar.
- Release the bumper at each outer corner, then work gradually inward until it comes free.
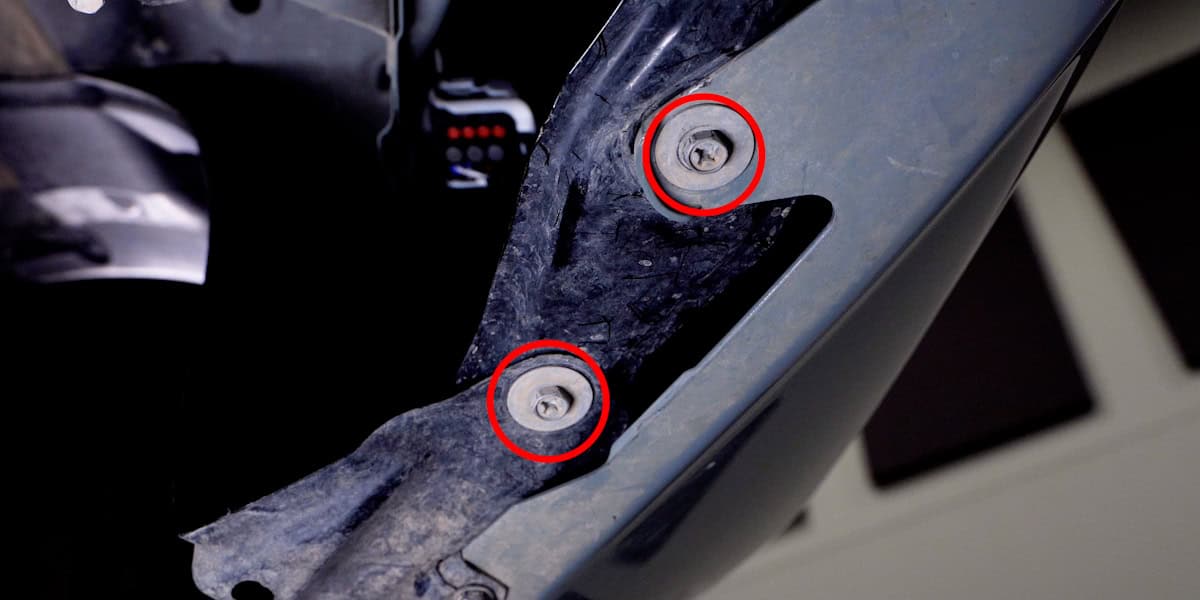
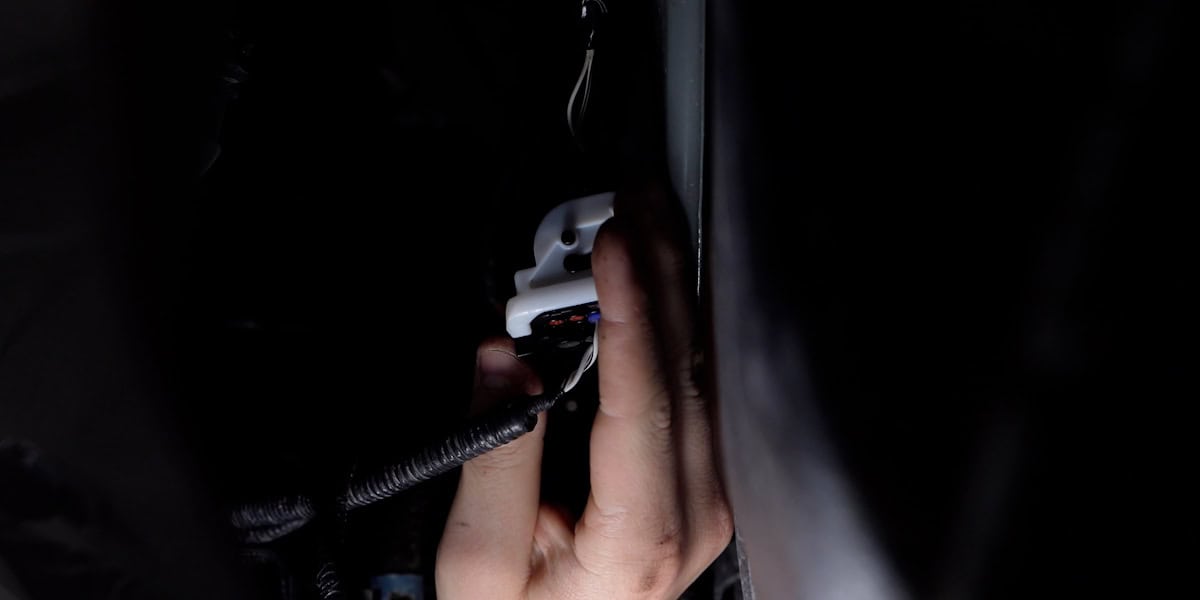
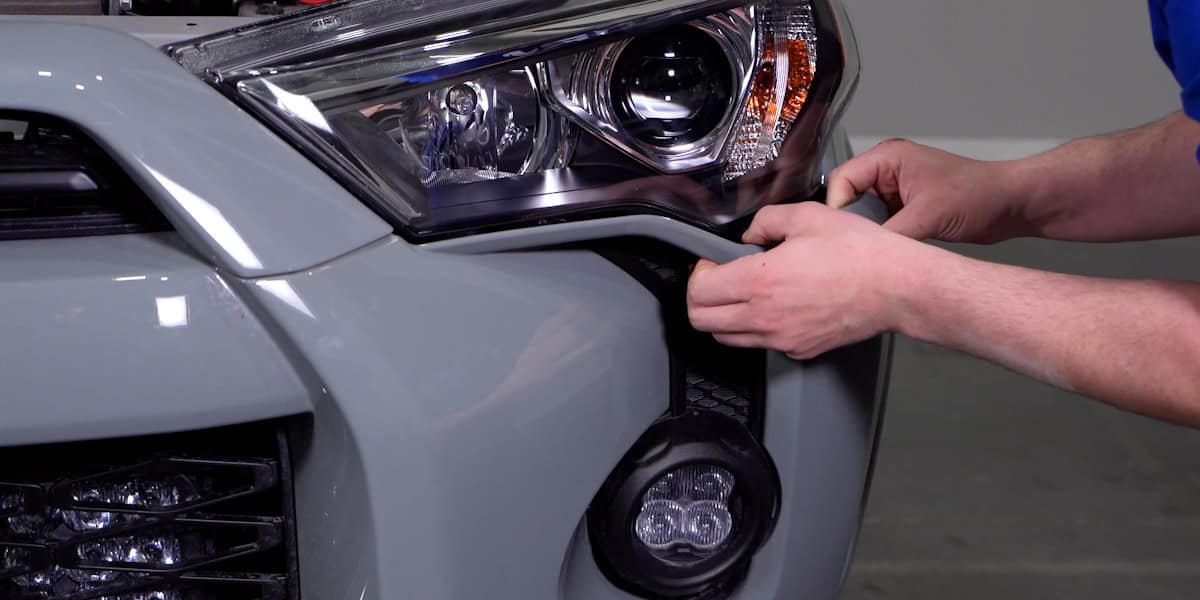
3. Remove both factory lamps
Pull the plastic hood seal back to release its clips. Remove the four headlight bolts: two on top, one on the inside and one below. Disconnect the factory harnesses, then lift the lamp out. Repeat on the second side.
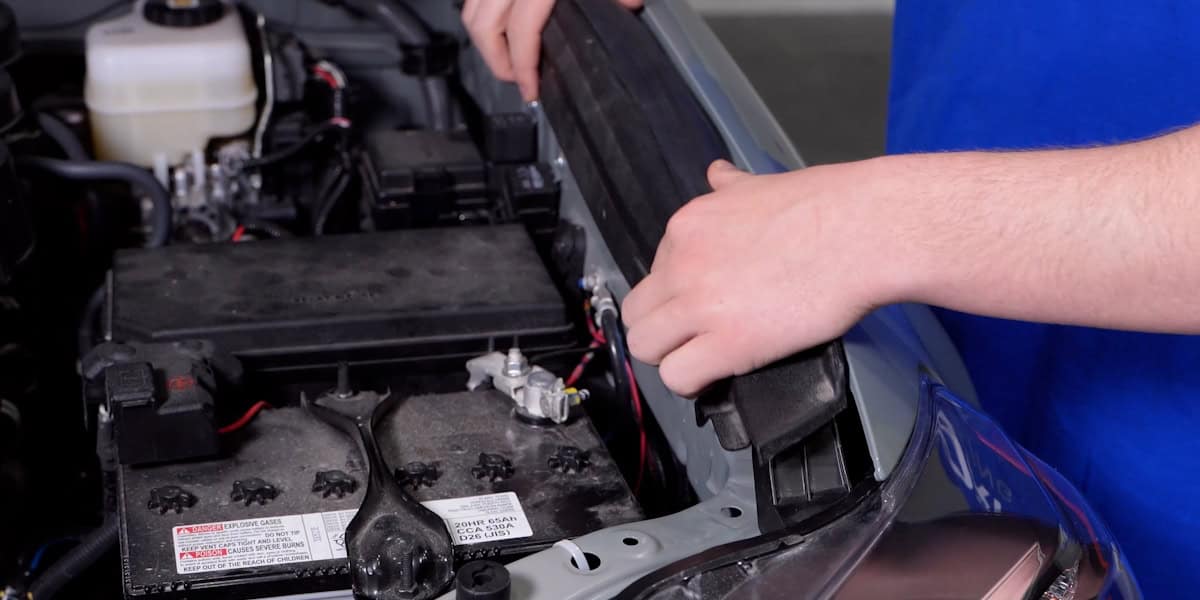
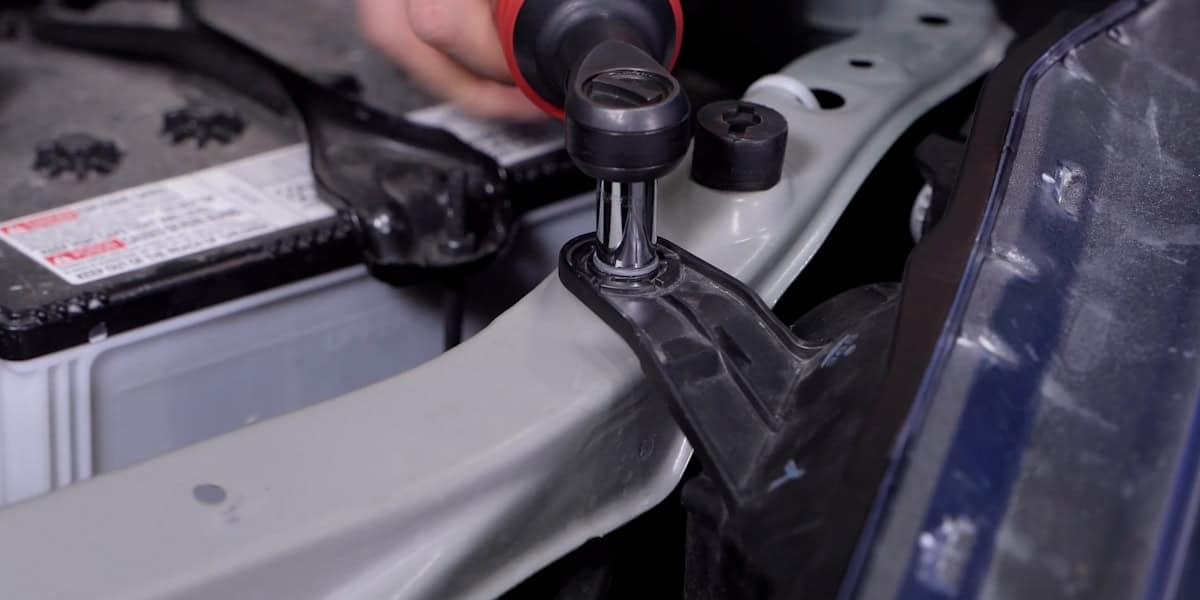
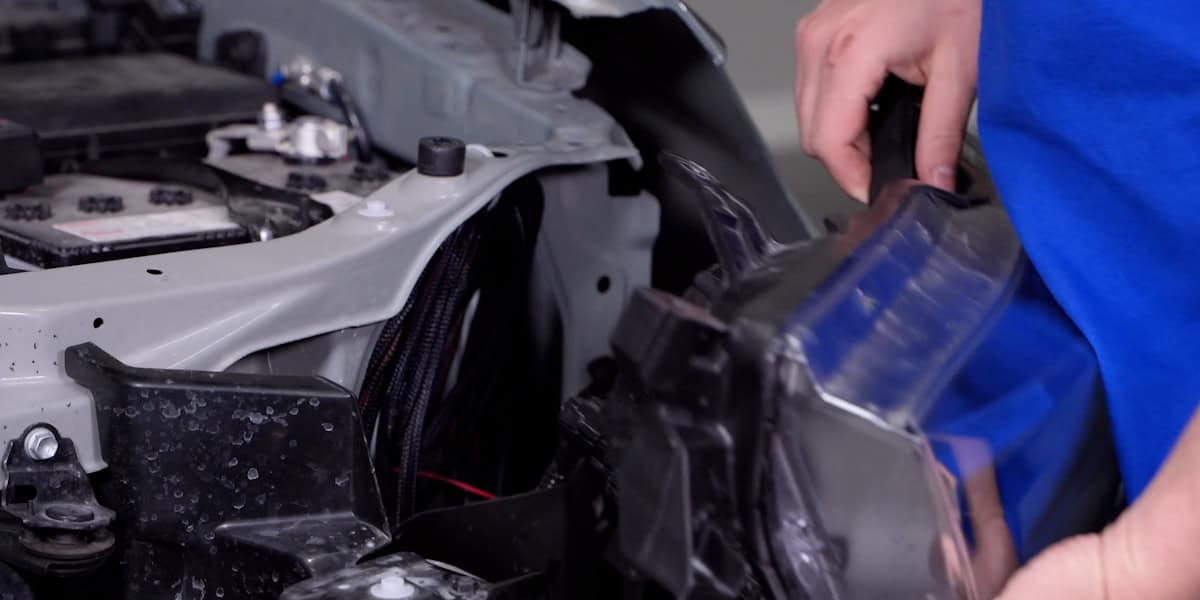
4. Transfer the lower fastener
Remove the three Phillips screws holding the lower plastic fastener to the original headlight. Fit it to the new lamp by reversing those steps, then repeat on the other side.
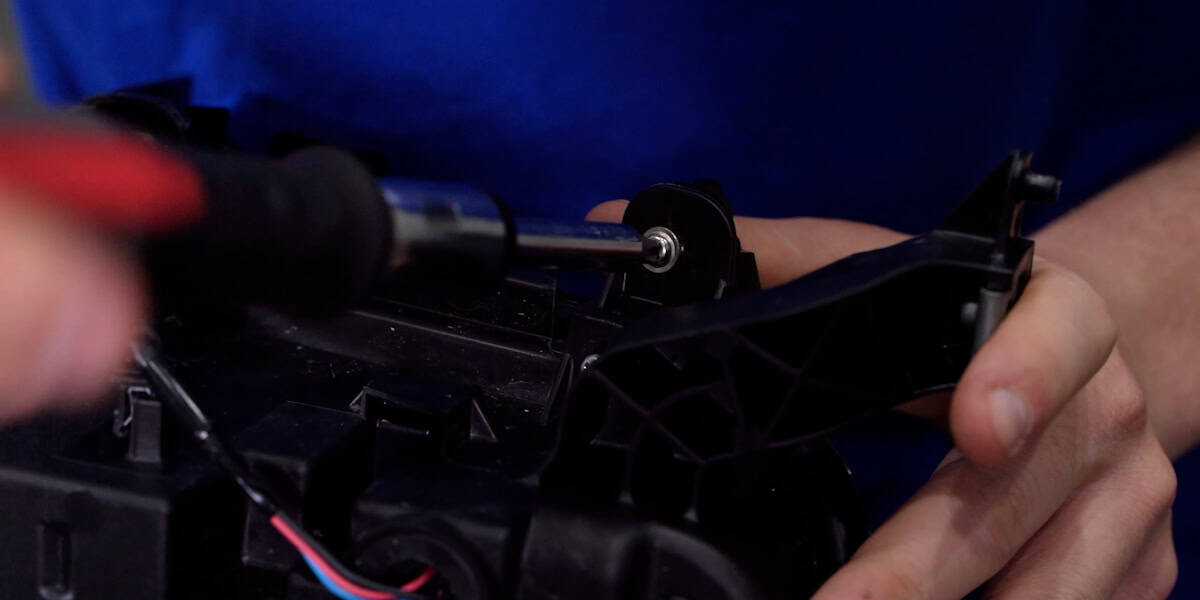
5. Set white or amber DRLs
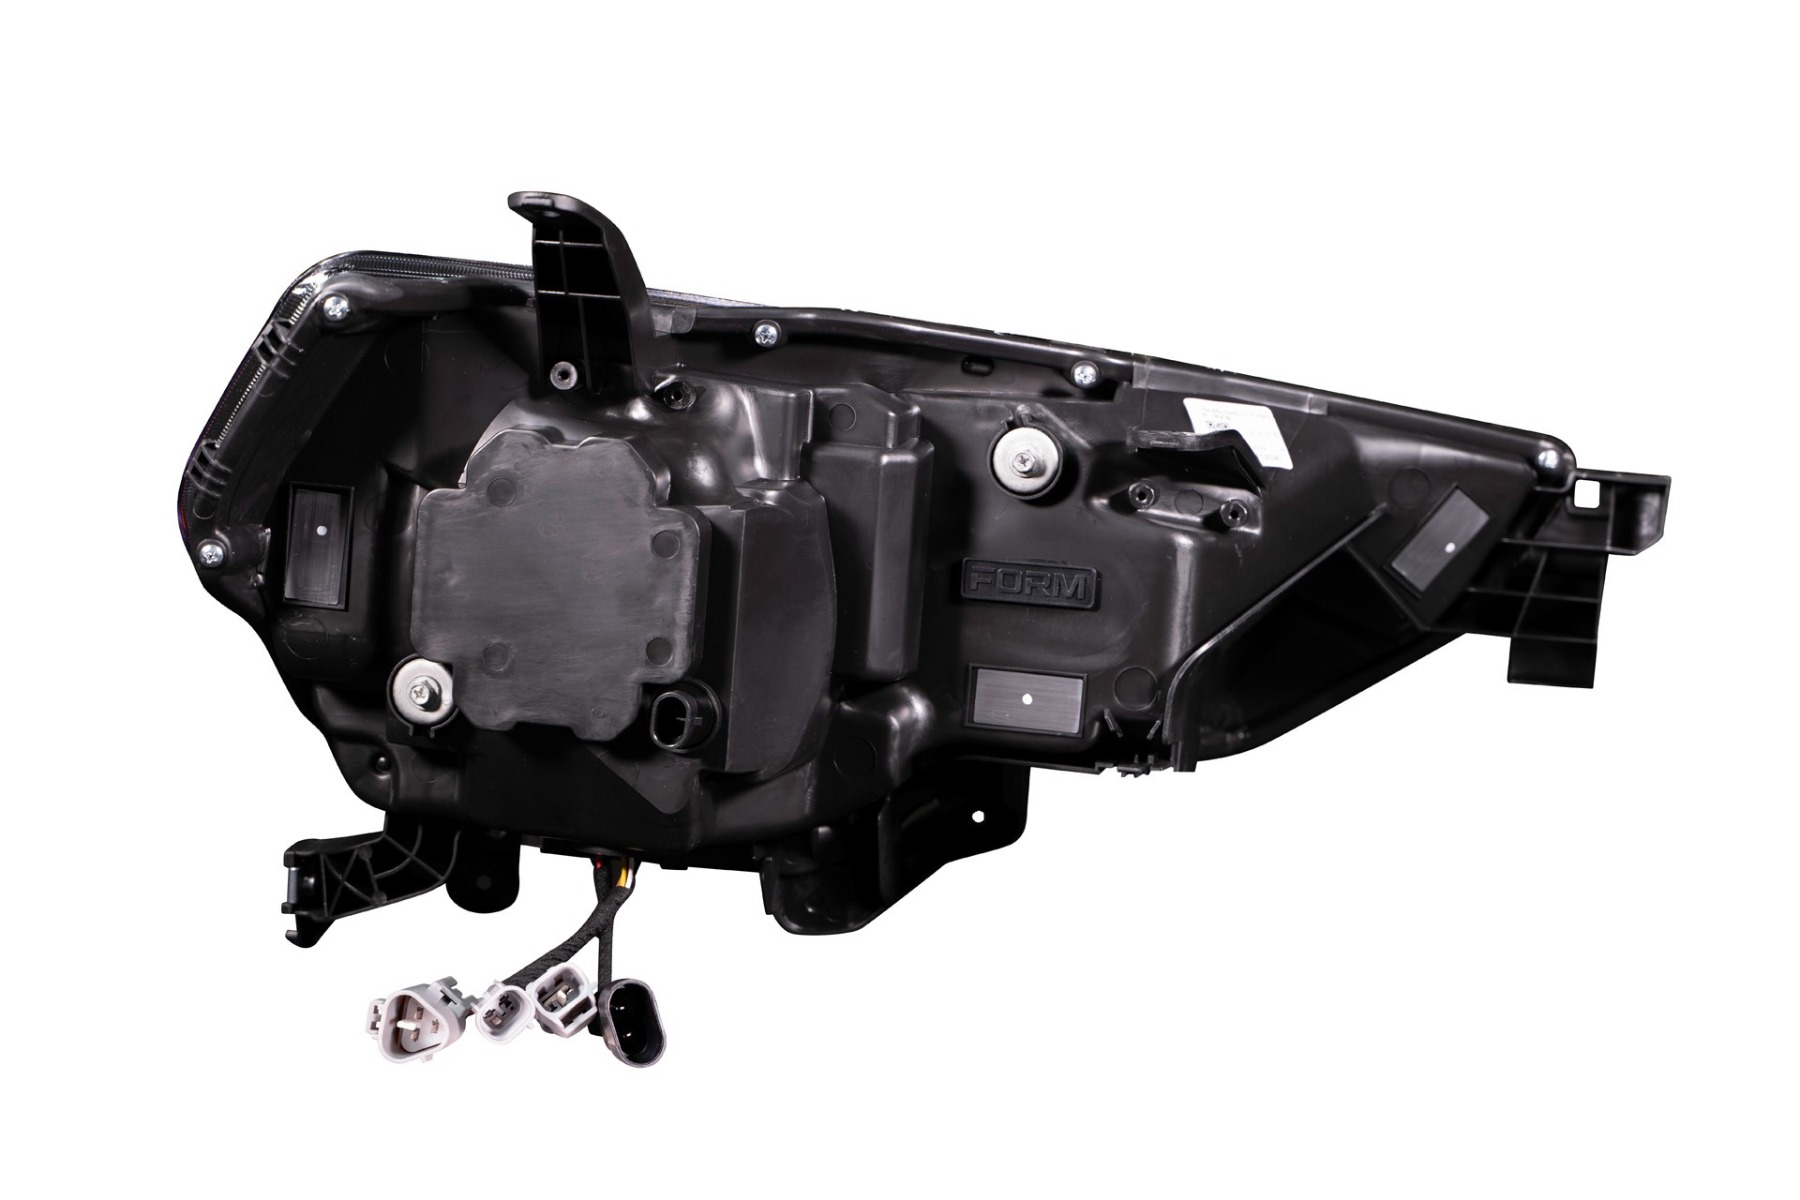
Remove the lower grommet and find the black connector with black and blue wires. Connect the two plugs for white DRLs; leave them disconnected for amber DRLs. Choose the same arrangement on both lamps and reinstall the grommets.
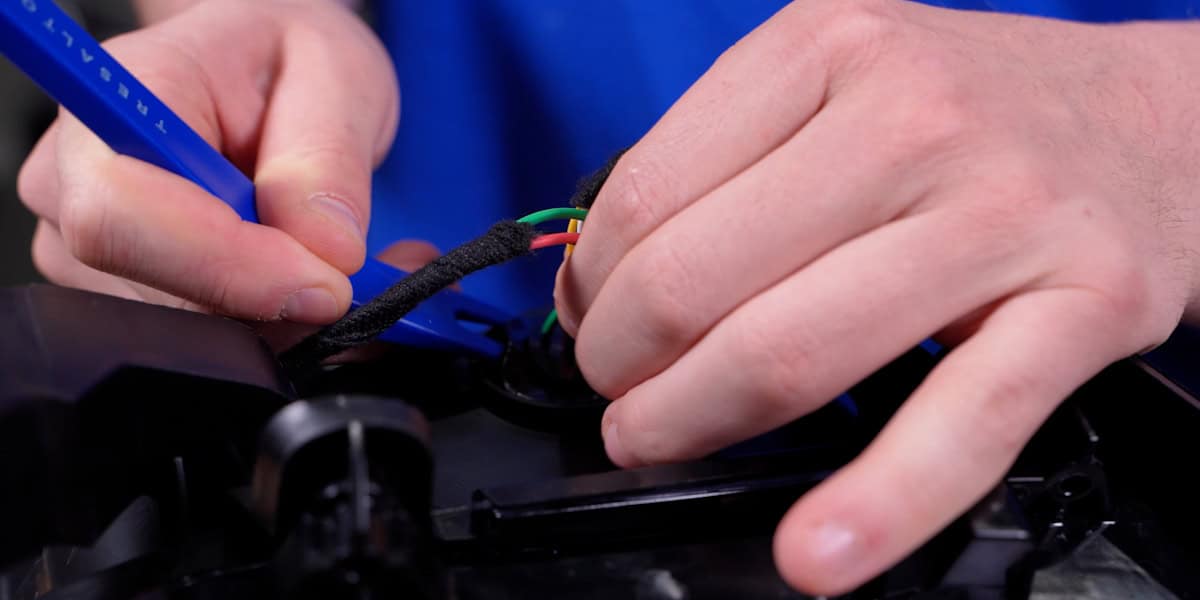
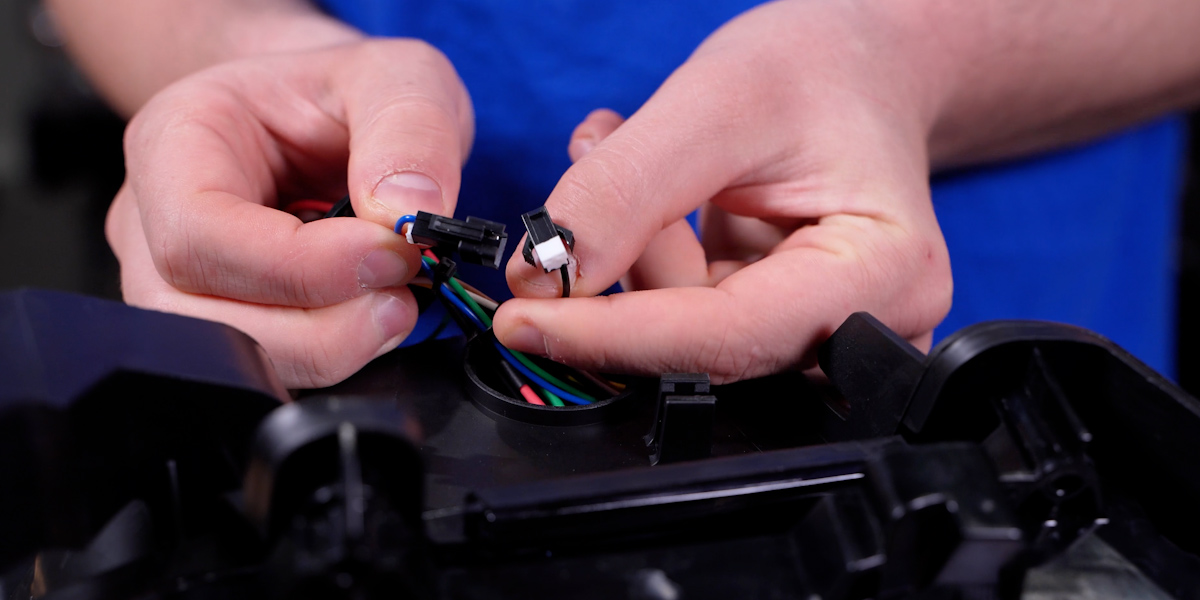
6. Use the included 2021–2024 adapter correctly
FORM’s FL0017 kit includes the adapter needed for 2021–2024 equipment. An incorrect connection can prevent the high beams from working.
- 2021 TRD Offroad or SR5
- Connect the highlighted low-beam plugs to the headlights. Leave the adapter’s 9006 connectors disconnected.
- 2021 Limited, TRD Pro or Nightshade; all 2022–2024
- Connect both the low-beam plugs and the 9006 connectors to each headlight.
- 2014–2020
- The article’s additional adapter step applies to 2021–2024; follow the corresponding original connections for the earlier vehicle.
If your original lamps or connectors differ, confirm the equipment with BTS before connecting the harness.
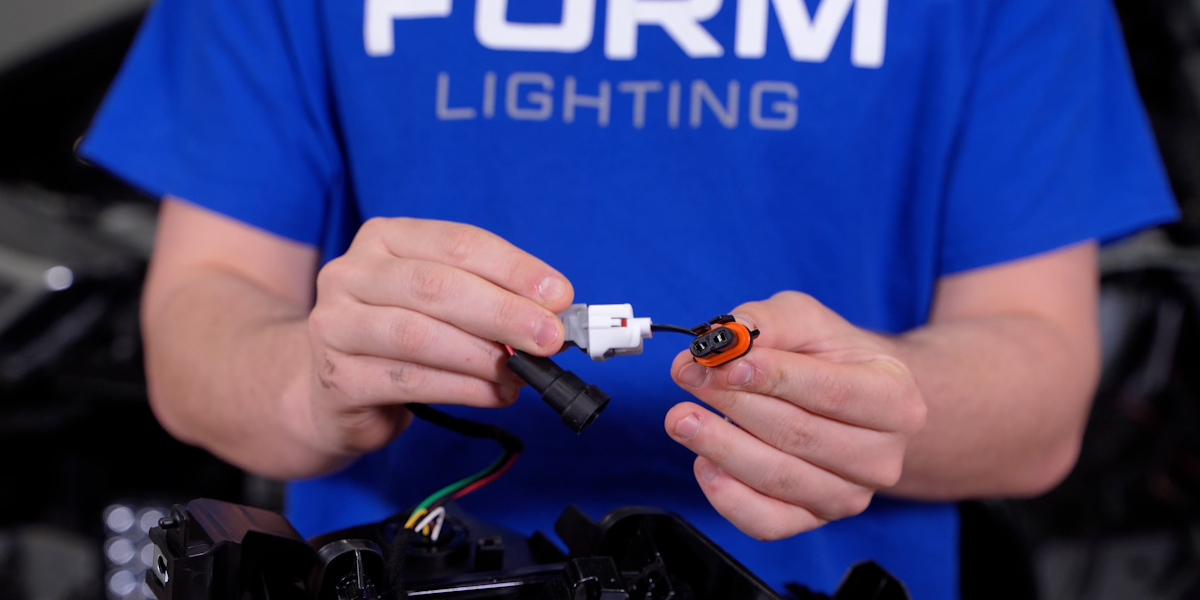
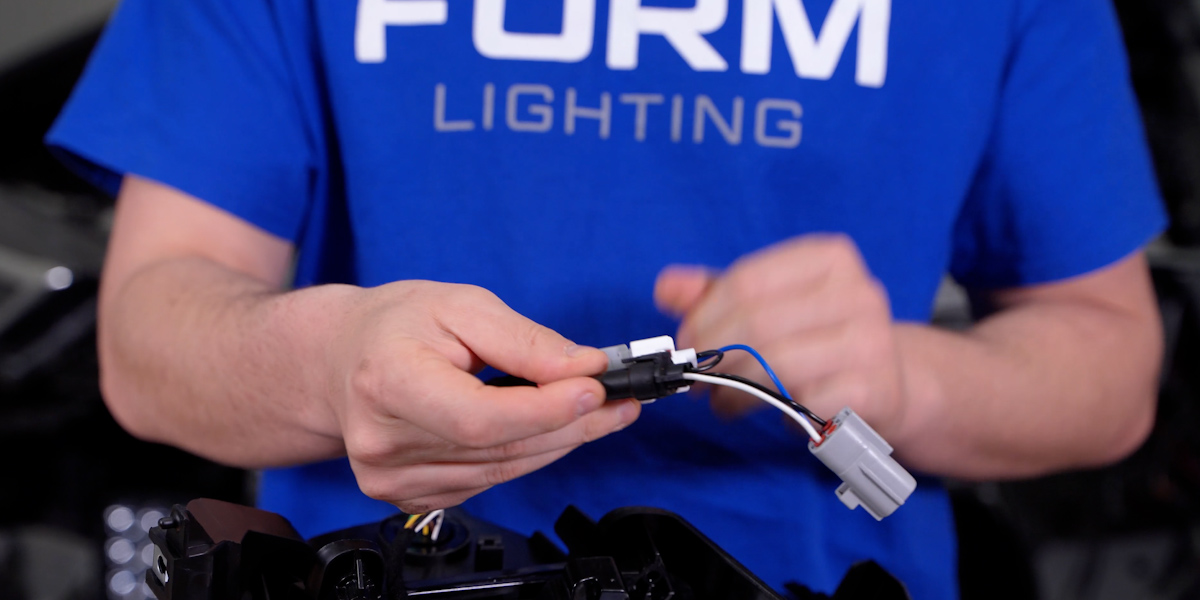
7. Connect the FORM DRL fuse feed
Locate the INJ 10 A injector fuse in the engine-bay fuse box. Remove it and install the included FORM DRL fuse tap as shown. Route its branches to the headlight positions, clear of hot or moving parts. These are the FL0017 instructions; use the wiring procedure supplied for this headlight set.
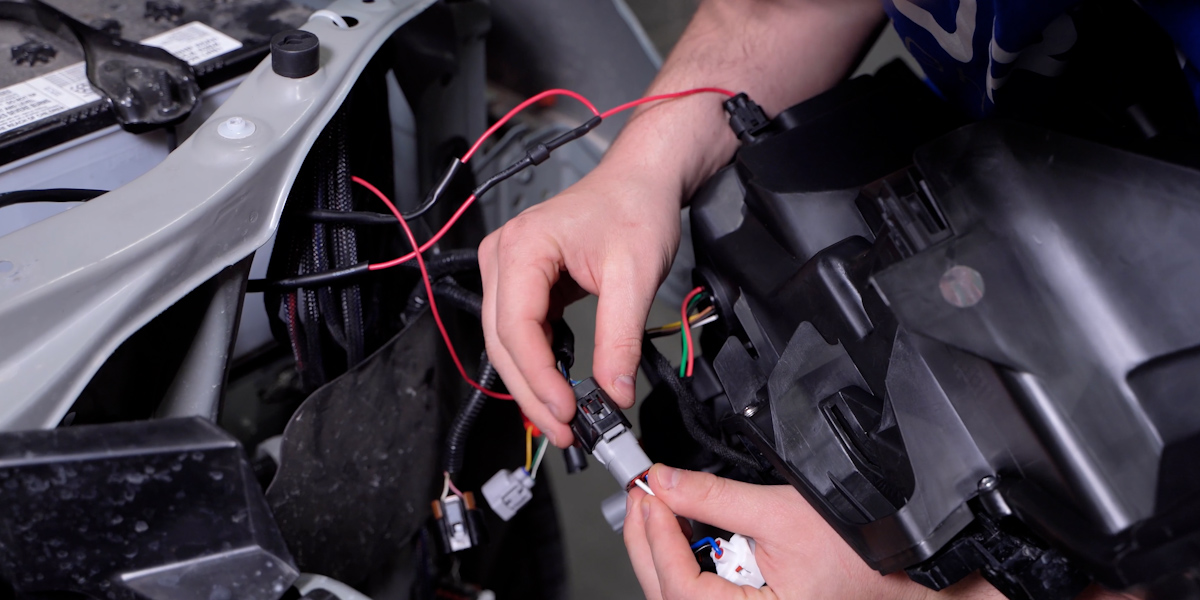
8. Mount, reconnect and test
Plug the corresponding connectors into the back of the new lamps. Check low beams, high beams, DRLs and turn signals before finishing reassembly. Reinstall the bumper and grille in reverse order, including every original sensor and fog-light connector removed earlier.
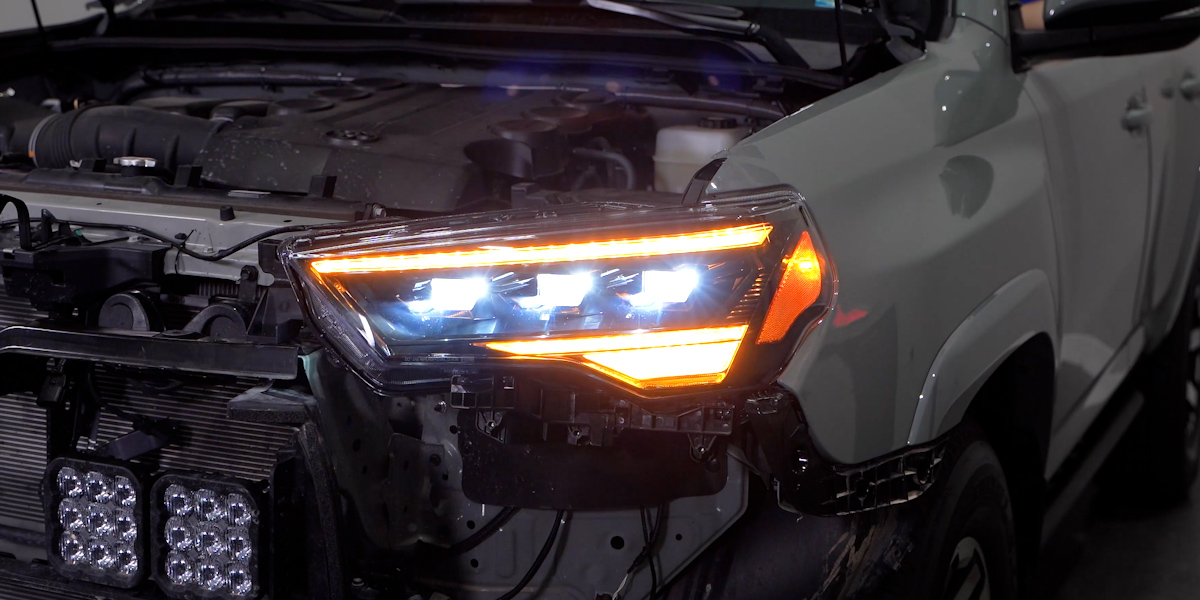
9. Make the final aiming adjustment
Use a Phillips screwdriver on the integrated rear adjustment screws to set the beam aim. Check the beam pattern after reassembly and after any change to vehicle ride height.
Read FORM’s detailed headlight aiming instructions
Watch the FORM installation
The matching headlight pair
FORM FL0017 4Runner headlights
View the exact product and its included equipment.
Morimoto Evo installation guide
Use this separate guide only for LF2-531 or LF2-531Y headlights.
Source and illustrations
Original BTS explanatory text based on FORM Lighting’s FL0017 installation article, dated April 19, 2024 and retrieved October 24, 2026. All 22 relevant installation photographs are retained without alteration.