

BTS installation guide
Install SS3 Type M or MR fog lights on a JK
Match the factory bumper, mount the pair, connect the separate accent circuit if wanted, then set both cutoffs on a wall.
Identify the mounting pattern
For 2007–2018 Jeep Wrangler JK. A 2018 Wrangler may be JK or JL; identify the generation before ordering. Aftermarket bumpers, body hardware and other accessories need a separate clearance and mounting check.
The fixed-colour JK kits on this page use Type M for the factory plastic bumper. Factory steel-bumper kits add Type MR steel brackets. Aftermarket bumpers require a separate mount check. Keep the original fasteners; prepare a 5/32-inch Allen tool, tape measure and masking tape.
Step 1
Build the bracket assemblies
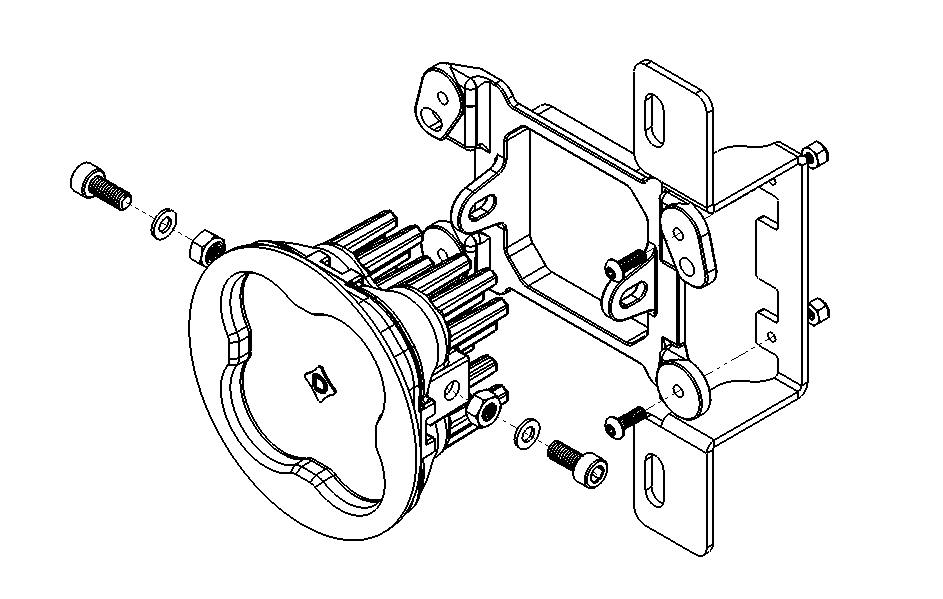
Seat the nuts with their nylon inserts facing inward. Fit the supplied washers and screws in the illustrated orientation. Tighten enough to hold position while allowing firm aiming adjustment.
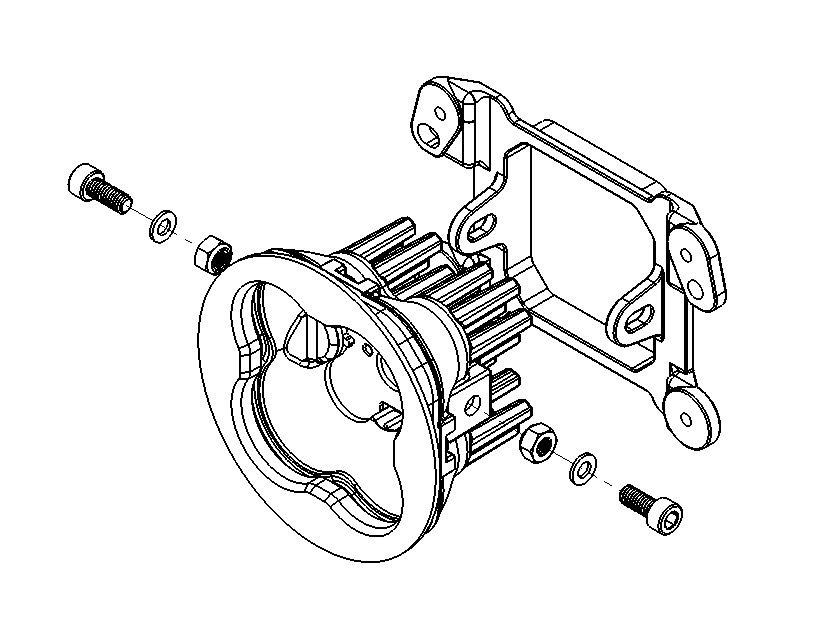
For Type MR only, fasten a steel bracket behind each Type M bracket. Mirror the left and right assemblies.
Step 2
Remove the original fog lamps
Access each lamp, unplug its connector, then remove the housing. Retain the original fasteners. Align the new bracket tabs and holes with the original mounting points and fasten the assembly securely.
Step 3
Connect and test
Connect the supplied adapter between each pod and the vehicle harness. If it does not illuminate, switch it off and check polarity; the manufacturer directs reversing the vehicle connector 180 degrees when required. For a backlit pod, install the supplied inline adapter and connect its accent wire to a fused 12V source. Do not connect that tap directly to the battery. Secure the wiring and test both sides.
Aim the fog beams
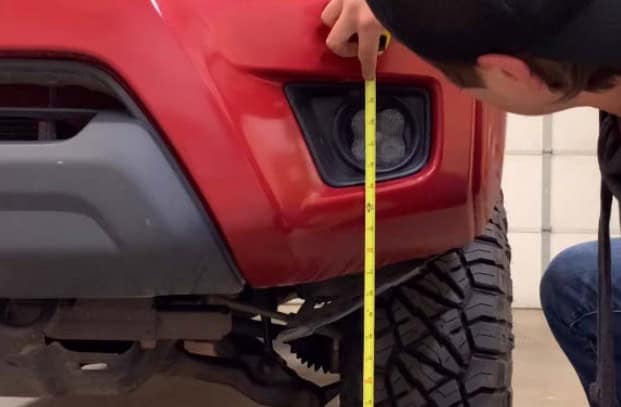
The following manufacturer photographs demonstrate the measurement method on another vehicle; they do not show JK trim removal.
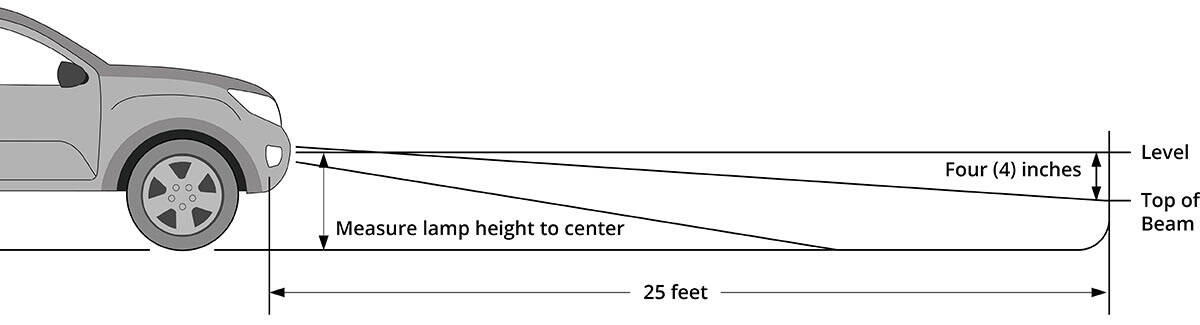
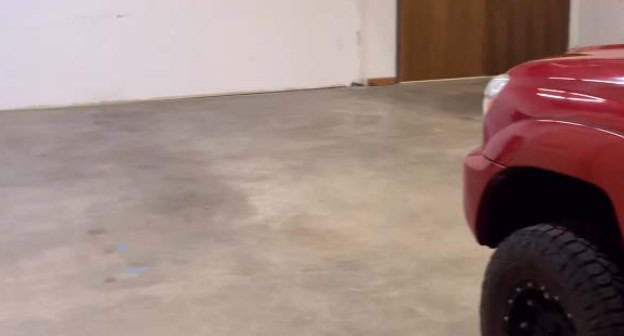
Park level, 25 feet from the wall. Loosen the 5/32-inch pod pivot bolts enough to adjust the angle.
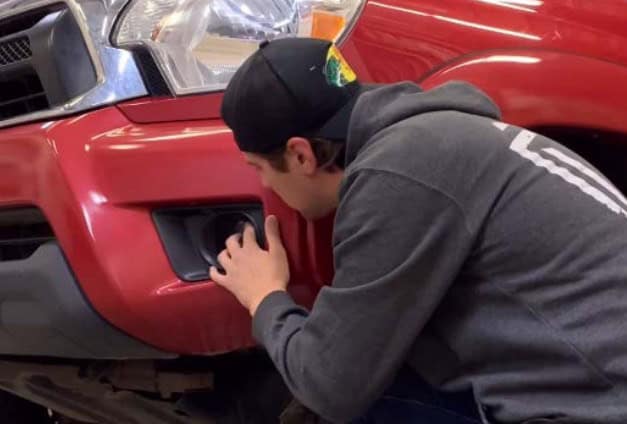
Measure from the ground to the lamp centre. Mark that height on the wall, then add a second line four inches lower.
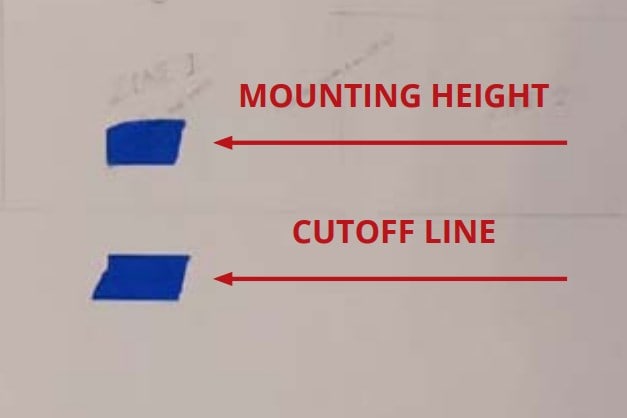
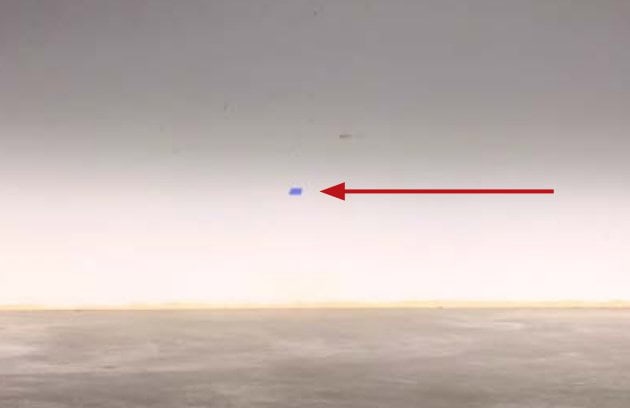
Set the top of each fog beam at the lower line. Retighten the pivot bolts without power tools or overtightening, and restore any removed liner hardware.
Only Dual Color kits use SmartSelect
Fixed White and Yellow Sport, Pro and Max lamps skip programming. DD8942 and DD8943 are separate Dual Color kits. Their fourth timed ON enters programming: use three ON periods of 1–3 seconds with approximately one second OFF between them, then turn ON again. Continue that timing to cycle Yellow, White, Yellow, White, then White reset. Leave the chosen colour ON for at least five seconds to save. After reset, save White for five seconds and turn OFF for at least five seconds before starting again.
Watch the manufacturer demonstration
Use the bracket and connector that match the actual Jeep.
Parts and original instructions
Shop the JK plastic-bumper SS3 pair · Compare Type MR steel-bumper configurations · Original manufacturer guide