

BTS Lighting · Installation
Jeep JL Morimoto Ditch-Light Installation Guide
Check the mount and the wiring before starting
Use BAF036 brackets on a 2018–2026 Wrangler JL. A 2018 JK uses the different JK bracket. This guide separates the vehicle bracket procedure from the pod and harness instructions. The manufacturer demonstration uses 4Banger pods; 2Banger and BigBanger assembly diagrams follow below. Bracket-only hardware does not include lights or a relay harness.
Keep the ignition off while installing the hardware and making electrical connections. Use the instructions for the harness supplied with the selected kit; a switch trigger is not the main lamp power supply.
Remove the side cowls
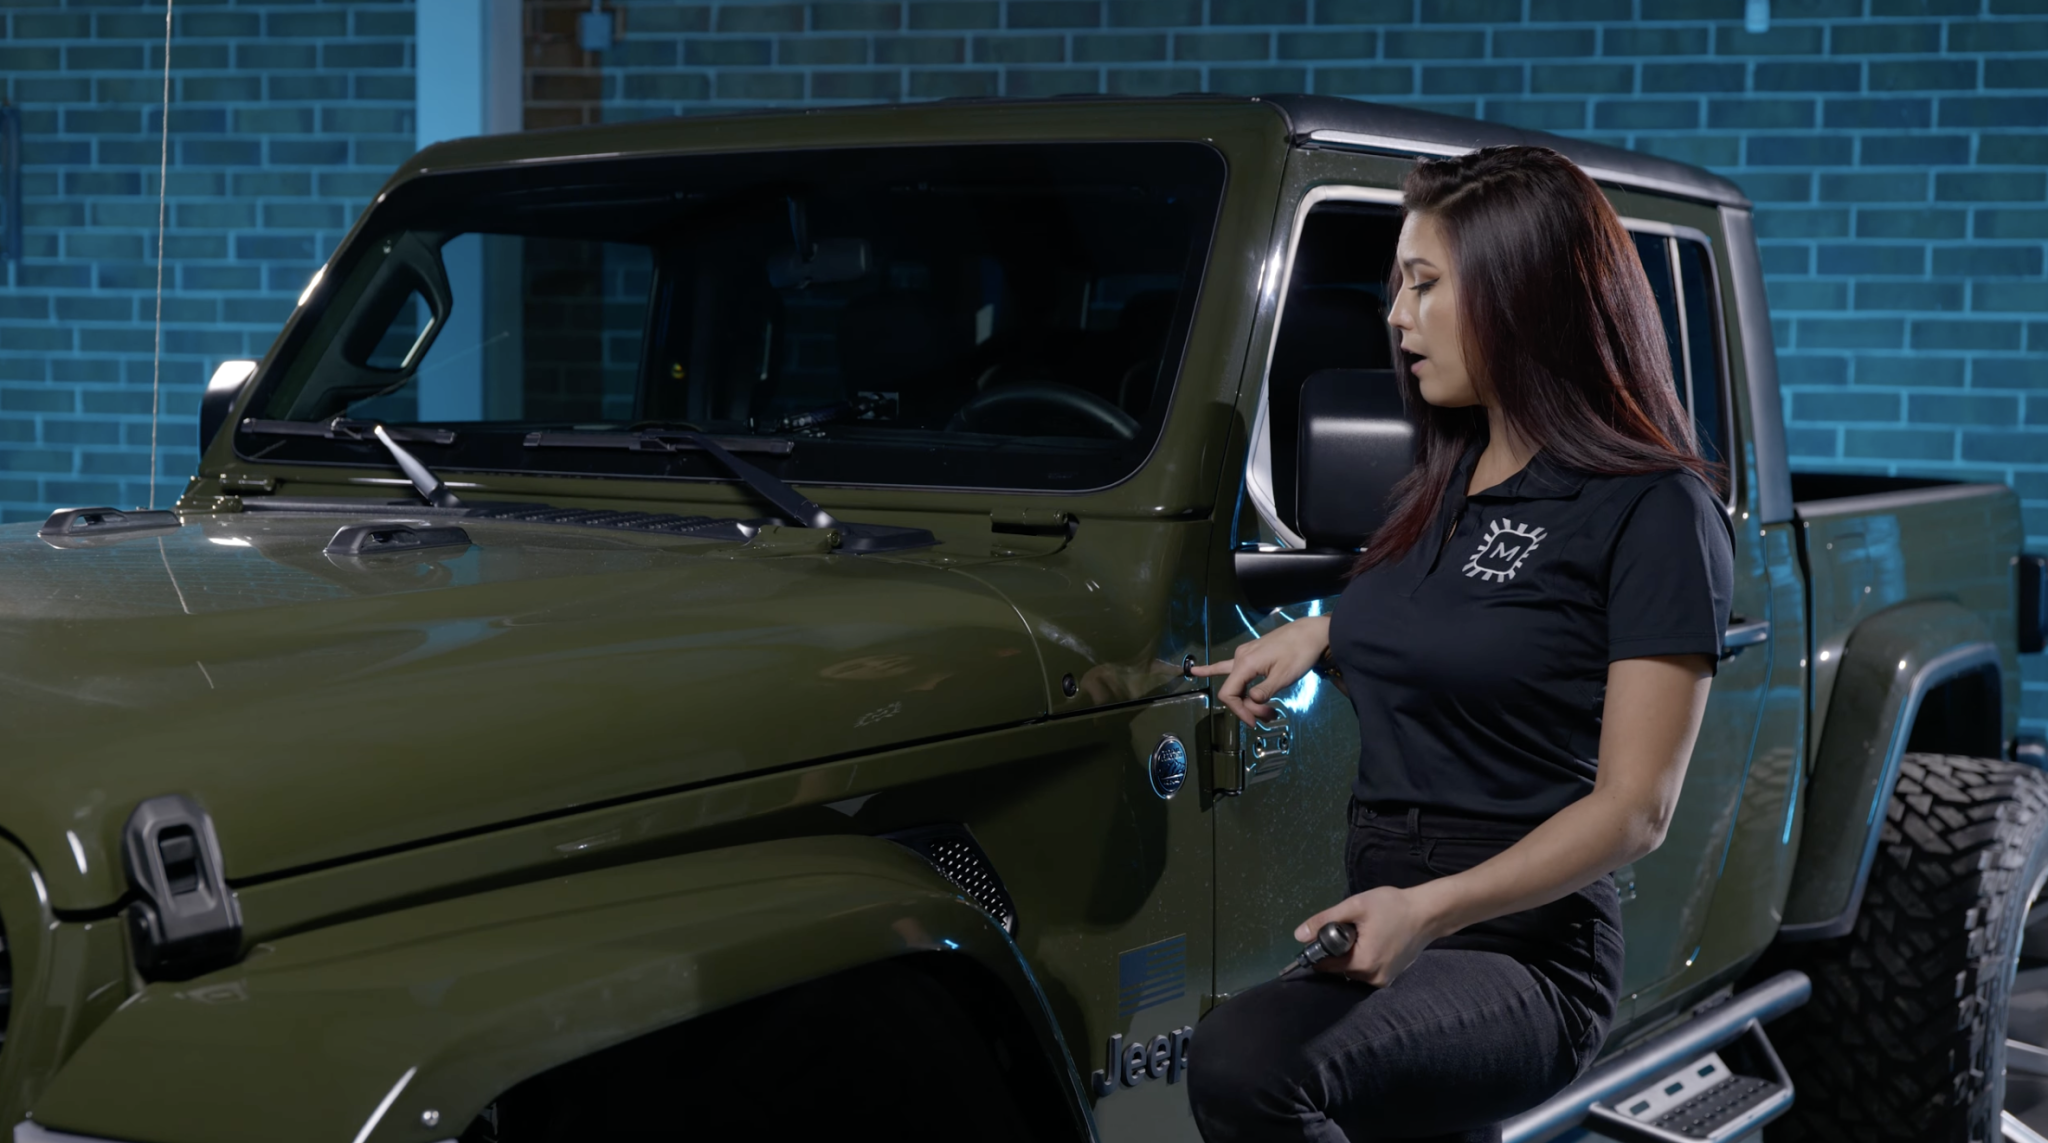
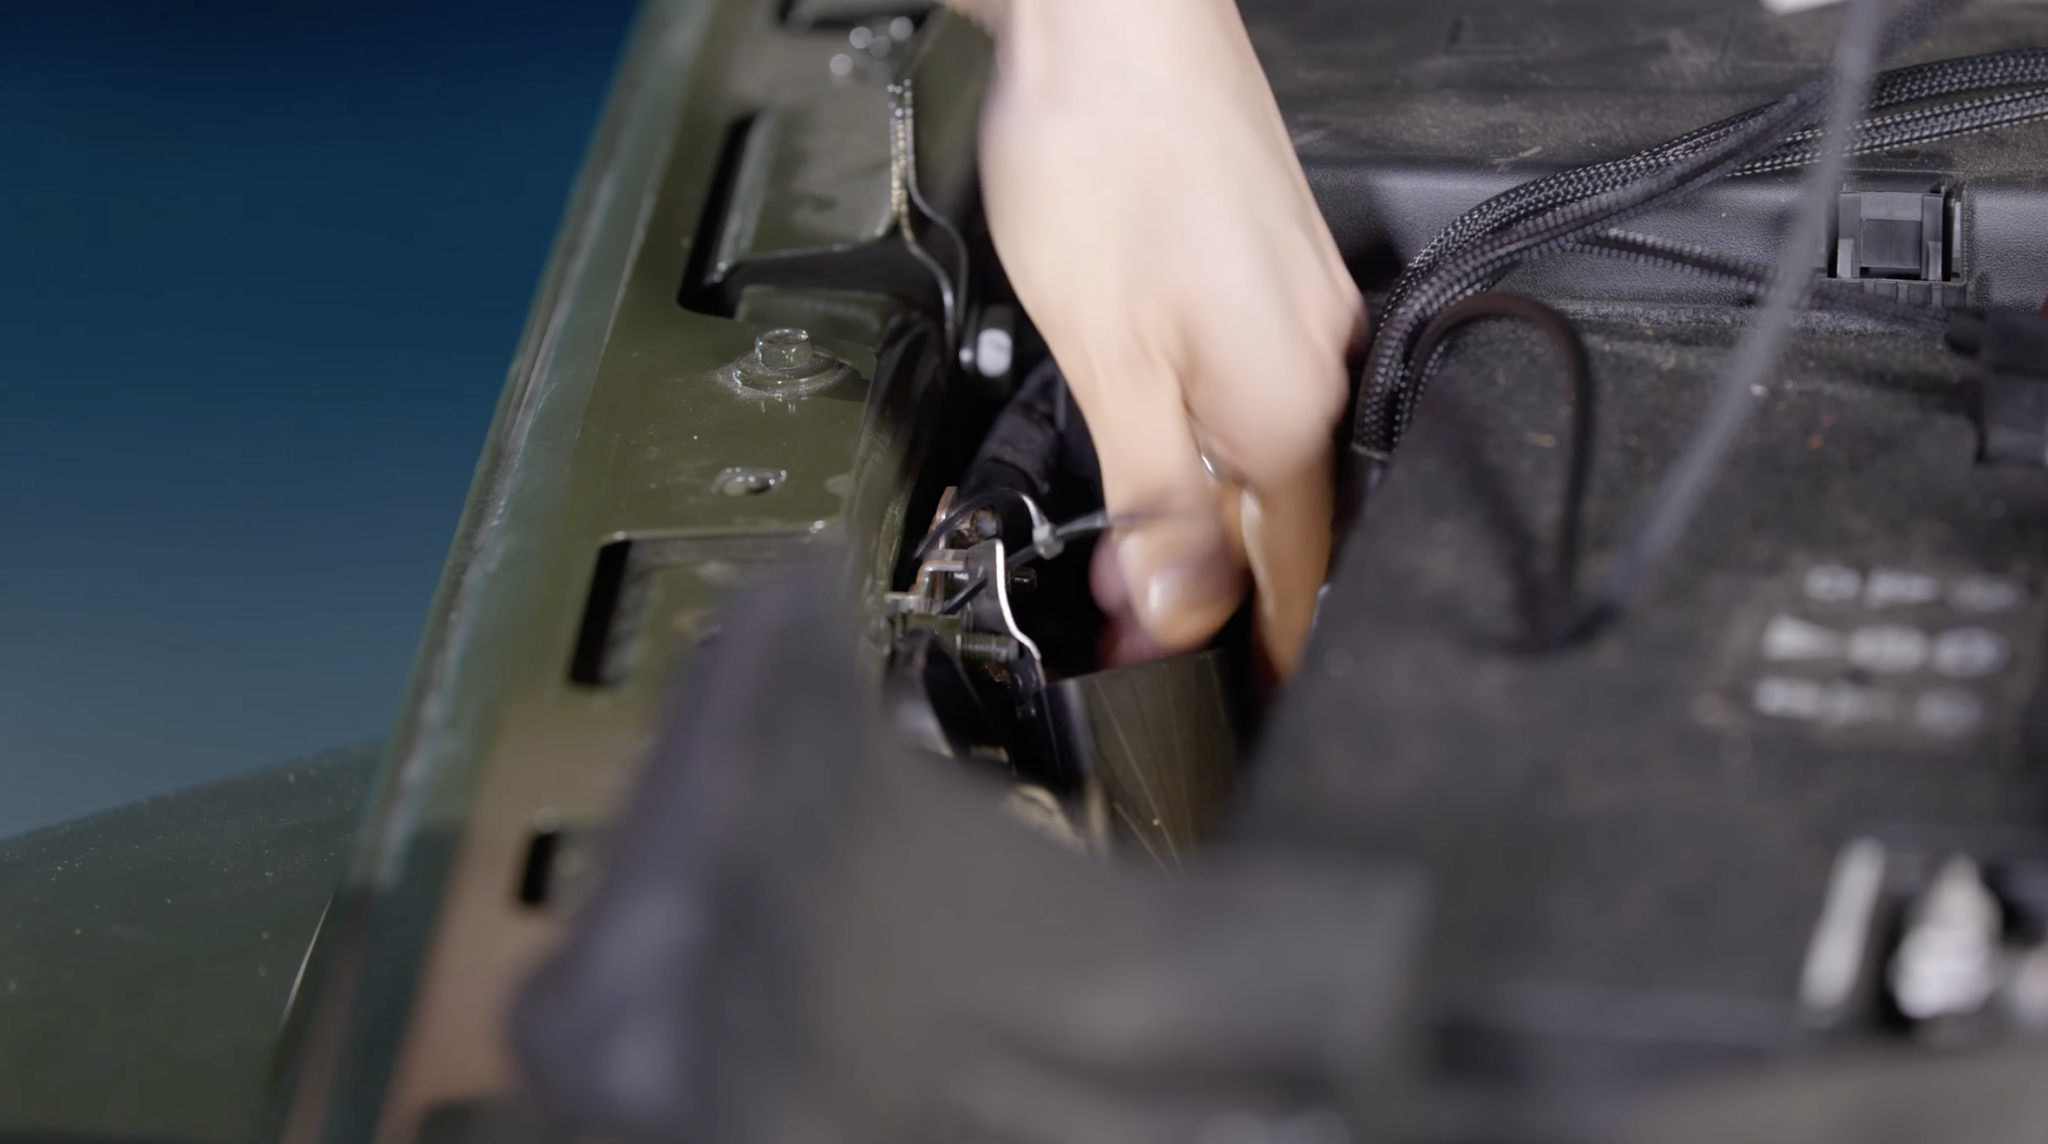
Remove the four T40 bolts at each side cowl and lift the panels away. Open the hood and identify a protected relay position. Mount the relay vertically, with its wiring downward.
Choose the switch connection
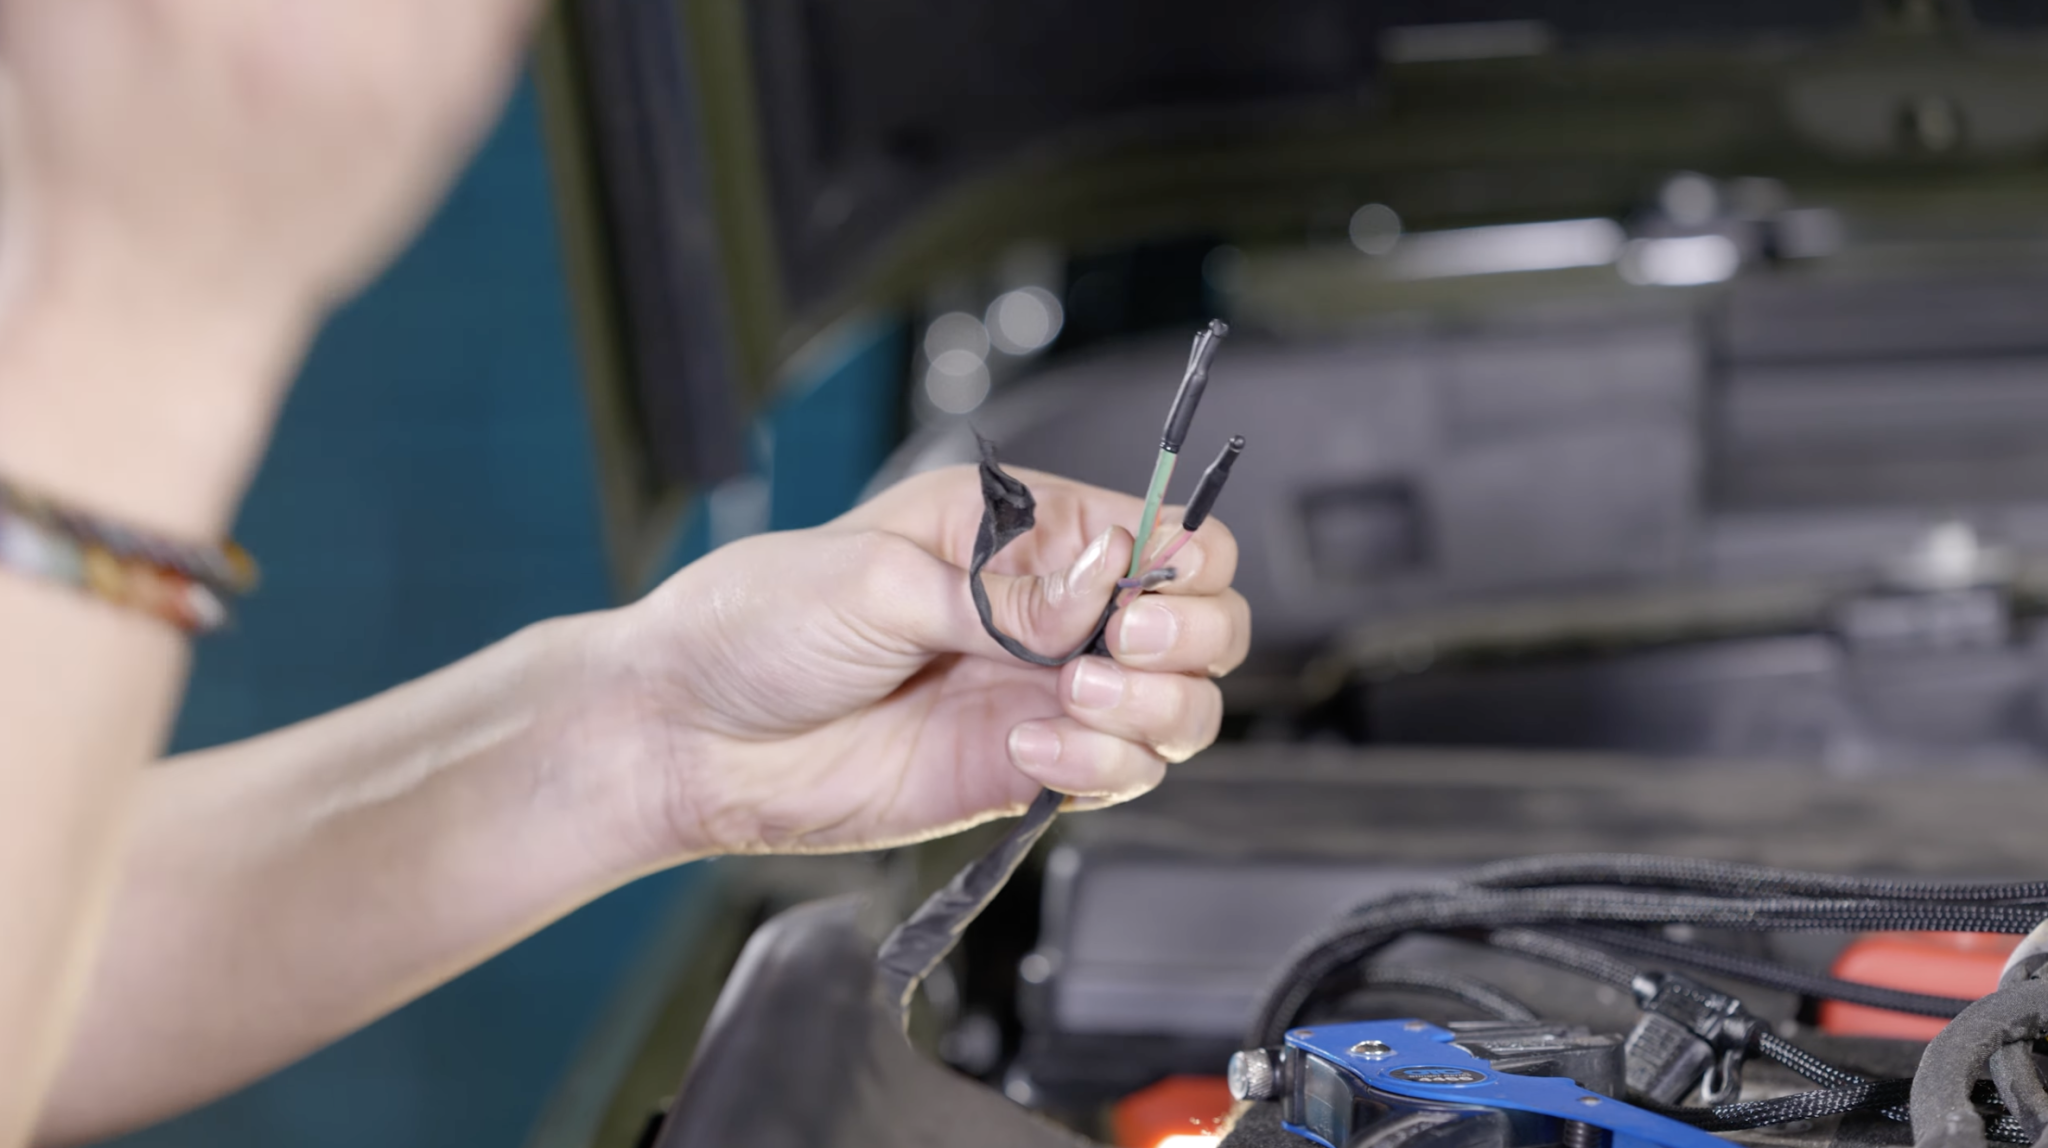
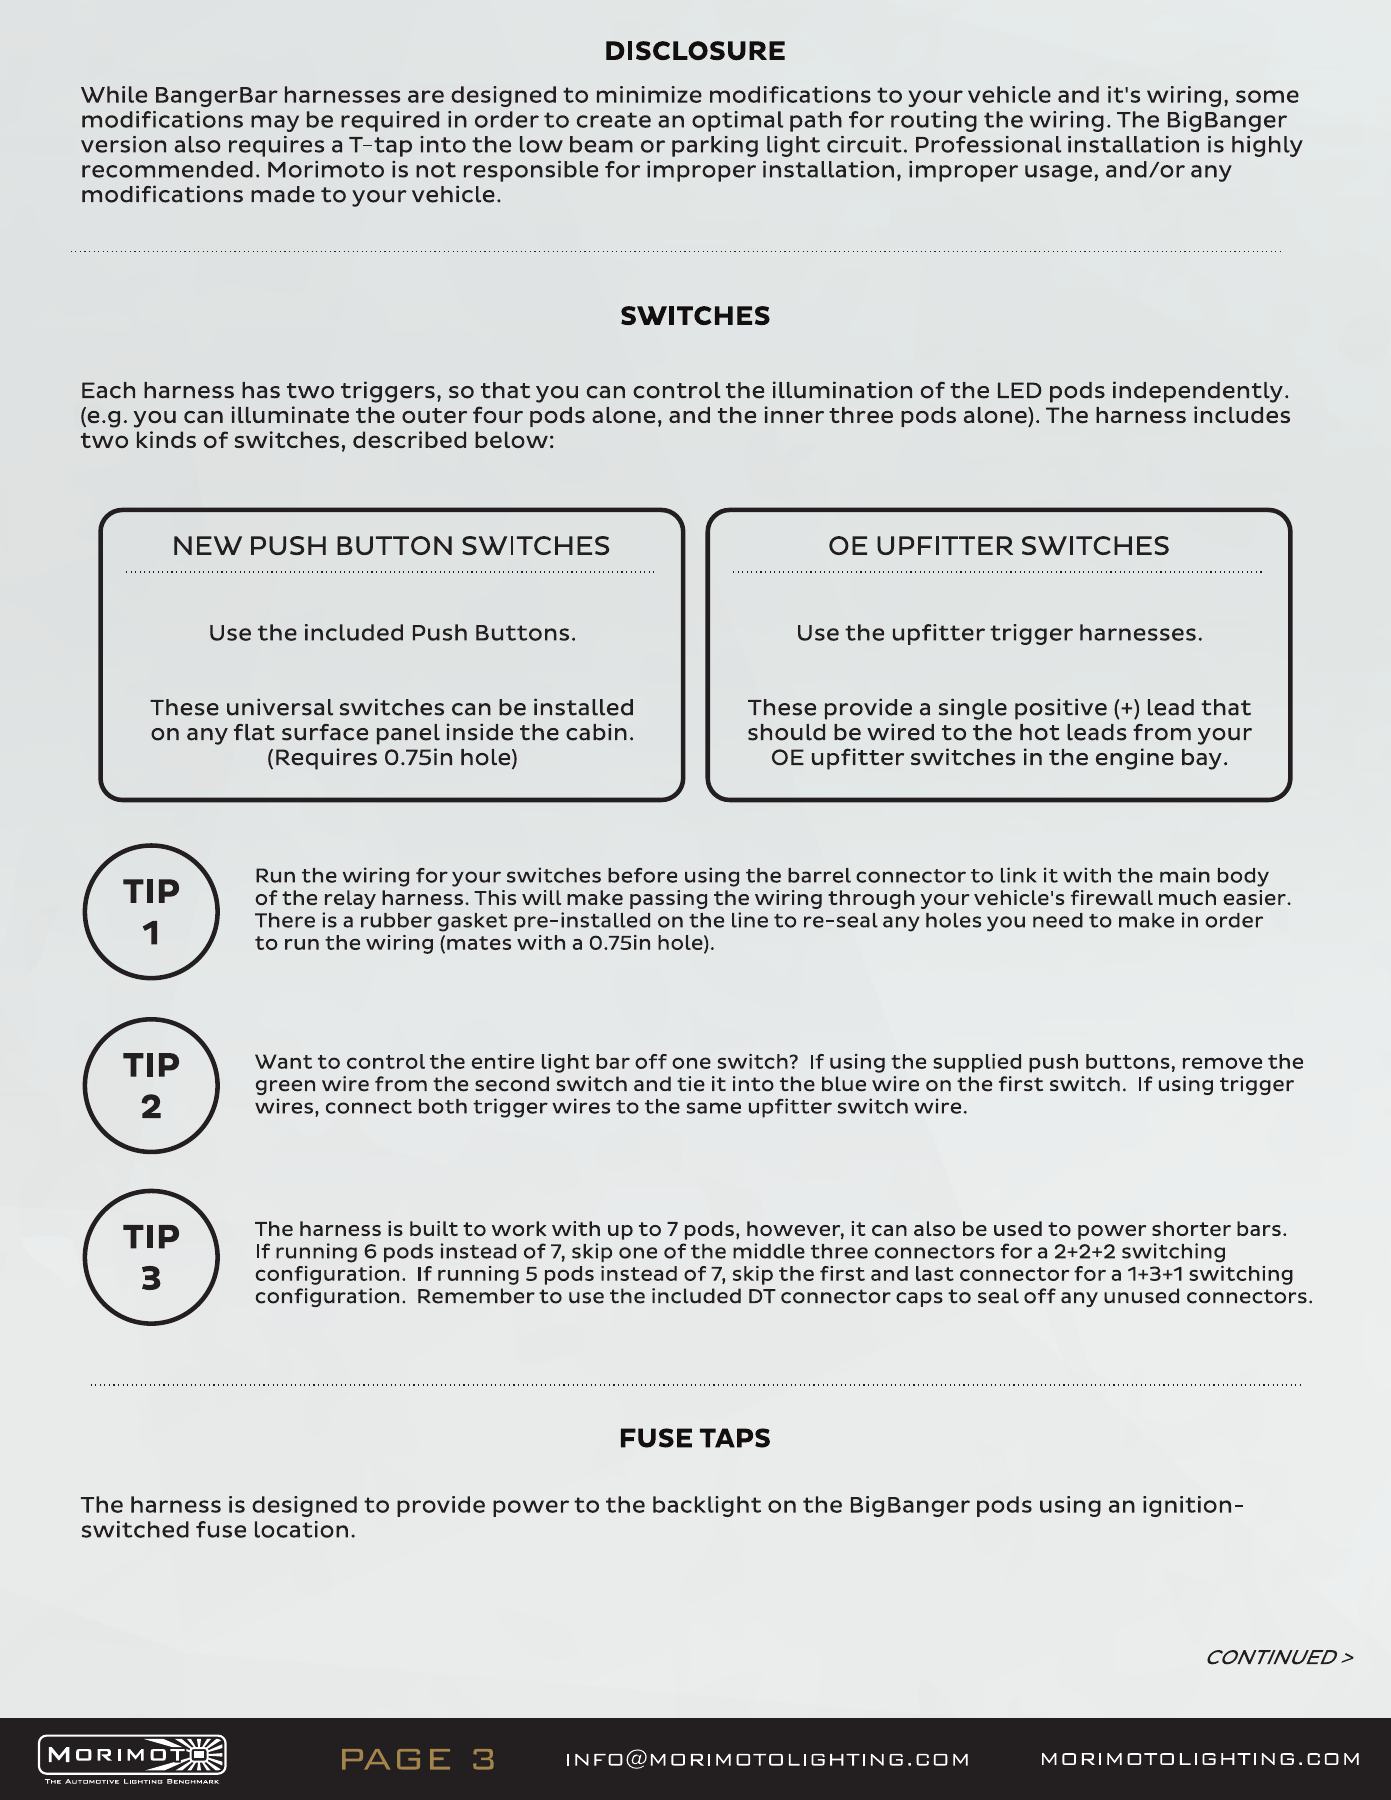
The illustrated Jeep has factory auxiliary switches. Its AUX4 output is used as the relay trigger through the harness’s switch-input adapter. Identify the correct wire using the vehicle’s own manual; do not assume every JL has this equipment. Make a weatherproof splice, disconnect the supplied push button when using the auxiliary input, and fully seat the replacement connector. Vehicles without the factory auxiliary system use the supplied switch as instructed by the harness manual.
Fit the pods and reinstall the cowls
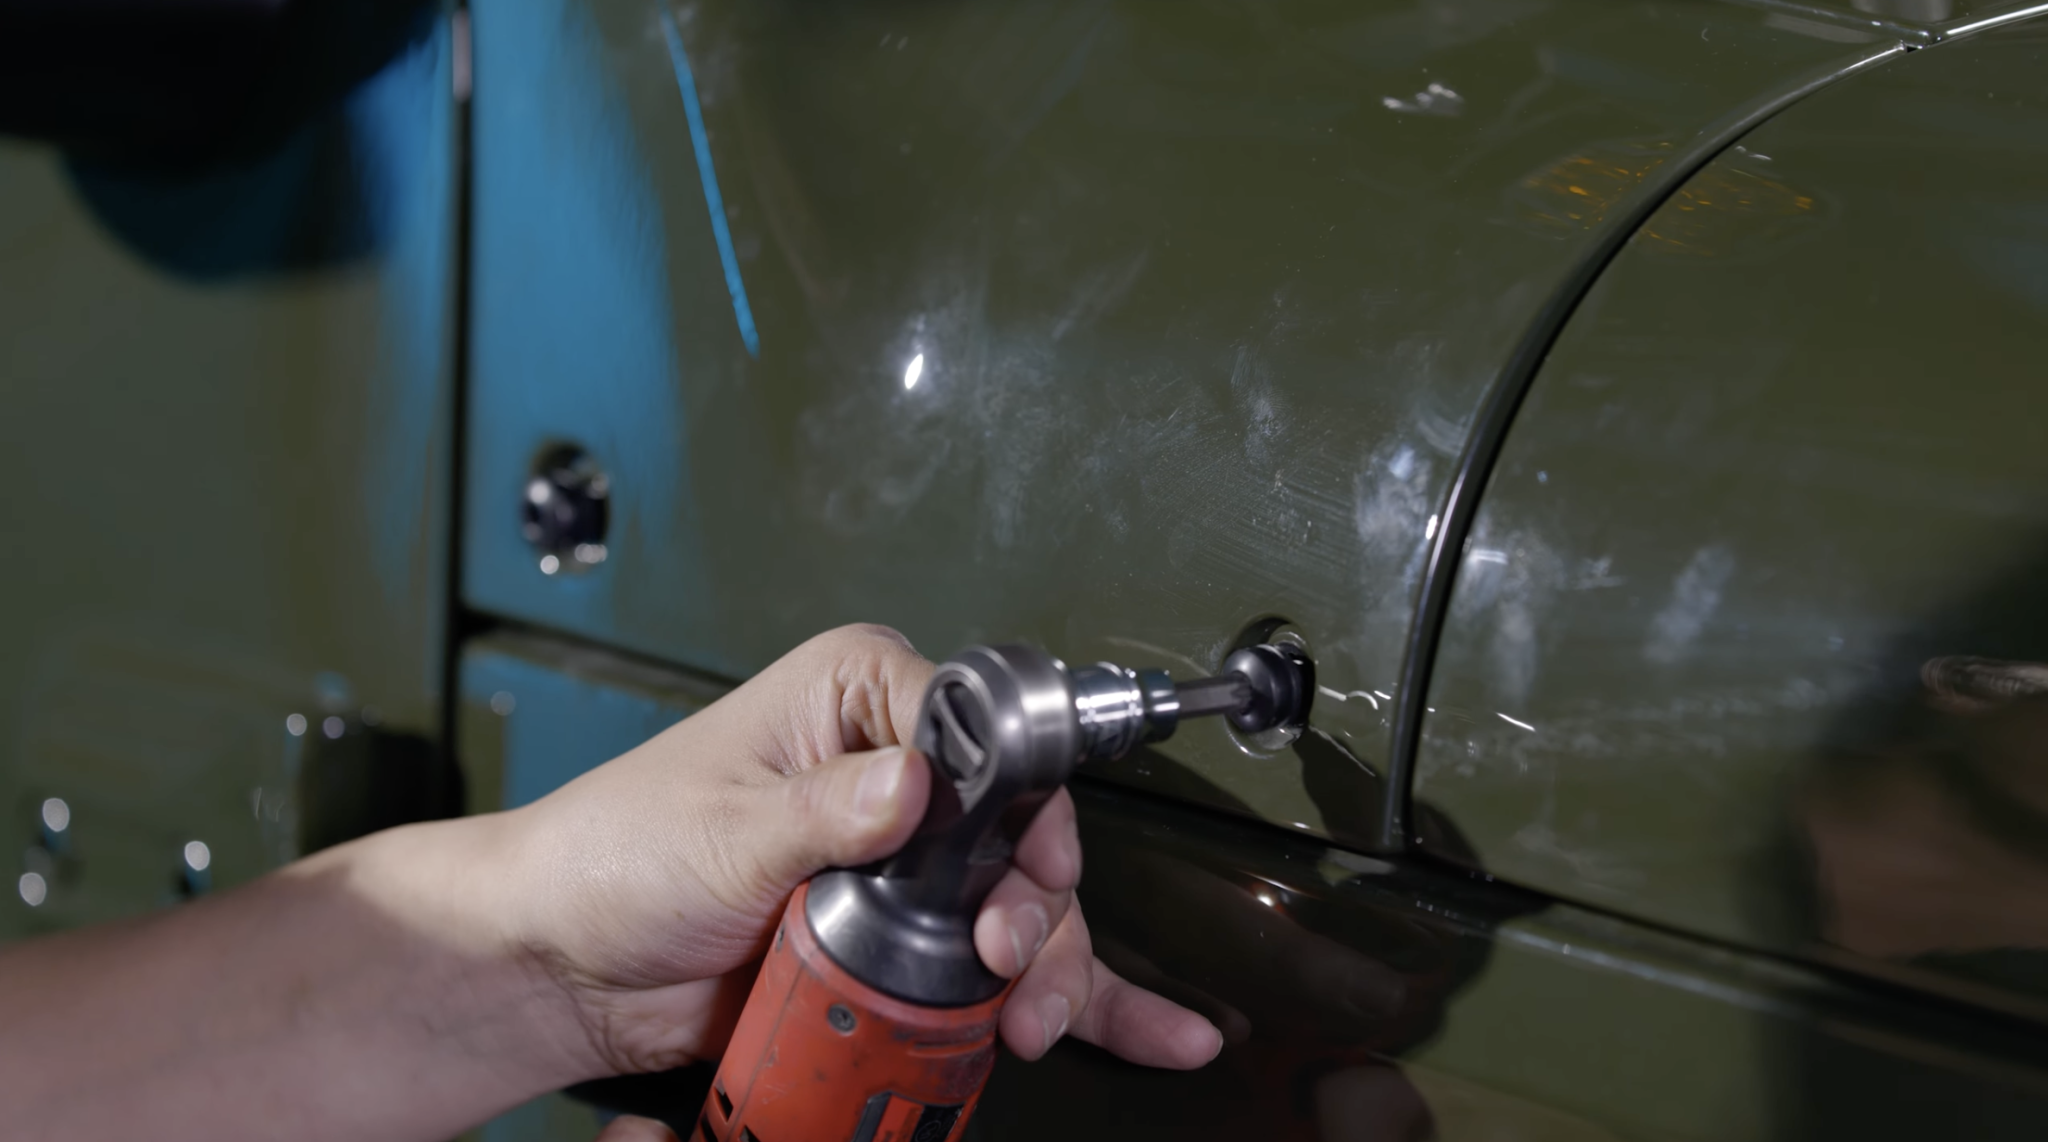
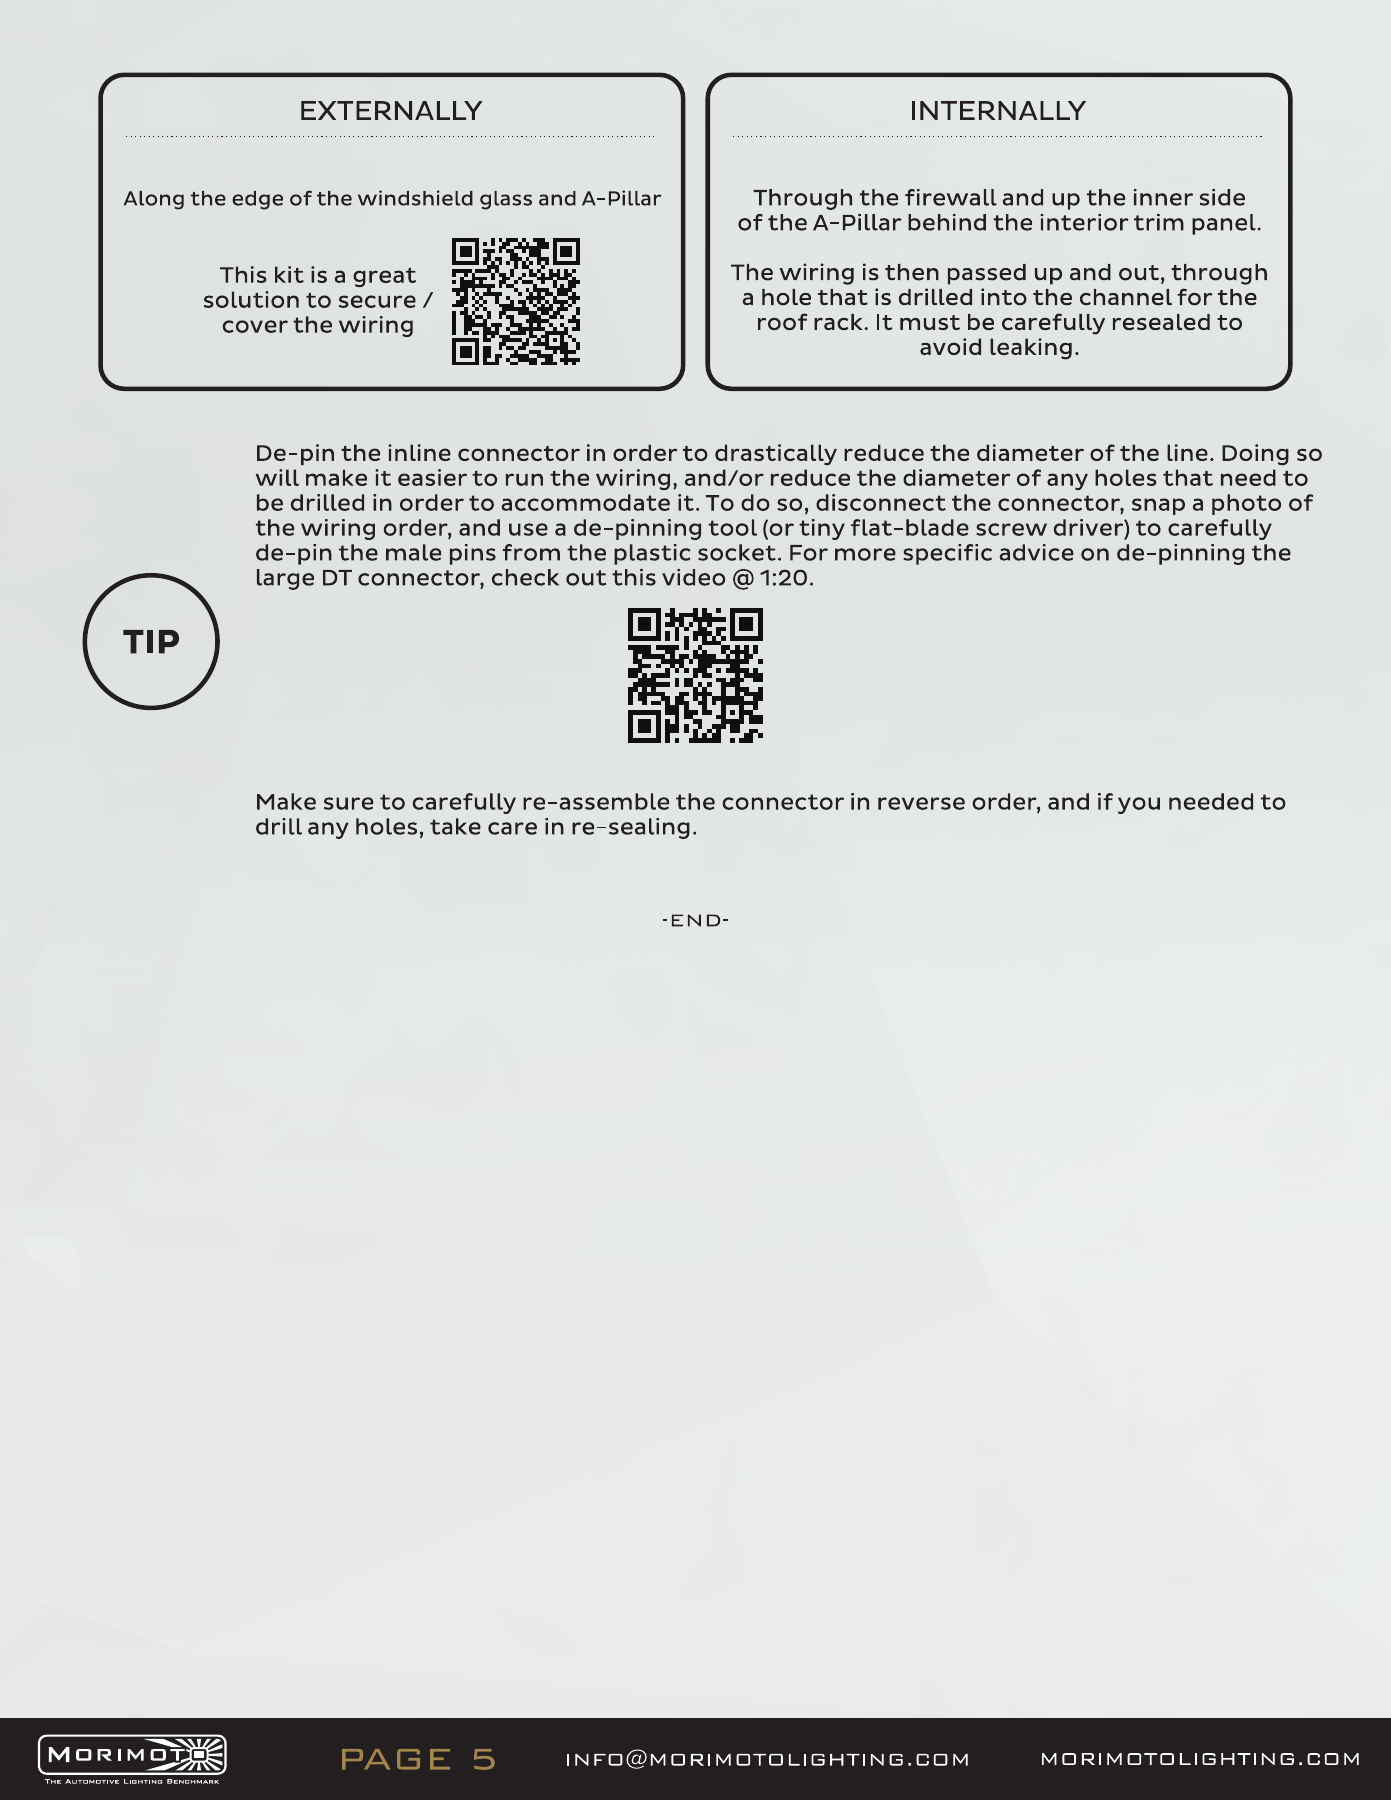
Route both pod outputs up through the protected cowl area; use the supplied extension for the farther pod. Assemble the 4Banger U-bracket, retaining its angle adjustment. Refit the side cowl, place the supplied spacers beneath the mount, install the extended top bolts, and reinstall the original side bolts. Check hood, antenna and windscreen clearance before tightening.
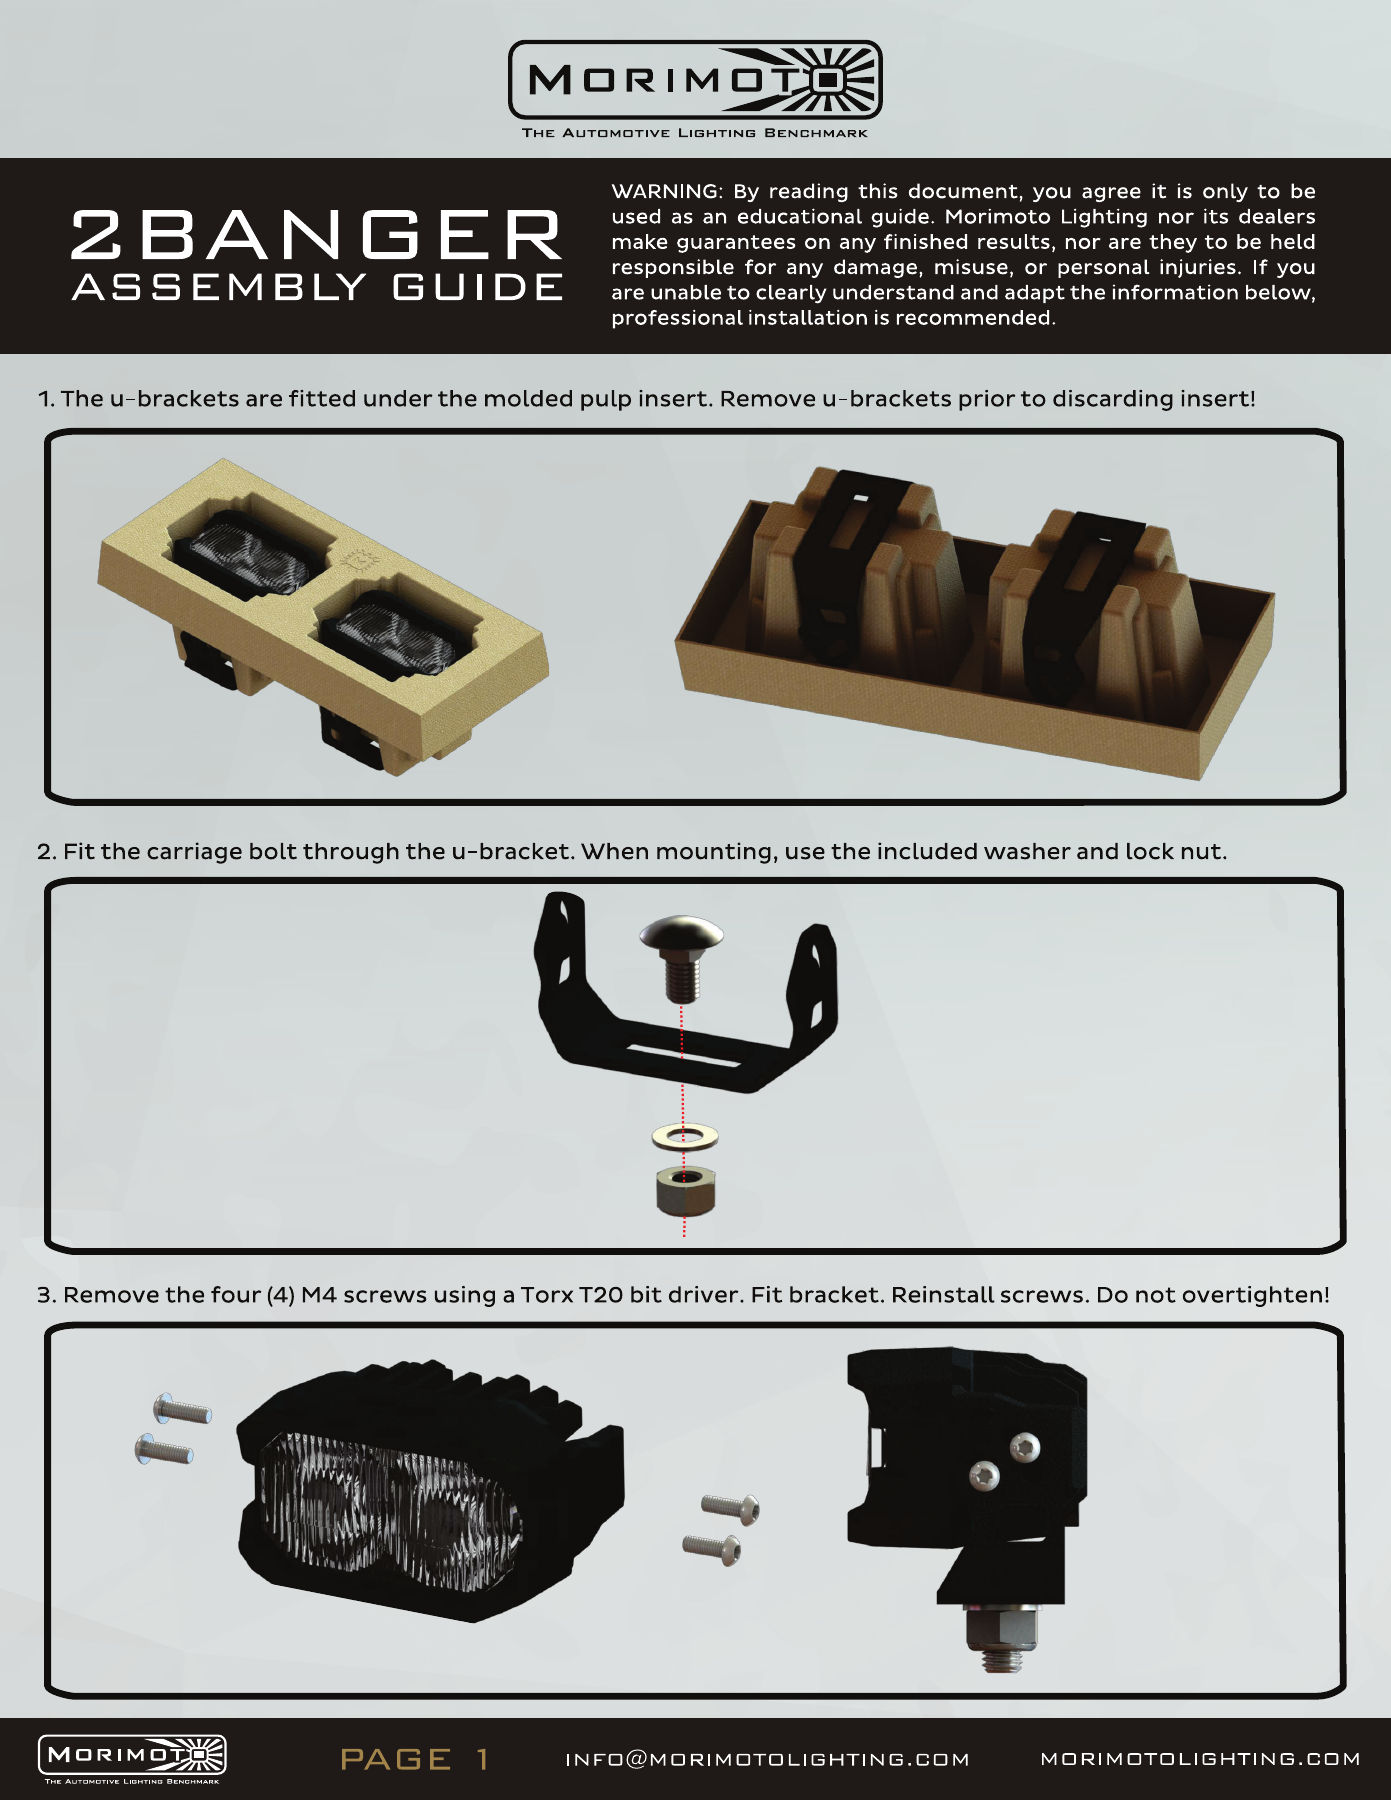
2Banger assembly
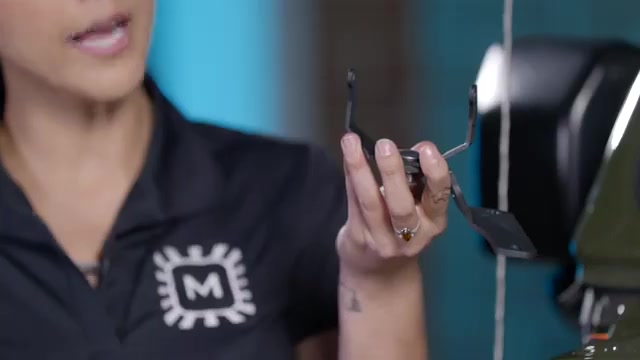
The 2Banger U-brackets are packed beneath the moulded insert. Retain them before discarding the packaging. Use the supplied carriage bolt, washer and locking nut; fit the bracket using the four original M4 fasteners and a T20 driver without overtightening.
Open the original manufacturer PDF
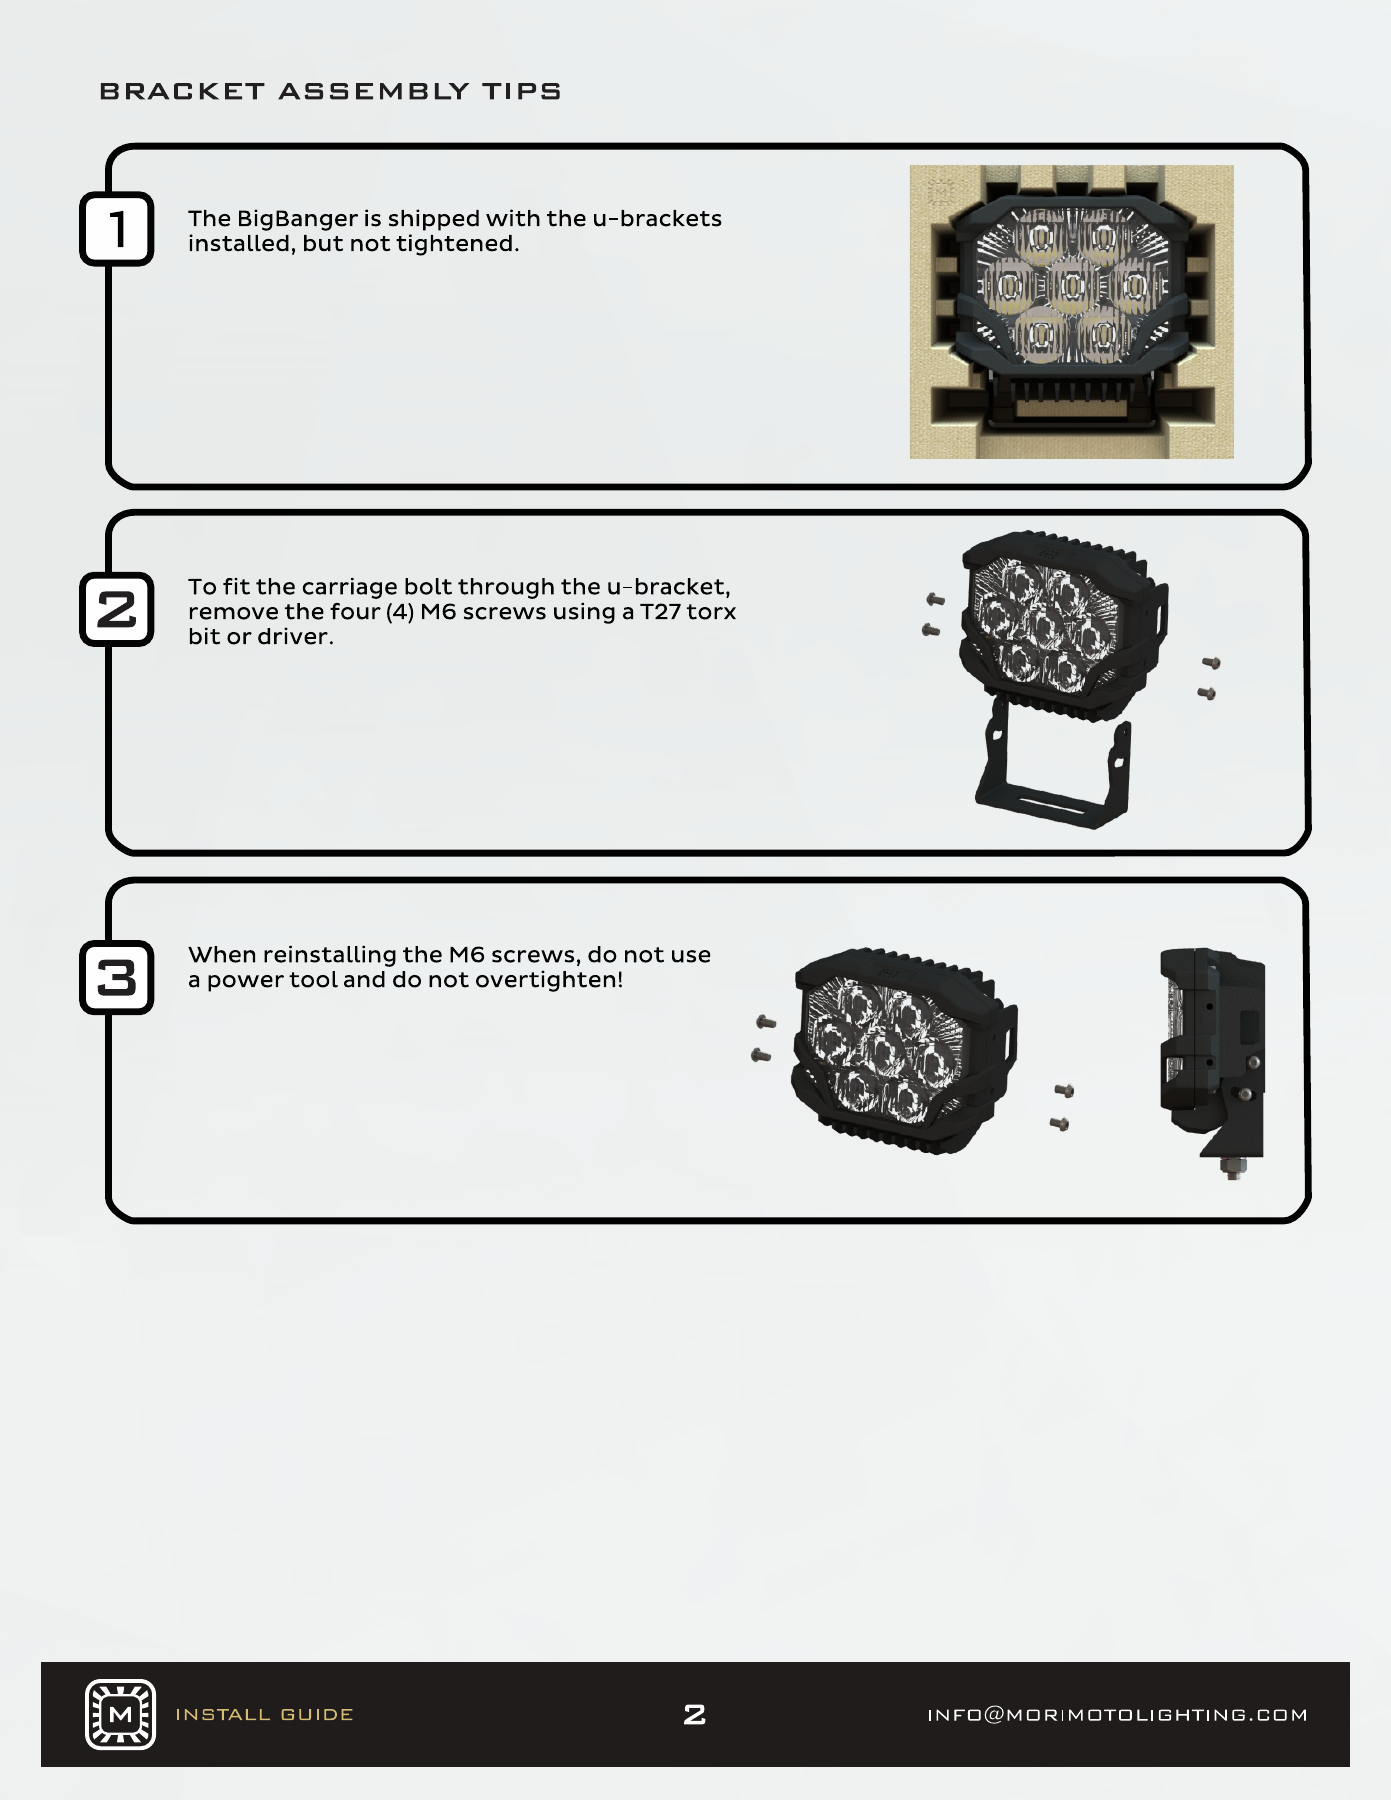
BigBanger assembly and connector
BigBanger uses its own bracket and four-pin connection. Follow the diagram for the main output, ground, backlight and dimmer; do not substitute the two-pin 2Banger/4Banger wiring arrangement.
Open the original manufacturer PDF
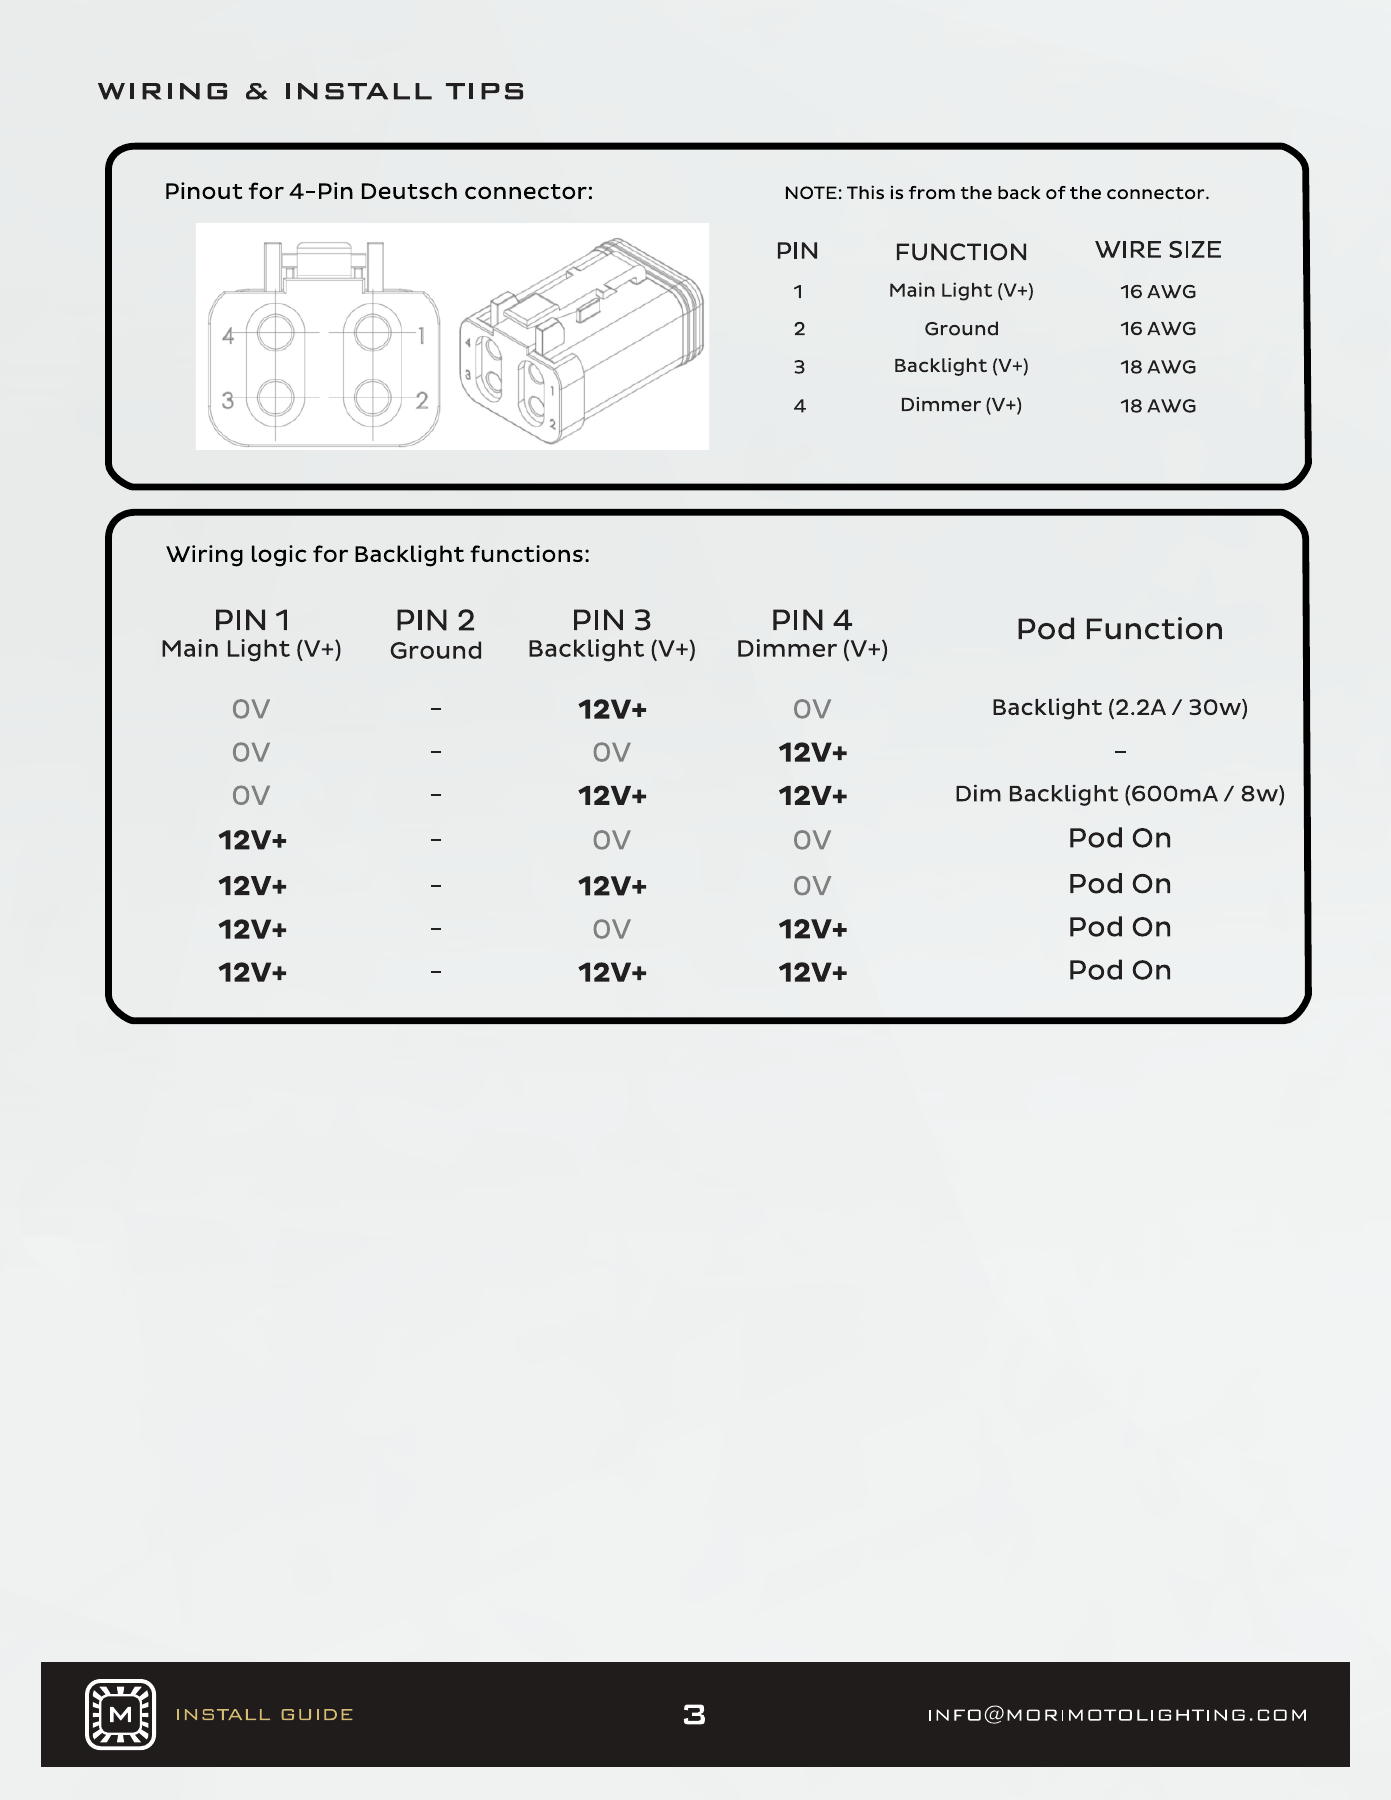
BigBanger harness branch
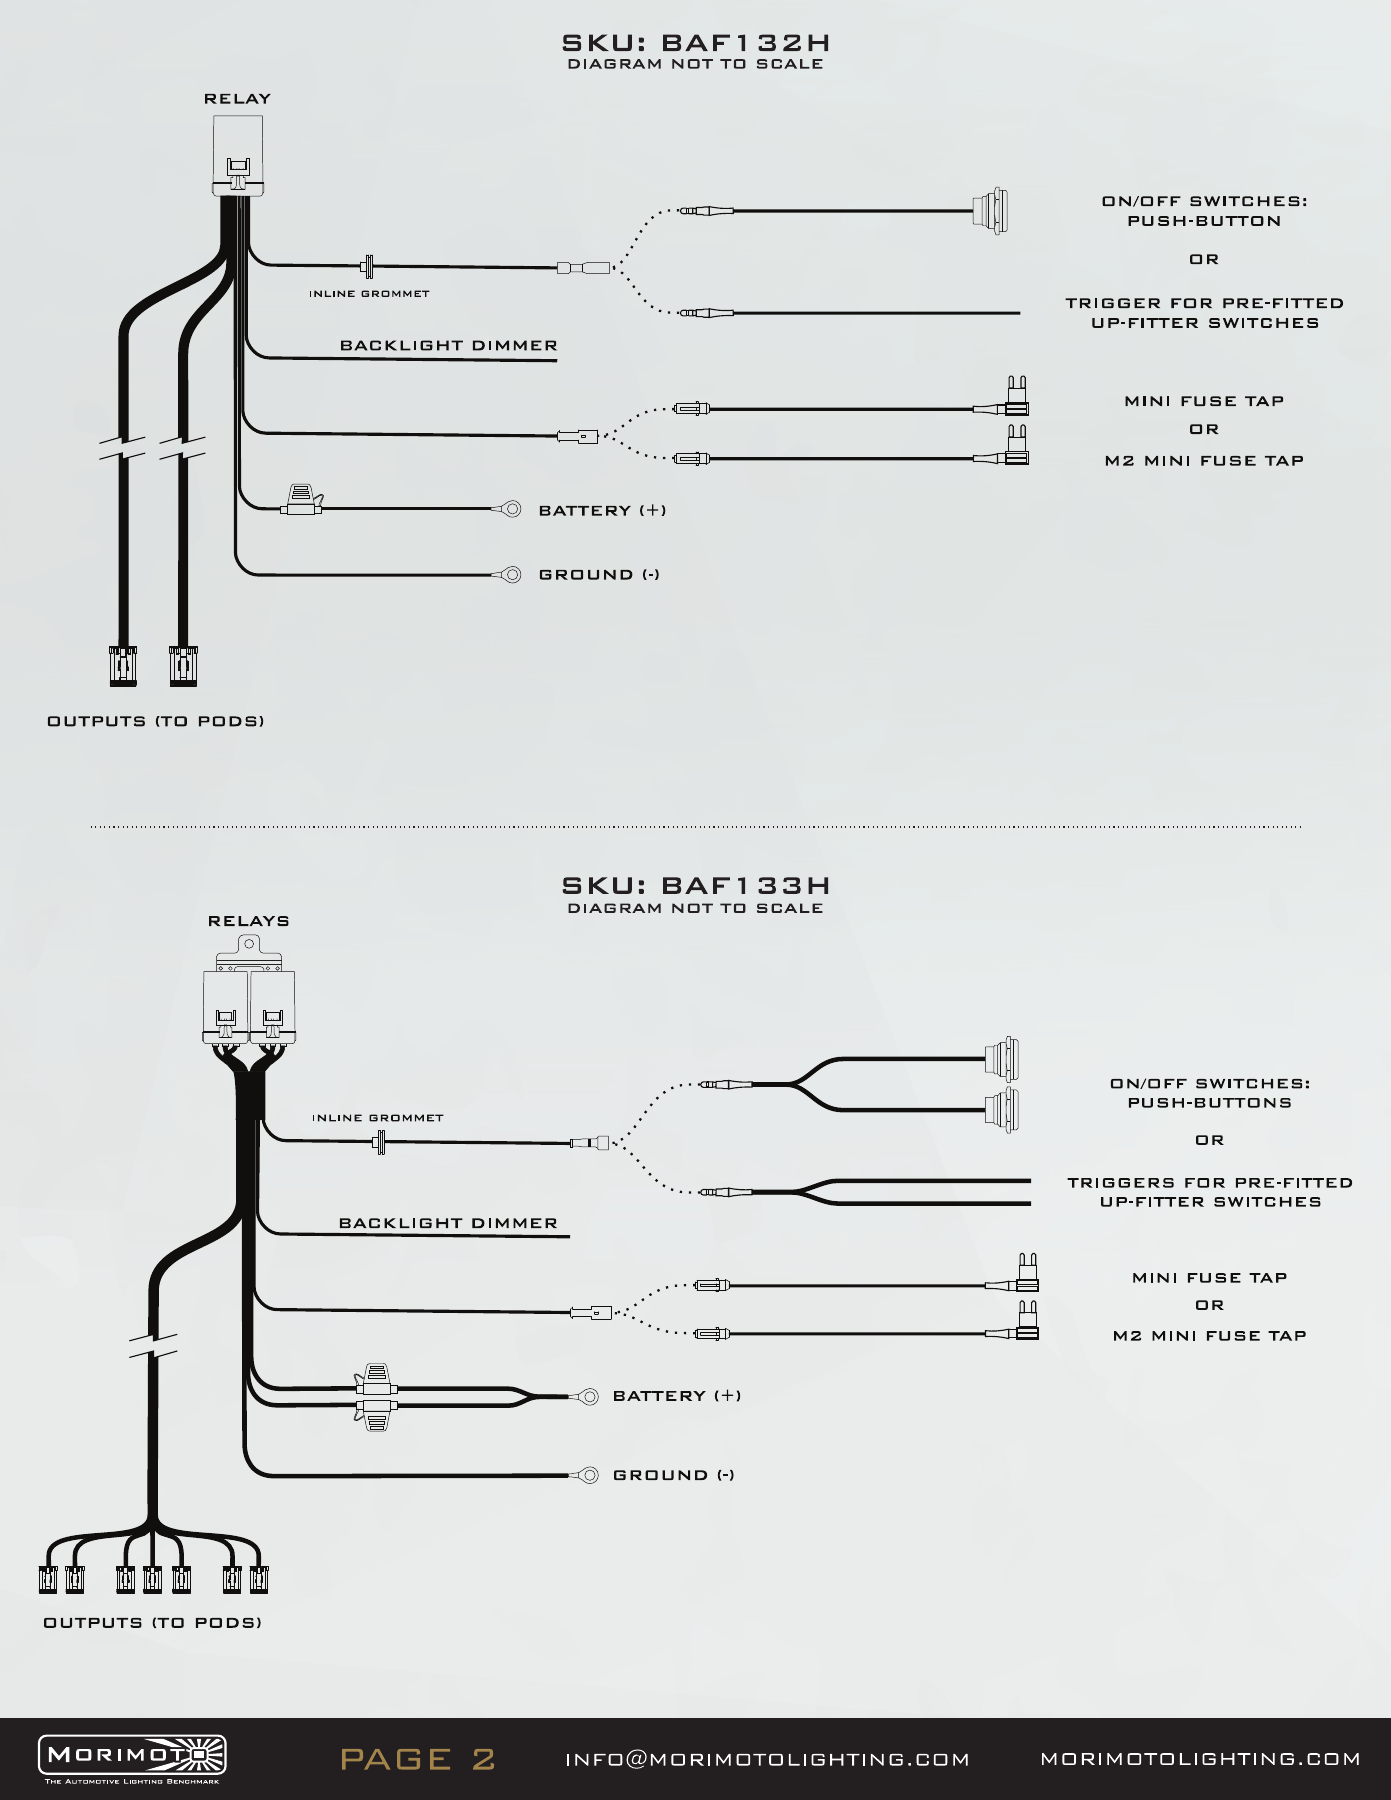
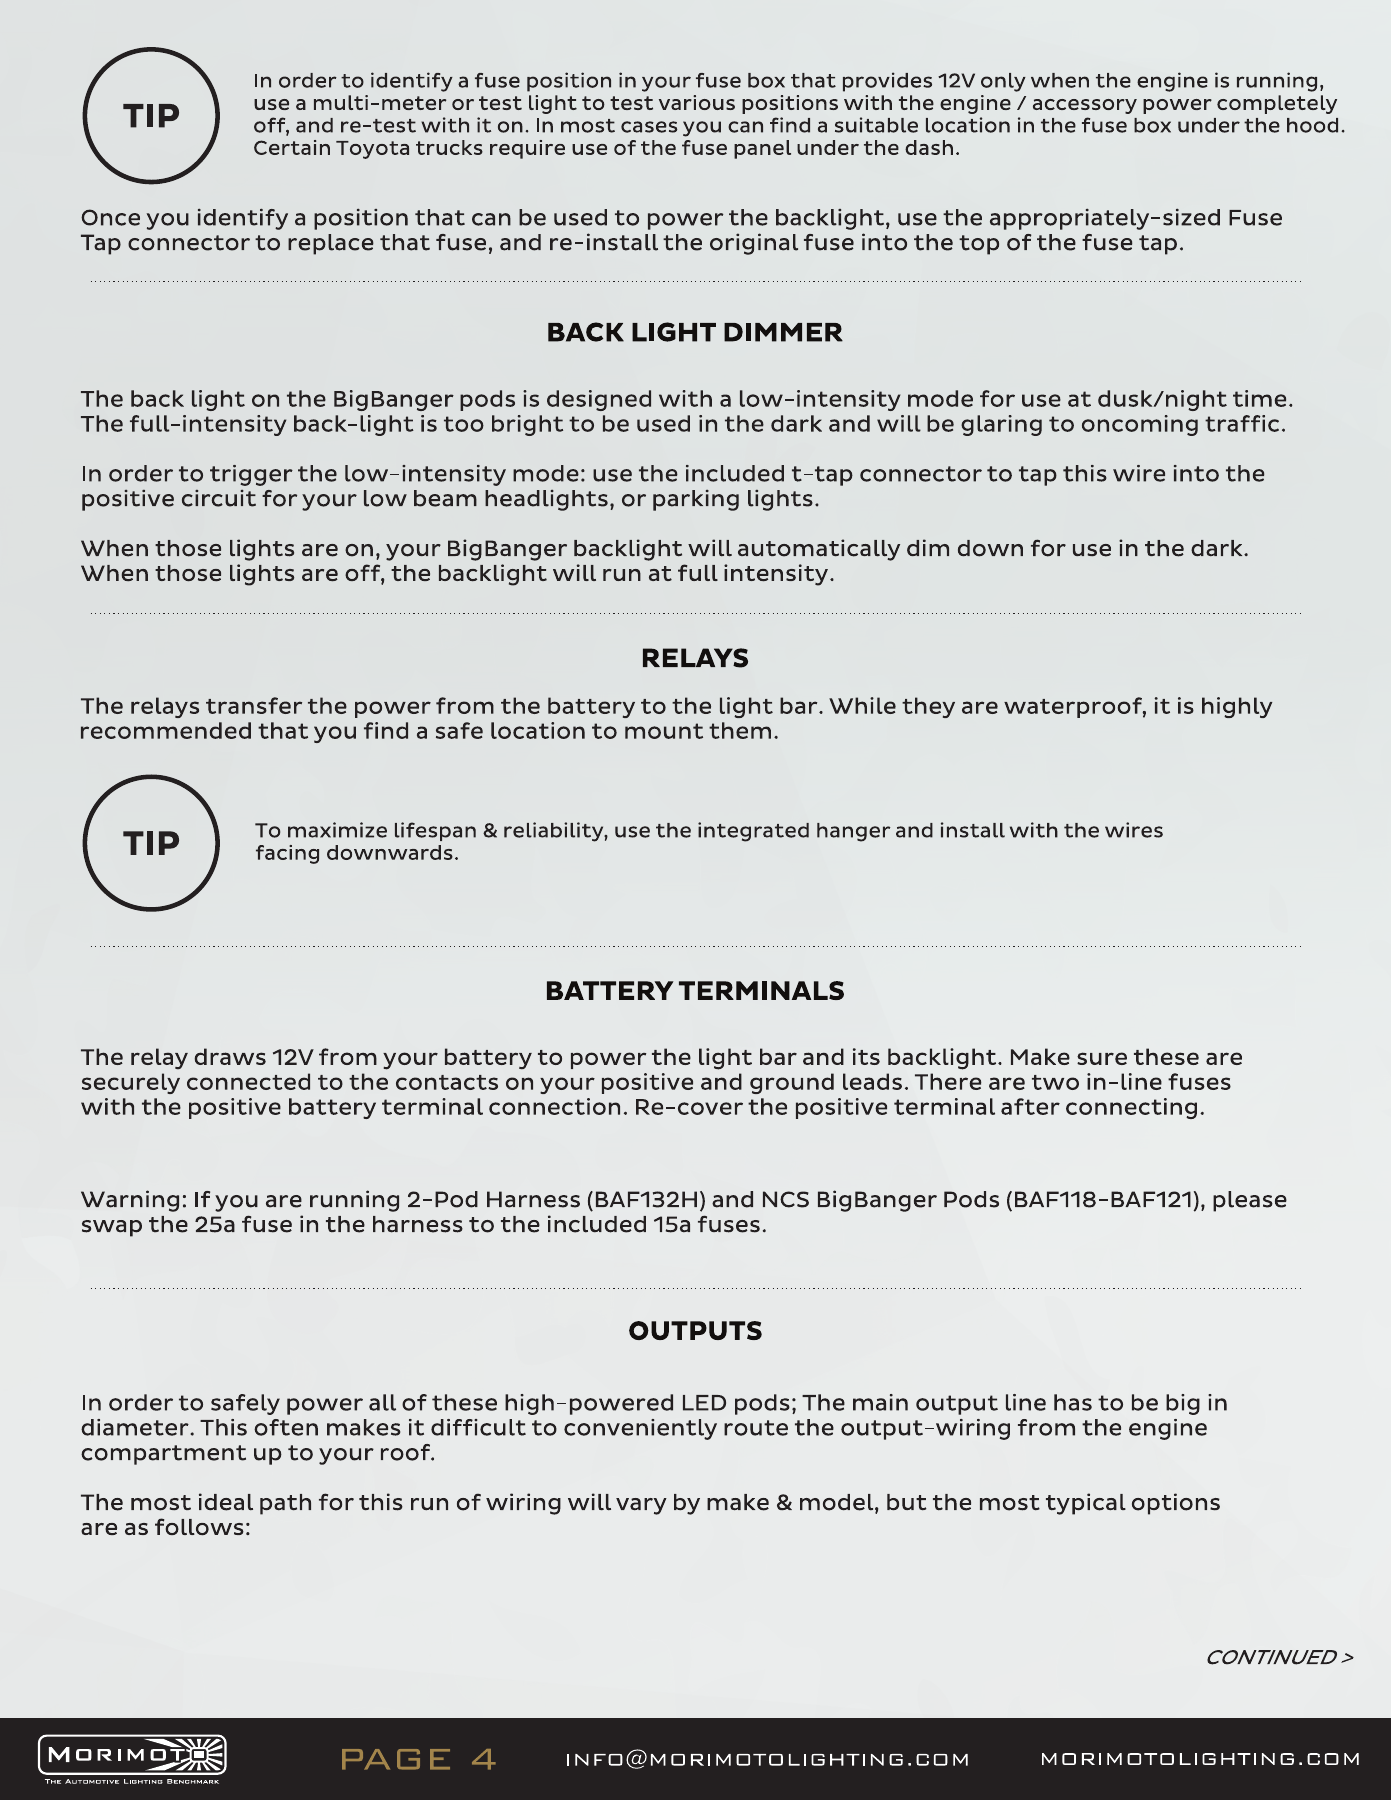
The two-pod BigBanger kit uses BAF132H. The shared manufacturer manual also illustrates the BAF133H seven-pod bar harness; use the BAF132H diagram for this ditch kit. For NCS two-pod installations, the manufacturer specifies replacing the harness’s 25 A fuse with the supplied 15 A fuse. Keep the backlight supply and dimmer trigger distinct from the main output.
Open the original manufacturer PDF
Aim and test
Set the pods to illuminate the intended off-road area without lighting the bonnet. Tighten the mount, check both sides and test all installed functions. A Wide optic mounted at the A-pillar is an off-road ditch light; its fog-light photometric designation does not approve this mounting position for on-road use.
Morimoto JL 4Banger installation demonstration

Compare compatible upgrades
Browse Jeep Wrangler lighting. Check JK/JL generation and the factory-equipment requirement on each product.
Choose the matching kit or mount
Confirm the generation, factory equipment and included components before ordering.
Plan your Wrangler lighting
Planning a Wrangler installation? Compare the matching lighting products and the checks that matter for JK and JL builds.
Compare Jeep Wrangler JK and JL lighting · Read the Wrangler lighting upgrade guide