

BTS installation guide · Jeep Wrangler
Jeep JL Rear Hardtop SS30 Light Bar Installation
Mount the rear SS30 bar, secure the extension harness and retain safe rear-window movement on an OEM Wrangler JL hardtop.
Before starting
For the 2018–2026 Jeep Wrangler JL with an OEM hardtop. This procedure does not establish fitment for a soft top, aftermarket hardtop or Gladiator. Check rear-glass movement and plan how the wiring will disconnect when removing the hardtop.
Have a 10 mm socket and cable-tie snips ready. Safely isolate electrical power before connecting the harness. The light bar uses independent fused power and switching: it is not designed to connect to the factory backup wiring.
1. Remove the driver-side hinge screws
Remove the two screws holding the driver-side rear-window hinge to the hardtop. Retain both screws.
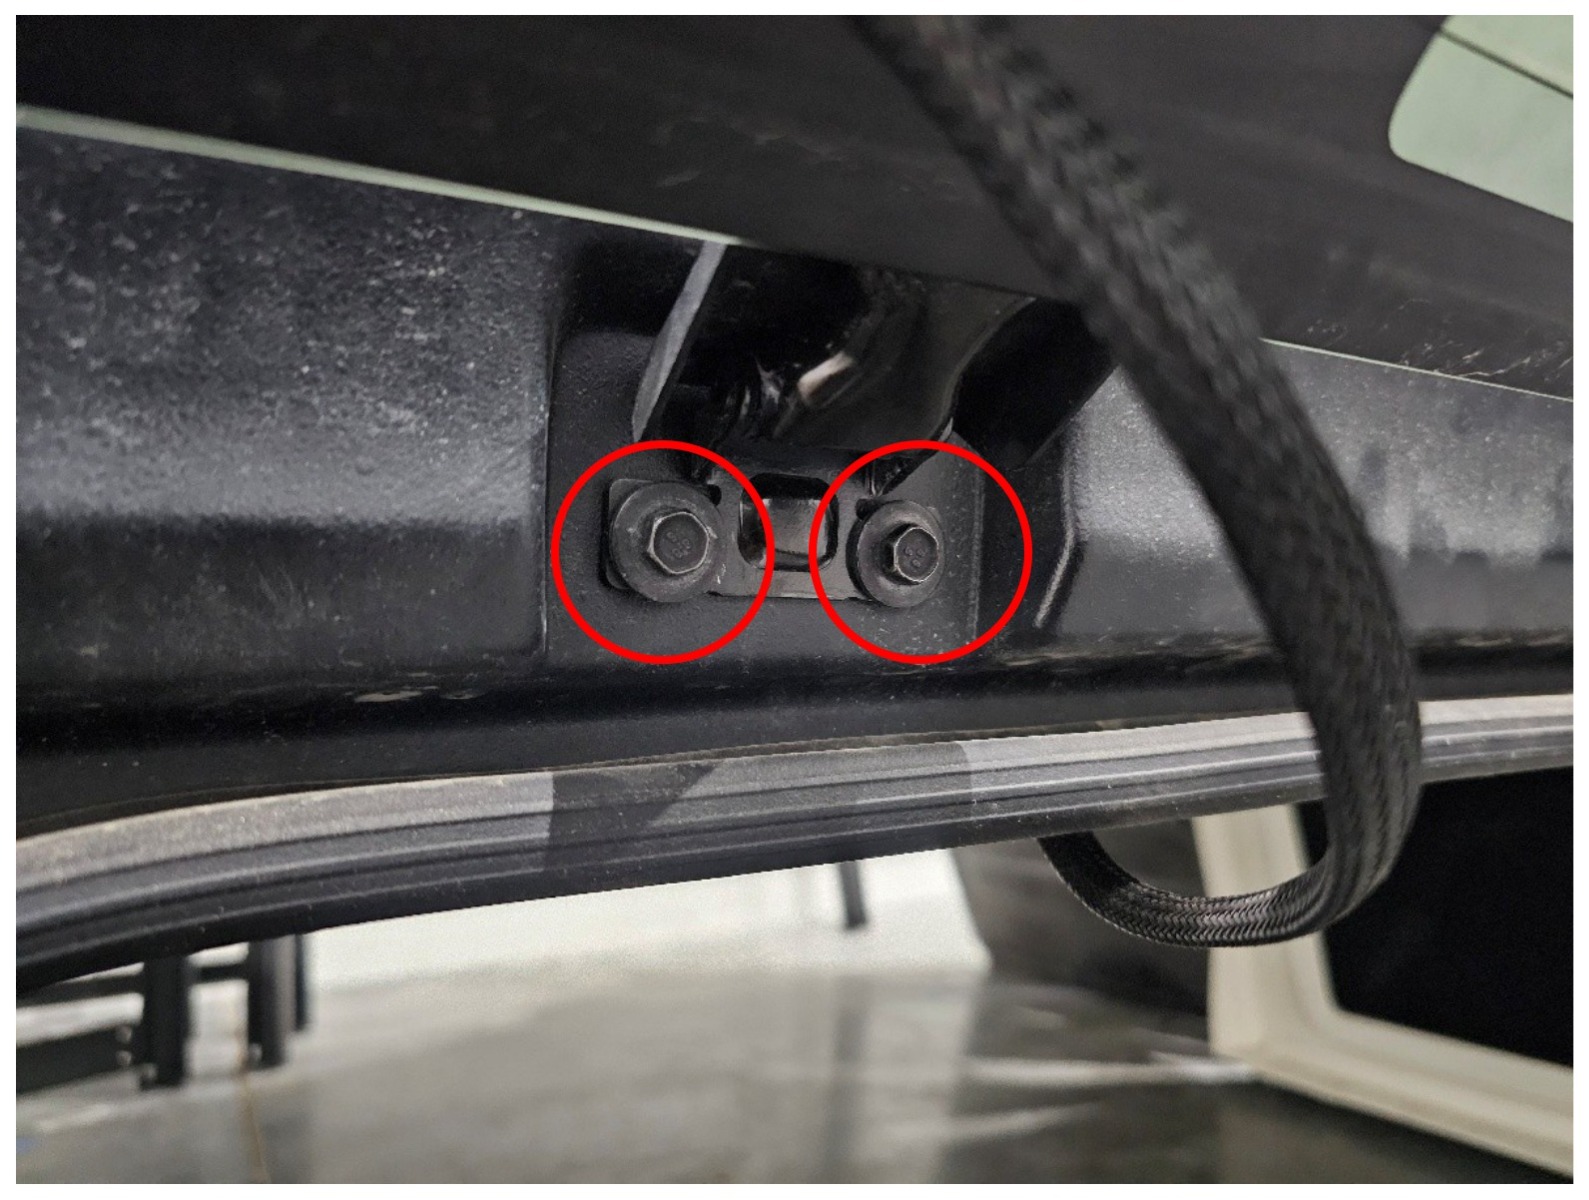
2. Position the driver-side bracket
Slide the mounting bracket between the hardtop and factory hinge. Align the holes and make sure the bracket sits flush.
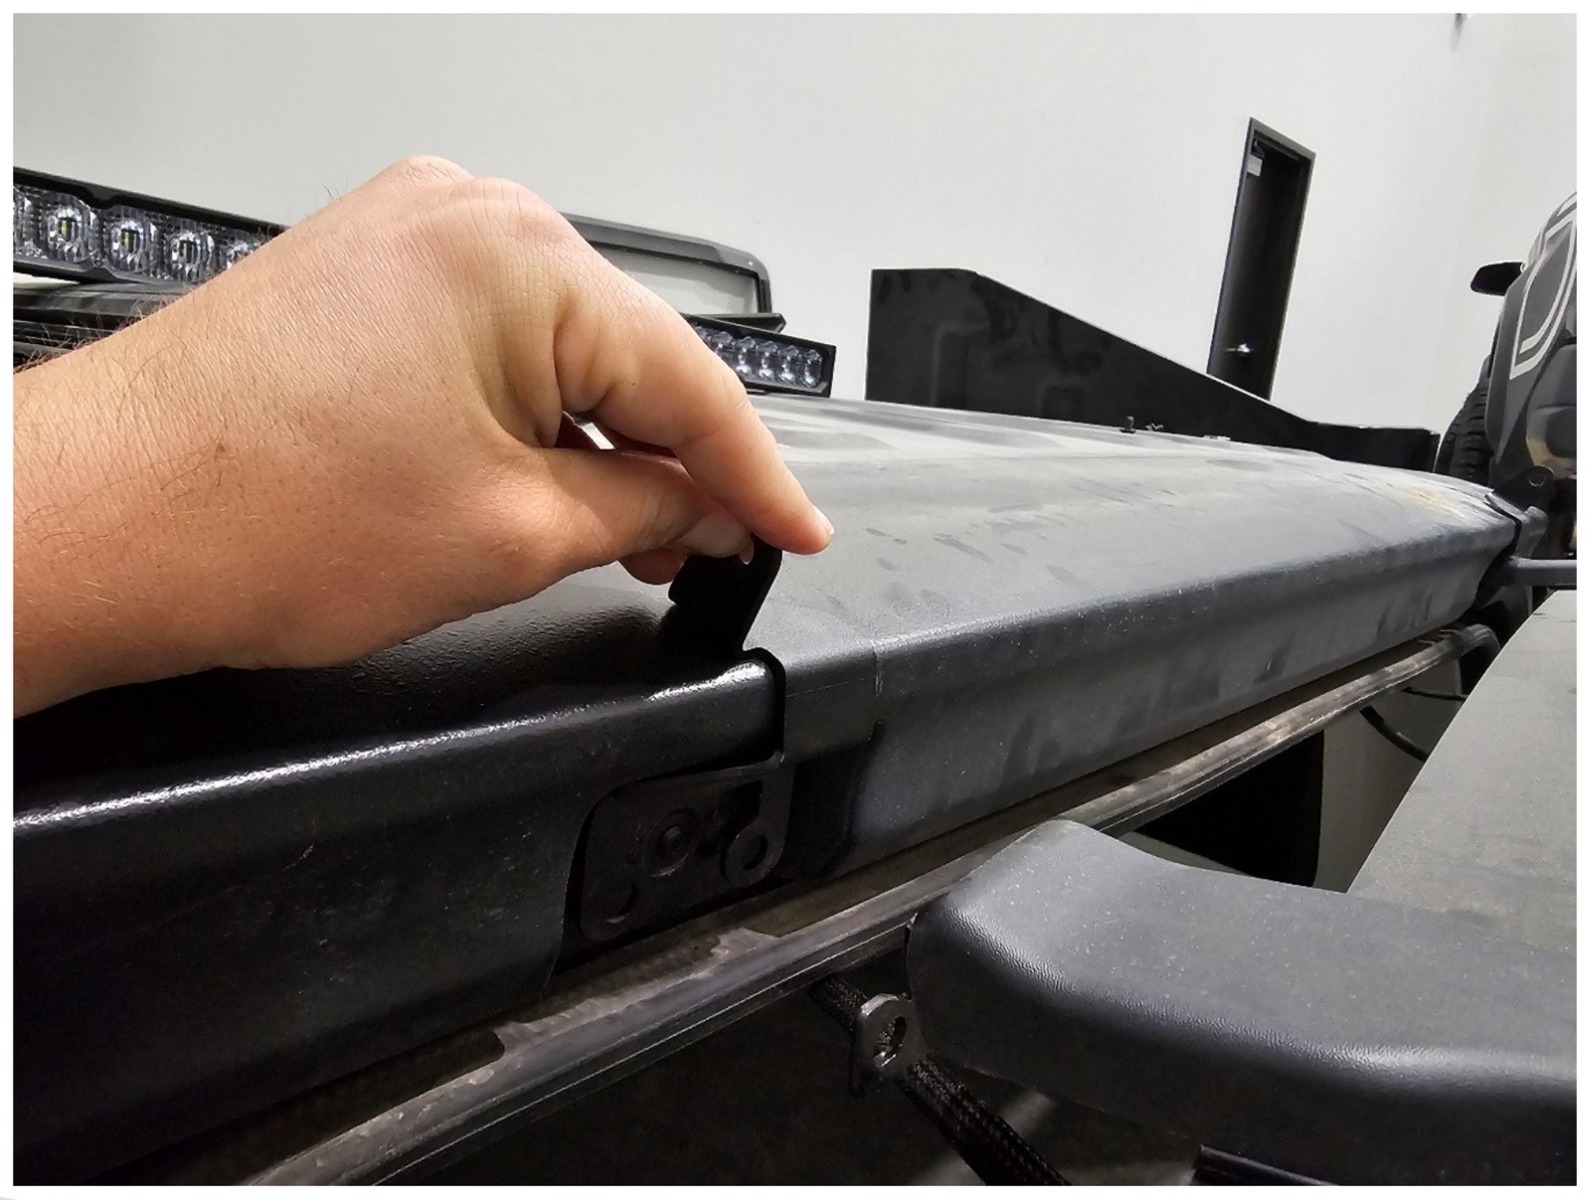
3. Secure the first bracket
Reinstall and tighten the two original hinge screws to secure the bracket.
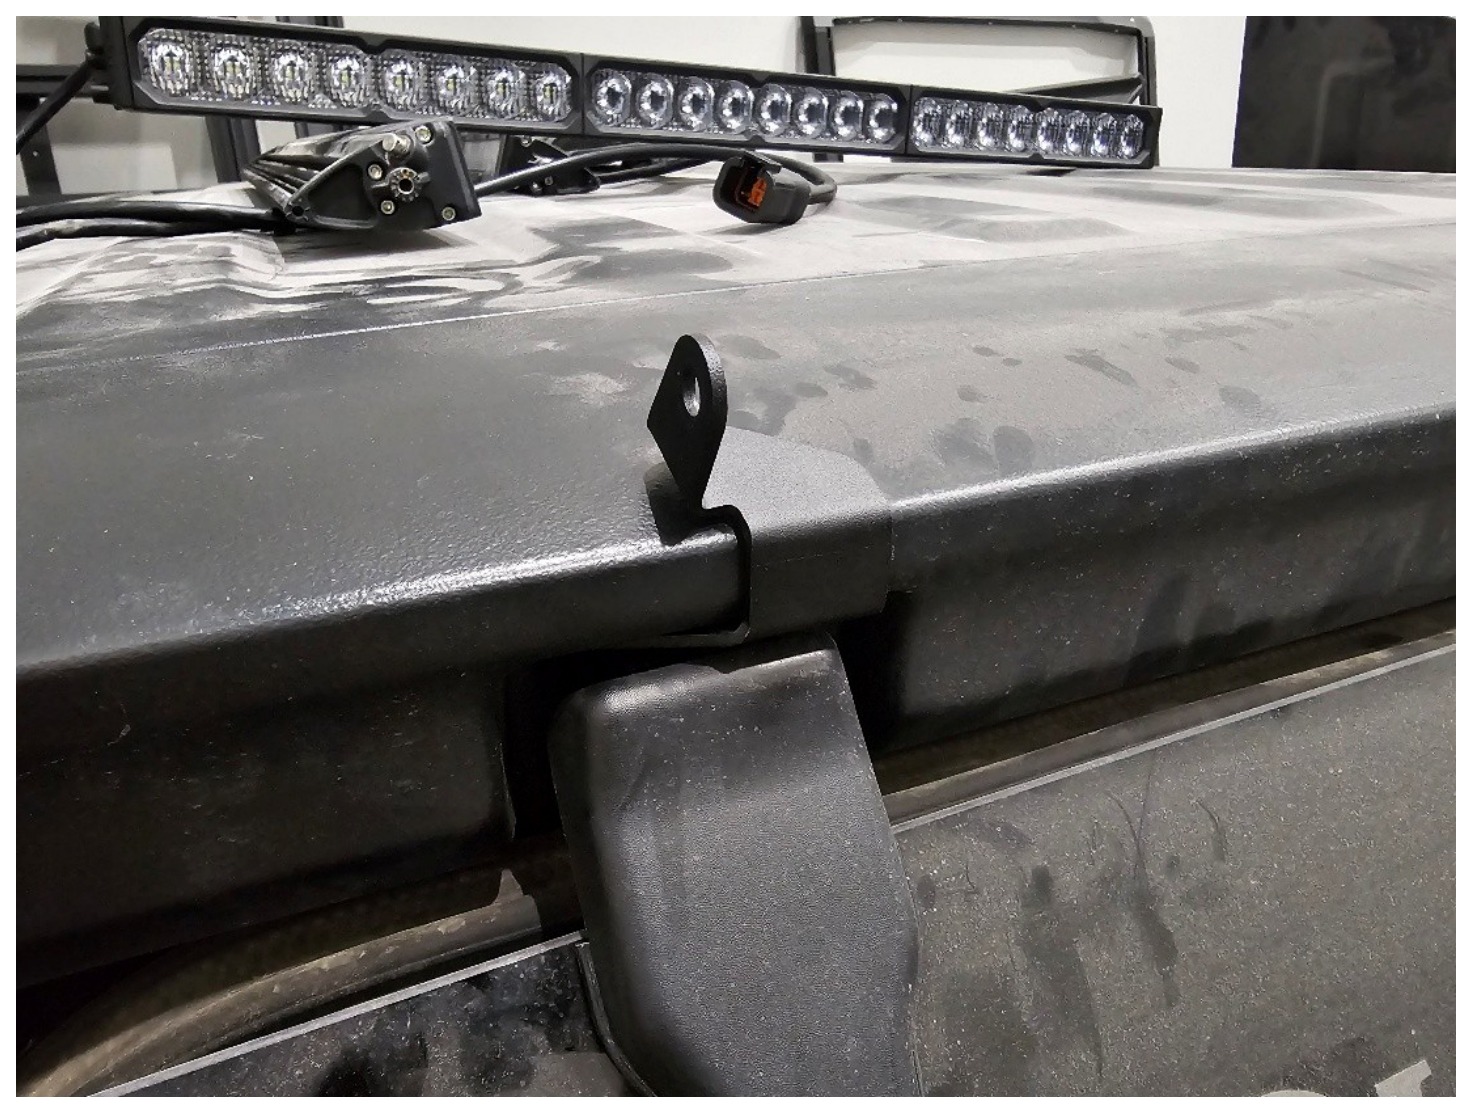
4. Repeat on the passenger side
Repeat the same removal, bracket placement and fastening procedure on the passenger side. The manufacturer uses the same fastening illustration for both sides.
5. Position the light bar
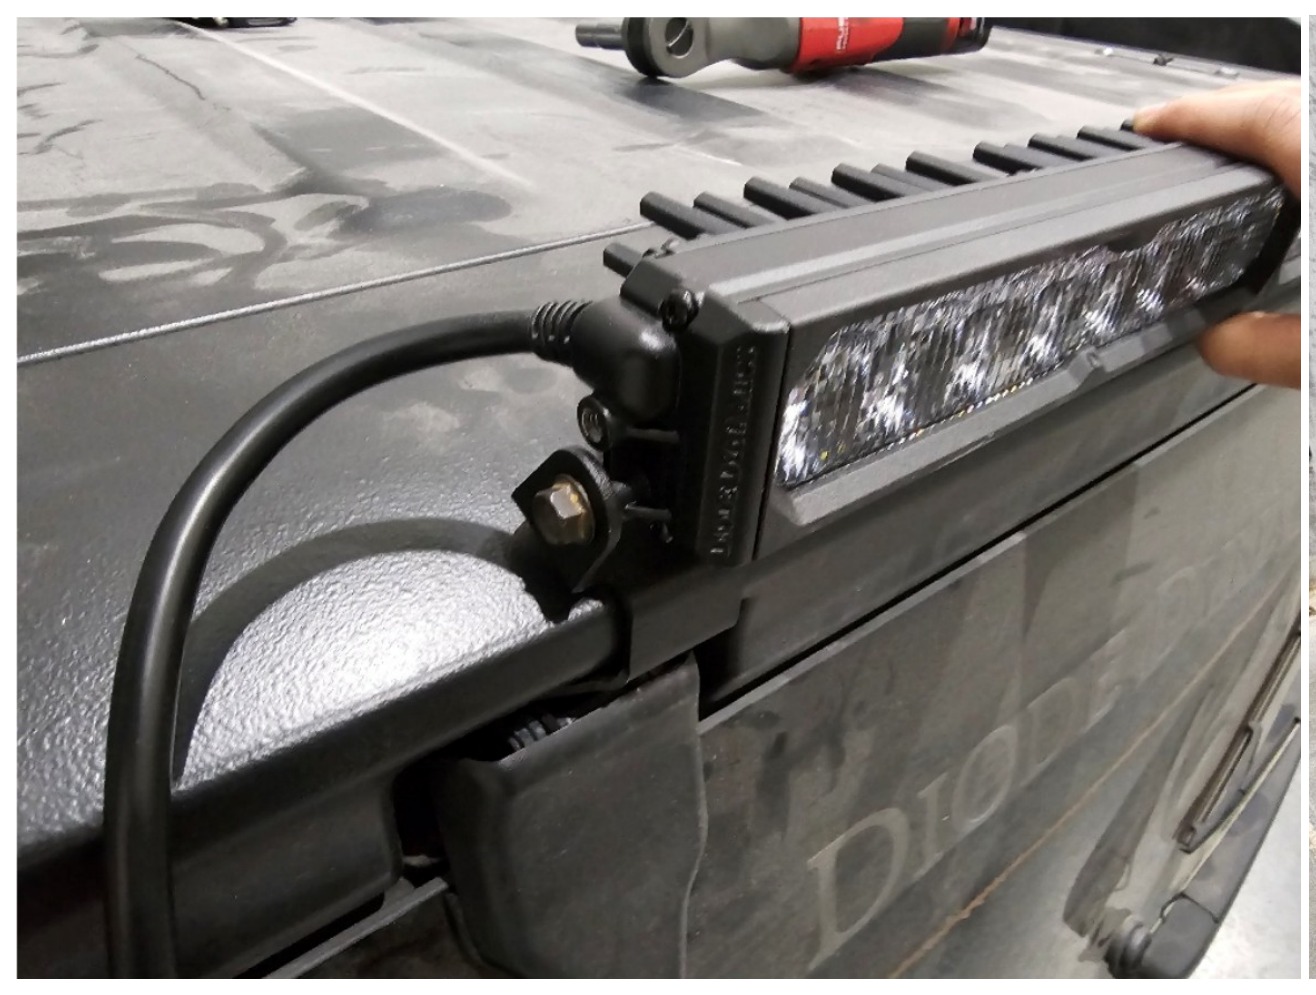
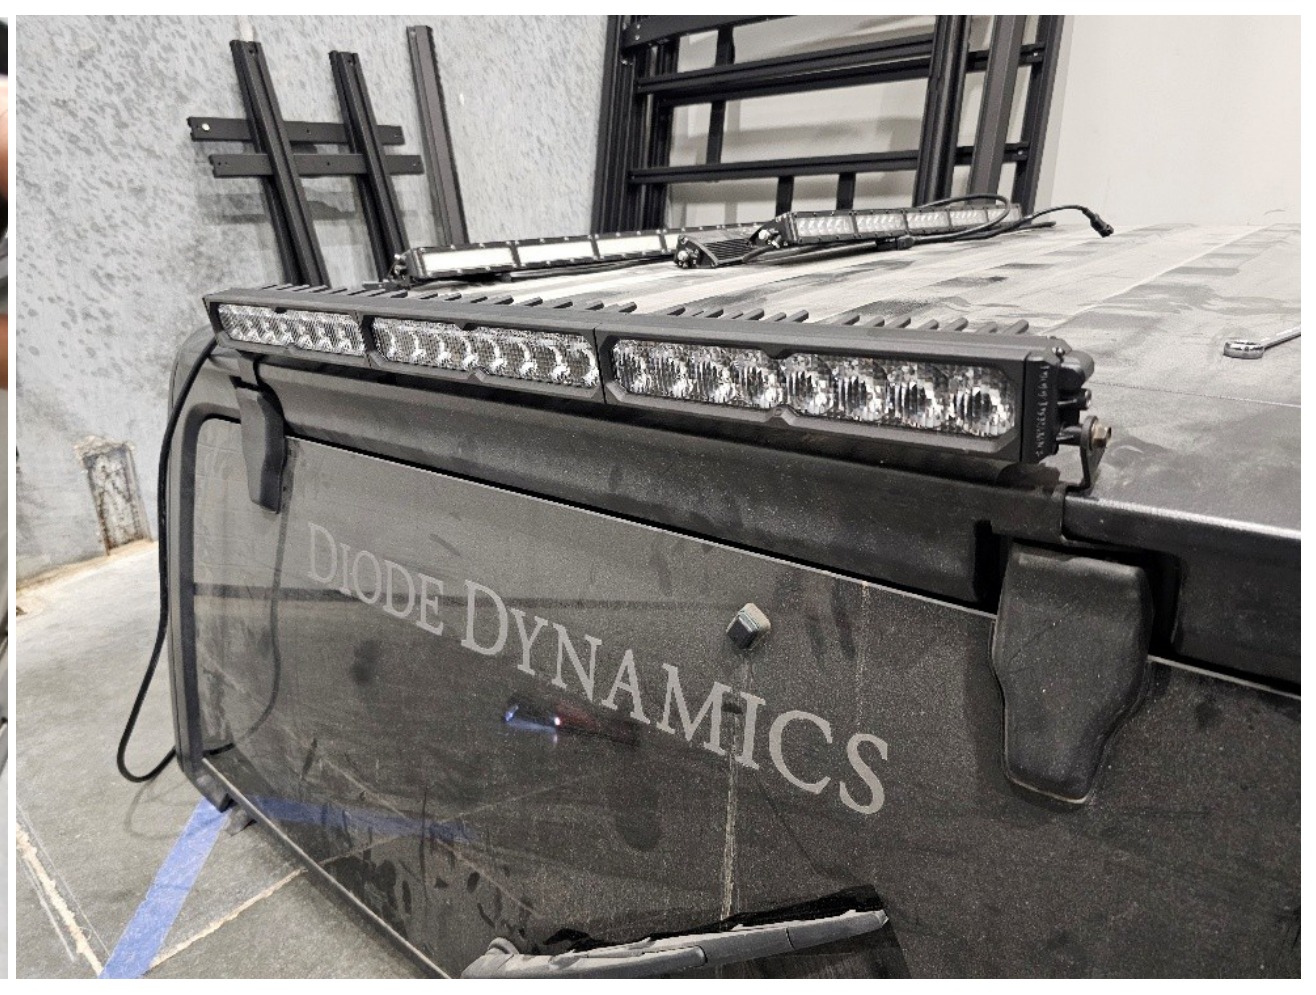
Place the SS30 across the rear of the hardtop with its cable pigtail on the driver side.
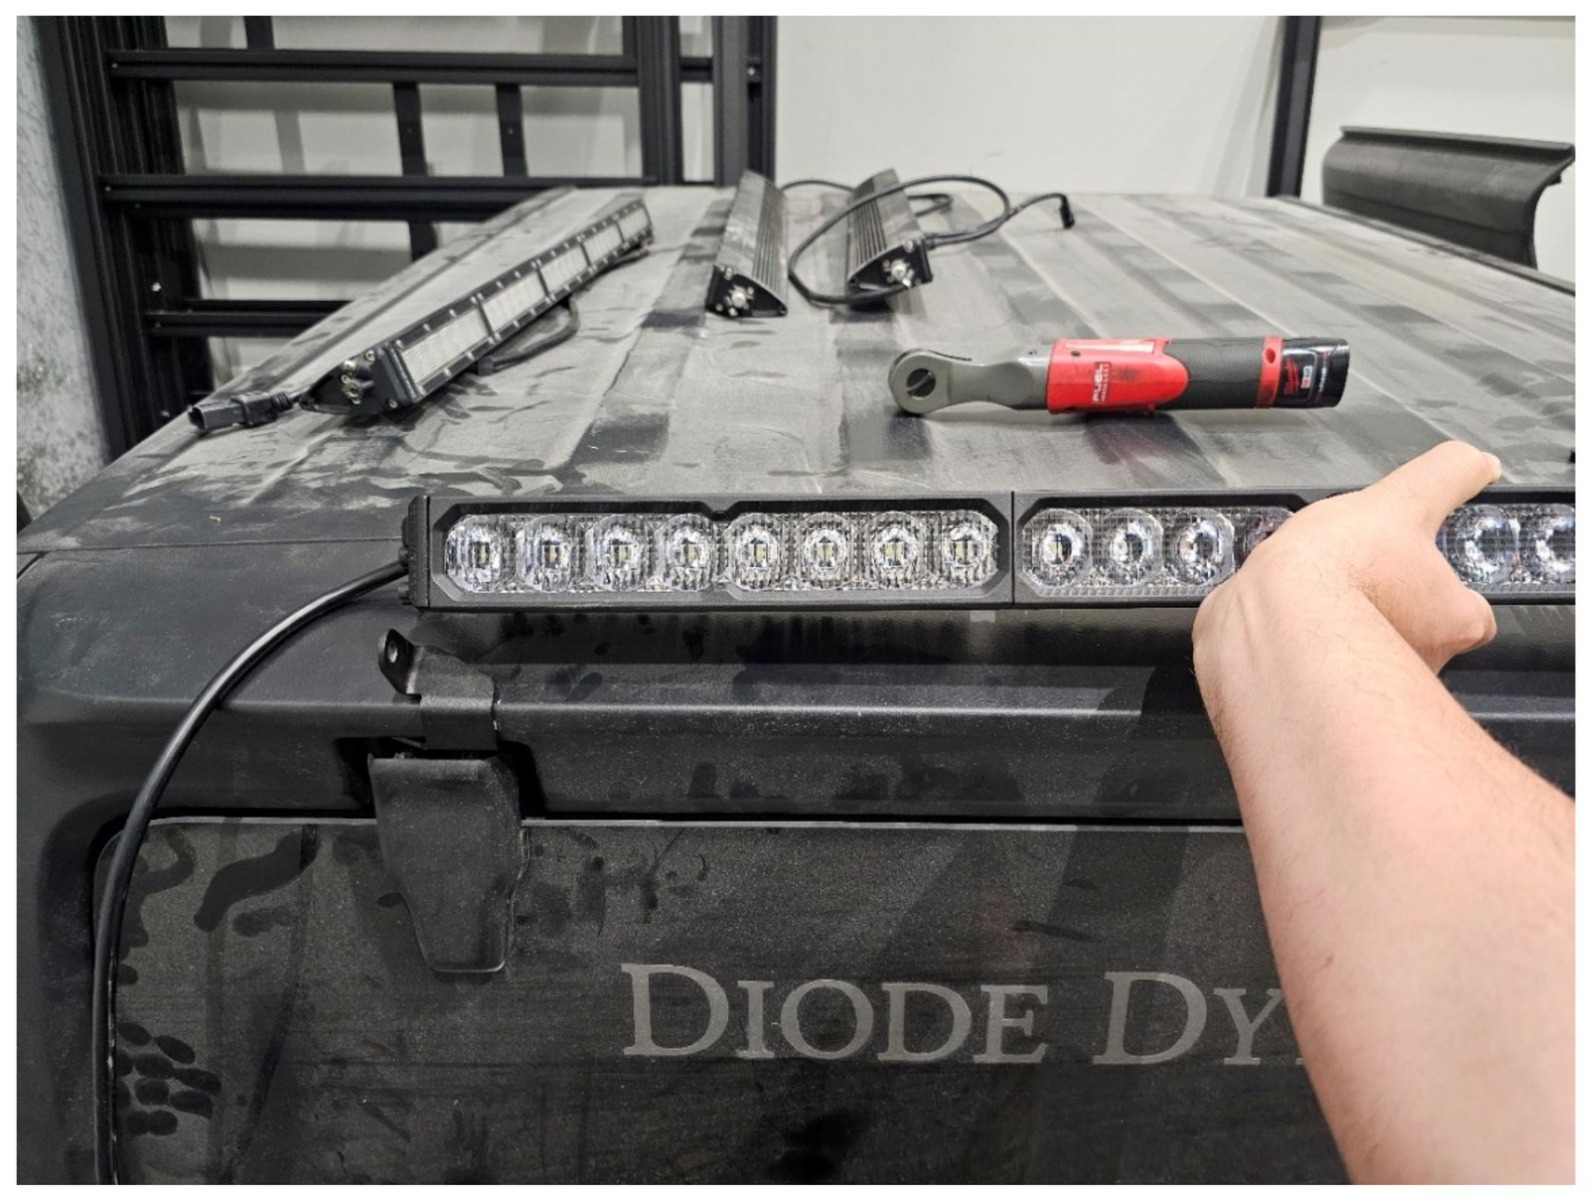
6. Secure and centre the bar
Use the lower light-bar mounting hole, as shown. Secure the bar with a 10 mm socket, checking that it is centred and fully seated before final tightening.
7. Place the adhesive cable mounts
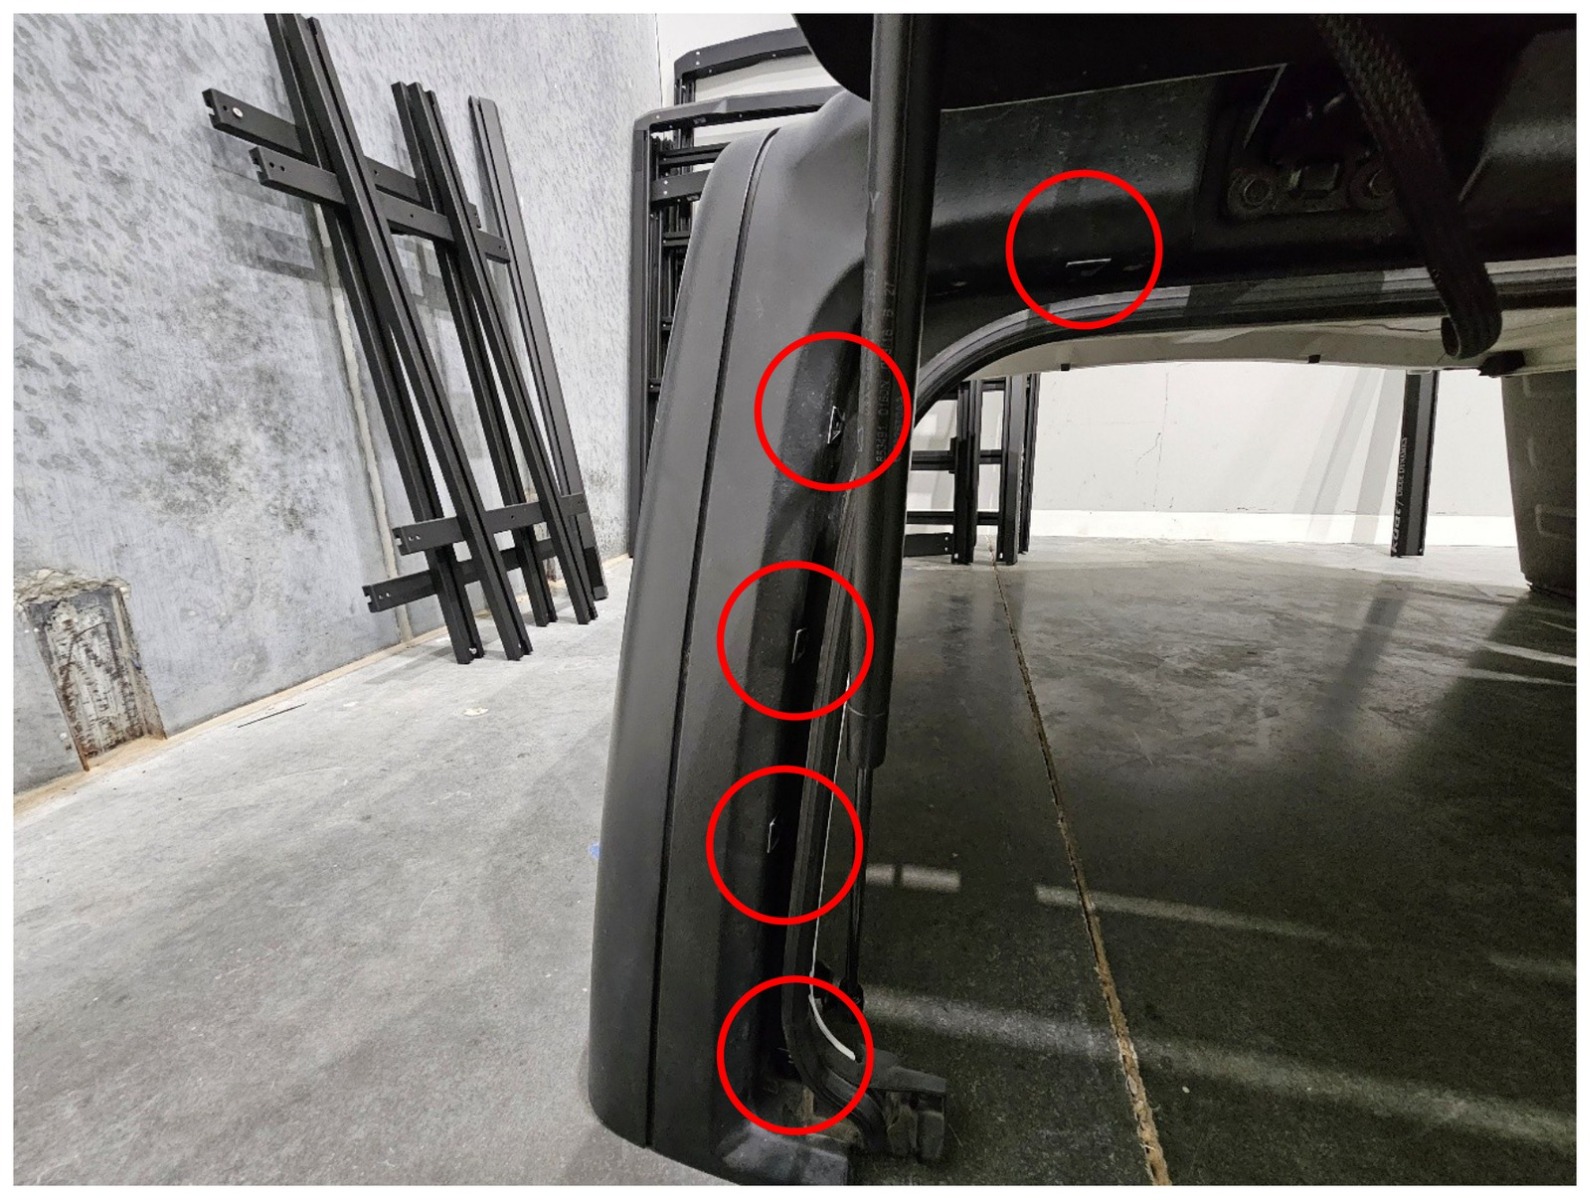
Clean and dry the mounting surface. Position the adhesive cable-tie mounts along the inner rain channel.
8. Secure the light-bar cable
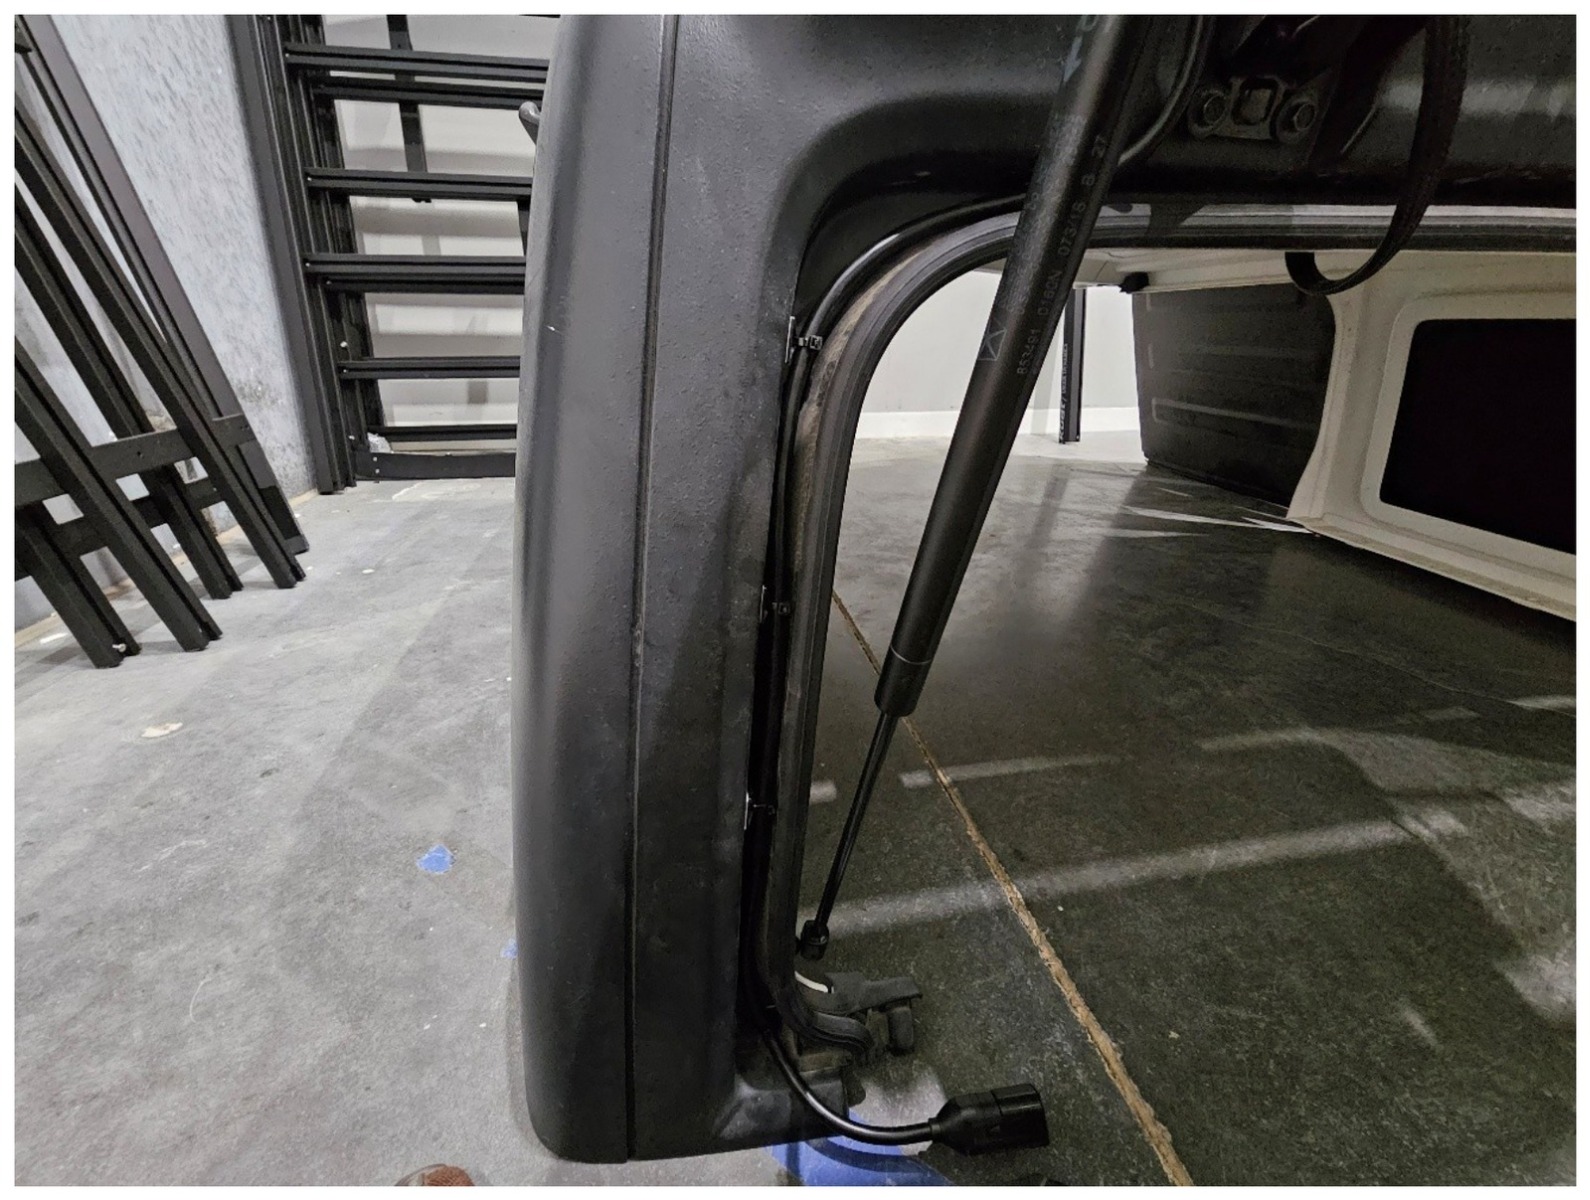
Route the cable along the mounts, fasten it with the supplied ties and trim their excess tails. Leave suitable movement and service clearance.
9. Connect the extension and relay harness
Connect the 3-metre extension harness, route it into the vehicle as directed and connect it to the supplied relay harness. Keep the cable clear of sharp edges, pinch points and moving glass.
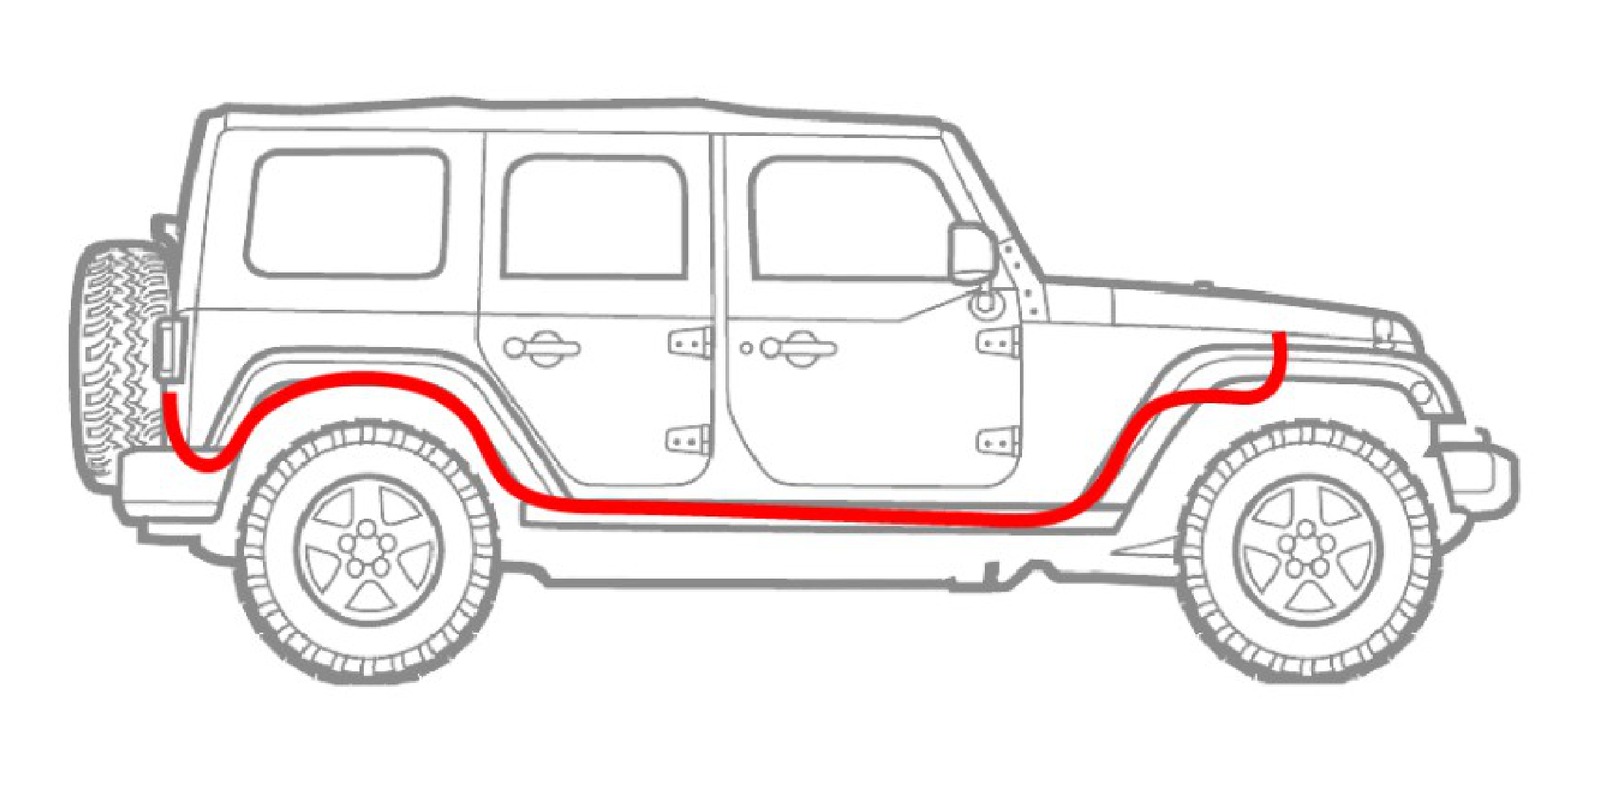
Final checks
Check all hardware, connectors and cable supports. Open the rear glass through its full travel, confirm that nothing is pinched or stretched, and test the independent light control. Protect the harness connection before removing the hardtop. Do not use the factory backup circuit as the lamp’s power feed.
Watch the manufacturer installation
Follow the current written mounting and harness steps for the selected SS30 kit.
Matching products
Original instructions
Original photographs and technical illustrations: Diode Dynamics. This BTS guide explains the installation using the manufacturer’s current procedure.
Read the original manufacturer article · Manufacturer article dated June 25, 2026; checked October 24, 2026.