

MORIMOTO LF642 · TYPE B6/B7
Check the LF642 fog-light fit before installation
Use the original Morimoto drawings and product photographs to compare your existing fog lights, plan access and separate included wiring from optional accessories.
1. Identify the matching factory assembly
Start with the exact model year and body style in the LF642 fitment table. Then compare the original fog-light part number, mounting ears and connector.
Audi/VW reference: 8E0941699B / 8E0941700B. Volvo references: 30698627 / 31213175 / 8648094 and 30698628 / 31213176 / 8648095.
2. Compare the front mounting pattern
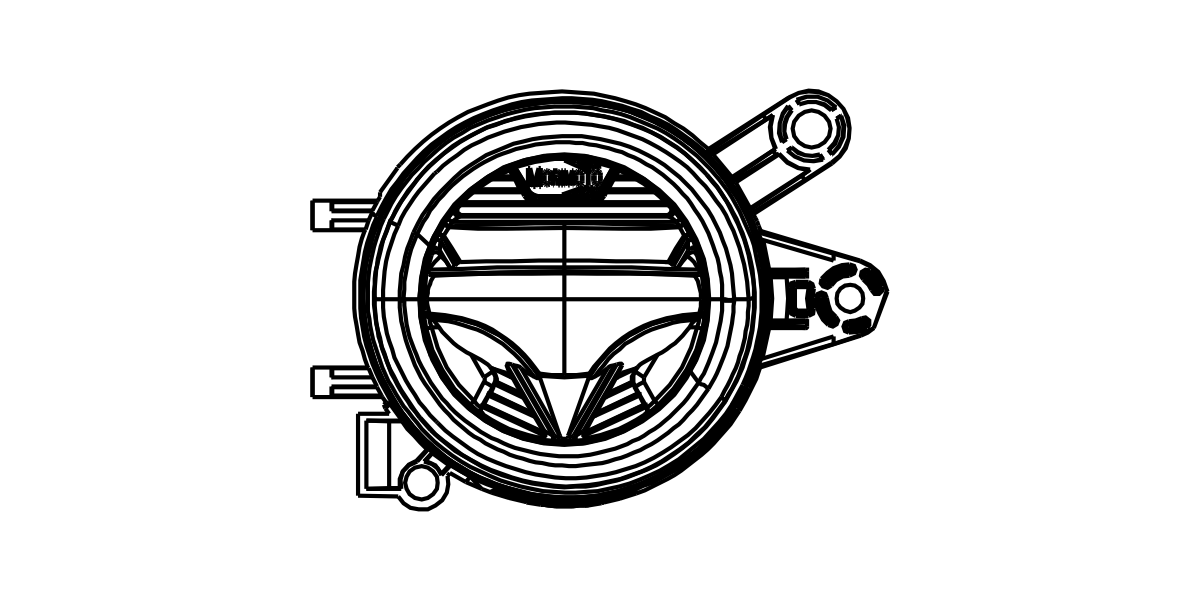
Match the position and shape of the mounting ears and the lamp surround to the original assembly. These original geometry illustrations have no dimensions; use them to compare the lamp shape rather than measure size.
3. Check depth and rear clearance
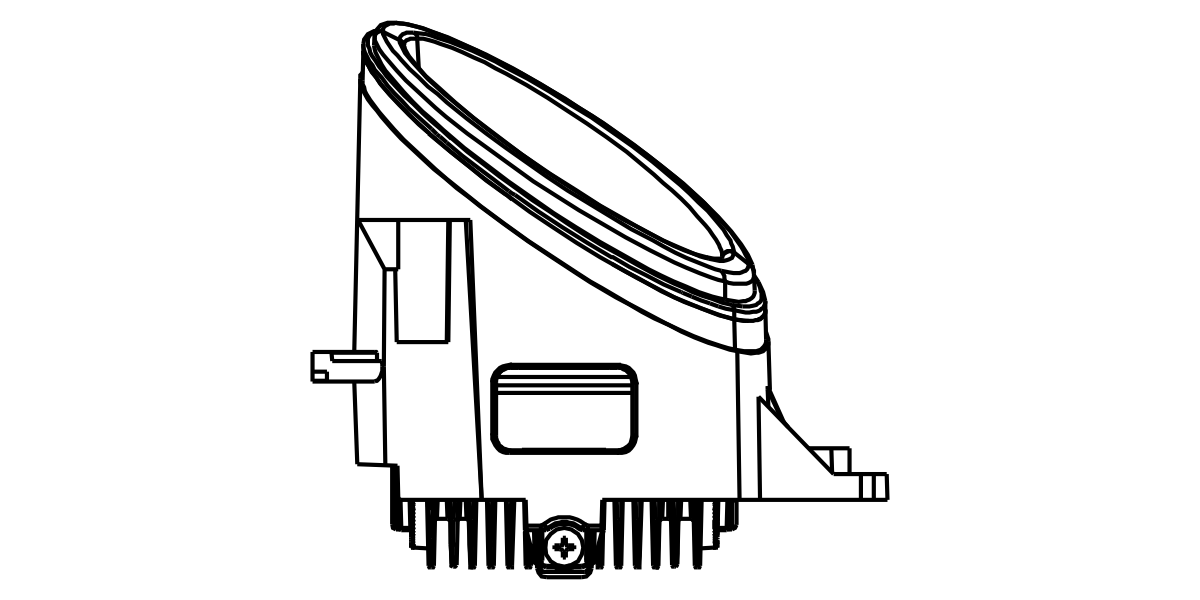
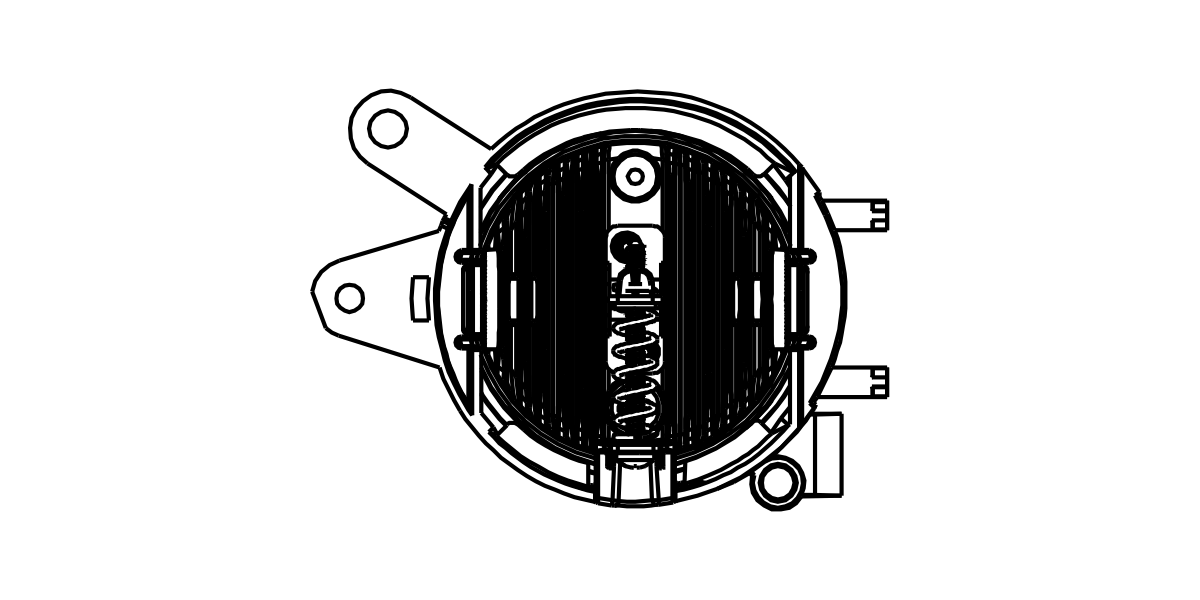
Check the space behind the original fog light, the mounting points and access to the height adjuster. Use the service information for your vehicle to establish how its trim or bumper is removed and refitted.
4. Match the factory connection

Morimoto specifies an H11 male input and supplies the listed plug-and-play harness. Compare the original plug, seals and locking arrangement before connecting it. Use the vehicle’s wiring information if terminal positions need to be checked.
If a bulb warning or flicker occurs, diagnose the vehicle’s monitoring system before choosing an optional error canceller or adapter.
5. Fit, test and aim
On a confirmed matching application, the replacement assemblies use the factory mounting locations. Refit the vehicle using its service instructions, test both fog lights and use the integrated height adjusters to set the aim. Check for warnings or flicker before completing reassembly.
If the lamp, connector or bumper differs from the reference, stop and confirm the application. Keep photographs of the original components so BTS can help identify the correct product.
Product overview
Morimoto’s short Audi XB LED overview shows the product in use. It is not a bumper-removal or wiring-pinout tutorial. Watch on YouTube.
Return to the correct product
Shop the LF642 Type B6/B7 fog-light pair
Compare automotive fog lights. The Type S5 and Type A5 pages cover different lamp families; use their own fitment requirements.