

BTS ILLUSTRATED GUIDE · PRO COMP 76402P
Pro Comp 76402P Jeep Headlight Installation Guide
Follow the manufacturer’s photographs of the grille clips, headlight retaining ring and connectors, with the complete original six-page PDF available below.
1. Prepare the vehicle and unplug the signals
Park on a level surface, apply the parking brake and disconnect the negative battery terminal according to the vehicle’s service procedure. For the grille arrangement pictured in this manual, unplug the front turn-signal connectors before removing the grille.
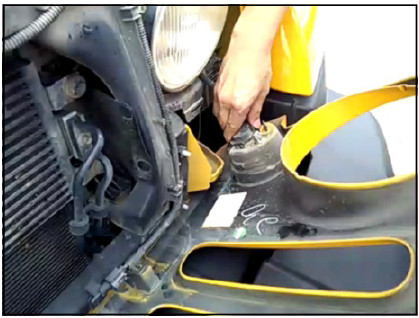
2. Release the grille
The illustrated procedure removes the six retainers along the top of the grille, then pulls the lower edge forward to release the lower clips. Support the grille and check for any remaining connections as it comes free.
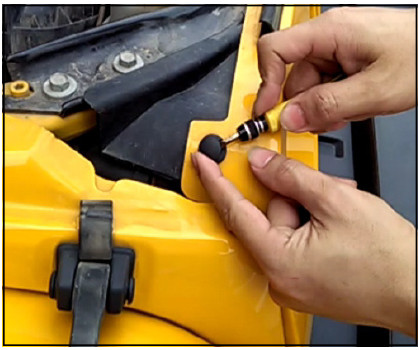
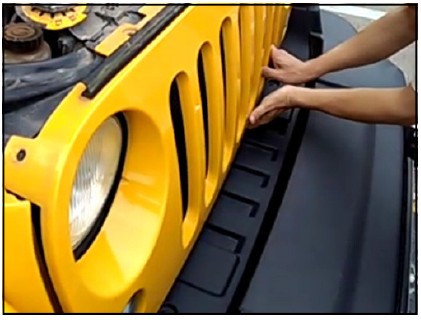
3. Remove the original lamp
Remove the four retaining-ring screws, keeping the original ring and fasteners. Support the lamp before disconnecting its plug and lifting it out.
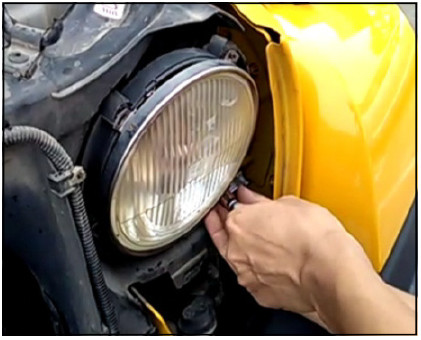
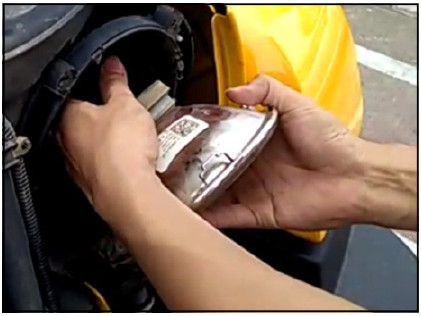
4. Connect and locate the replacement
Follow the manual’s harness branch for the vehicle’s original lamp-detection system. The original instructions specify the adapter-harness step for vehicles whose ECU detects halogen headlight operation and say to skip that step when this detection is not present. Confirm which branch applies to your vehicle.
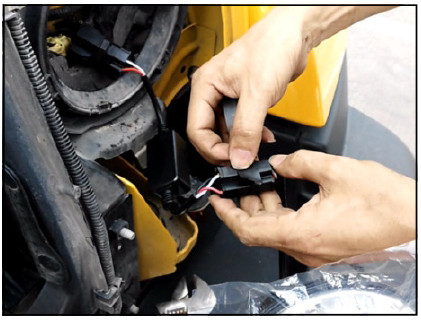
5. Refit the retaining ring
Fit the lamp with its orientation arrow upward and its locating tab aligned with the mounting slot. Reinstall the original retaining ring and four screws using the applicable factory tightening specification. The manual does not provide a torque value to substitute for the vehicle specification.
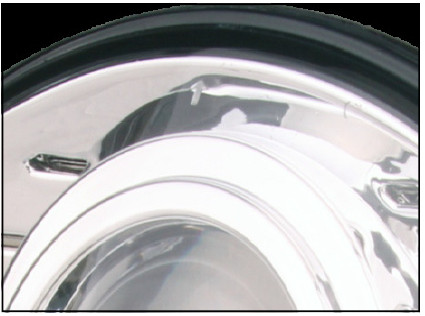
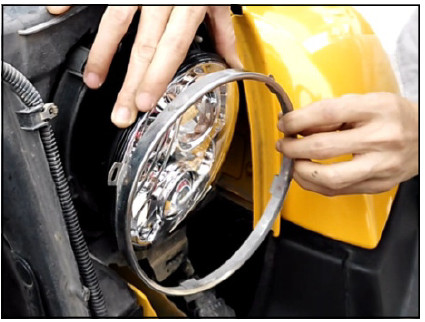
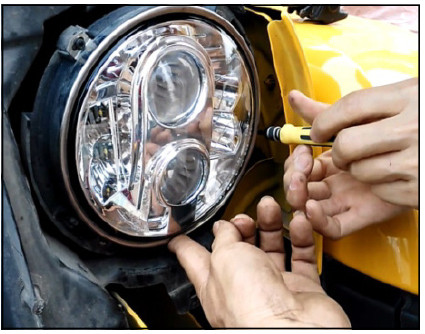
6. Test both sides and refit the grille
Repeat the procedure for the other side. Once the connections are complete and safe to power, reconnect the battery as required and test low and high beams on both lamps. Refit the grille, reconnect the turn signals and check their operation. Complete the final headlight aim using the applicable vehicle procedure.
The original PDF also includes historical general warranty language. Refer to the current product warranty and terms for this purchase; that older page is preserved as part of the unchanged manual.
Product and original instructions
View the product and current fitment · Open the complete original manufacturer PDF
The photos and diagrams above come from the manufacturer’s instructions. Keep the original PDF available and follow the instructions supplied with your exact hardware.