

BTS preparation guide · BAF027 / BAF000H
4Runner Banger ditch-light preparation and pod assembly
Start by matching your supplied parts to the kit. This guide covers the available Morimoto pod-assembly instructions and harness layout; use the instructions supplied with your vehicle brackets for the hood fasteners and torque.
Check the kit before starting

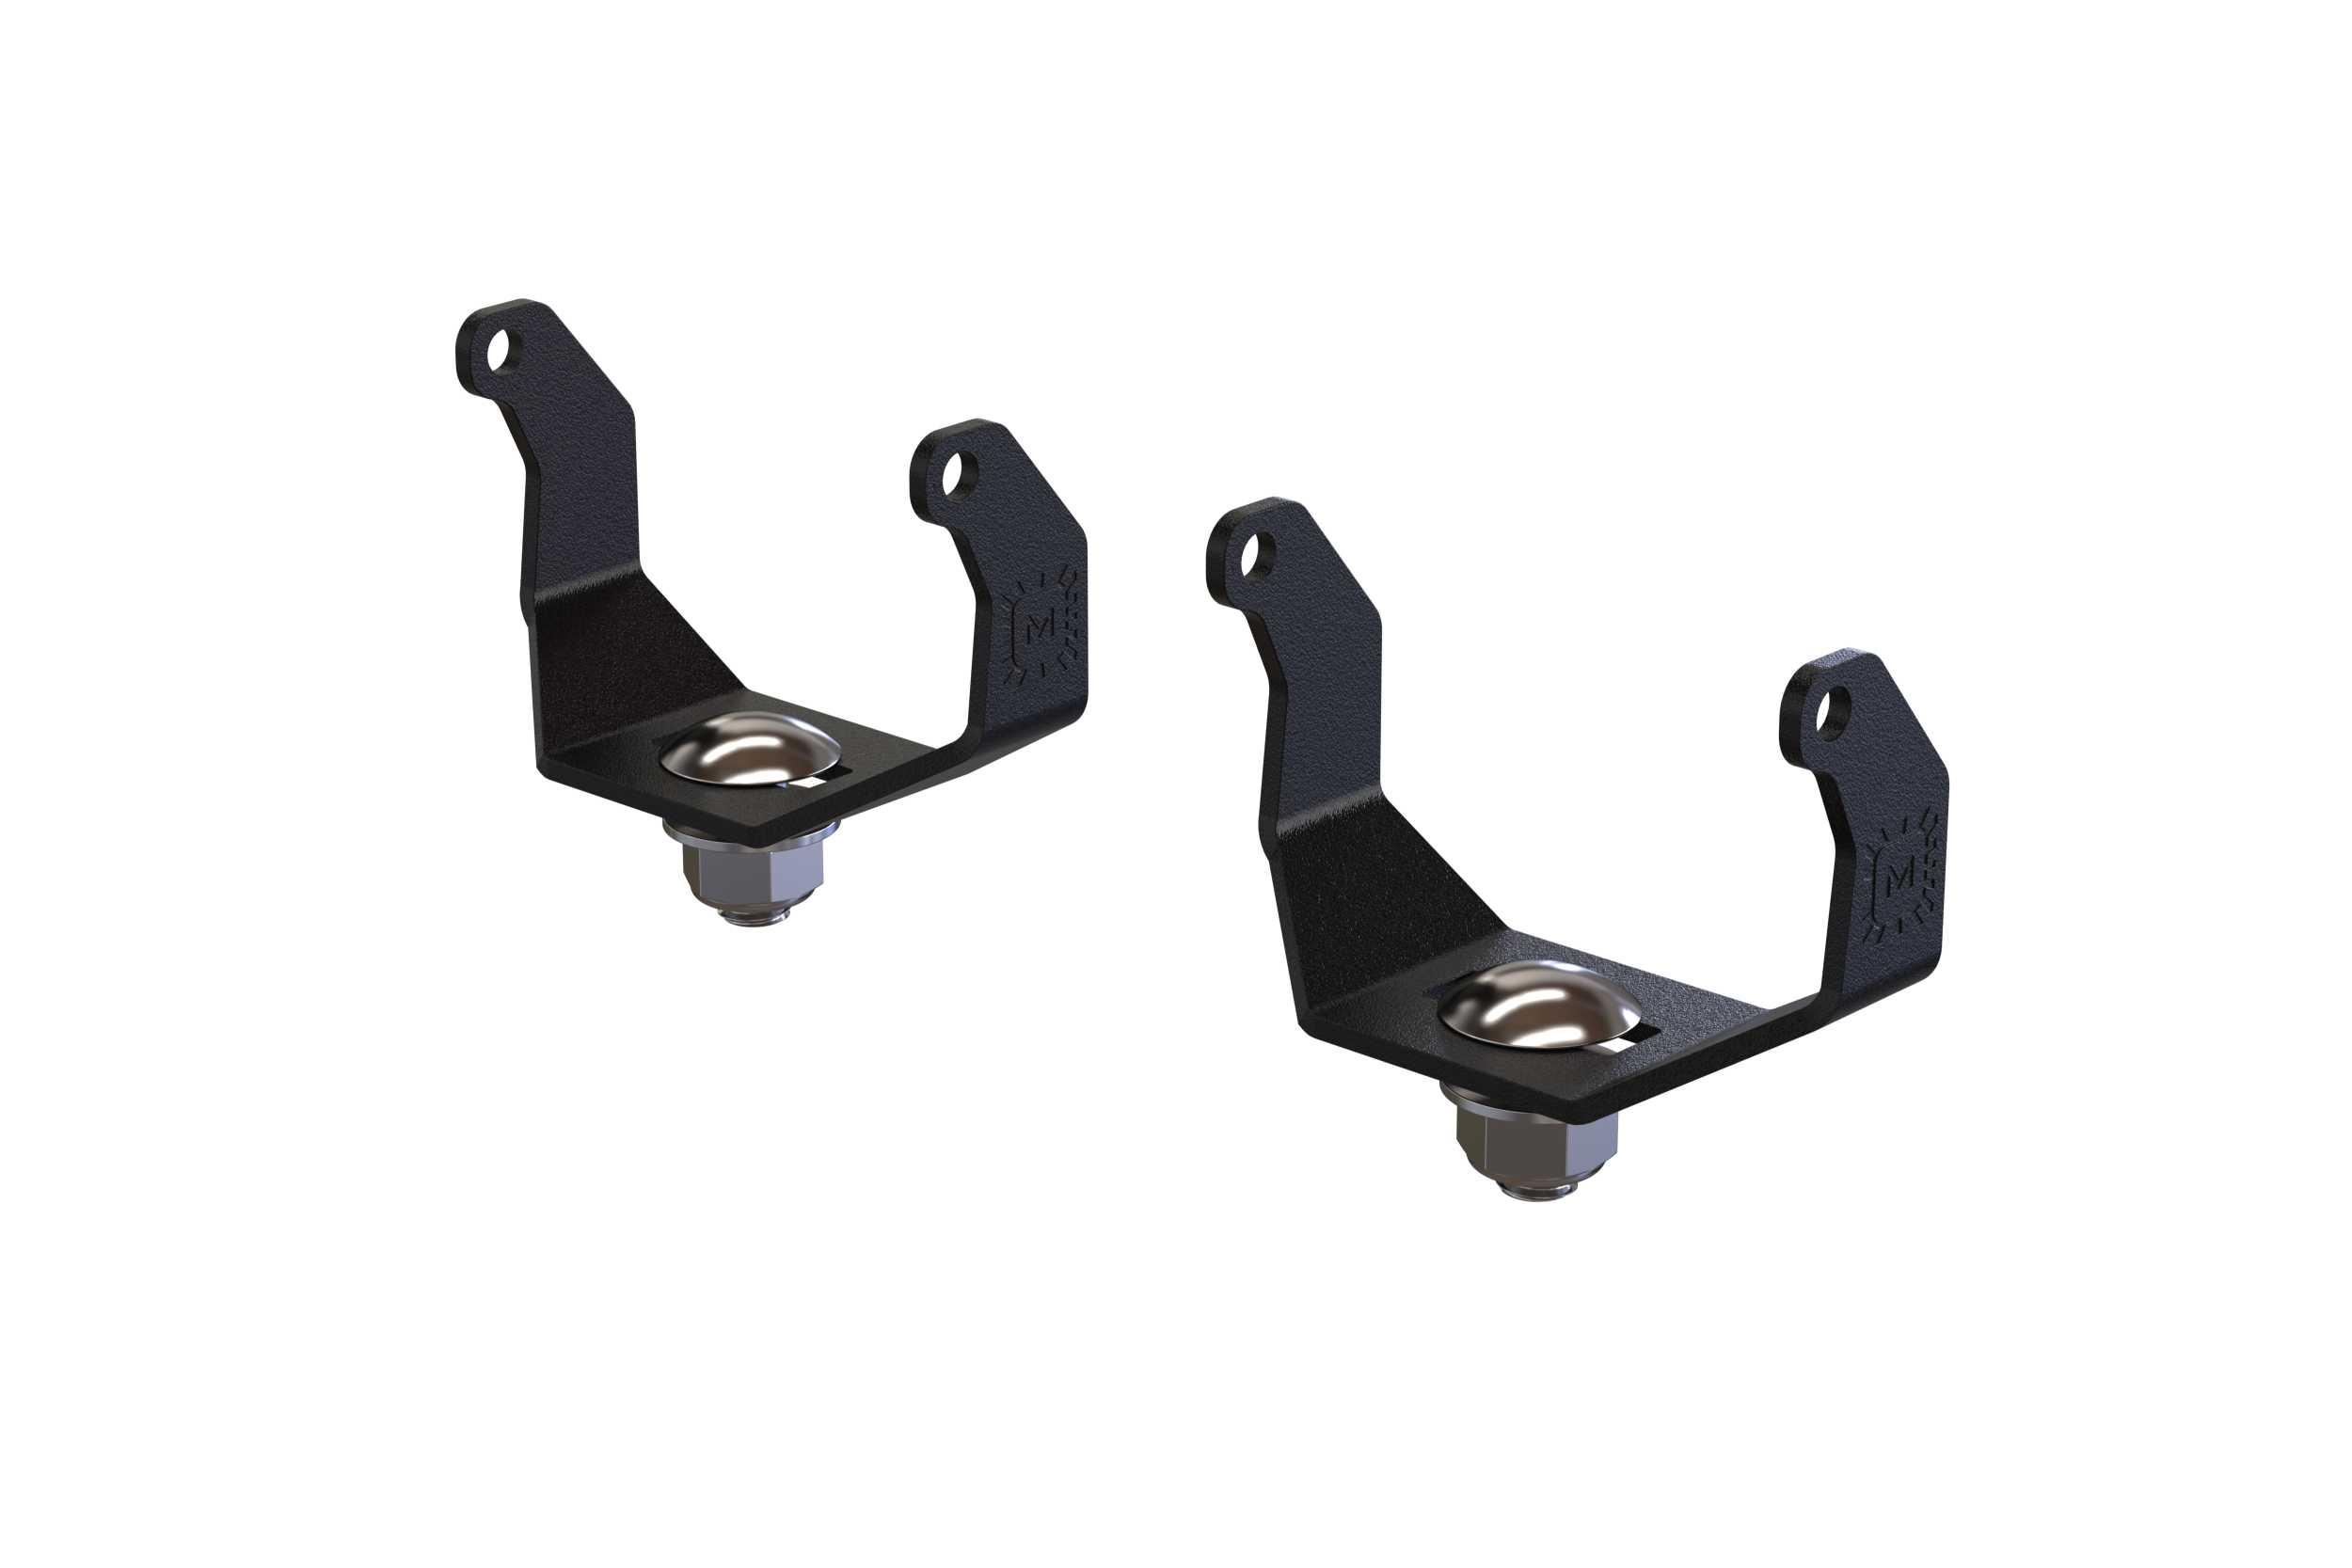
Both complete kits include BAF027 vehicle brackets, two selected pods and the BAF000H harness. The 2Banger pods include their U-brackets; the selected 4Banger 2.0 kits include the separate BAF046 bottom-mount pair.
Keep power disconnected while working on wiring. Plan a secure route clear of heat, sharp edges and moving parts. Do not disturb hood alignment or loosen vehicle fasteners without the correct bracket instructions.
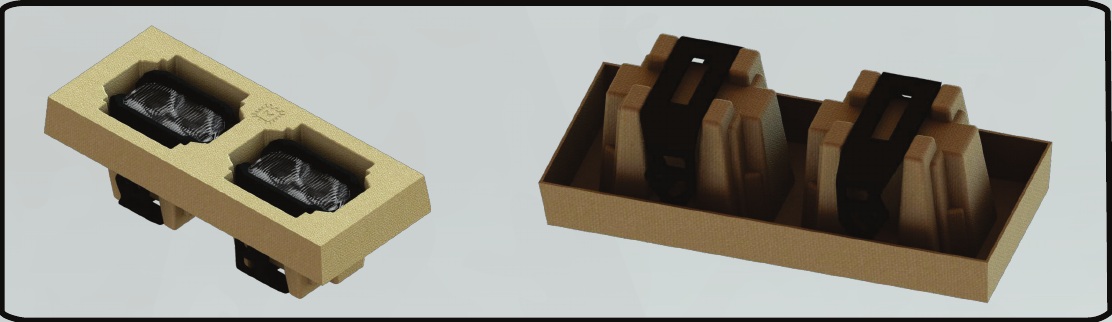
2Banger: recover the mounting brackets
The U-brackets sit beneath the moulded paper packaging. Retrieve both before disposing of the insert.
2Banger: prepare the mounting bolt
Pass the carriage bolt through the U-bracket. Use the supplied washer and locking nut when attaching the bracket to its mounting point.

2Banger: attach the U-bracket
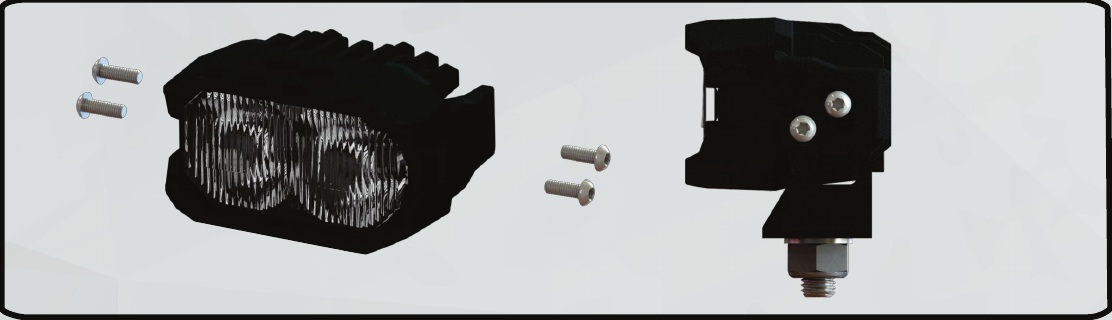
Use a Torx T20 bit to remove the four M4 screws. Position the U-bracket, reinstall the screws and avoid overtightening. This procedure is for the 2Banger housing.
4Banger 2.0: use the supplied bottom mounts
Use the BAF046 pair and hardware supplied with the selected kit. Follow the pod instructions for their assembly; the 2Banger M4/T20 procedure above is not a 4Banger instruction.
Identify the BAF000H connections
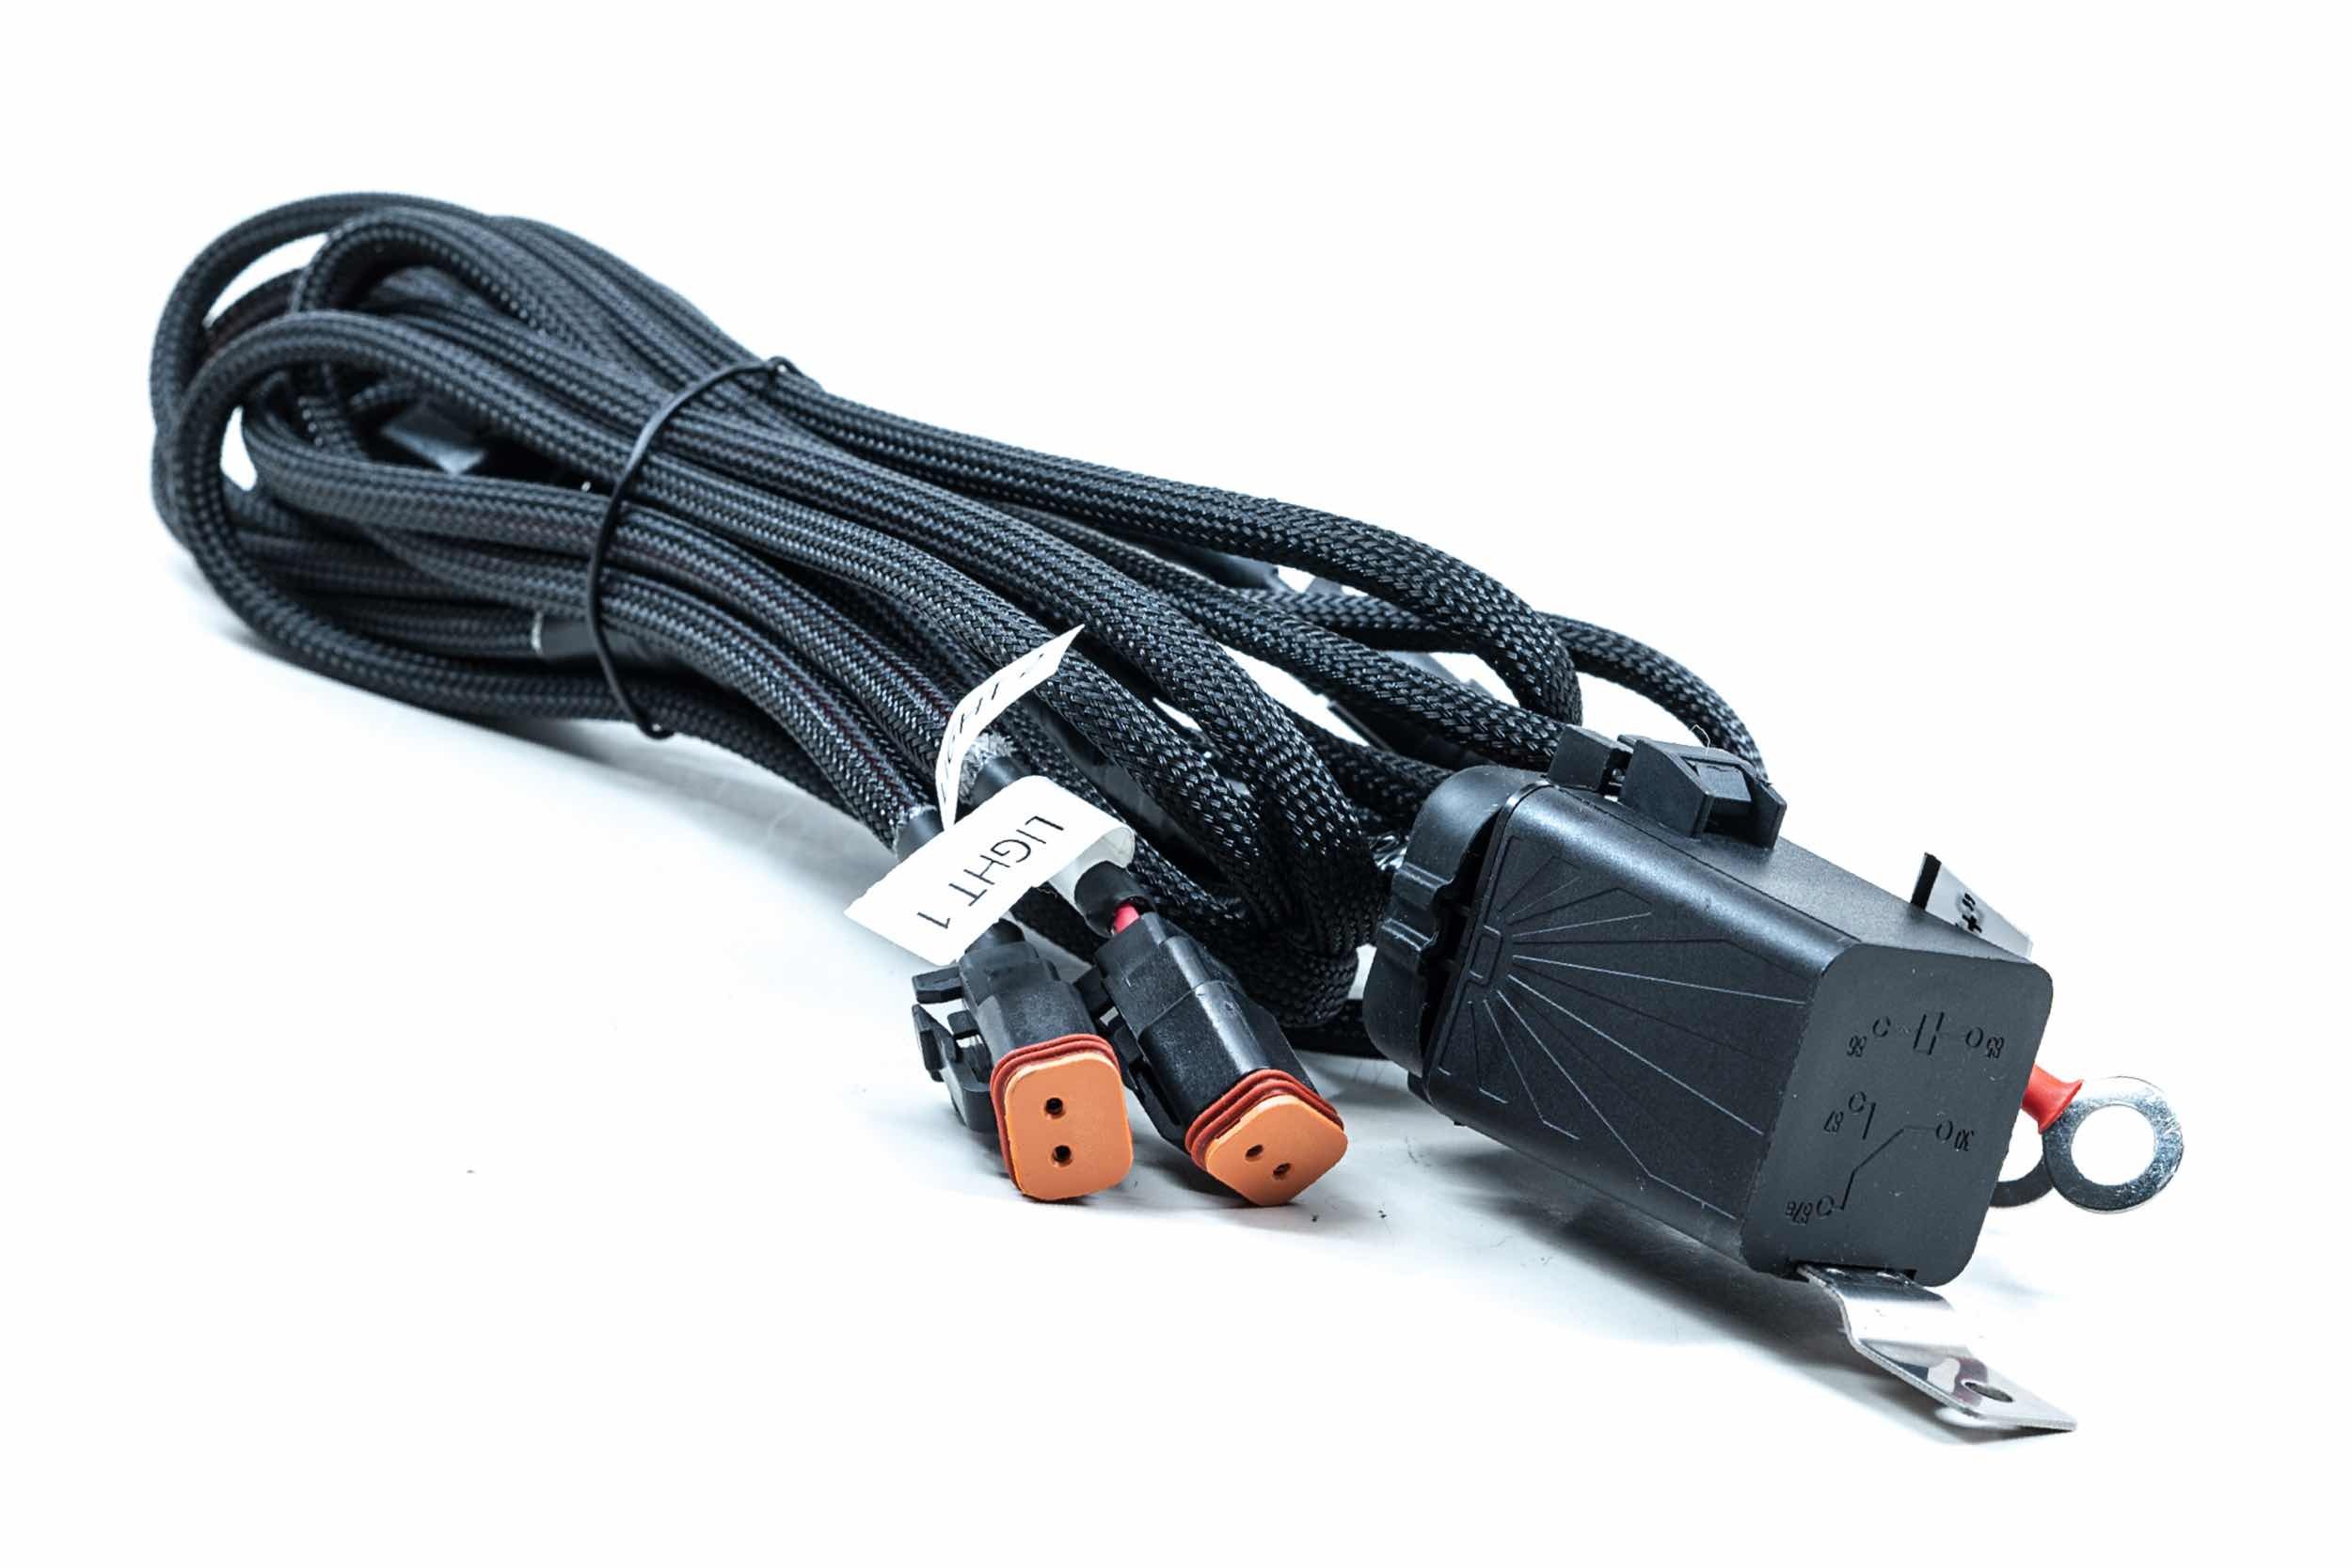
The original diagram labels Light 1 and Light 2, Ground, Battery “+” and the detachable switch lead. Identify these on the supplied harness before connecting power. Keep the fuse holder, relay and electrical connections protected and securely mounted.
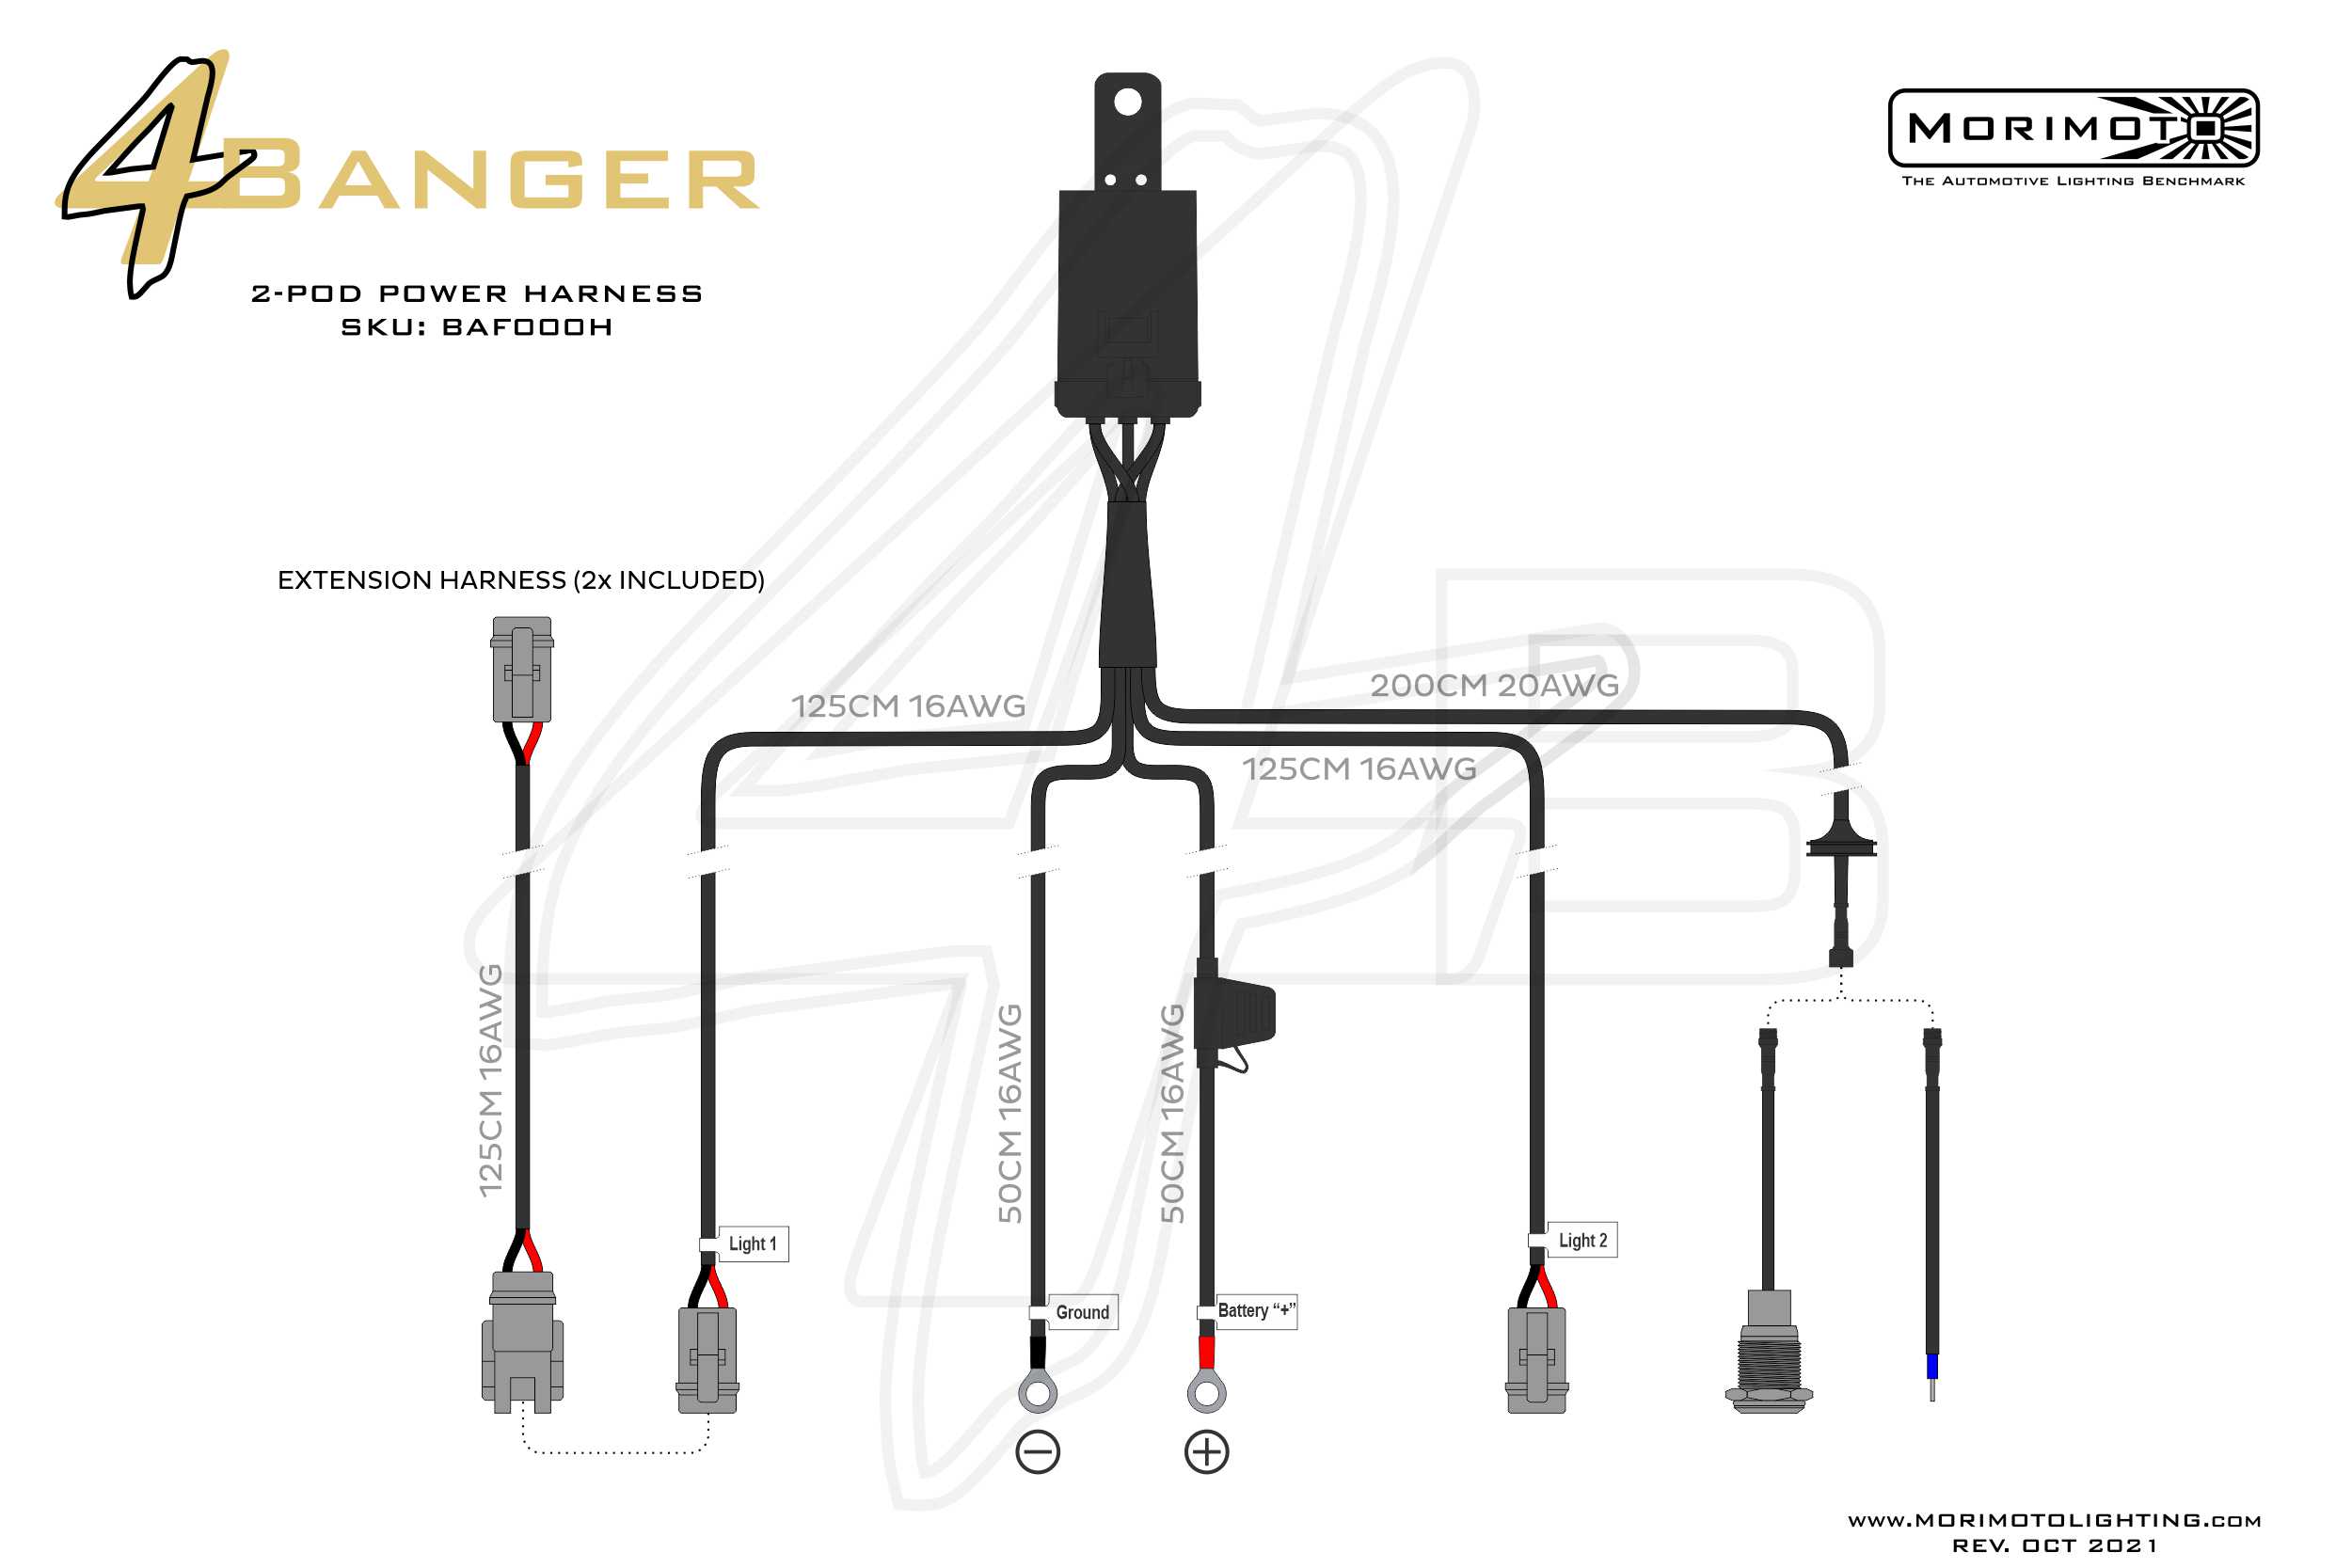
This diagram is revision October 2021. Harness accessories and extension quantities can vary by revision; check the supplied harness and its instructions rather than treating every pictured accessory as a second included item.
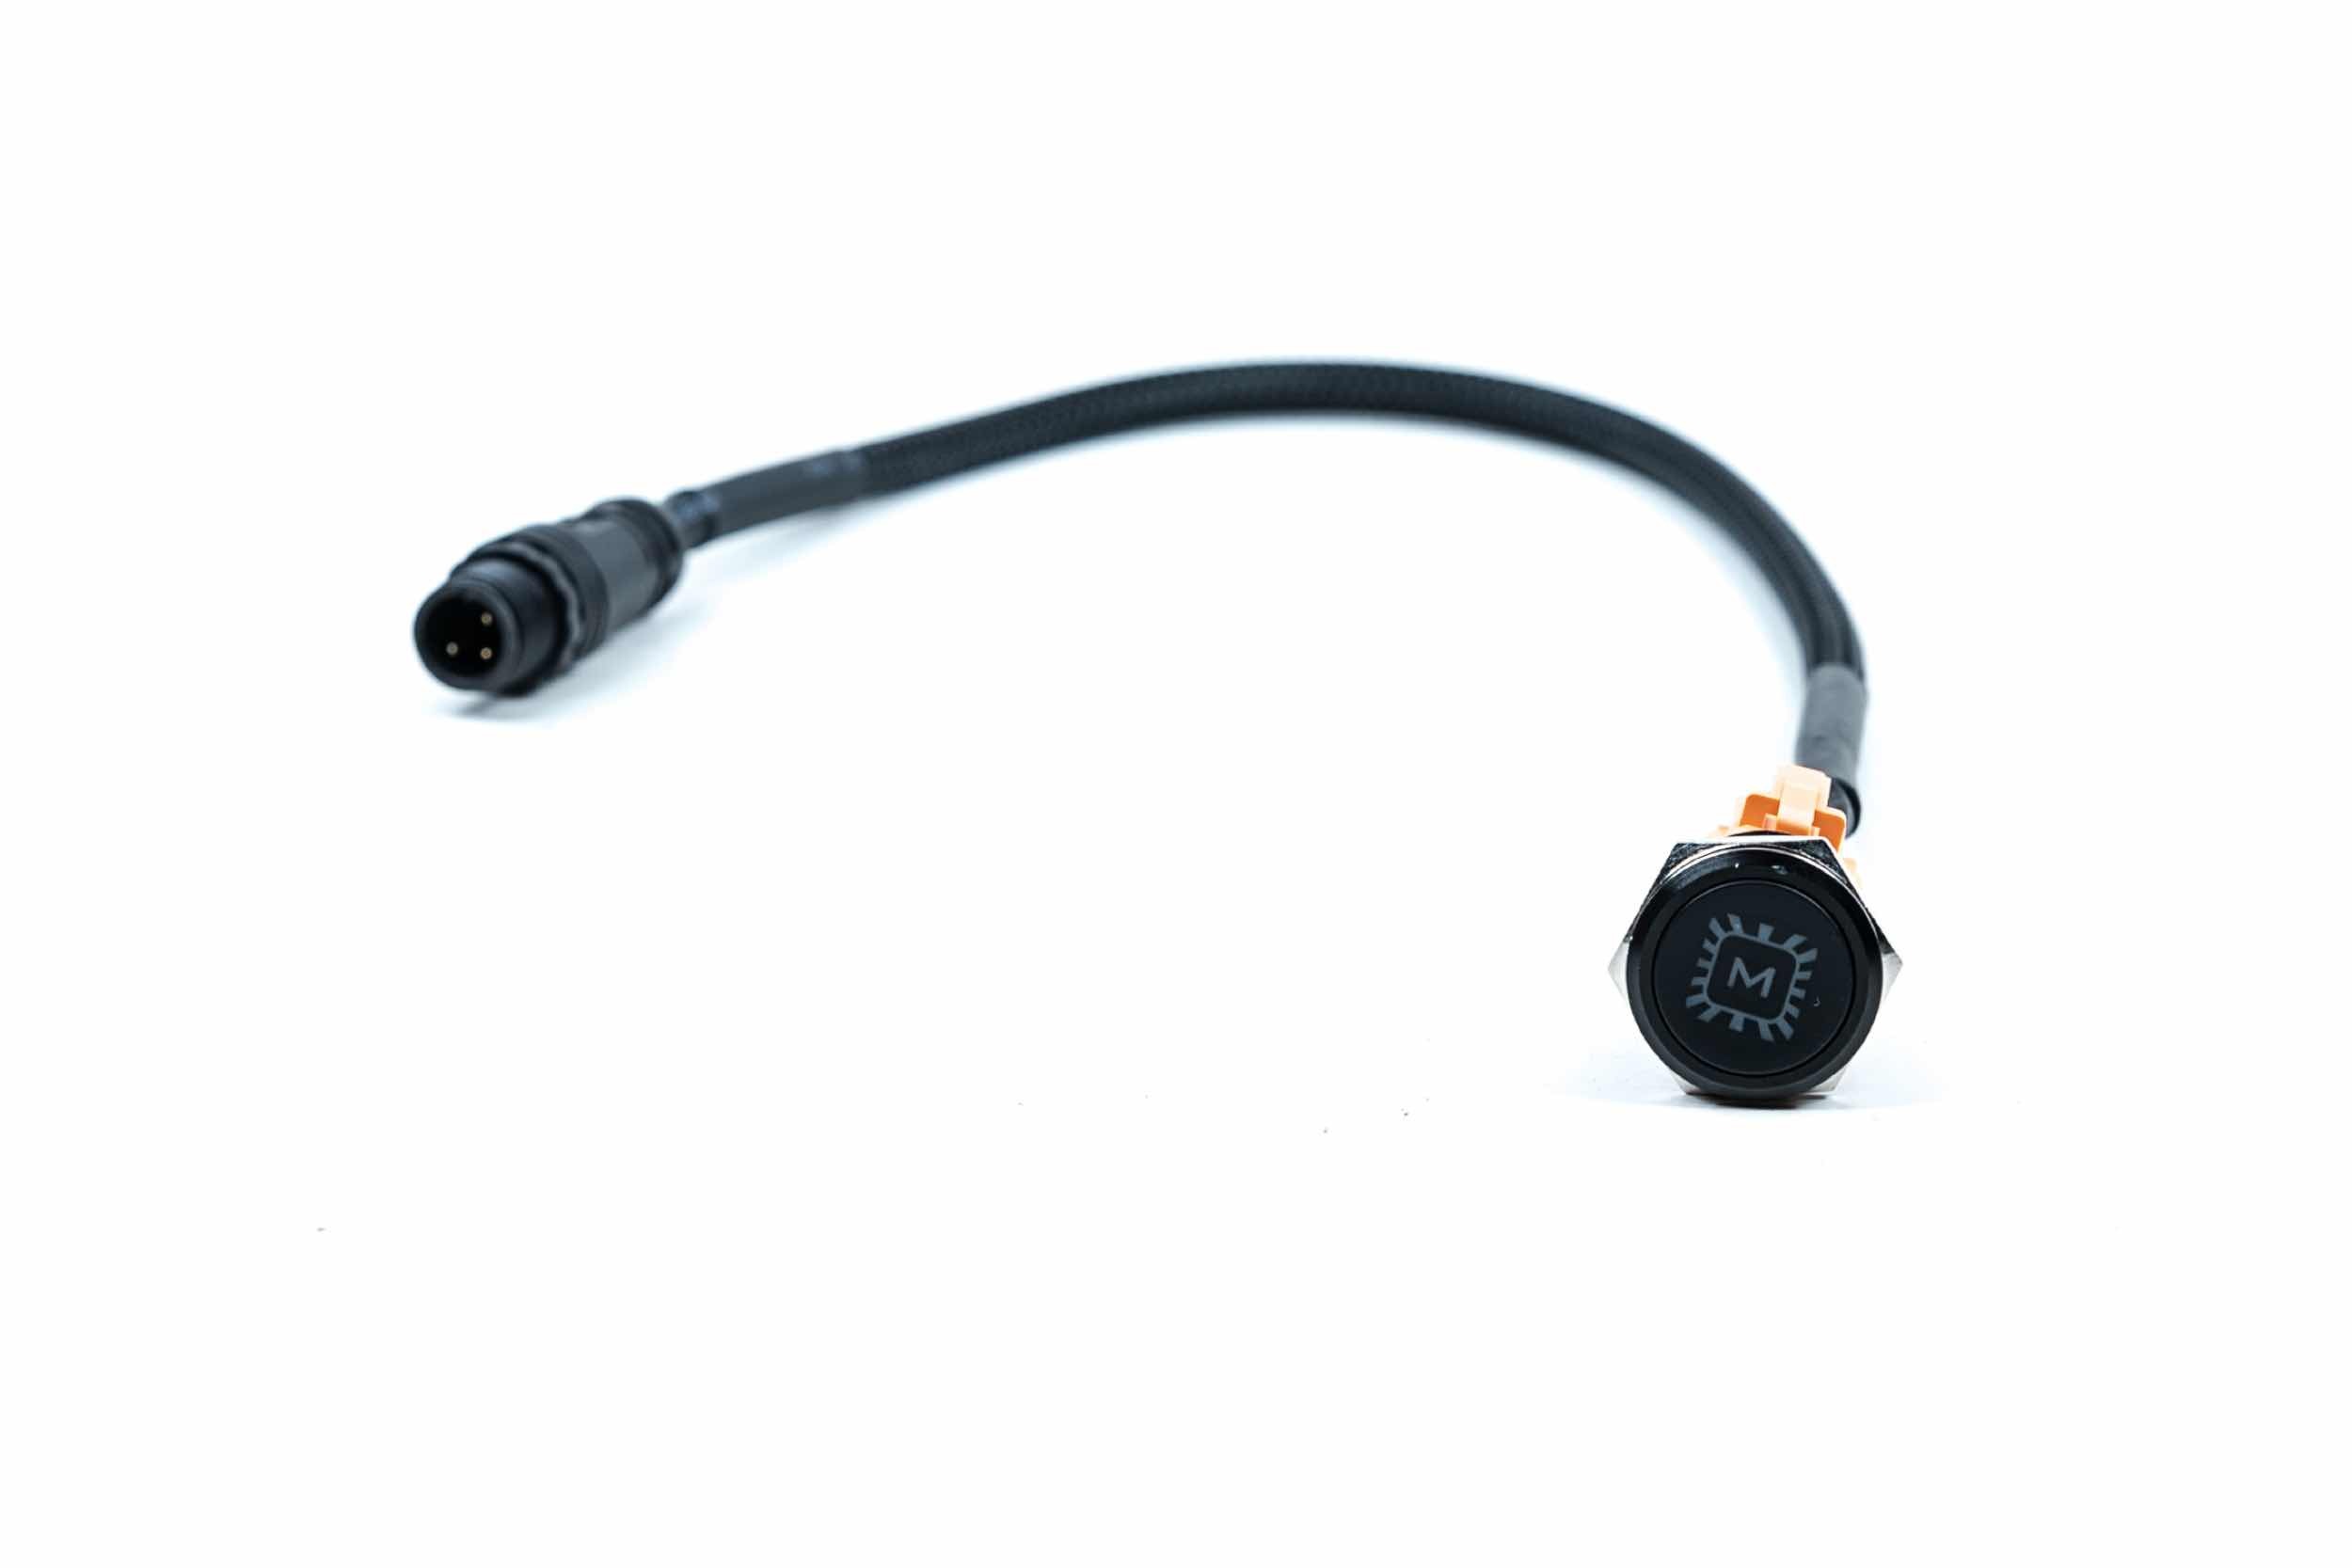
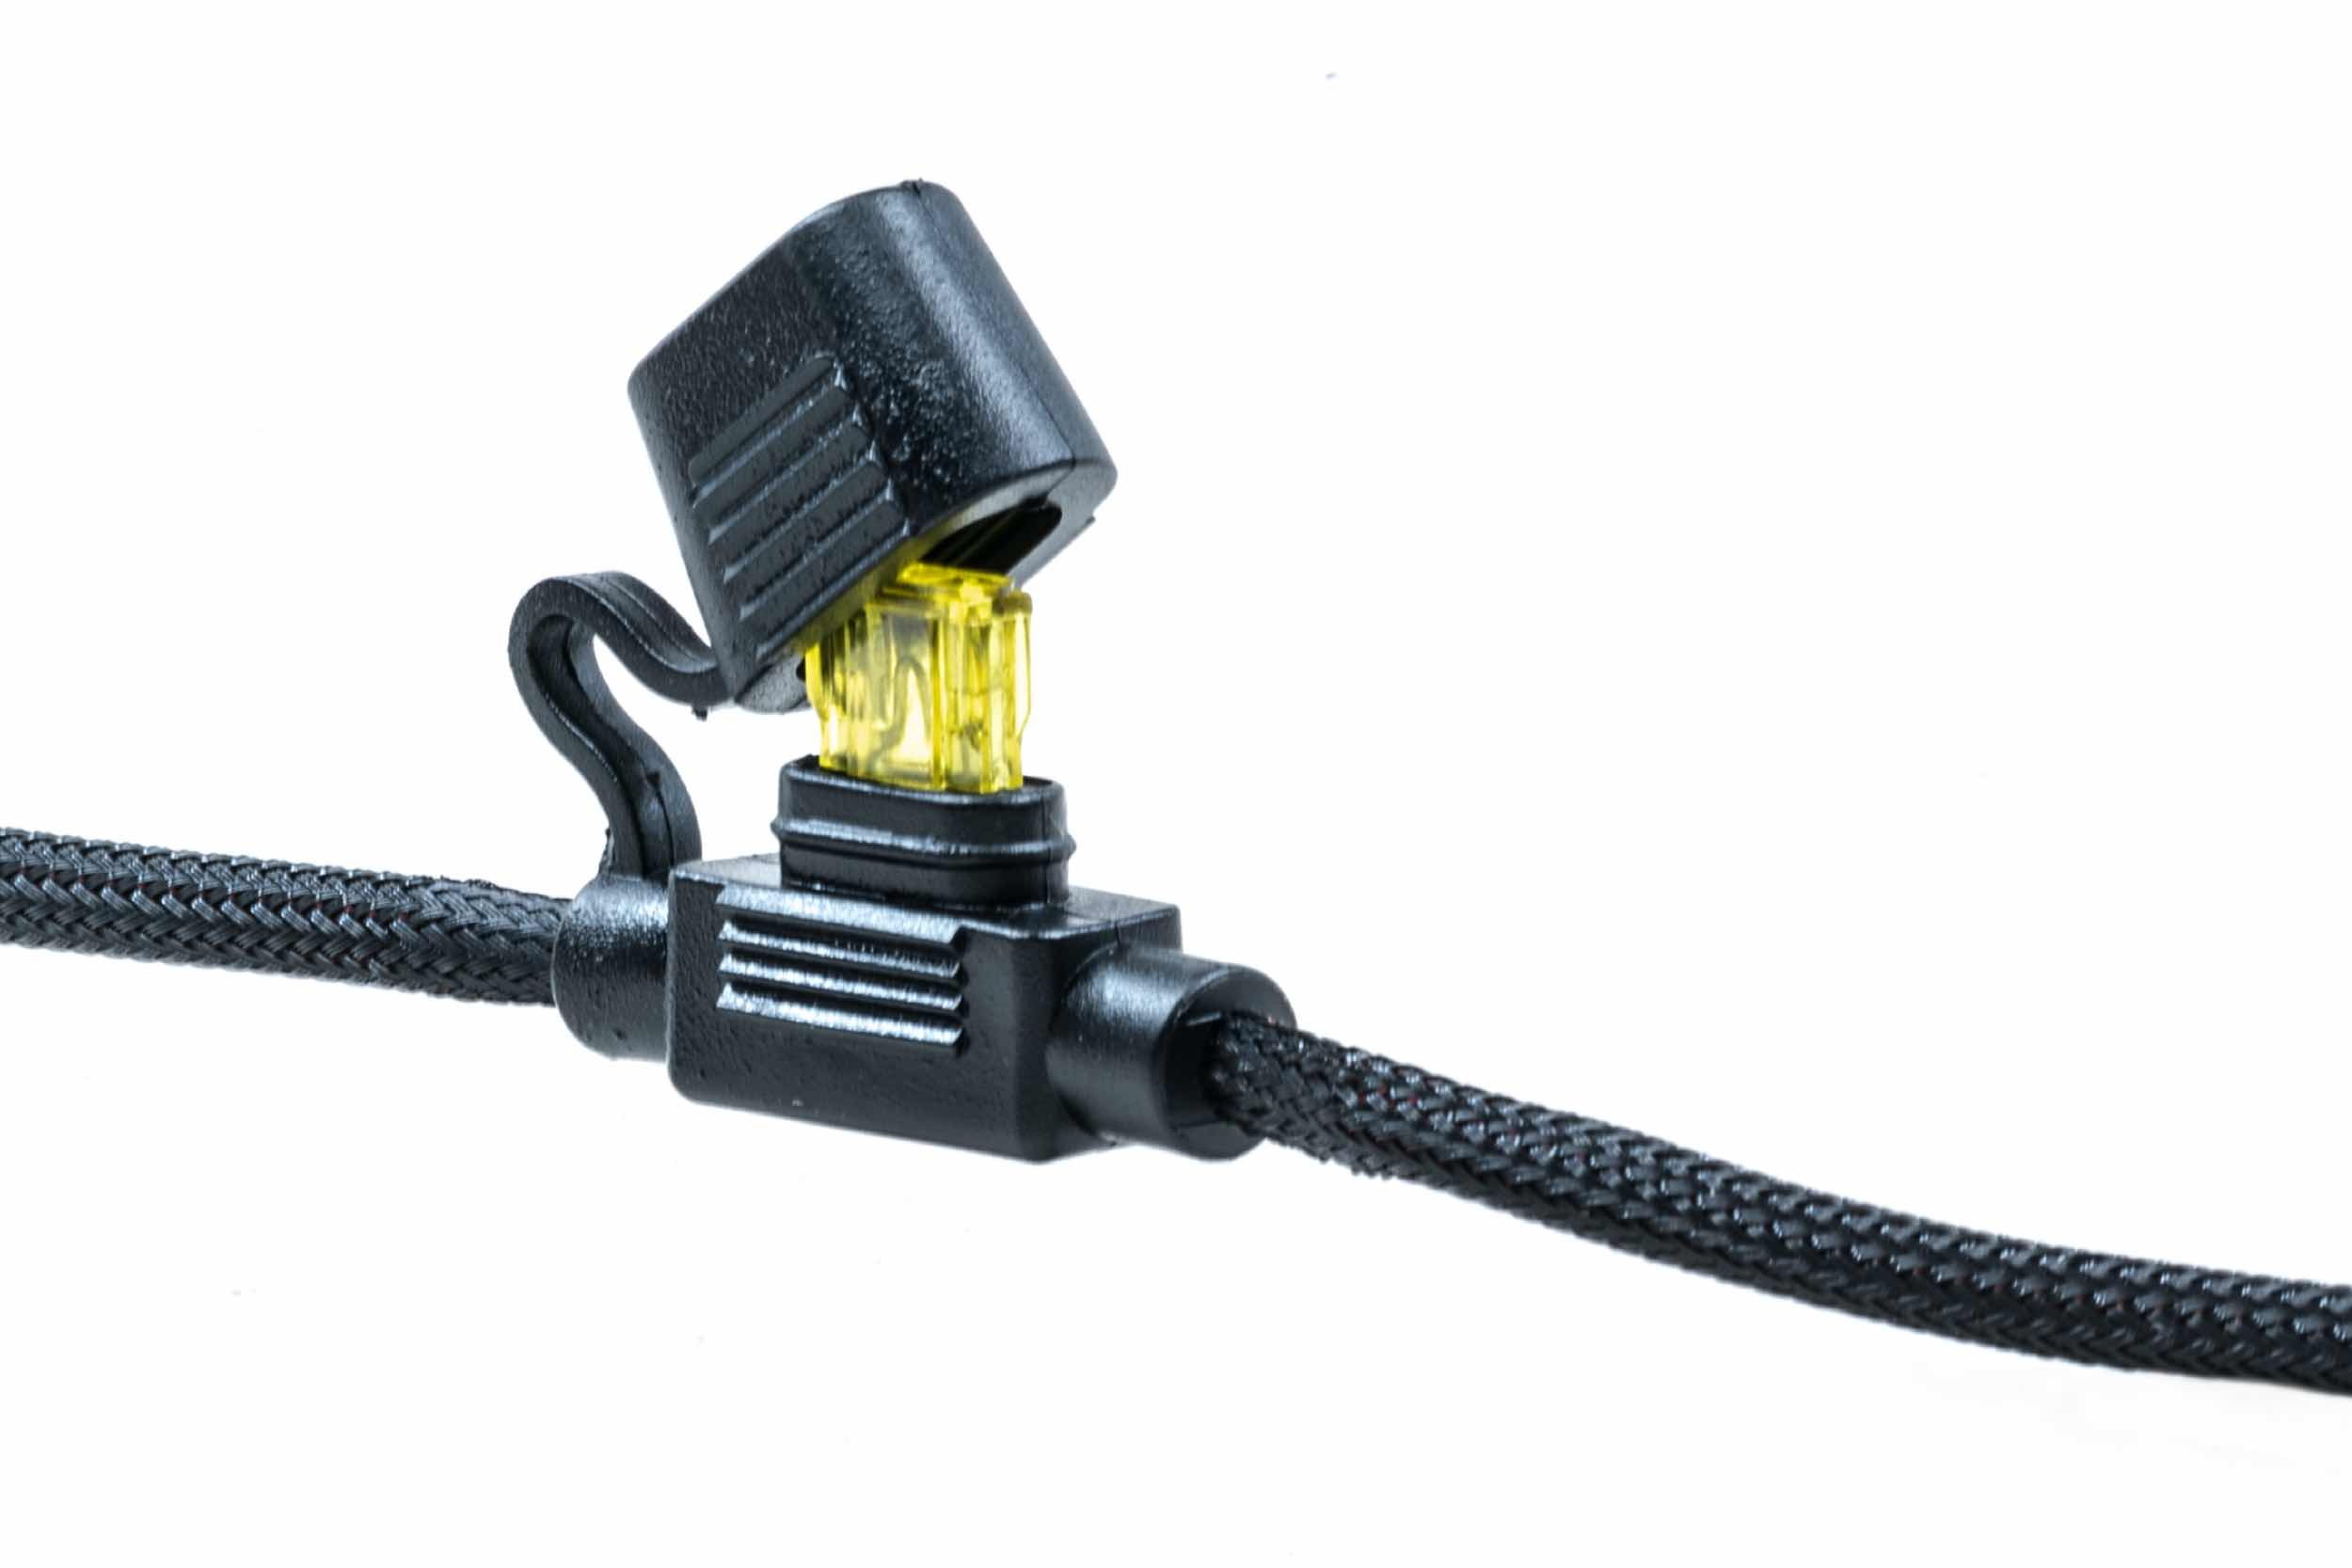
Harness overview
General wiring overview. Follow the labels and instructions supplied with your harness revision.
Finish the vehicle installation
Complete the BAF027 installation using its supplied vehicle instructions. Confirm the bonnet opens and closes without contacting either pod or cable. Secure the cables, test the switch and both lamps, then set the aim for the intended off-road task.
Open the original one-page 2Banger assembly PDF.
4Banger 2.0 complete kit
Two 2.0 pods with bottom mounts, vehicle brackets and harness.
Build your 4Runner lighting plan
Shop 2014–2024 4Runner lighting · Read the 4Runner lighting upgrade guide