

BTS INSTALLATION GUIDE
2010–2024 Toyota 4Runner ditch-light installation guide
2010–2024 Toyota 4Runner. Brackets use the hood-hinge locations; support the hood and preserve its alignment during installation.
Before you begin
12 mm socket, painter’s tape and an assistant to support the hood.
Confirm that the kit, vehicle equipment and supplied instructions match before dismantling. Work with the vehicle safely parked and support any removed bodywork. Stop if connectors or mounting points differ from the shown application.
Watch the manufacturer installation
How to Install Ditch Light Bracket Kit for 2010-2024 5th Gen Toyota 4Runner | Diode Dynamics. Video loads only when selected.
1. Mark the hinges and protect the paint
Mark the existing hinge position before loosening anything. Protect the adjoining paint with painter’s tape and have an assistant support the hood.
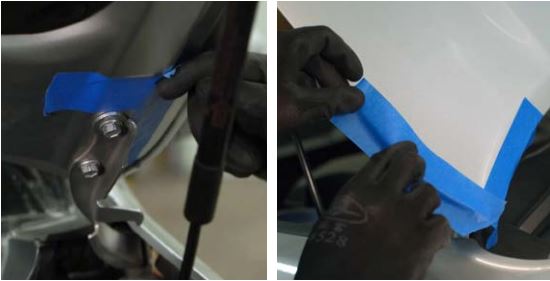
2. Remove the hinge bolts
With the hood supported, remove the two 12 mm hinge bolts on the side being worked on. Keep the hood and hinge from shifting.
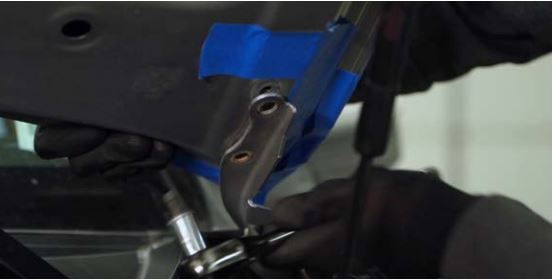
3. Position the application bracket
Place the ditch-light bracket under the hood hinge as shown. The installed bracket leaves a small gap at the rear of the hood; check its location before tightening.
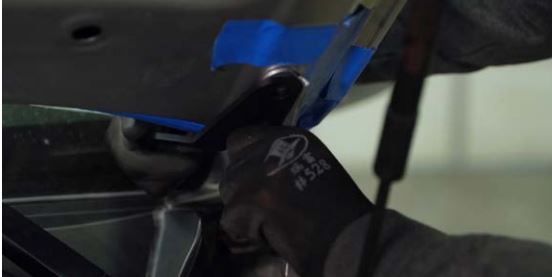
4. Restore the hinge position
Reinstall the bolts, align the hinge with the marks and secure the bracket. Check hood alignment and clearance.
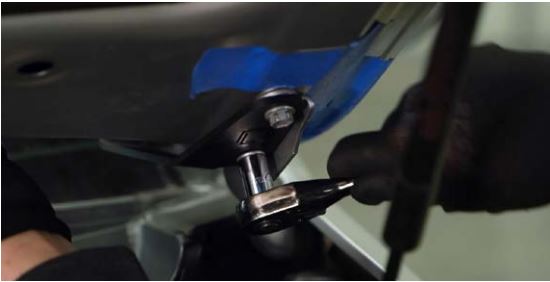
5. Repeat on the passenger side
Release the passenger-side washer-fluid line before removing the hinge bolts. Fit the second bracket using the same sequence, then reinstall the line.

6. Mount the pods and route the harness
Fit the selected pods using their universal mounting hardware. Use the bracket cutout for wire routing and secure the wiring clear of the hinge and other moving parts. Follow the supplied pod and harness instructions for fused power and control connections.

Choose or check your kit
Return to the product and its exact options. Explore Toyota 4Runner lighting
Plan your 4Runner lighting
Planning a 2014–2024 4Runner installation? Match the exact product and vehicle instructions before starting.
Shop 2014–2024 4Runner lighting · Read the 4Runner buying guide