

Install FORM FL0067 plate lights on a 2014–2024 4Runner
Check the factory housings, make the electrical connection and test both lights before refitting.
Before you start
Have a plastic trim tool ready and protect the surrounding finish. FL0067 includes both lamps. Check the mounting points on your 4Runner before releasing the originals.
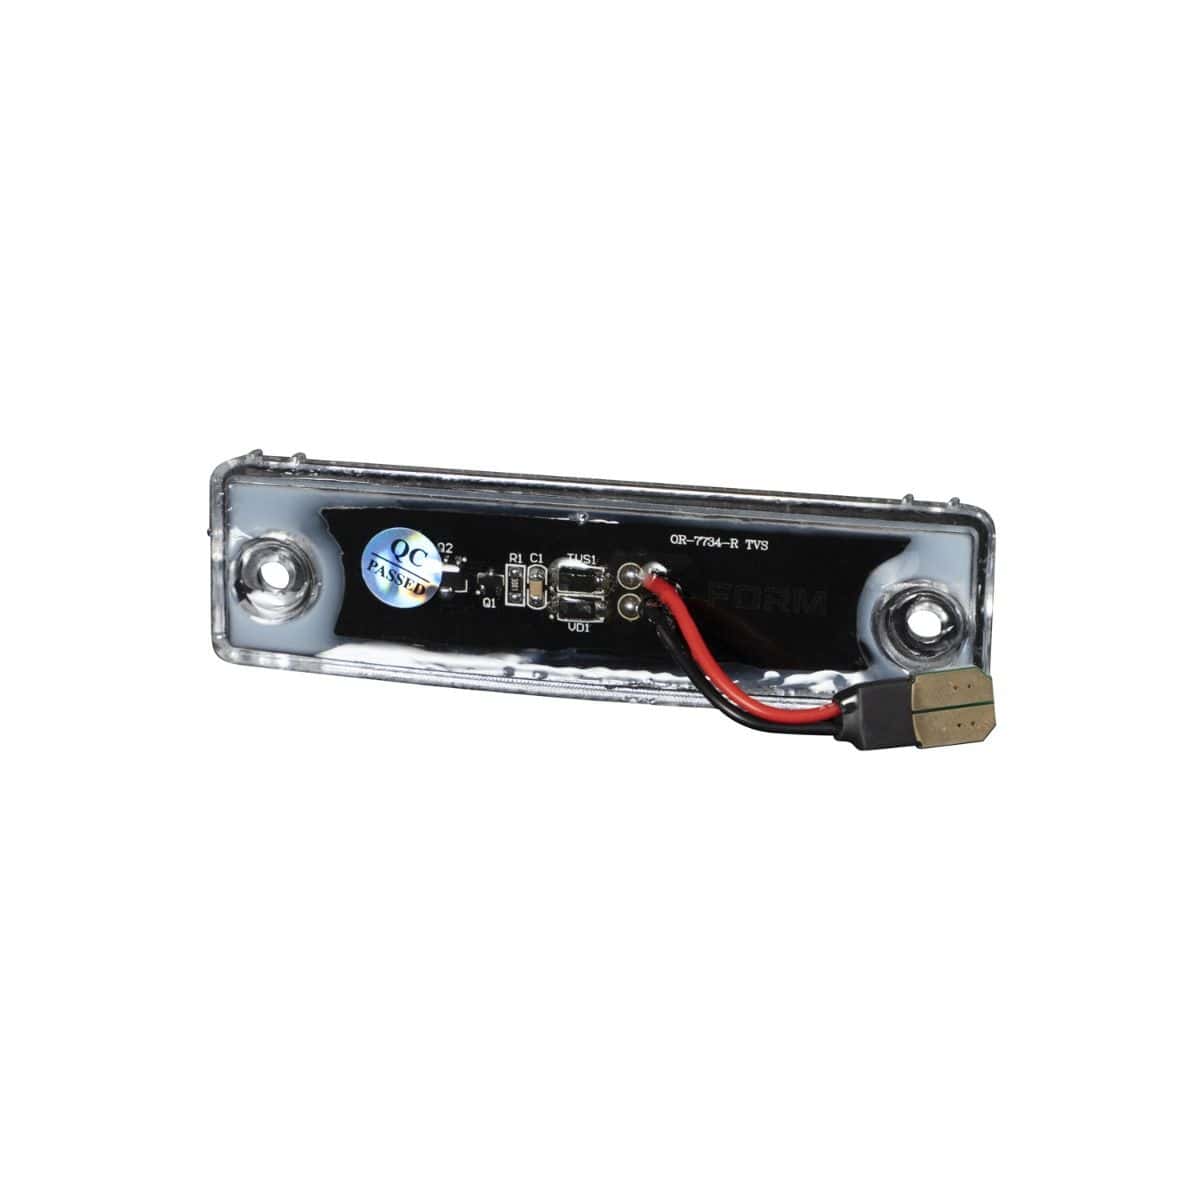
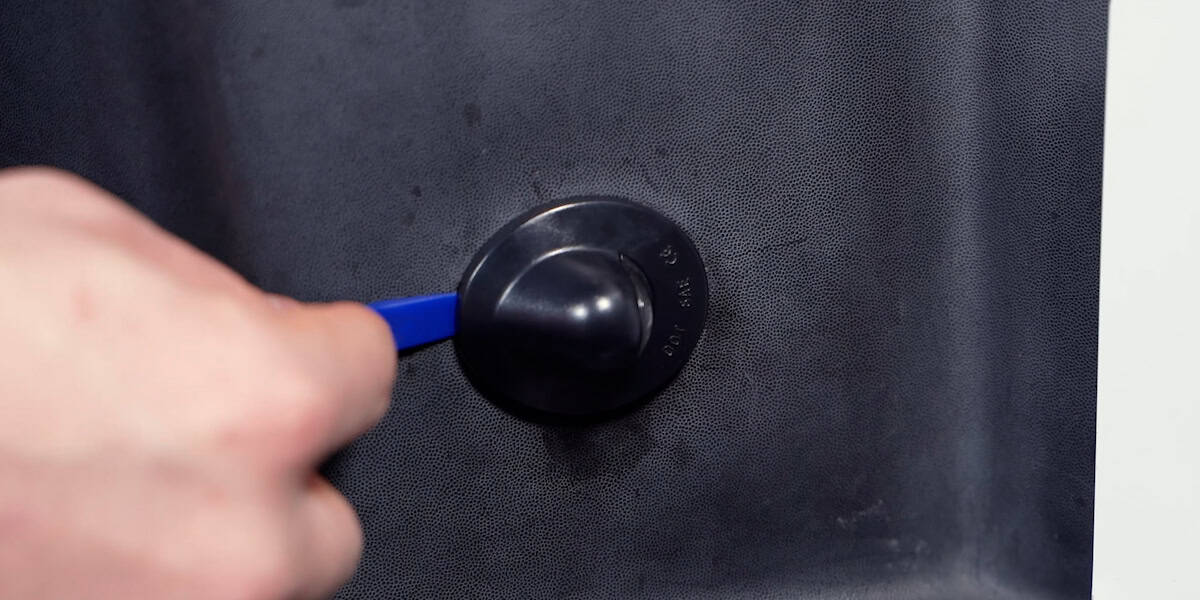
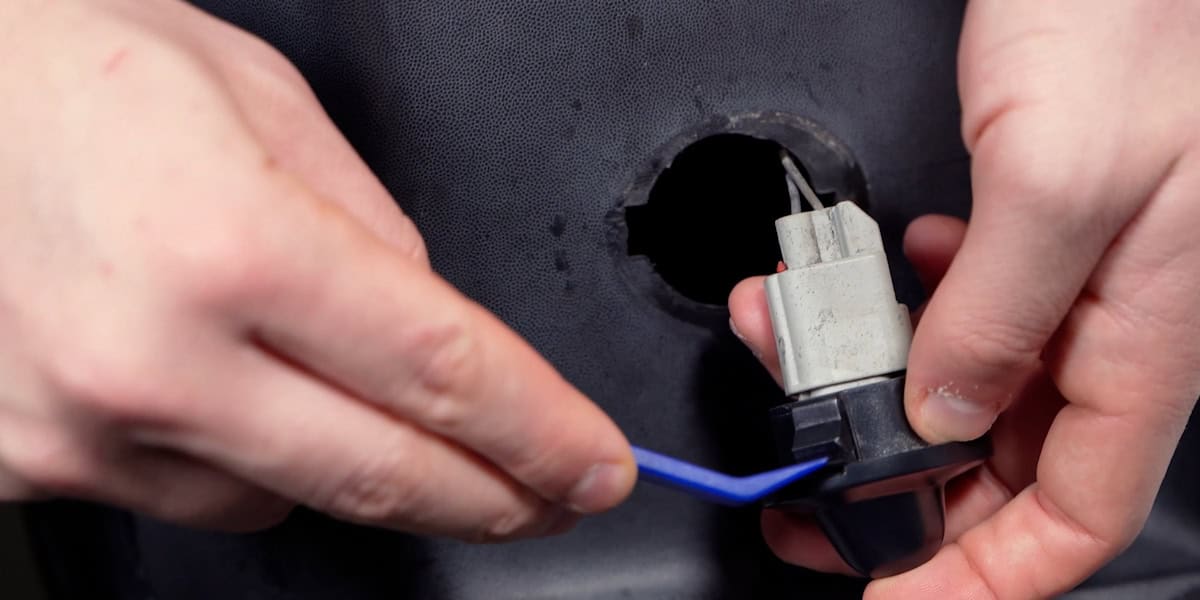
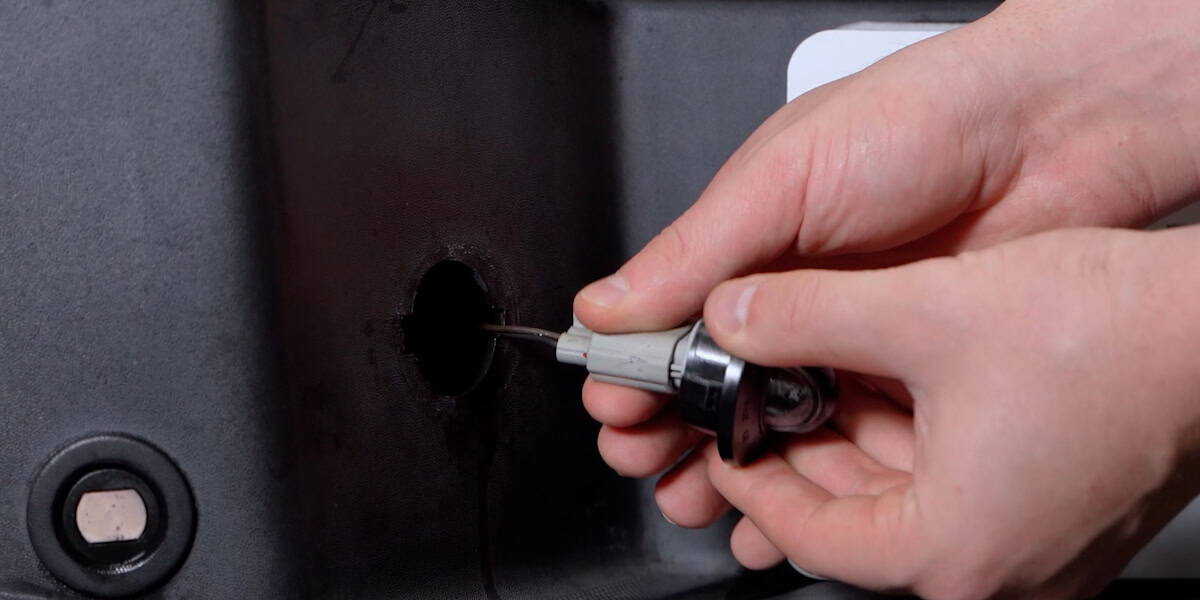
The manufacturer demonstrates these steps on other vehicle housings. The pictures show the connection and handling method, not the exact 4Runner clip layout. Inspect your original retention points and follow the vehicle service procedure where fasteners differ.
1. Release the original lamp housing
In FORM’s example, a plastic trim tool releases the housing at its retaining point. Look for the original housing’s notch or fastener arrangement and release it without pulling on the wires.
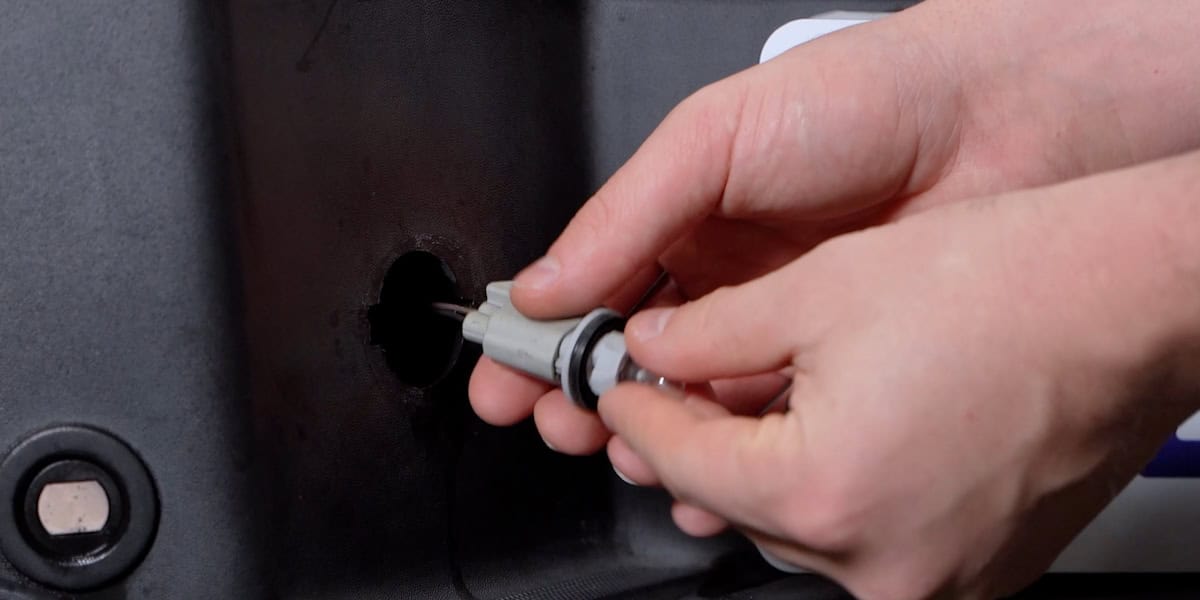
2. Remove the bulb holder
Twist the holder out of the original housing to expose the bulb, as shown in the manufacturer’s example.
3. Connect and test the LED light
Remove the original bulb and connect the replacement LED assembly. Test it before reinstalling the housing. If the polarity-sensitive connection shown here does not light, disconnect it, reverse the LED connection and test again. Do not force a keyed connector.
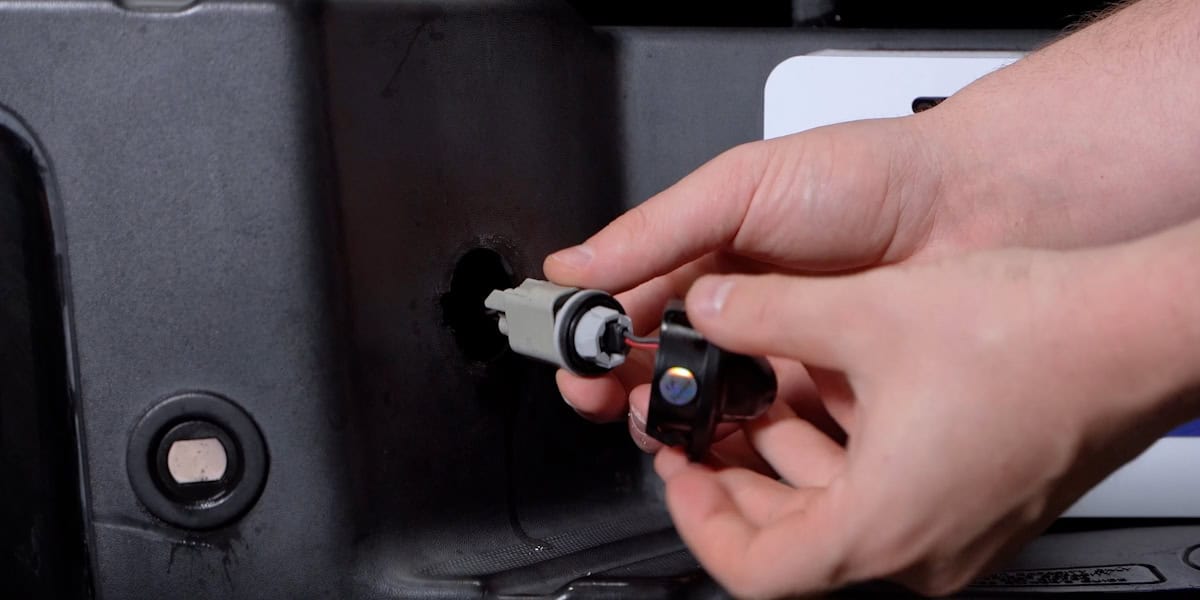
4. Refit and repeat on the other side
Secure the new lamp using the original mounting arrangement. Repeat the process for the second lamp, then confirm both illuminate and both housings are seated securely.
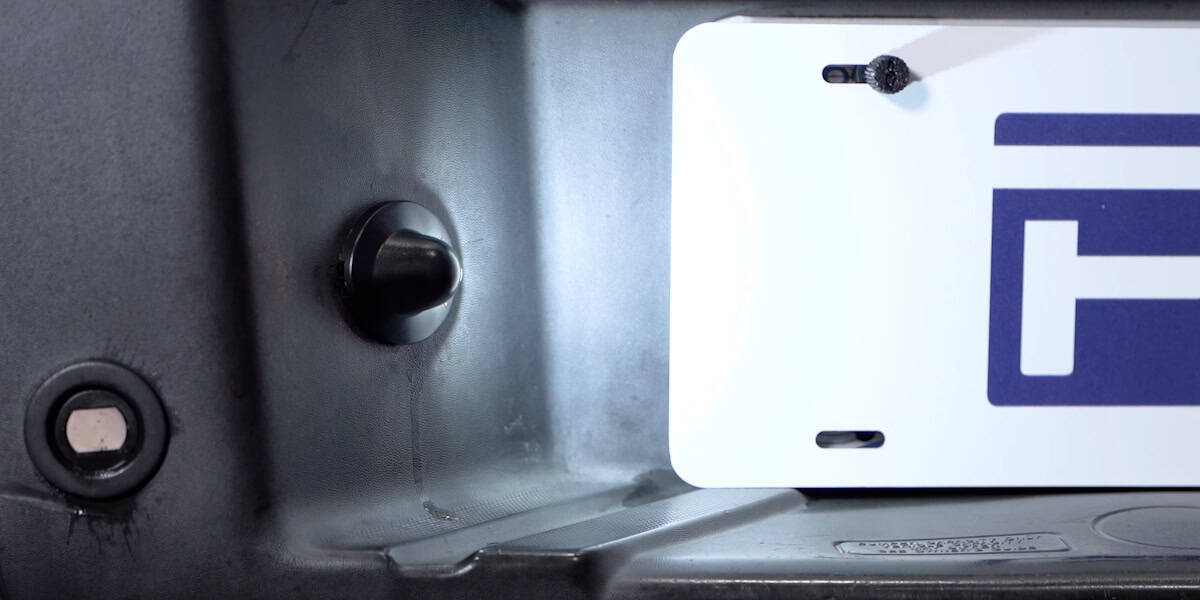
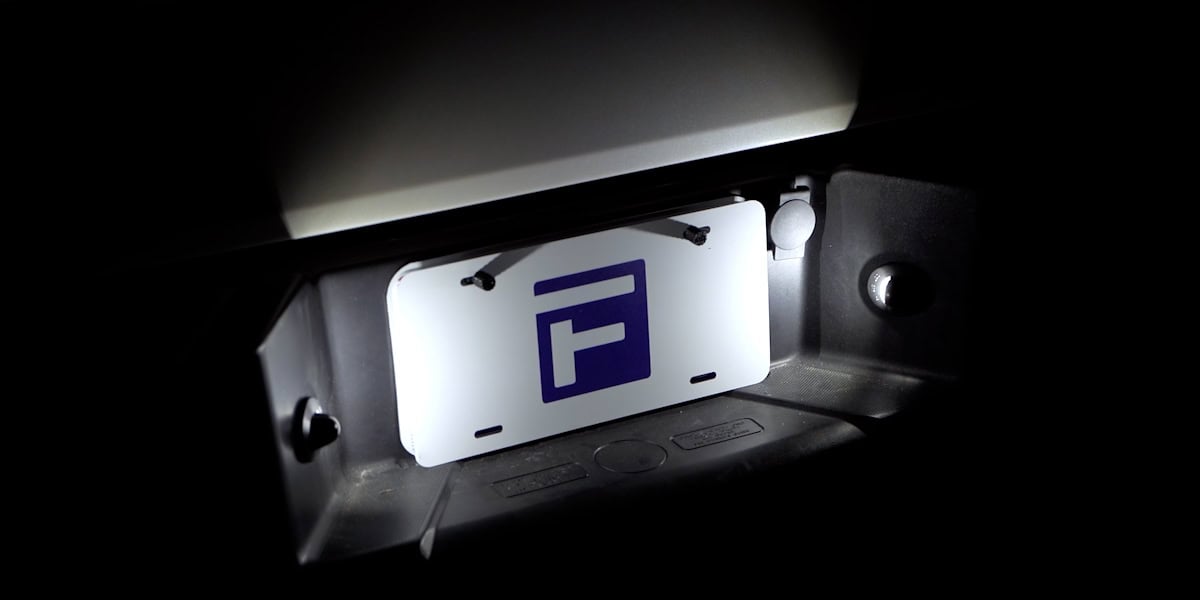
Watch the FORM installation method
Parts and original instructions
Plan your 4Runner lighting
Planning a 2014–2024 4Runner installation? Match the exact product and vehicle instructions before starting.
Shop 2014–2024 4Runner lighting · Read the 4Runner buying guide