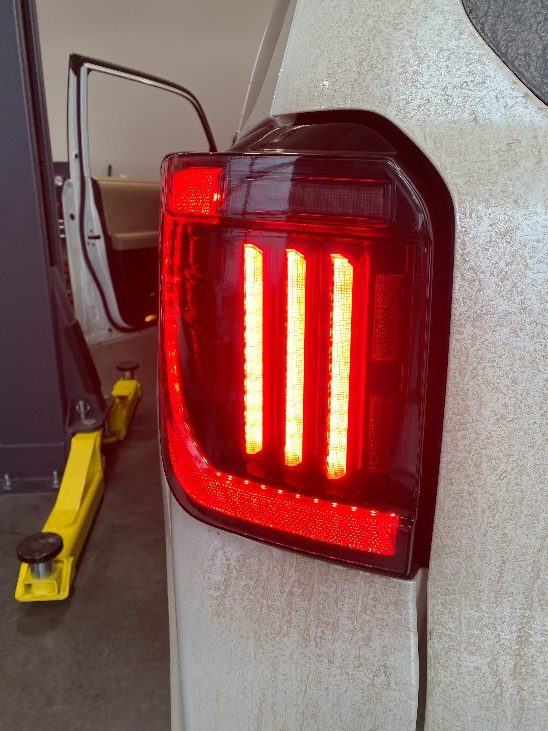
FORM tail-light installation: 2010–2024 Toyota 4Runner
For FORM FL0105 Smoked and FL0106 Red tail-light pairs on the 2010–2024 Toyota 4Runner. Use a plastic trim tool, a 10 mm deep socket and a ratchet. Keep the original hardware for reuse.
1. Remove the original lamps
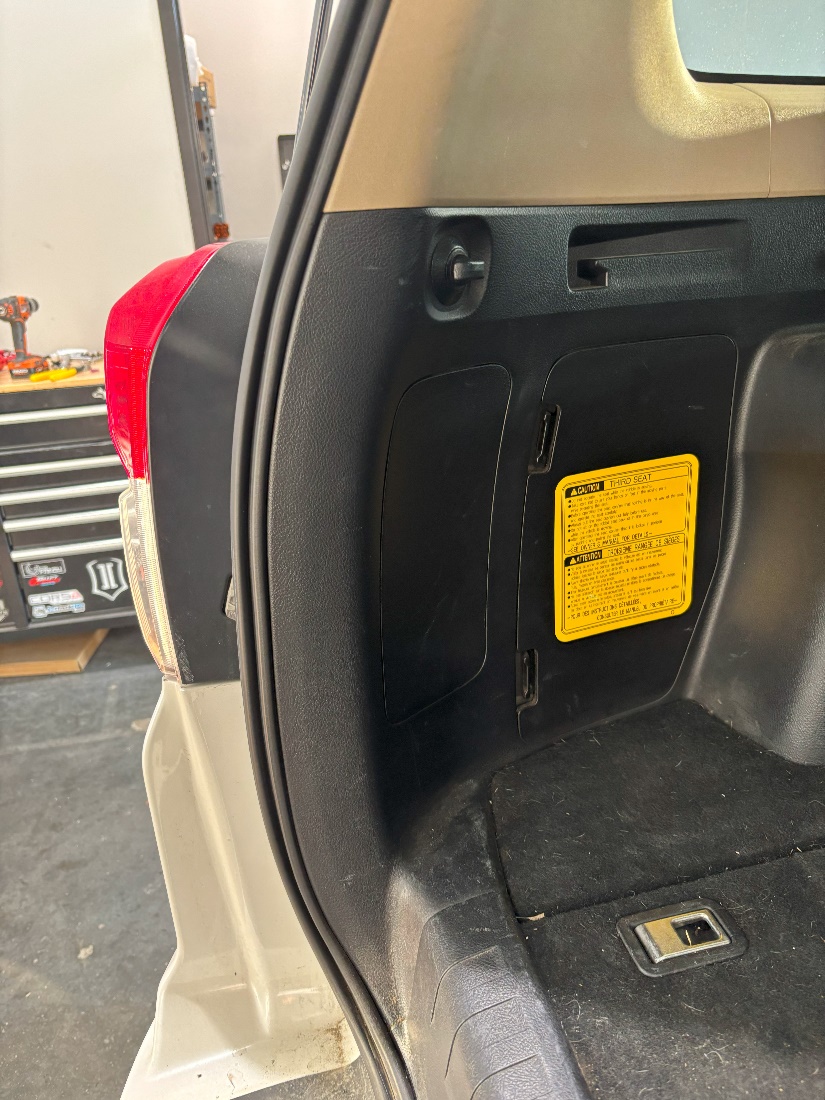
Open the hatch. Release each interior tail-light access panel using the gap shown in the photos. Remove and retain the two 10 mm mounting nuts on each side.
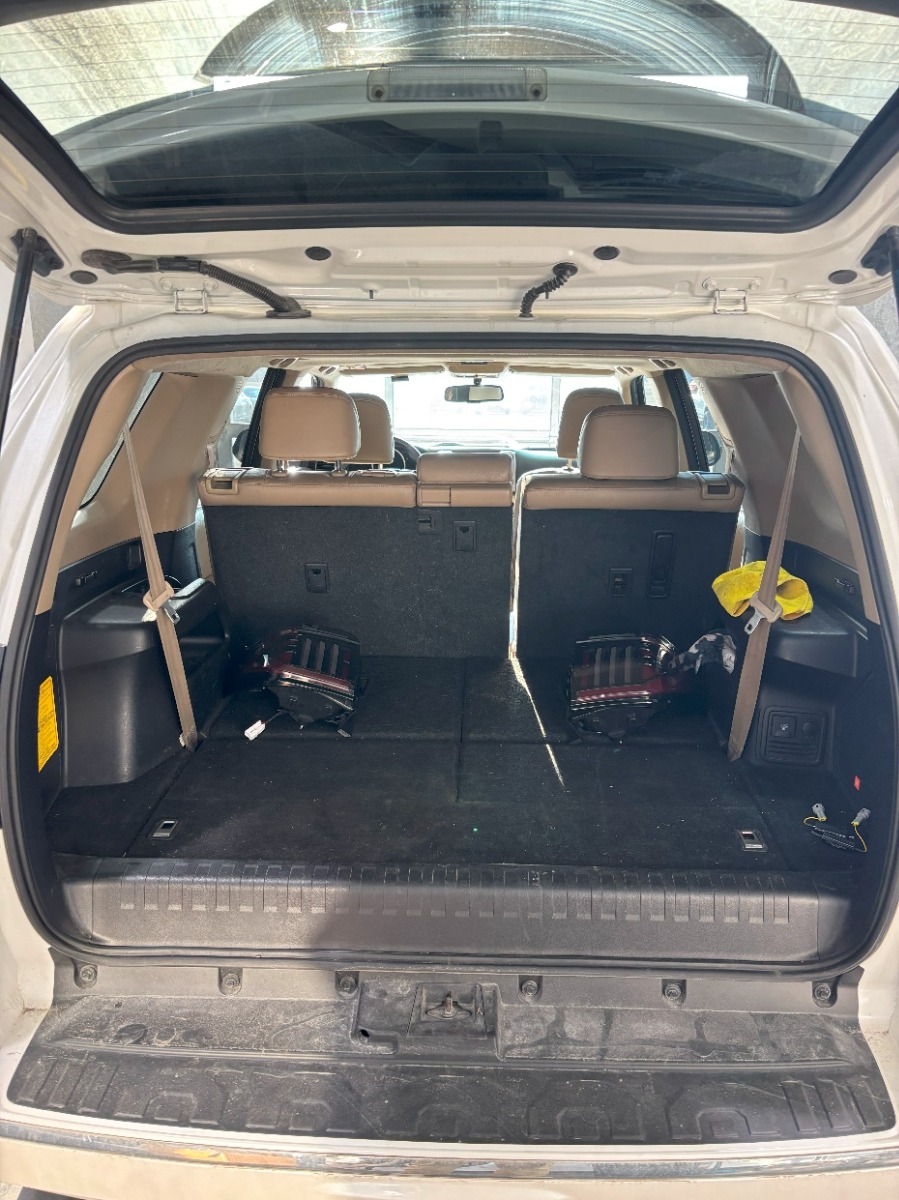
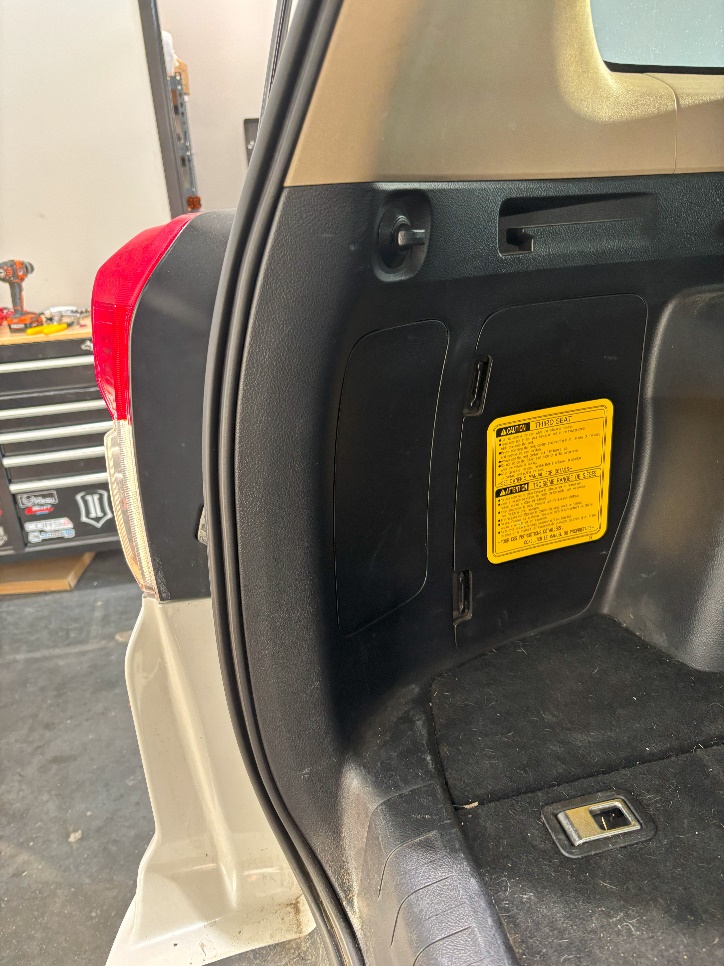
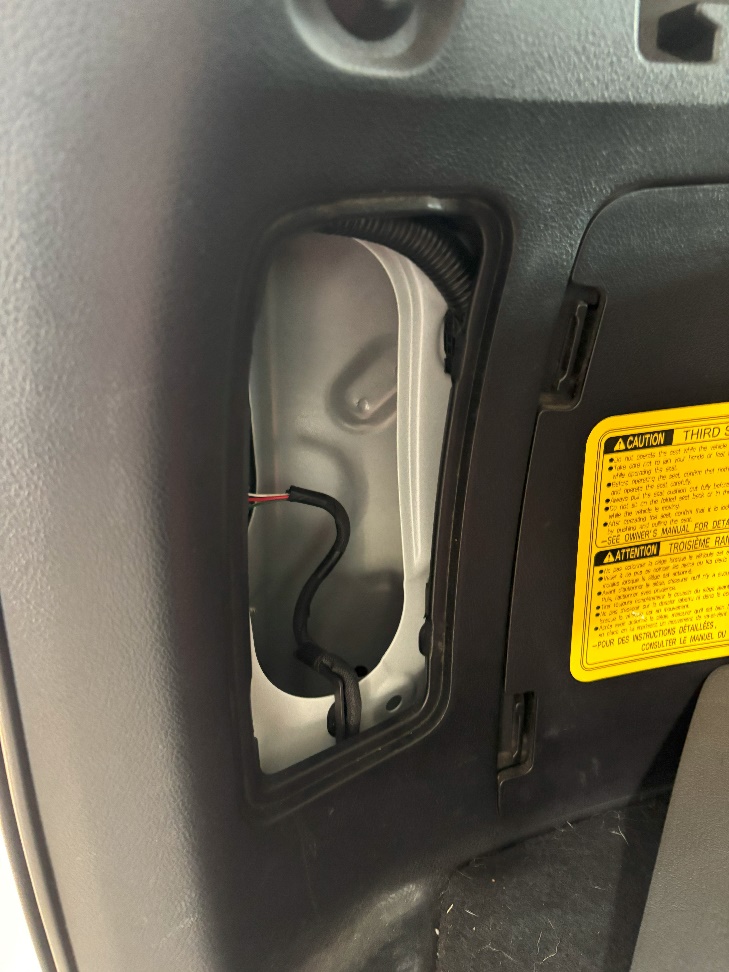
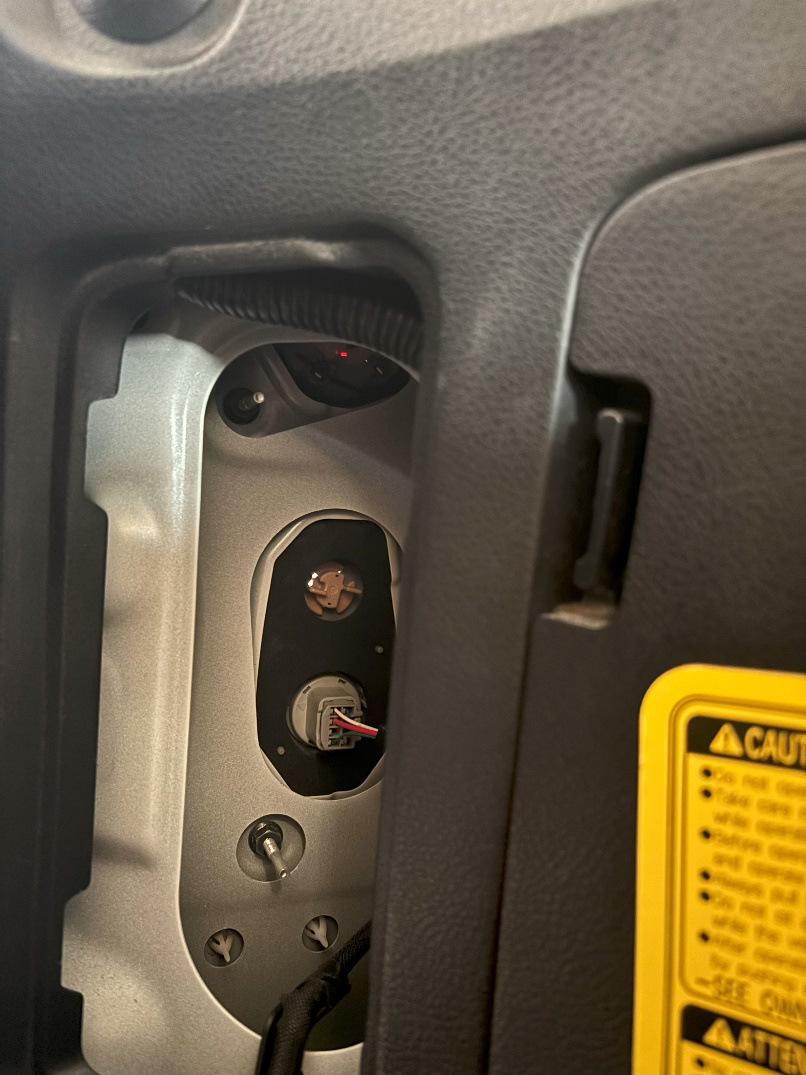
Press the factory connector’s locking tab and unplug it. Support the lamp, push outward from the access gap to release its clips, then pull the assembly straight back.
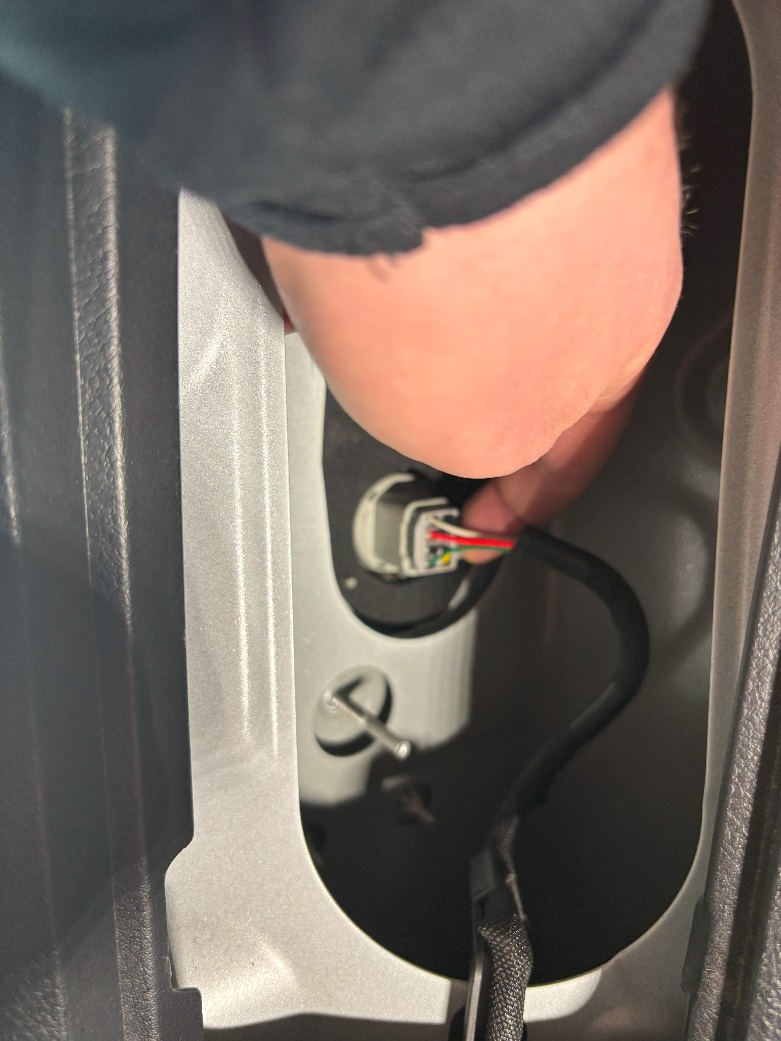
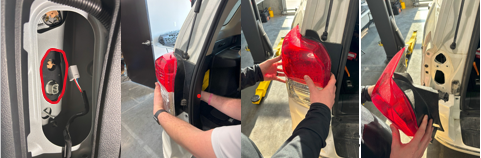
2. Fit the FORM lamps and connect the wiring
Route the new harness through the opening, align the locating posts and press the lamp into its clips. Secure it with the retained nuts. Plug the new lamp into the factory harness and make sure the connector locks fully.
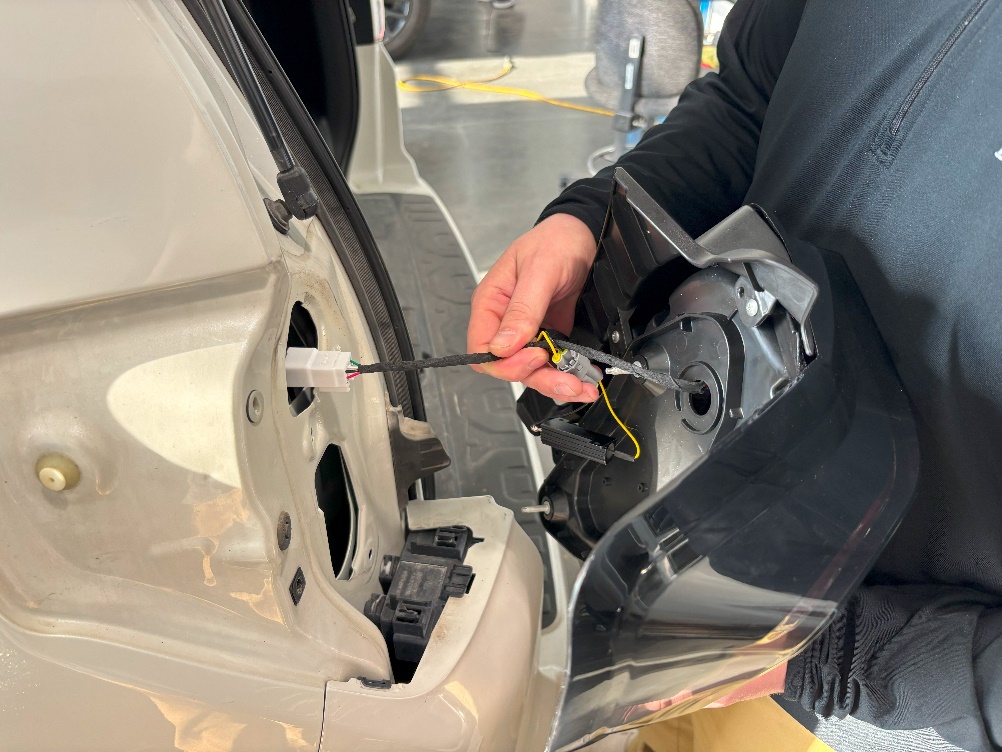
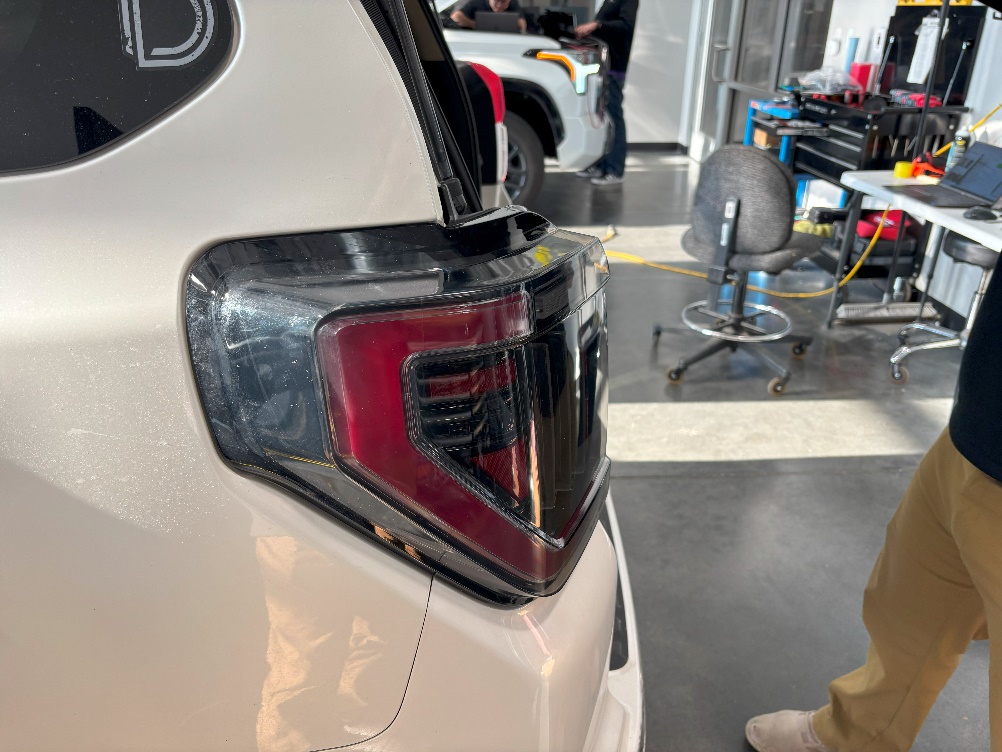
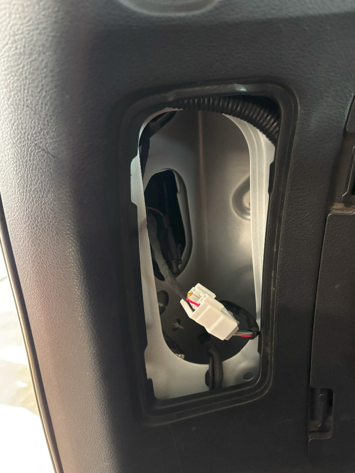
Leave the startup connector connected to retain the startup animation, or disconnect that corresponding connector to disable it. Connect the preinstalled resistor as shown. Static or sequential turns are selected at the appropriate lamp connector; follow the lamp markings and test the chosen mode before closing the panels.
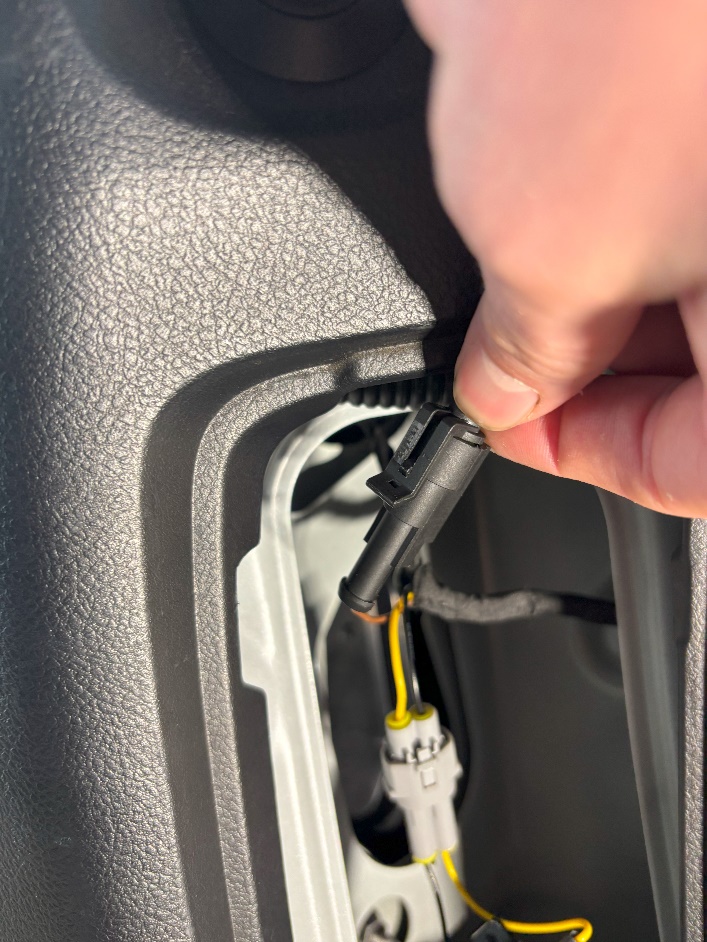

3. Test every function and refit the panels
Check running lights, both turn signals, brake lights and reverse lights. Confirm both sides are secure and the connectors are locked, then refit the access panels.