

BTS installation guide
Install the Jeep JL SS50 hood lightbar
Use the original mounting photos and relay-harness diagram for the DD6090 brackets and DD6106 White Combo kit.
Prepare the correct kit
The original illustrated article covers JL 2018–2023 and JT 2020–2023 installation examples. Use it only with the application-specific hood brackets and a separately confirmed vehicle fit. It does not establish fitment for a 392 or an aftermarket hood.
Tools: T40 Torx driver, 10 mm socket, wire strippers and crimper. Protect painted surfaces and identify a fused power connection before wiring.
Mount the brackets and bar
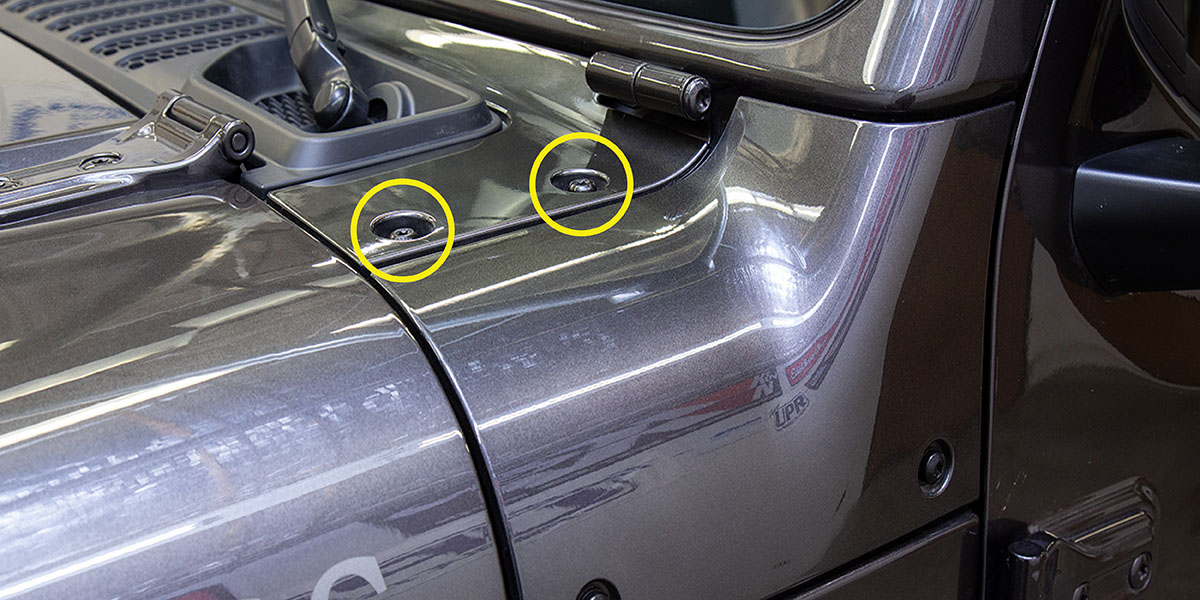
1. Remove the two factory bolts on each side with the T40 tool. For wiring access, the lower two panel bolts can also be removed; route the wires next to the windshield hinge and refit the trim.
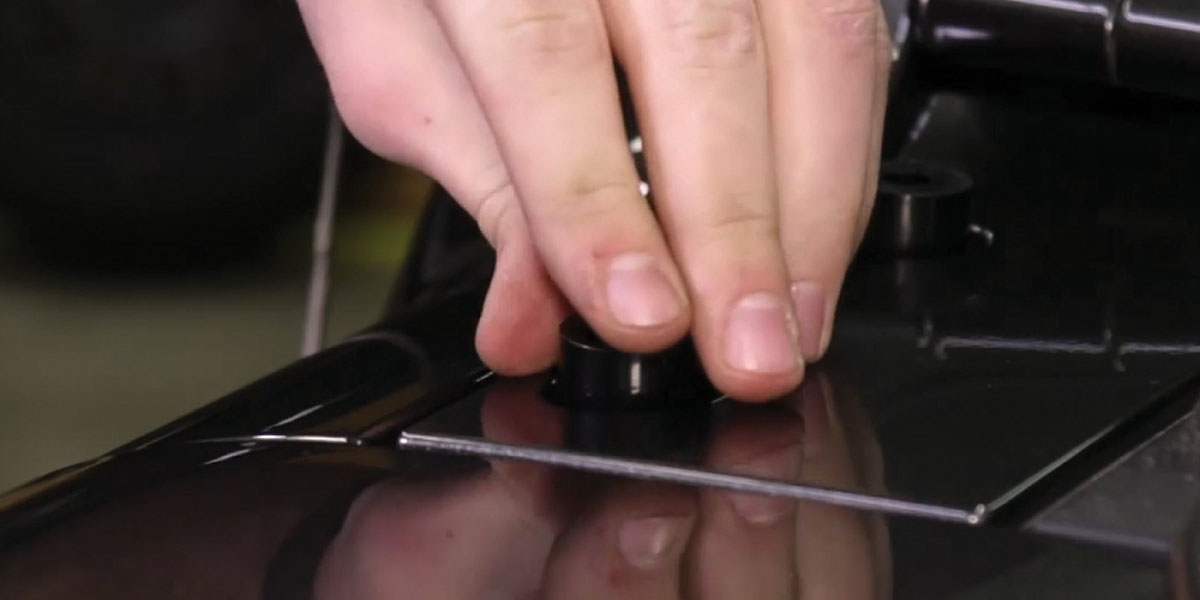
2. Position the supplied spacers over both mounting points.
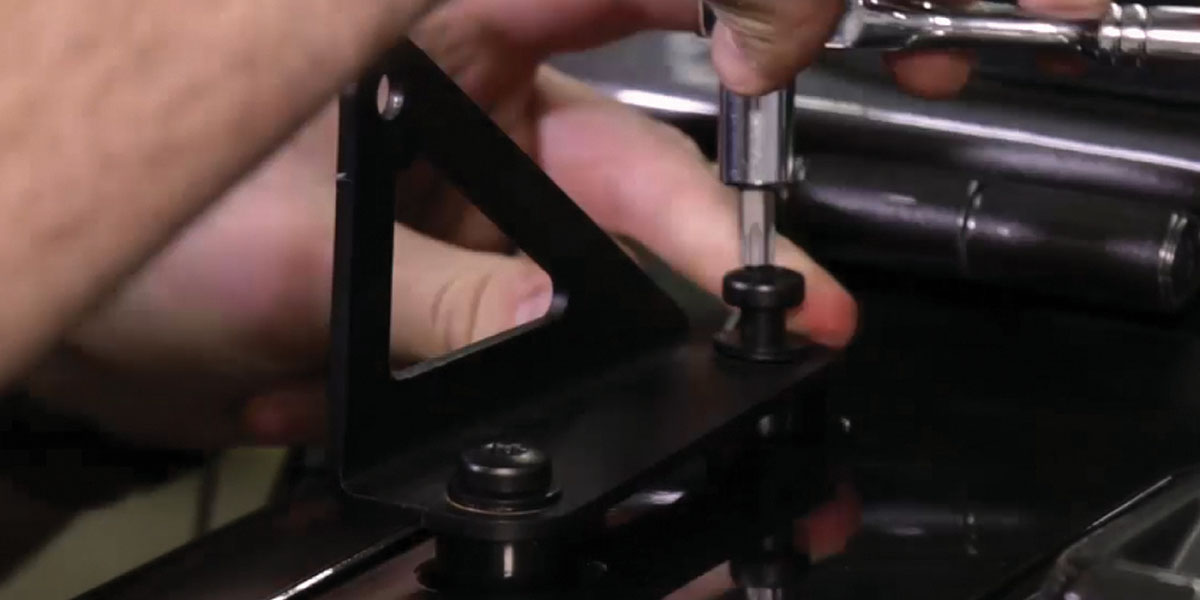
3. Align the bracket, secure it with the supplied extended bolts, and repeat on the other side.
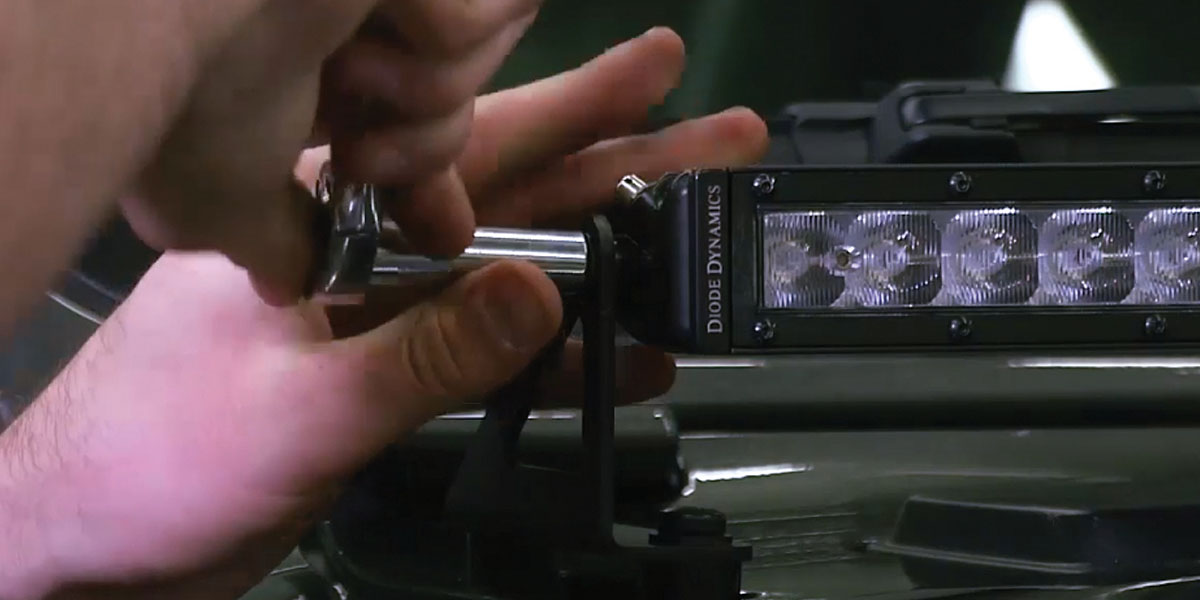
4. Mount the SS50 to the brackets using the low-profile hex bolts supplied with the mounting hardware. Secure with a 10 mm socket.

Wire the relay, power and switch
All power sources must be fused. The following factory auxiliary-switch branch uses the harness relay. Without a factory switch bank, retain the supplied toggle-switch adapter and route its switch appropriately.
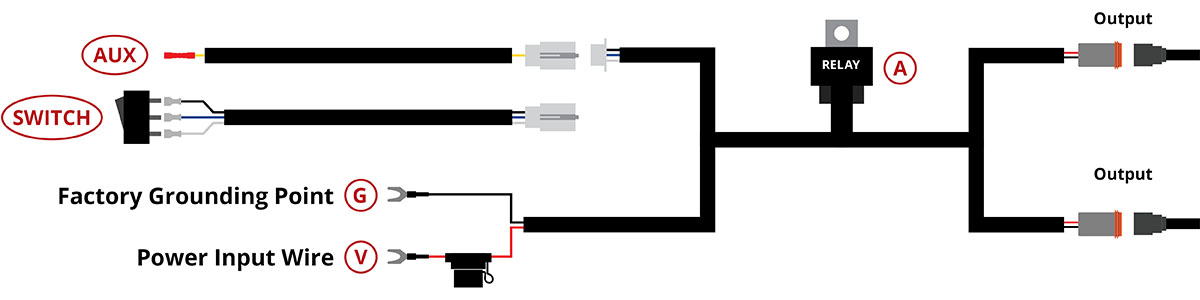
5. Mount the relay near the battery or main power terminal.
6. Connect the red power input to battery/power positive, and the black ground to battery negative or a factory grounding point.
7. At the white connector, unplug the switch wires and connect the extra pigtail. Crimp its yellow wire to the chosen factory AUX lead. The AUX lead controls the relay; lamp power comes from the fused battery connection.
8. Route the output to the bar, clear of moving parts and heat, and plug it in. The printed PDF marks the unused connector in its generic harness diagram; follow the supplied single-output kit harness rather than adding another lamp.
9. Secure the wiring and thoroughly test operation.
Original video and PDF
Original manufacturer installation demonstration.
Open the original hood-kit PDF · Original illustrated article · Shop the DD6106 White Combo hood kit