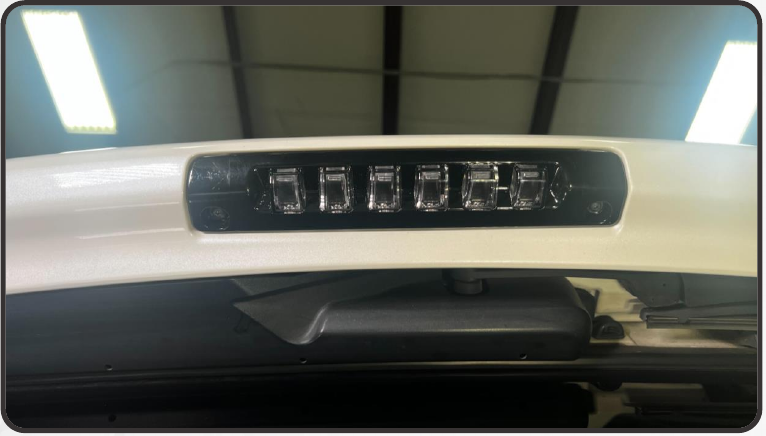
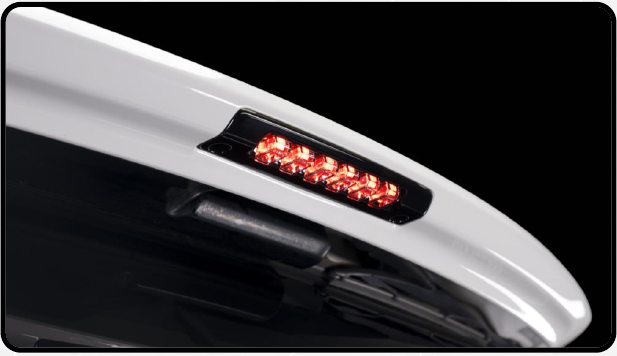
Morimoto X3B70 installation: 2010–2024 Toyota 4Runner
For the Morimoto X3B70 third brake light on a 2010–2024 Toyota 4Runner. This guide does not describe trim access on the other Toyota models listed for X3B70.
Use a #2 Phillips screwdriver and a suitable detail spray or paint cleaner. Do not use power tools to tighten the lamp.
1. Remove and unplug the factory lamp
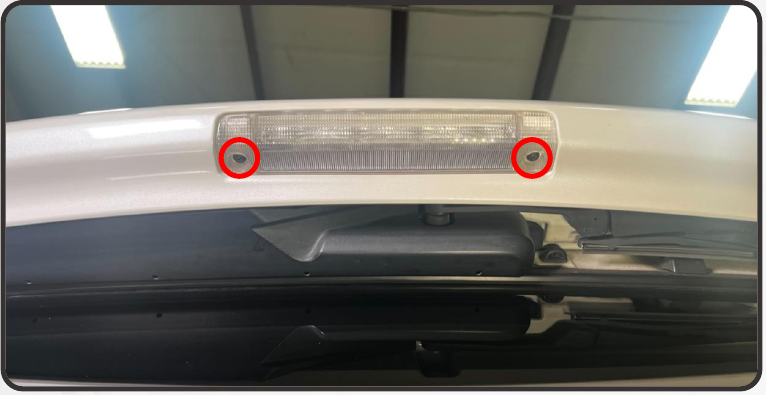
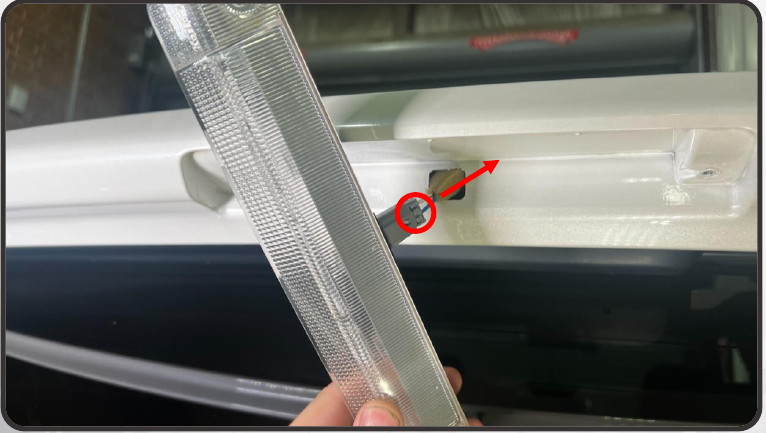
Remove the two Phillips screws shown. Pull the lamp away from the vehicle, press the connector tab and disconnect the plug.
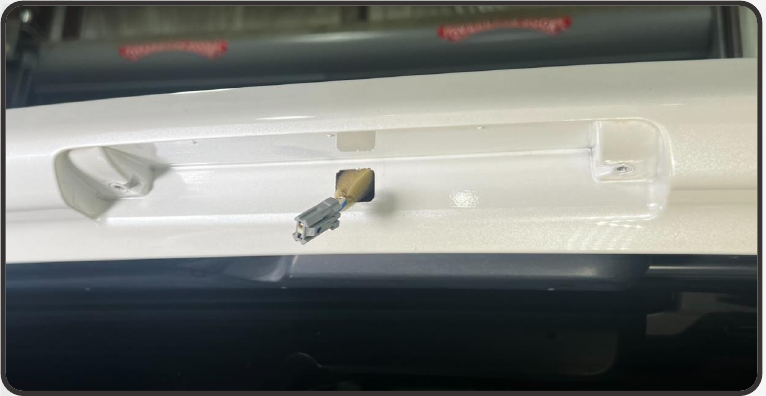
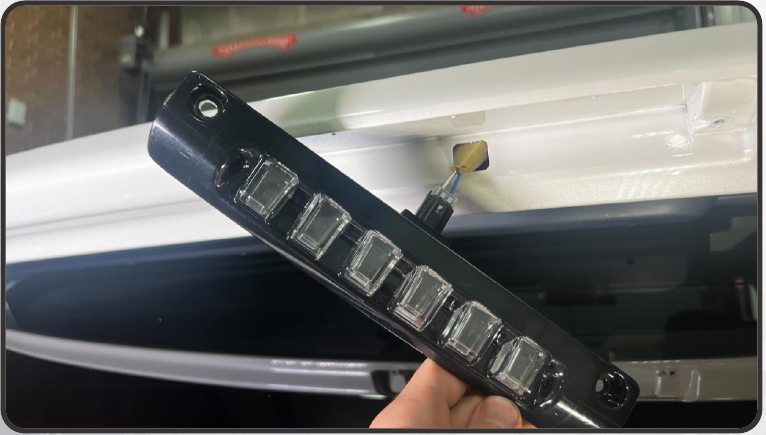
2. Clean the sealing surface and connect X3B70
Clean underneath the old assembly, especially around the wiring opening, so the new housing can seal against the vehicle. Connect the original Toyota plug to the new X3B70.
3. Secure by hand and test
Refit the two factory Phillips screws and tighten by hand. Do not overtighten or use power tools. Confirm the brake light functions correctly.