

BTS INSTALLATION GUIDE
2010–2024 Toyota 4Runner reverse-light installation guide
2010–2024 Toyota 4Runner. The under-bumper kit uses factory mounting locations and a vehicle-specific taillight adapter. An optional cabin override switch requires a suitable firewall route and a 19 mm mounting hole.
Before you begin
10 mm socket,deep 10 mm socket, 5/32-inch Allen key, 3/8-inch wrench, trim tool and wire strippers.
Confirm that the kit, vehicle equipment and supplied instructions match before dismantling. Work with the vehicle safely parked and support any removed bodywork. Stop if connectors or mounting points differ from the shown application.
Watch the manufacturer installation
How to Install Stage Series Reverse Light Kit for 2010-2024 Toyota 4Runner | Diode Dynamics. Video loads only when selected.
1. Remove the original bolt
Use a 10 mm socket to remove the factory bolt next to the spare tyre. Do not reuse that bolt for the new mount.

2. Attach the universal bracket
Use the supplied M6 bolt and oversized washer. Position the curved part of the bracket toward the rear of the vehicle.

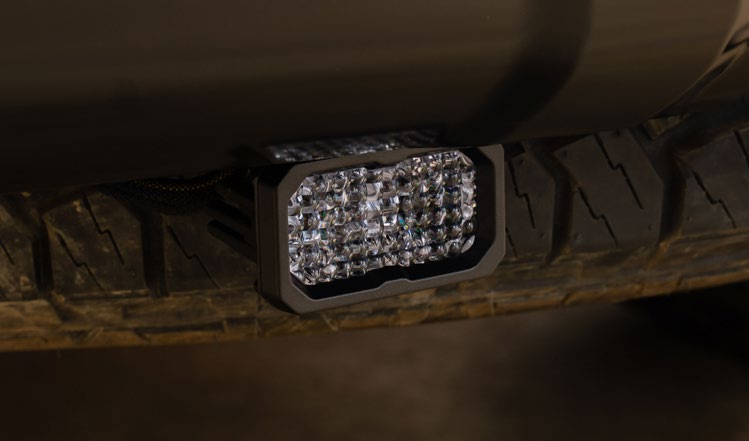
3. Mount both pods
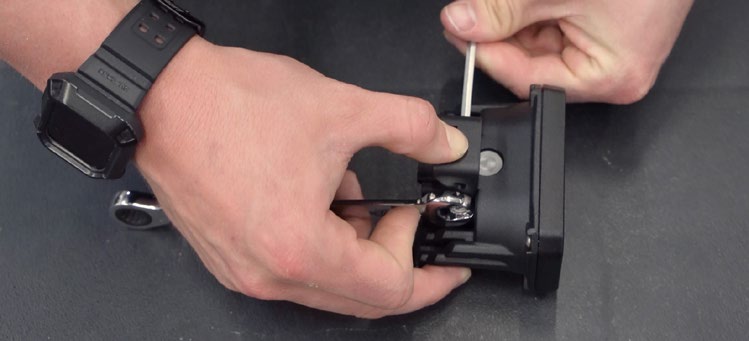
Fit each pod with the supplied hardware. Use a 5/32-inch Allen key and 3/8-inch wrench to make it hold position while still allowing firm manual aiming. Repeat on the other side.
4. Open the taillight access panel
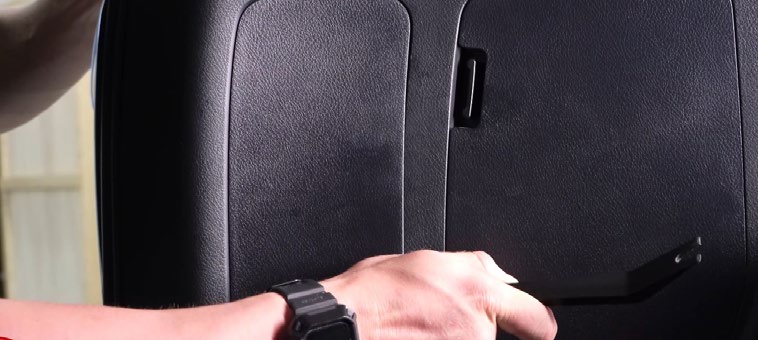
Open the rear hatch and use a plastic trim tool to remove the driver-side interior cover behind the taillight.
5. Remove the retaining nuts
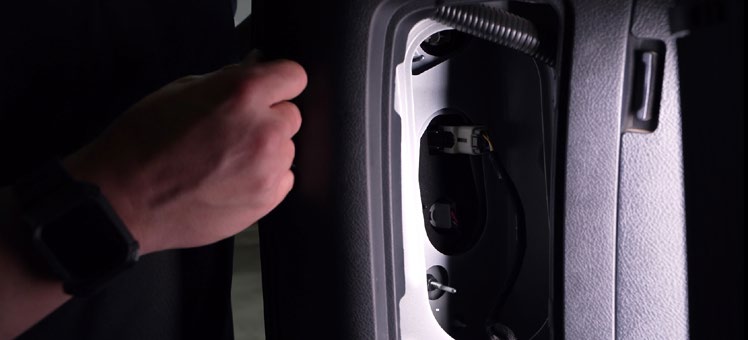
Use a deep 10 mm socket to remove the two taillight nuts, then unplug the factory taillight harness.
6. Pull the taillight straight back
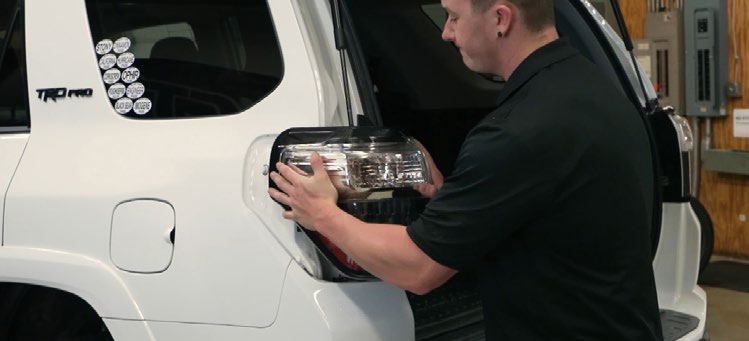
Hold the assembly firmly and pull it directly rearward to release it.
7. Feed the two-pin lead downward
Route the female two-pin AMP connector behind the bumper toward the underside of the vehicle.
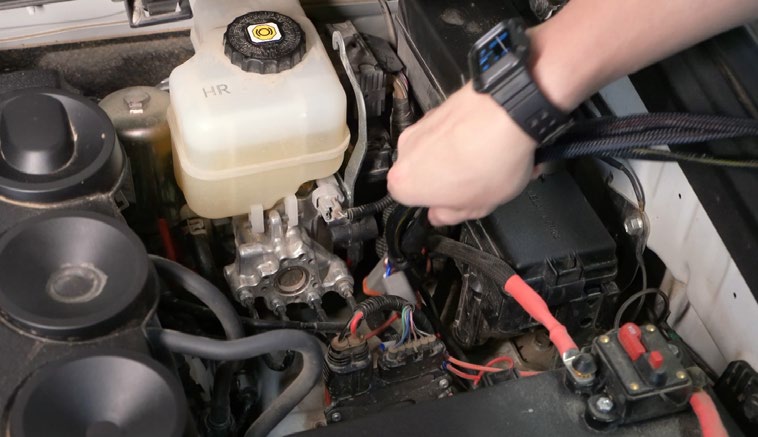
8. Install DD7163 inline
Connect the male end of the application-specific adapter to the OEM harness. Keep its other end accessible inside the body before replacing the taillight.
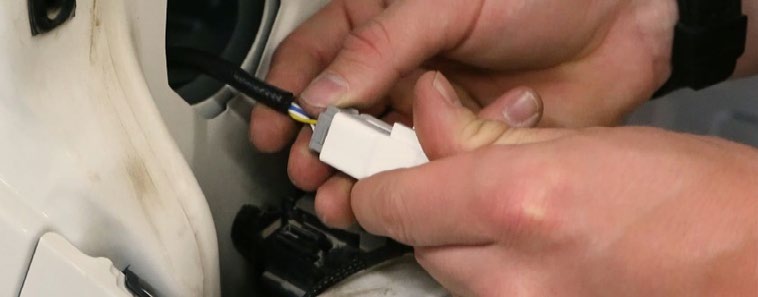
9. Refit the taillight
Reposition the assembly and reinstall the two original nuts. Connect the adapter’s other end to the rear of the taillight.
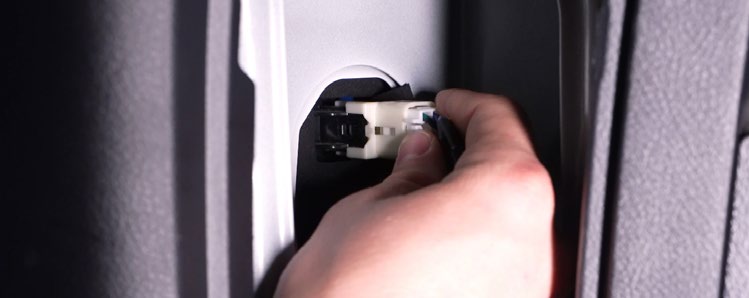
10. Connect the power harness
Connect the red ring terminal to battery positive. Connect black to battery negative or a factory grounding point. Use the fused universal harness rather than drawing lamp power through an improvised signal connection.
11. Secure the relay
Mount the relay in a suitable secure position near the battery.
12. Choose automatic-only or cabin override
Position 1 follows the factory reverse lights; position 2 provides manual override; Off disables the white output. For automatic-only use, leave the switch in position 1 and secure it in the engine bay. For cabin override, route through the firewall and mount the switch in a 3/4-inch (19 mm) hole. Unplug the switch during routing, then reconnect and secure it.
13. Route beneath the vehicle
Follow a protected route, such as along the wheel well, clear of heat and moving parts. Disconnect the universal splice section at the AMP connector: that section is not used with the application-specific adapter.
14. Connect the pods and adapter
Connect the DT outputs to the pods and the AMP connection to the vehicle-adapter lead from the taillight.
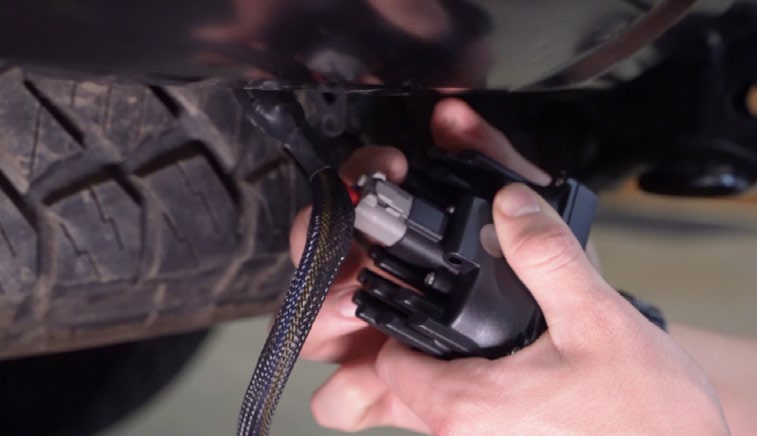
15. Aim and tighten
Aim the pods while installed, then tighten the hardware with the 5/32-inch Allen key and 3/8-inch wrench. Test automatic reverse, override if fitted, off and backlight functions.
Choose or check your kit
Return to the product and its exact options. Explore Toyota 4Runner lighting
Plan your 4Runner lighting
Planning a 2014–2024 4Runner installation? Match the exact product and vehicle instructions before starting.
Shop 2014–2024 4Runner lighting · Read the 4Runner buying guide · Diode Dynamics Stage Series Reverse Light Wiring Harness for 2010-2024 Toyota 4Runner