

BTS illustrated installation guide
Toyota Tacoma 7443 LED Turn-Signal and Tail-Bulb Installation Guide
Match the bulb colour, socket and lighting function before fitting. The Amber and Red 7440/7443 family uses different supported applications, and the later Tacoma tail-lamp listing does not include XP80. This guide retains those distinctions and the manufacturer's BCM/resistor requirement.
Before you start
Check your original lamp has a replaceable incandescent bulb. Factory LED assemblies without a compatible bulb socket are outside this replacement. Park securely, switch the lights off and allow the bulbs to cool. Keep the original bulbs for comparison and use the vehicle's lamp-removal procedure; the generic supplier sheet below does not contain Tacoma trim or fastener instructions.
Use the exact application table
| Years | Function | Colour | Supported models |
|---|---|---|---|
| 2016–2023 | Front turn | Amber | HP48 / HP11 / XP80 |
| 2016–2023 | Rear turn | Red | HP48 / HP11 / XP80 |
| 2016–2019 | Tail / brake | Red | HP48 / HP11 / XP80 |
| 2020–2023 | Tail / brake | Red | HP48 / HP11 only |
1. Choose the correct colour and function
Amber HP48/HP11/XP80 are source-listed for 2016–2023 front turn signals. Red HP48/HP11/XP80 are source-listed for the separate 2016–2023 rear-turn application. For tail/brake use, Red HP48/HP11 are listed for 2020–2023, while the 2016–2019 tail listing also includes Red XP80. Do not transfer an approved rear-turn fit to every tail/brake housing.
2. Confirm access and compare the original bulb
Use the vehicle's original service procedure to access the bulb holder. Release the socket without pulling on wiring, remove the bulb and compare its base and physical envelope with the replacement. Do not force a mismatched socket or modify it to make the bulb seat.
3. Install and test the lamp functions
Seat the correct bulb and test the relevant functions before final reassembly: parking, turn, hazard and brake as applicable. A nonpolar model should not need reversal; for a polarity-sensitive bulb, switch the light off before reversing its orientation and retesting. Check for unwanted cross-operation as well as illumination.
4. Account for BCM-controlled turn signals
The manufacturer specifies a resistor-based solution for these Tacoma turn signals, with one 6-ohm resistor per replaced turn-signal bulb. Its source does not identify a replaceable flasher workaround. Resistors are sold separately. Follow the resistor manufacturer's mounting instructions, allow for heat and keep the installation away from vulnerable wiring and trim.
5. Identify the correct circuit before connecting
The source gives different front and rear wire-colour references, reproduced below. Confirm the actual circuit and connector on the vehicle before connection; do not use the front reference at the rear or assume an unrelated loom has the same colours.
| Circuit | Turn-signal positive | Ground |
|---|---|---|
| Front left | Beige | White / Black |
| Front right | Blue | White / Black |
| Rear left | Yellow | White / Black |
| Rear right | Light Blue | White / Black |
6. Reassemble only after the checks pass
Recheck flash rate, hazards, brake and parking functions as applicable. Inspect both sides, seat the bulb holders and seals correctly, and secure the lamp with the vehicle's specified fasteners. The retained supplier instructions do not supply a numerical Tacoma lamp-fastener torque.
Manufacturer installation videos
Manufacturer video linked from Tacoma rear-turn and tail-bulb pages; not a front-lamp removal demonstration.
Keep the original miniature-bulb sheet
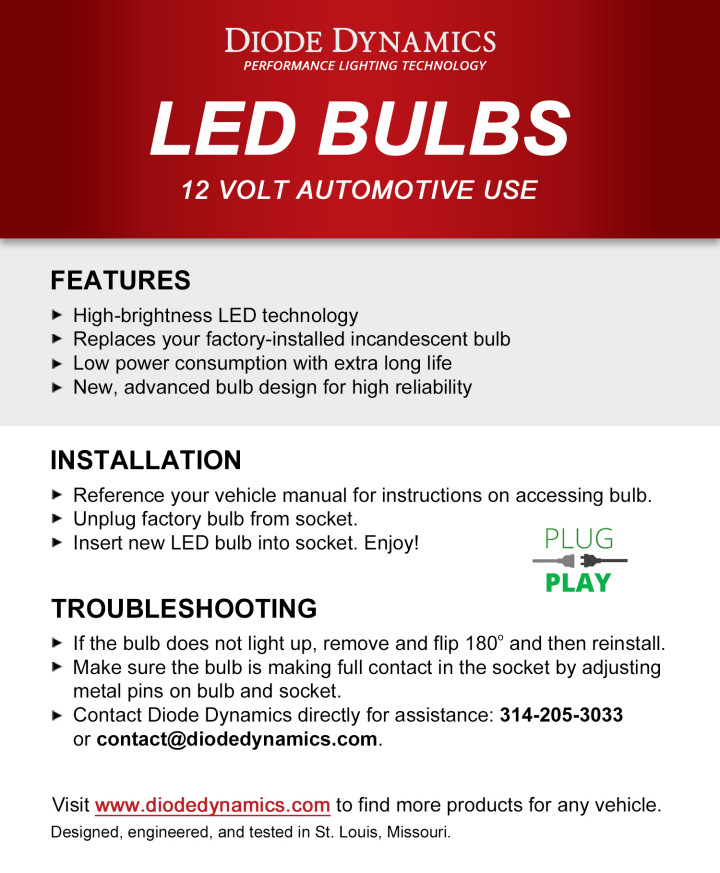
Open the original Diode Dynamics miniature-bulb PDF. This is generic 12 V installation technique, not Tacoma trim-removal instructions.