

BTS INSTALLATION GUIDE · 2016–2023 TACOMA
Install FORM Tacoma headlights and set the DRL colour
A practical walkthrough of grille and bumper removal, factory-headlight adapters, selectable DRLs and the optional independent DRL feed.
Before starting
Check that your FORM assembly and wiring match your 2016–2023 Tacoma’s original headlight equipment. Factory halogen lights use the supplied halogen adapter; factory LED lights require the correct LED adapter. Confirm that adapter is in your kit before dismantling the truck. Keep the lights and vehicle off while connecting wiring or changing the DRL setting.
Have a trim tool, 10 mm socket, Phillips screwdriver, pliers and the fuse-box fuse puller ready. This procedure uses FORM’s Tacoma installation illustrations; a pictured earlier lamp finish does not change which assembly you ordered.
Watch FORM’s installation video
1. Remove the grille, deflectors and bumper cover
Open the hood. Remove the clip on each side of the grille and the two central 10 mm bolts. Release the two tabs holding the sensor connector and unplug it, then remove the grille.
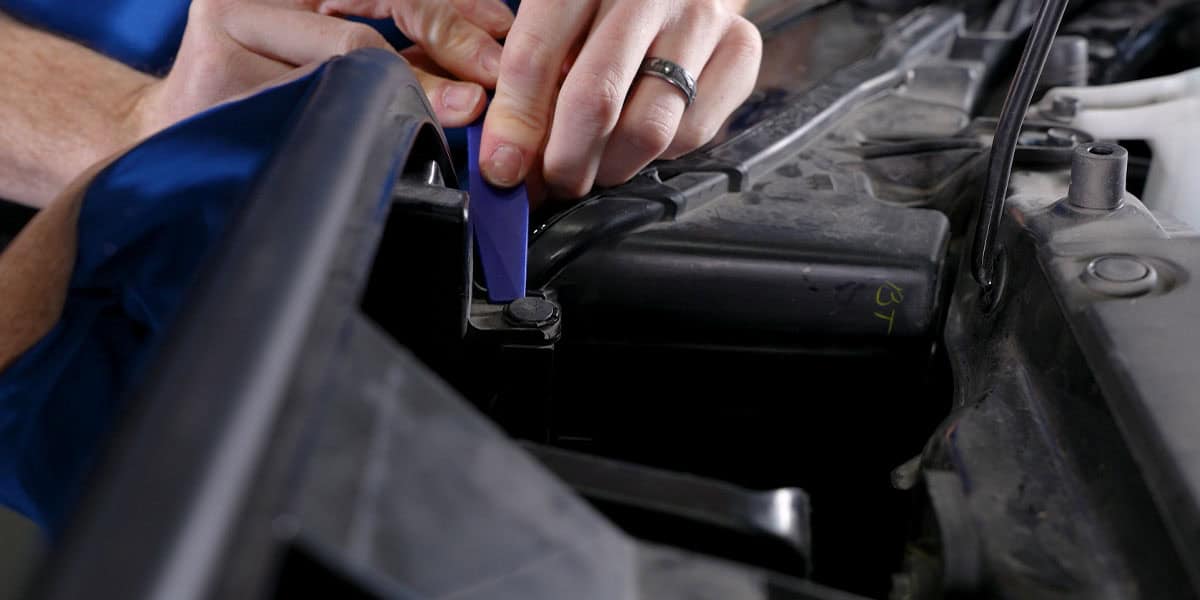
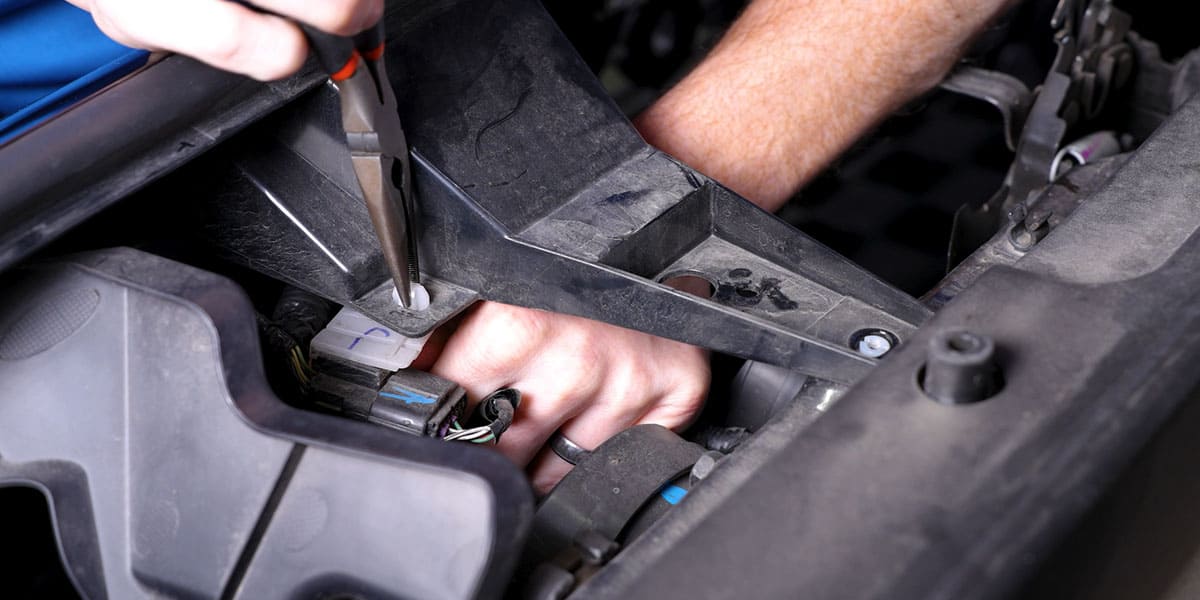
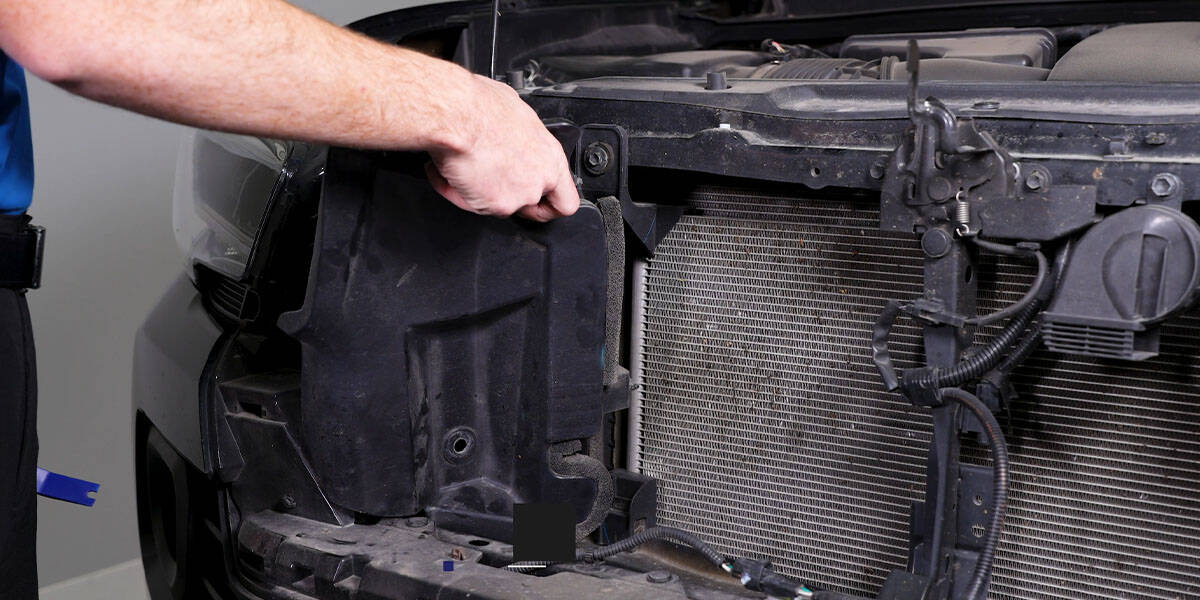
Remove the single centre clip from the air deflector on each side. Pull the deflector away and rotate it out of position.
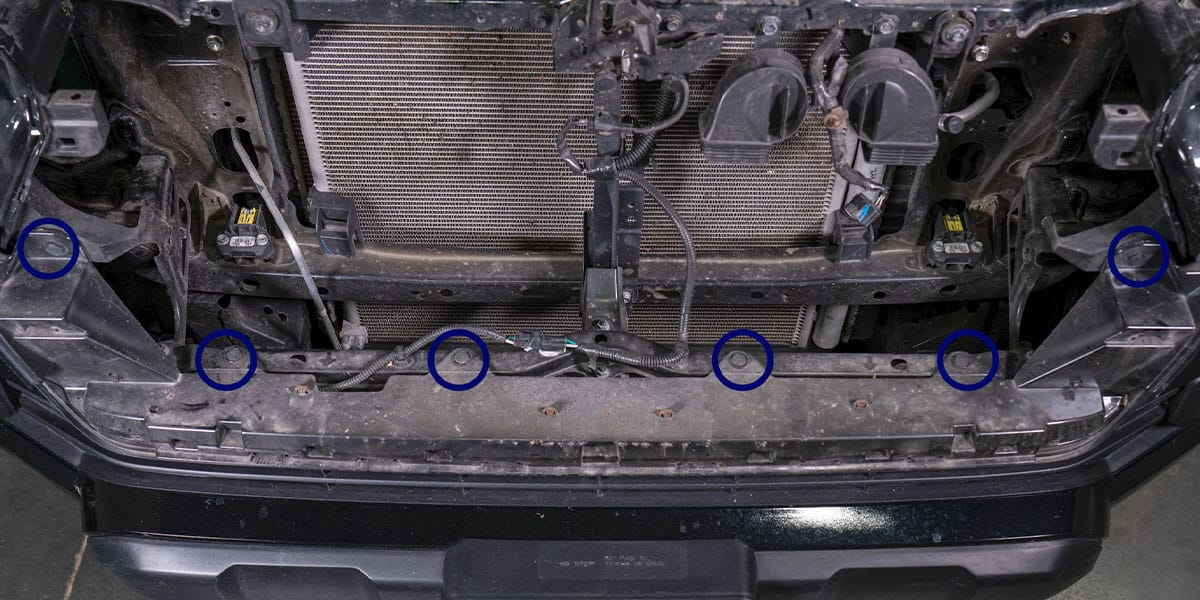
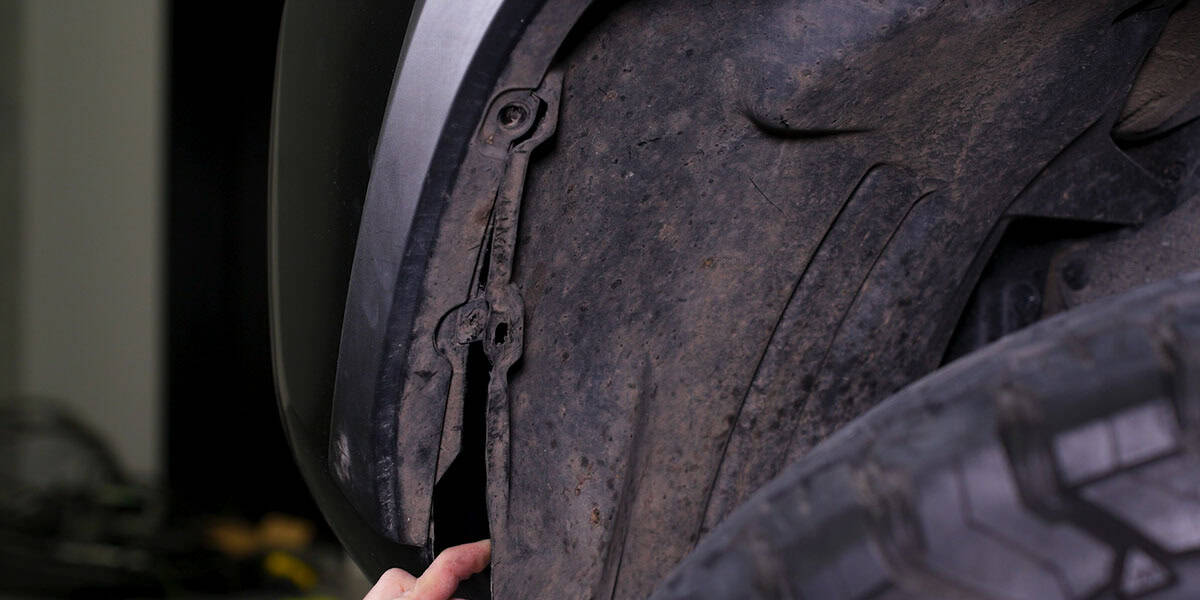
Release the six bumper clips: four ahead of the radiator and one beneath each headlight. Turn the wheels for access, remove the wheel-well 10 mm bolt and plastic clip, and remove the two underside bolts shown by the procedure. Repeat the side work on the other side. Pull the liner back slightly, release the two fender-flare tabs, and lift the tab over the bumper before separating the cover.
2. Remove the lamps and transfer the trim
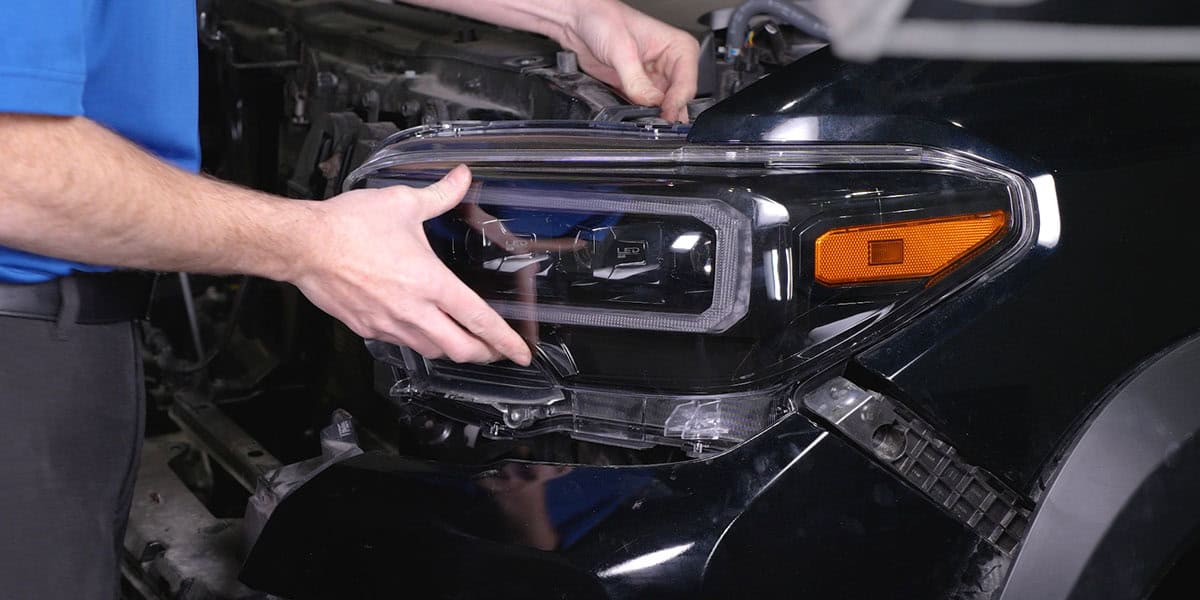
Press the connector tabs to unplug each original lamp. Remove its bottom bolt and two upper bolts. Lift the upper tabs and move the lamp toward the centre of the vehicle to clear the side tab.
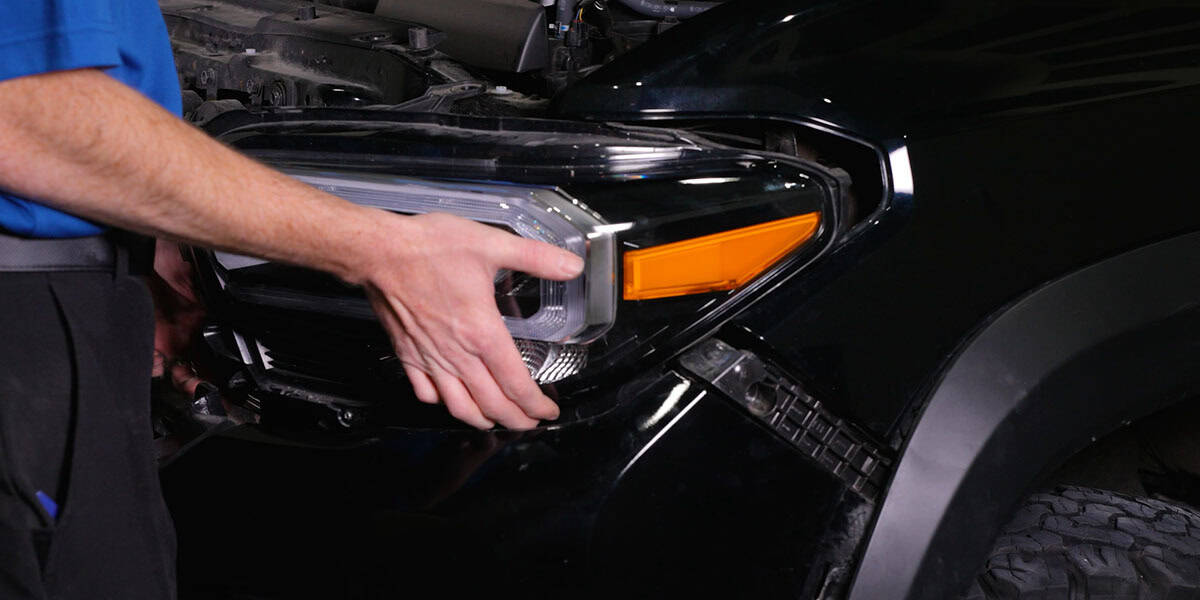
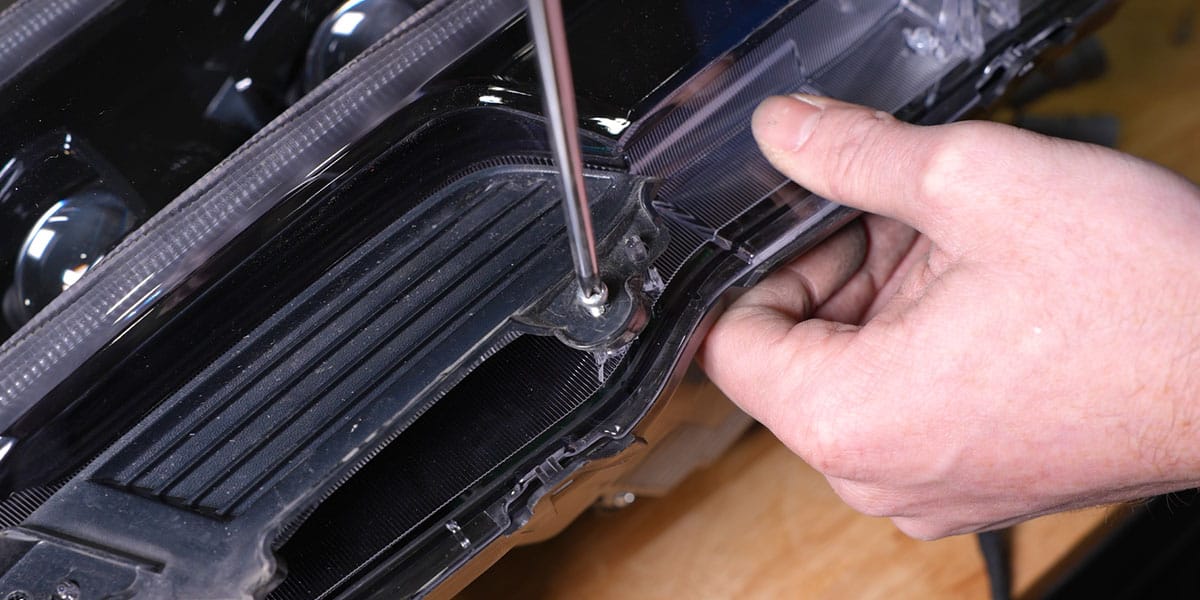
Remove the two Phillips screws holding the lower trim piece. Transfer it to the corresponding FORM headlight, then repeat for the other side.
3. Connect the appropriate adapter and choose the DRL
For factory halogen equipment, connect the two matching plugs using the supplied halogen adapter. For factory LED equipment, use the LED adapter and follow the connector path in the manufacturer illustration:
- Connect the adapter’s dark-grey plug to the headlight.
- Join the headlight’s blue plug to the grey adapter plug.
- Connect the black plug with red wires to the high-beam connection.
- Connect the black plug with brown wires to the low-beam connection.
- Connect the adapter’s small side-marker plug to the lamp.
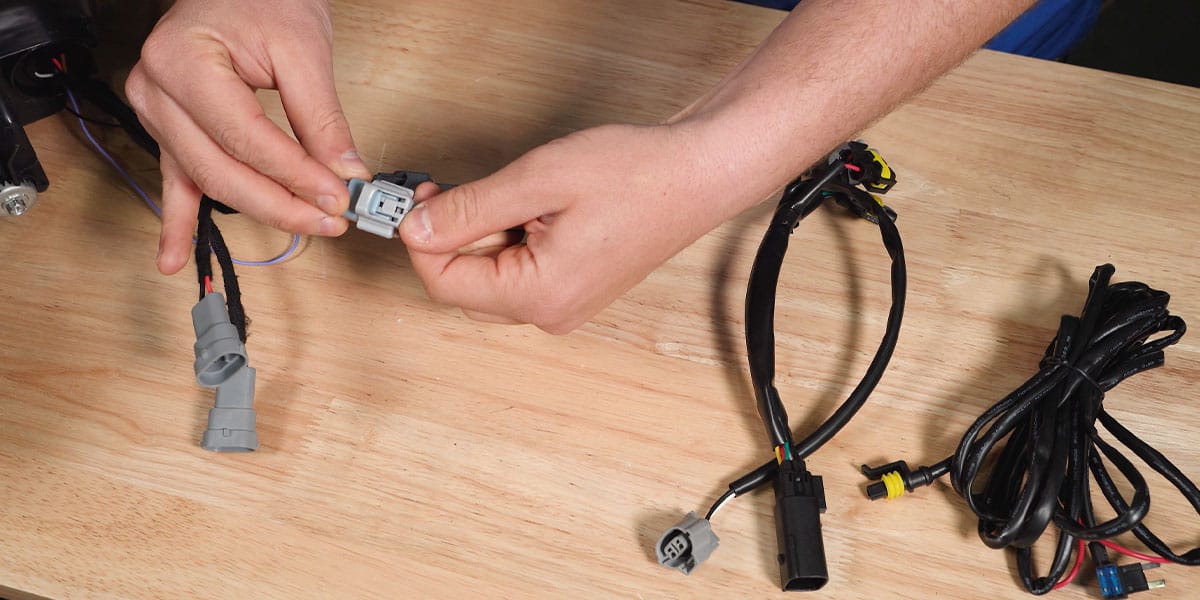
On the selectable-DRL version, leave the small white connector joined for a white DRL, or disconnect it for an amber DRL. Use the same setting on both lamps. Earlier fixed-colour versions do not use this selection step.
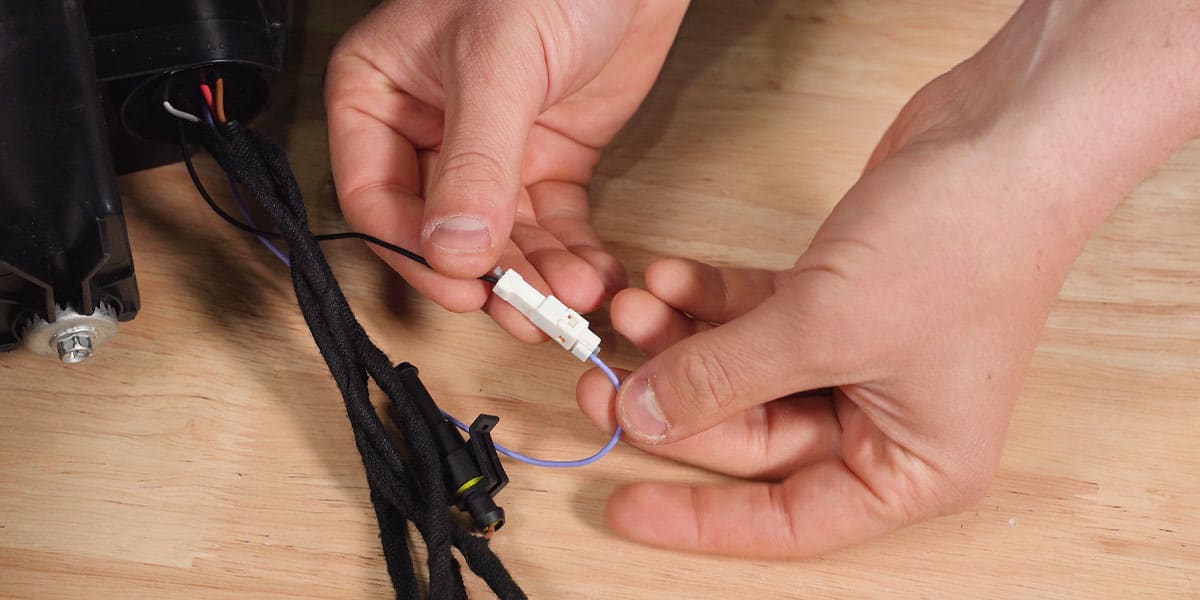
Connect the adapter to the vehicle, align the lamp, and test the light functions before tightening the mounting bolts.
4. Optional independent DRL feed for halogen-equipped trucks
If you want the independent DRL function on a factory-halogen truck, disconnect the brown-wire connection on both lamps and attach the add-a-fuse harness connectors as shown.
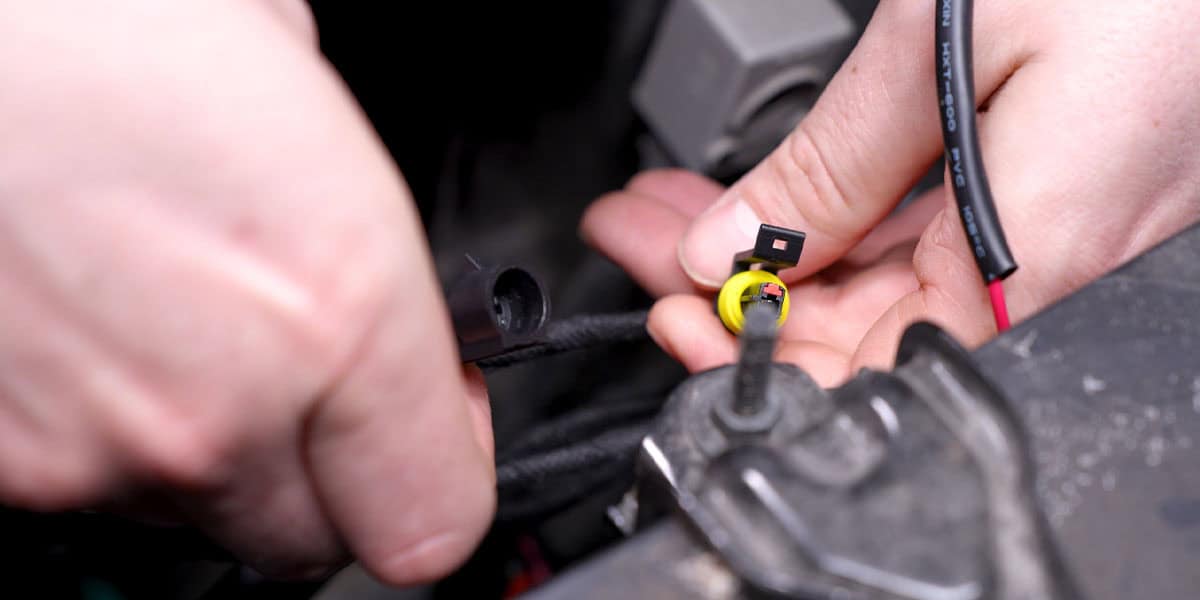
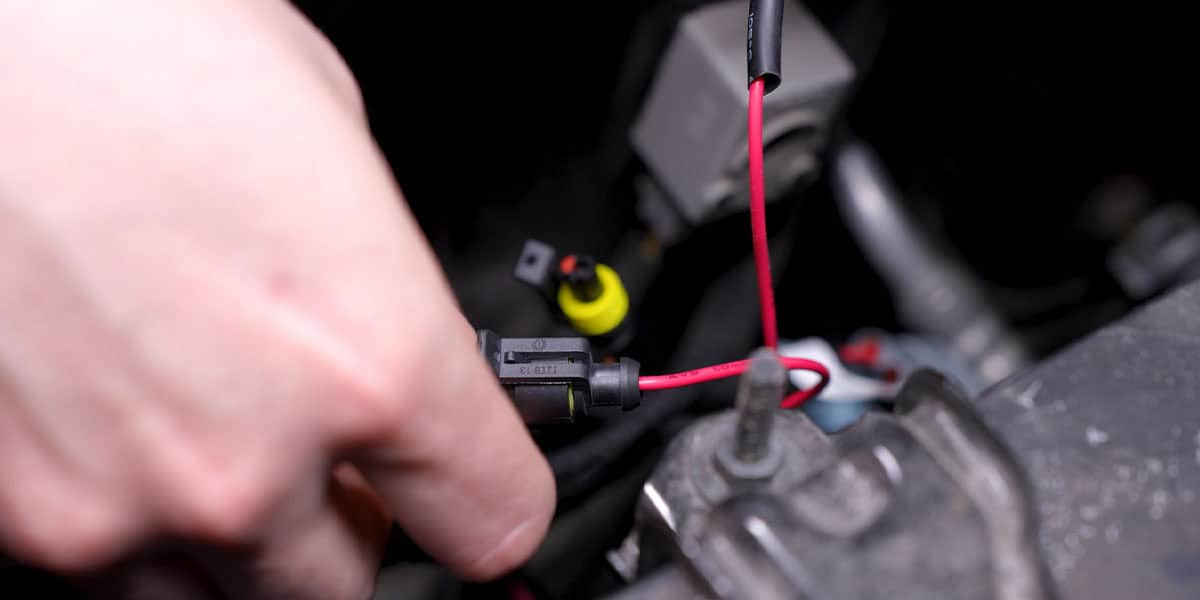
Use the fuse puller to remove the 10A fuse labelled INJ and install the supplied tap at that position. Secure excess wiring away from heat and moving components.
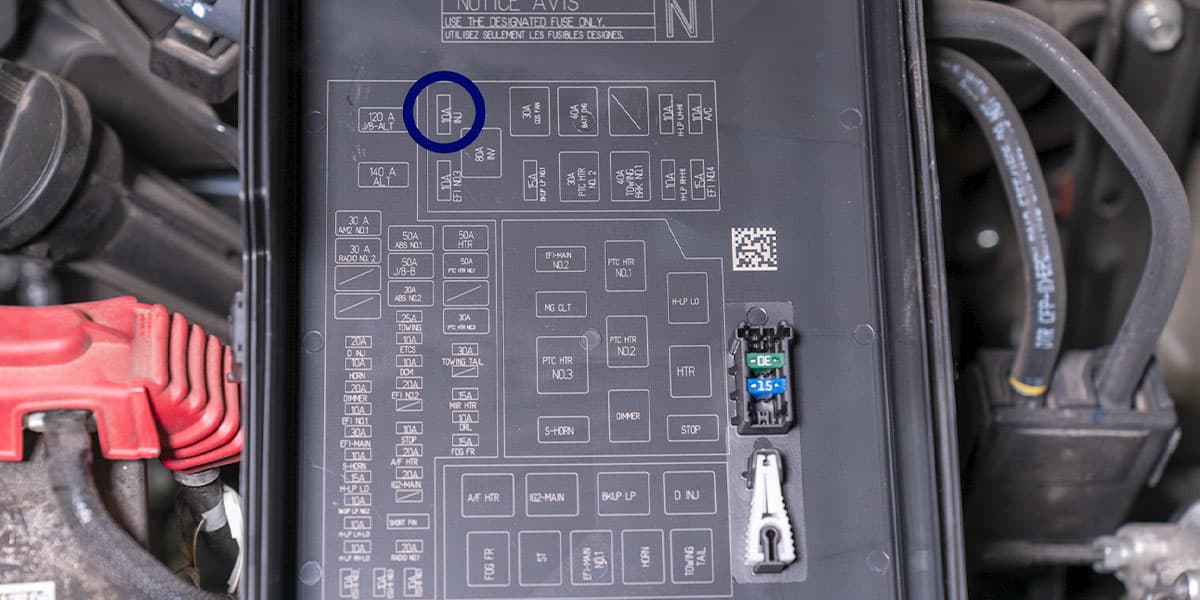
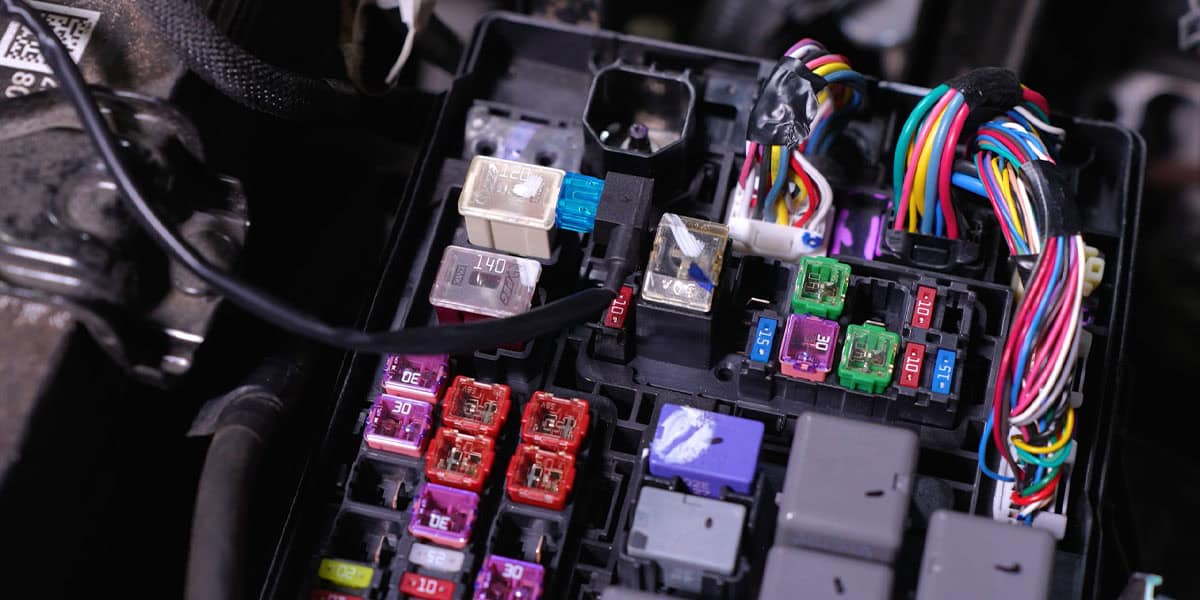
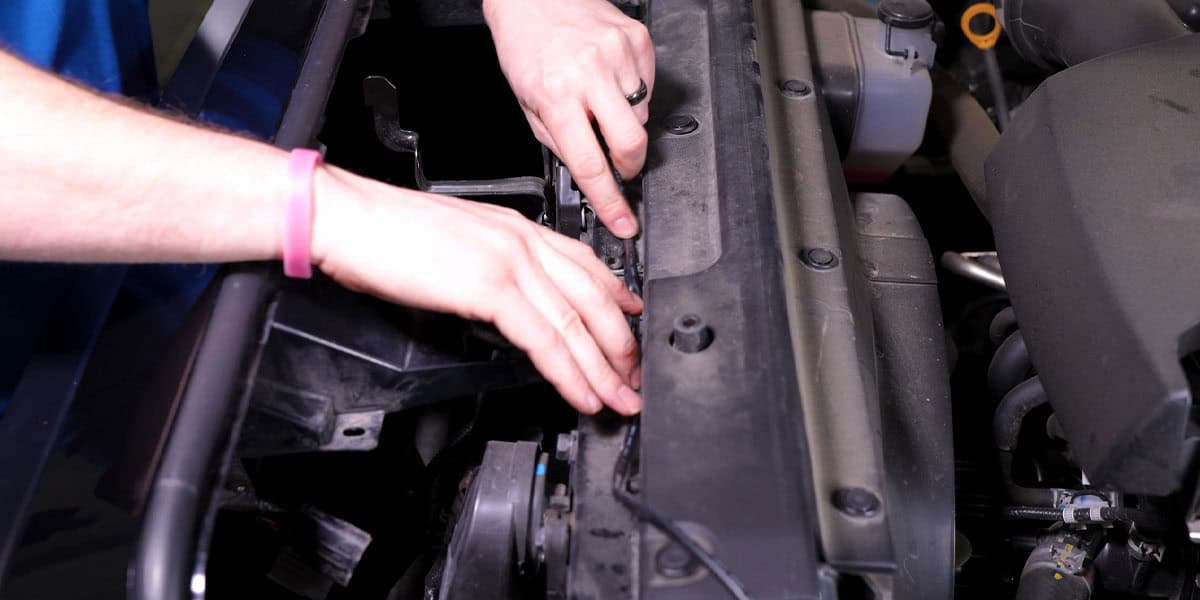
With the fuse tap fitted, the headlight stalk must be in OFF for the independent DRL function. On some Tacomas, the stalk’s DRL position activates the factory static amber signal instead.
5. Reassemble and aim
After testing the low beam, high beam, DRLs and turn signals, reinstall the bumper, grille, clips and fasteners in reverse order. Reconnect the grille sensor and any factory-light wiring disturbed during removal.
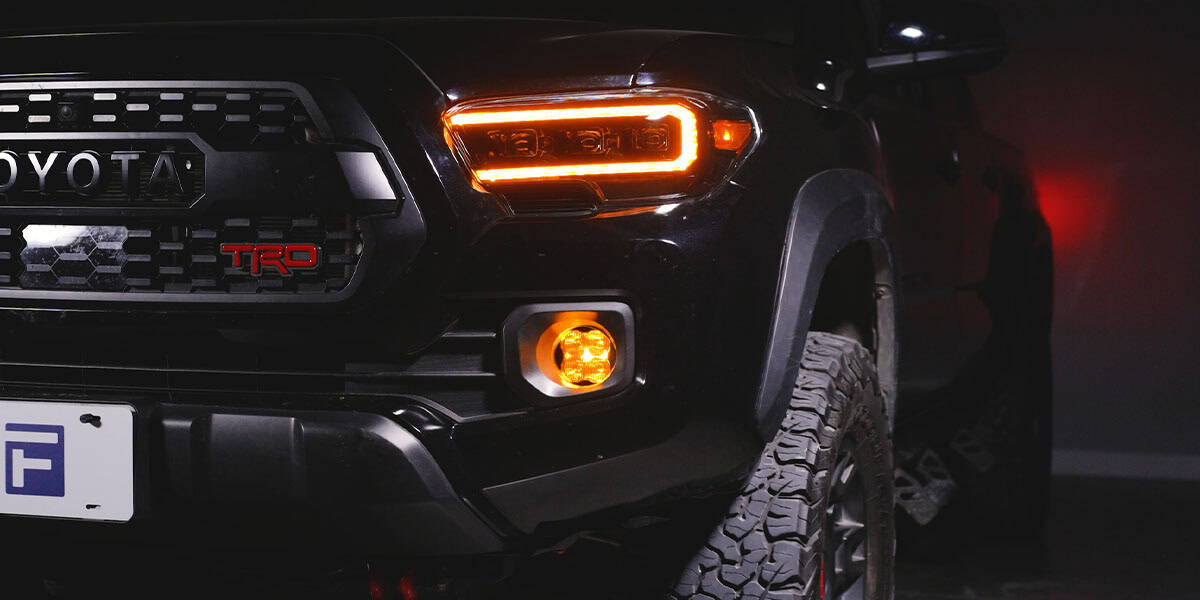
Use a Phillips screwdriver on the integrated adjustment screws to set the beam aim. Check the cutoff and glare before driving at night.
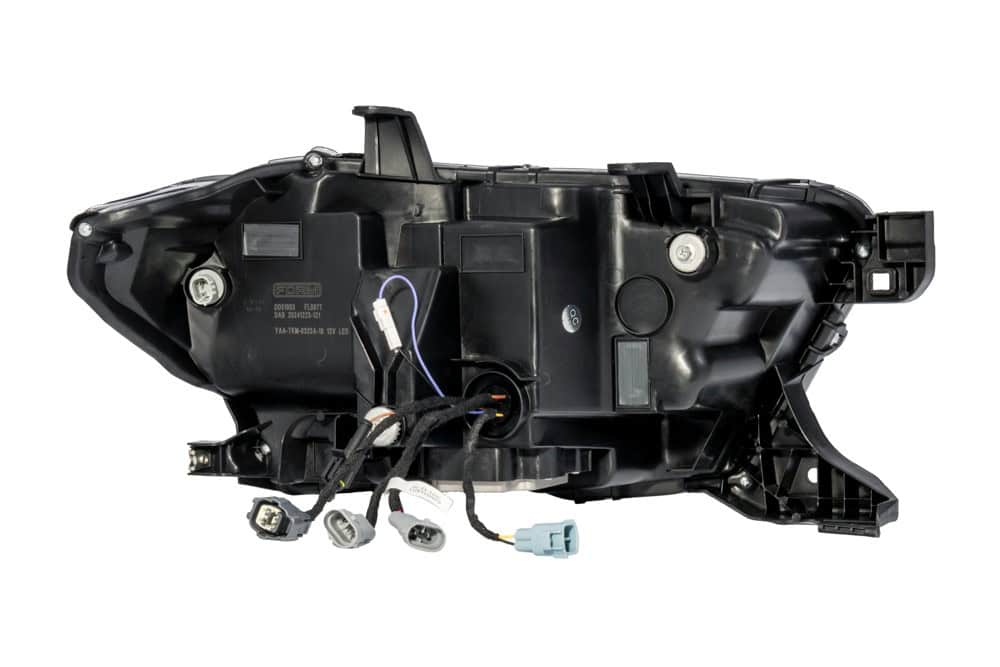
Set up the aiming reference
FORM’s general aiming method starts on level ground with correctly inflated tyres and the vehicle carrying its normal load. Park square to a wall, 25 feet away. Measure ground-to-headlight-centre height and the distance between the two centres; use the moulded aiming dots where present.
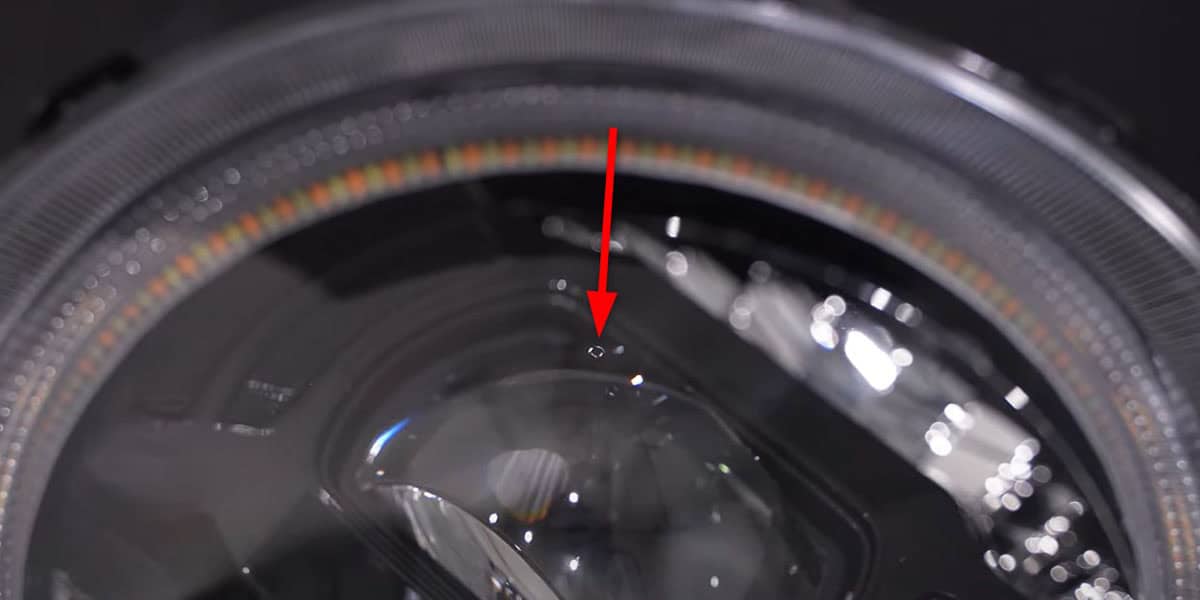
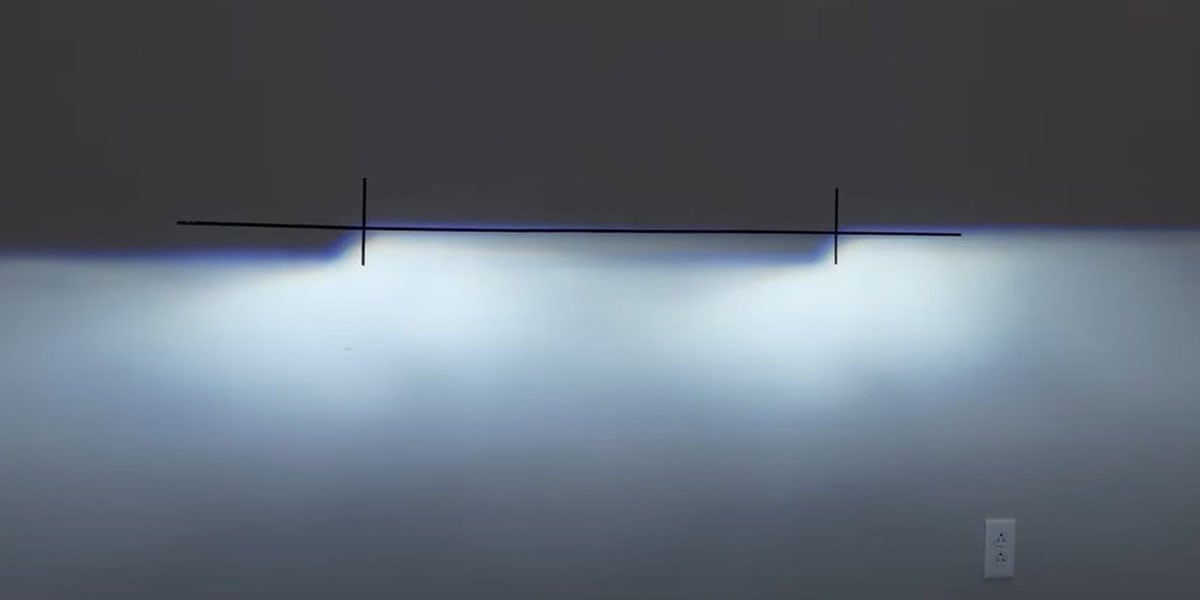
Mark the reference height with horizontal tape and put a vertical mark in front of each lamp. Read the VOR or VOL marking on your actual lens before choosing which side of the cutoff to align. FORM notes that headlight centres above 36 inches require a 2-inch drop below the measured centre height; use the specification for the actual lamp when establishing your reference.
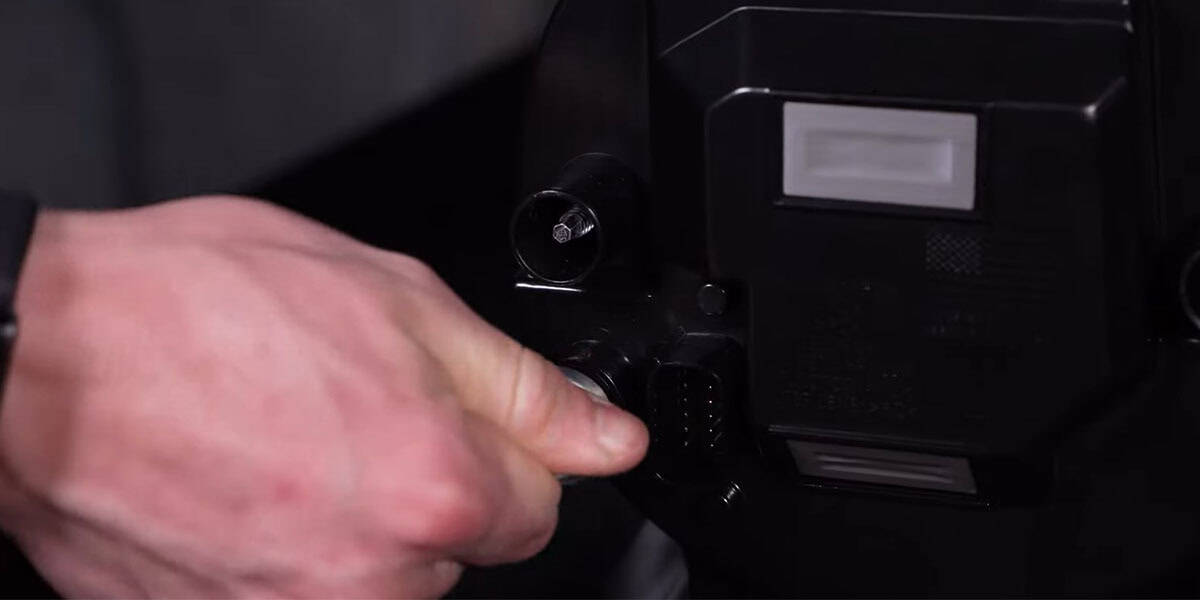
Adjust according to the lens marking
Turn on the low beams. Access the vertical adjuster and turn it gradually to raise or lower the beam. Use the lamp’s instructions for the correct direction; the generic adjuster photograph is an illustration, not a Tacoma-specific rotation rule.
VOR: FORM’s diagram aligns the right-hand side of the cutoff with the horizontal reference line. VOL: its diagram aligns the left-hand side 3 inches below that line. Follow the marking on the fitted lamp; these are alternatives, not two settings to apply together.
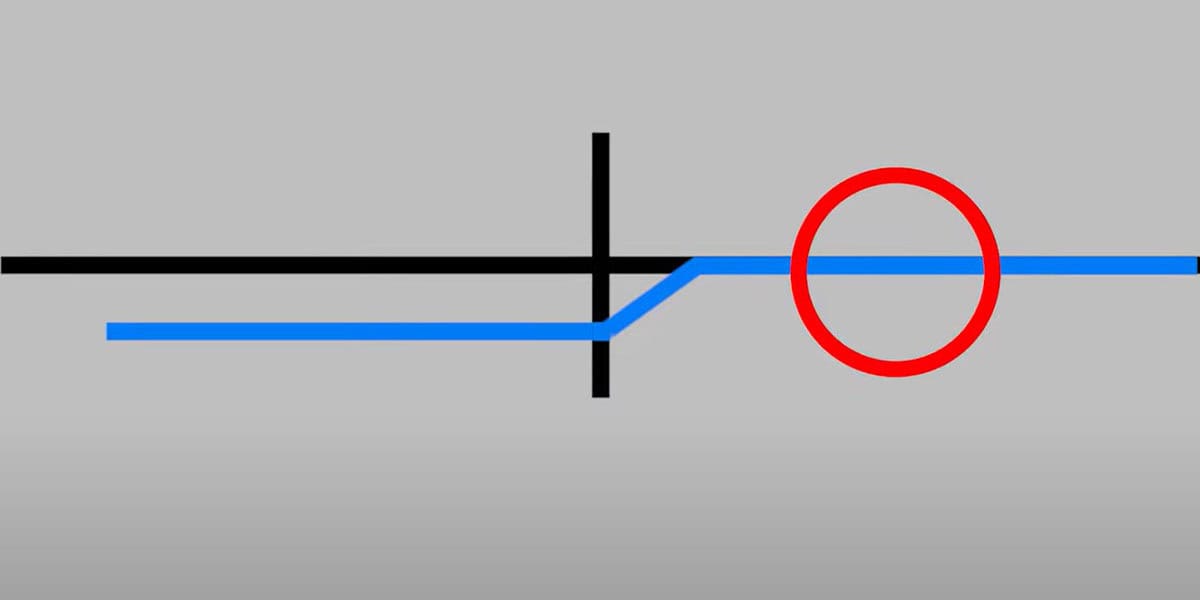
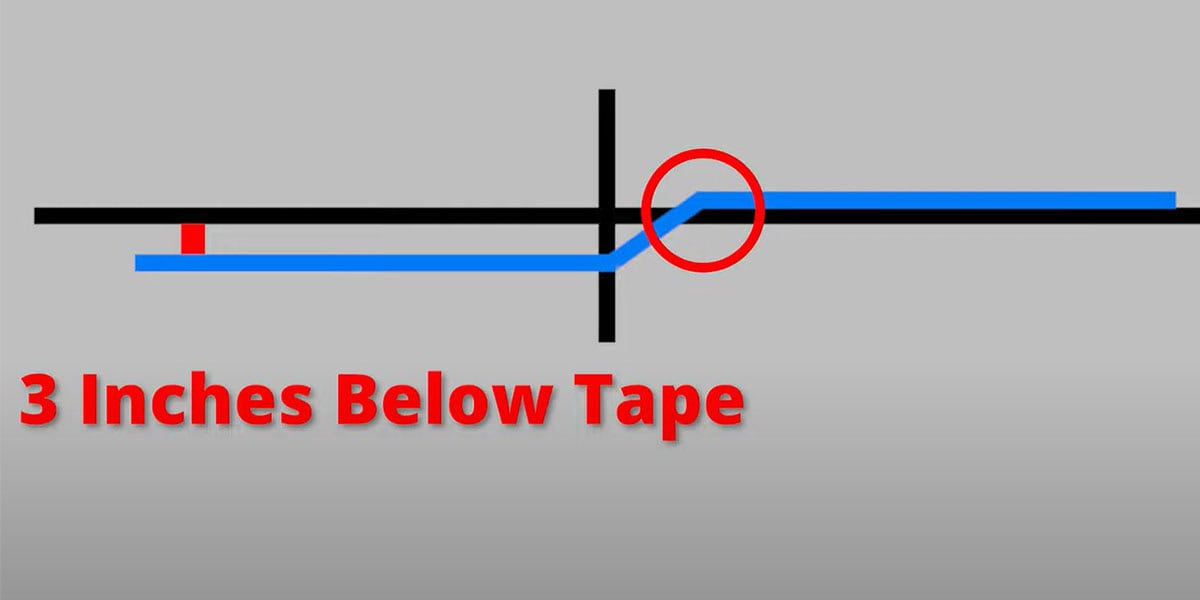
Set both lamps to the same reference. If the assembly has a horizontal adjustment, use the measured lamp spacing so the beams point parallel; do not assume every headlight has this adjustment.
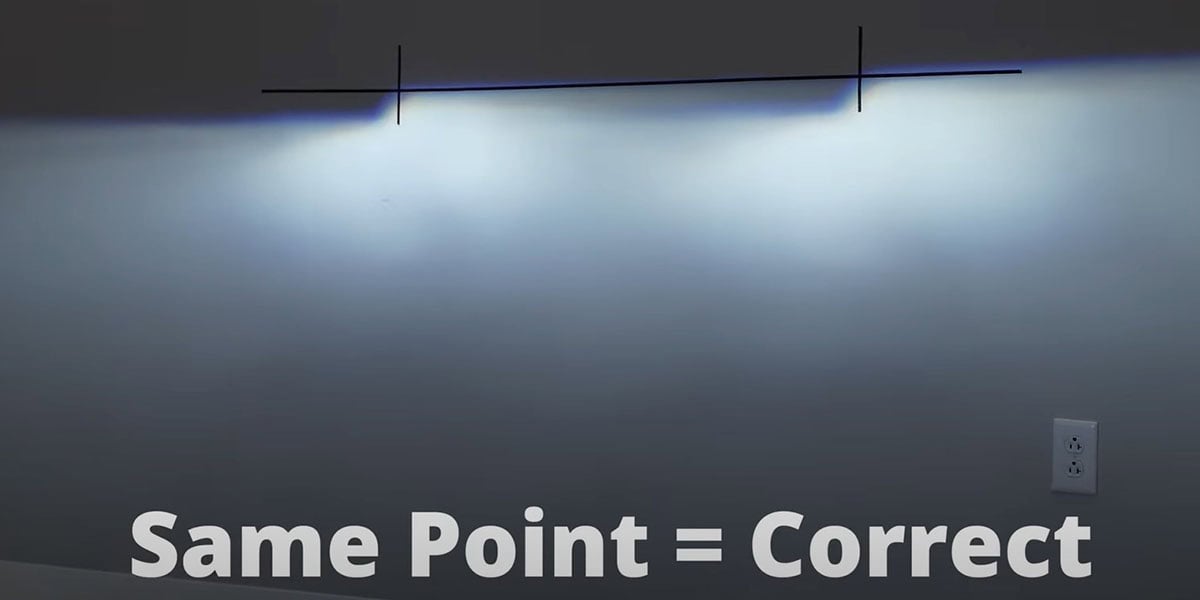
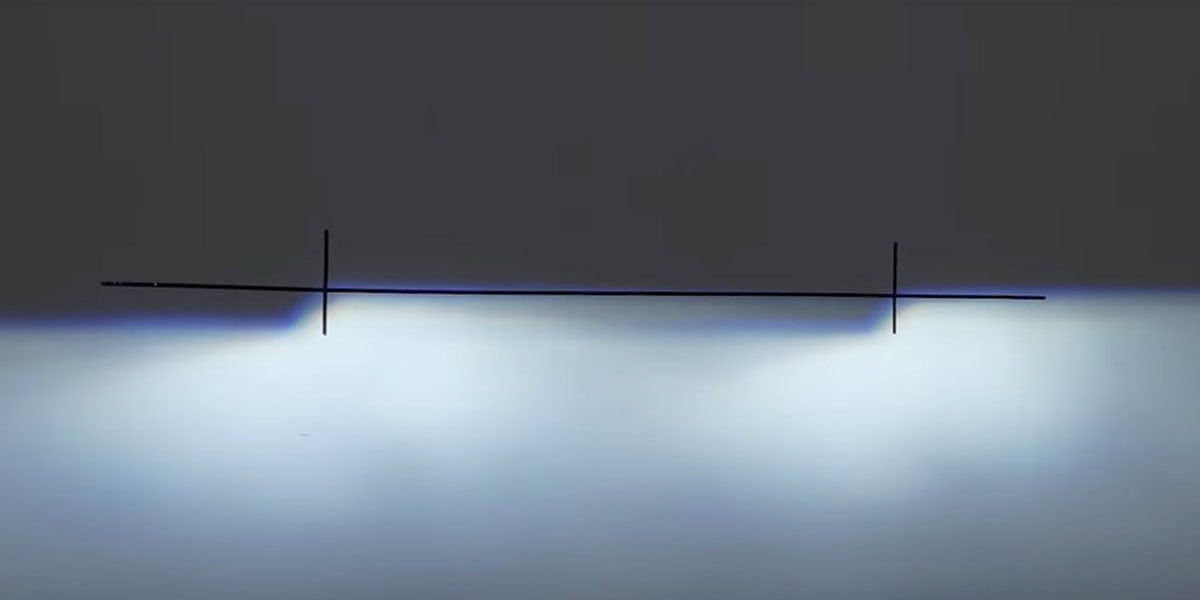
Keep comparing your Tacoma headlights
Explore Tacoma lighting upgrades
Original BTS walkthrough based on FORM Lighting’s Tacoma installation article dated March 6, 2025, retrieved October 24, 2026. Manufacturer illustrations retained with their instructional context. Original manufacturer instructions.