

BTS installation guide · 2016–2023 Tacoma
Install a Tacoma under-bumper reverse-light kit
Mount the pair, connect the vehicle adapter and relay harness, then choose automatic reverse activation or manual override. For the DD7159–DD7162 C1 and C2 2.0 kits, with DD7158 adapter.
Identify the system and choose the switch location
For 2016–2023 Tacoma. Tools in the manufacturer guide include 12 mm and 10 mm sockets, a 5/32-inch Allen key, a 3/8-inch wrench and wire strippers. The original photographs demonstrate C1 pods; C2 2.0 uses the same vehicle connection procedure with its matching pod hardware.
| Switch position | White main-beam operation |
|---|---|
| 1 | Follows the factory backup-light signal |
| 2 | Manual override: turns the pods on independently |
| OFF | White reverse lamps remain off |
If manual override is not needed, the manufacturer permits leaving the switch in Position 1 and securing it in the engine bay. The red running-light accent is a separate function; this kit is not a C1R brake/strobe system.
Manufacturer demonstration of the under-bumper kit, taillight adapter and harness route.
1. Remove the underside bumper bolt
Use the 12 mm socket to remove the factory bolt under one side of the rear bumper.
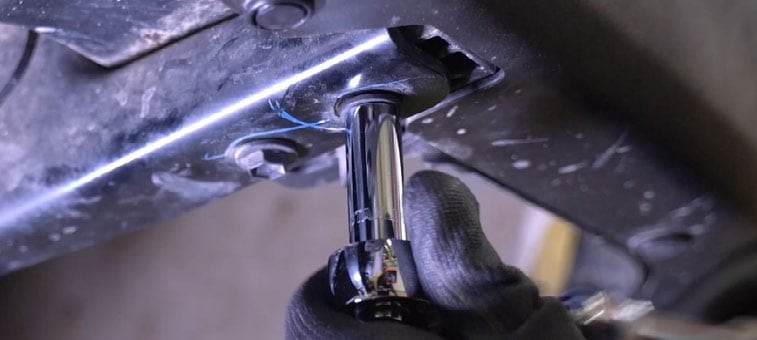
2. Fit the universal bracket
Reuse that bolt to secure the supplied bracket. Its curved portion faces toward the rear of the truck.
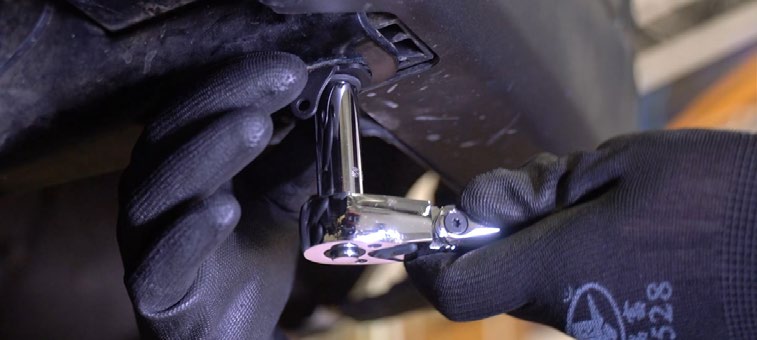
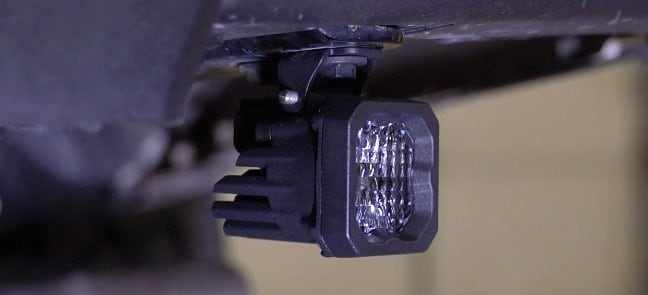
3. Mount the pod
Use the supplied hardware to attach the C1 or C2 pod. With the 5/32-inch Allen key and 3/8-inch wrench, tighten it enough to hold position while still allowing a firm pivot for aiming. Repeat Steps 1–3 on the opposite side.
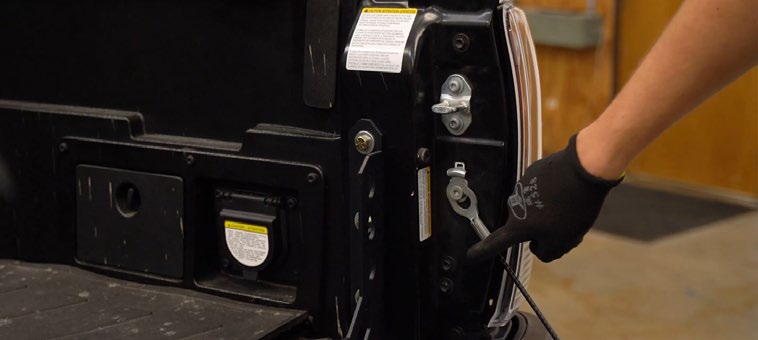
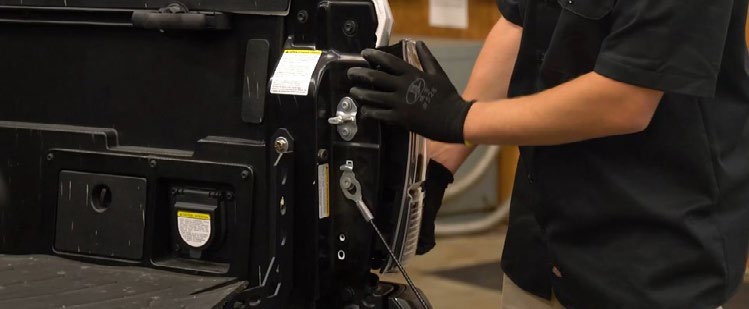
4. Remove the taillight bolts
Lower the tailgate to expose the three side bolts. Remove them with the 10 mm socket.
5. Release the taillight housing
Hold the top and bottom of the housing and pull it outward to release it.
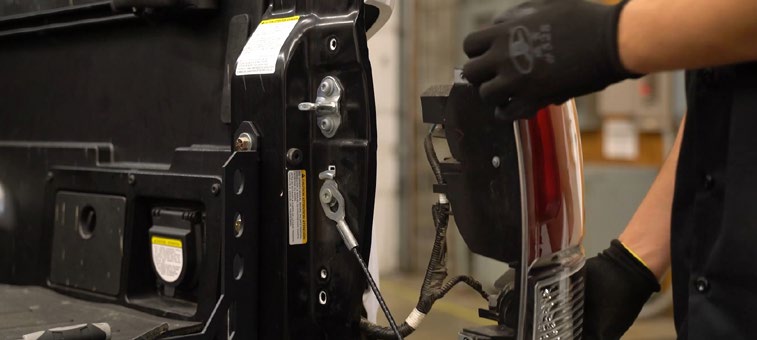
6. Disconnect the lower connectors
Disconnect the two lower connectors at the back of the taillight.
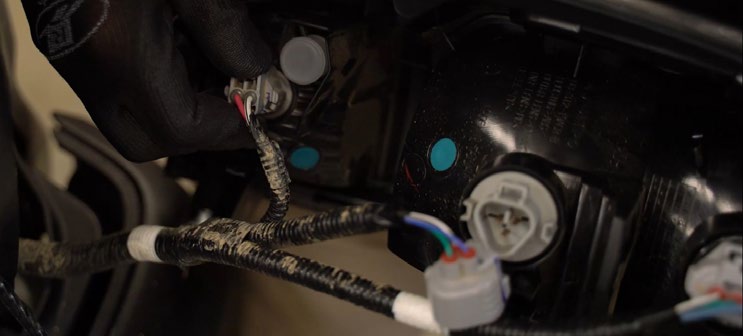
7. Connect the vehicle adapter
Insert the supplied Tacoma adapter inline between the factory harness and the taillight connectors.
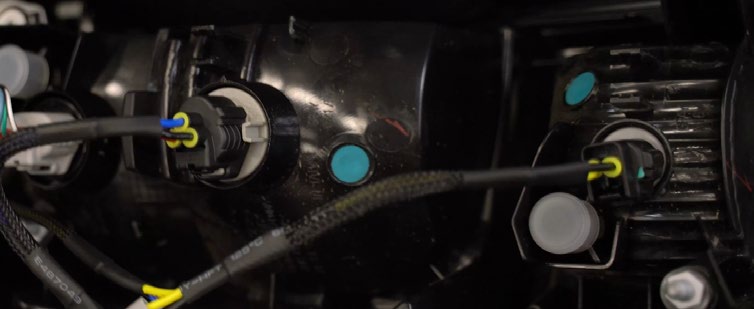
8. Feed the signal lead down
Route the female two-pin AMP connector lead down through the taillight cavity alongside the factory loom.
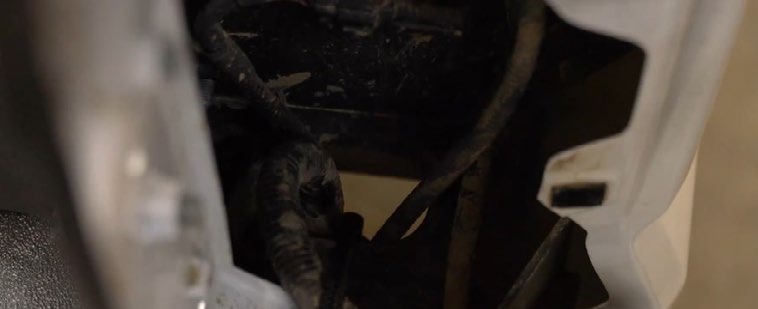
9. Refit the taillight
Return the housing to position and reinstall all three factory bolts.
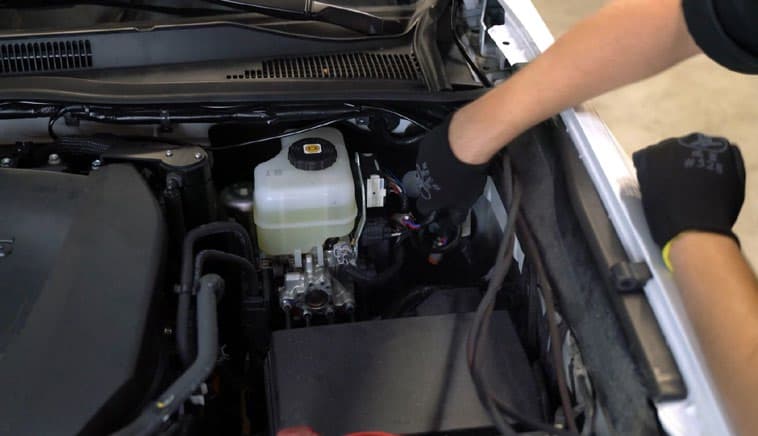
10. Connect power and ground
On the universal relay harness, connect the black ring terminal to battery negative or a suitable factory ground. Connect the red ring terminal to battery positive.
11. Mount the relay
Secure the relay near the battery in a suitable protected location.
12. Position the switch
For manual override, route the switch loom through a protected firewall route into the cabin. A new switch opening requires a 3/4-inch (19 mm) hole. Reconnect and secure the switch. If override is not needed, secure the switch in the engine bay in Position 1.
13. Route the harness under the truck
Run the output loom along the vehicle, following a protected path near the wheel well and avoiding hot or moving parts. Disconnect the universal splice section at the AMP connector: that section is not used because this kit has the Tacoma adapter.
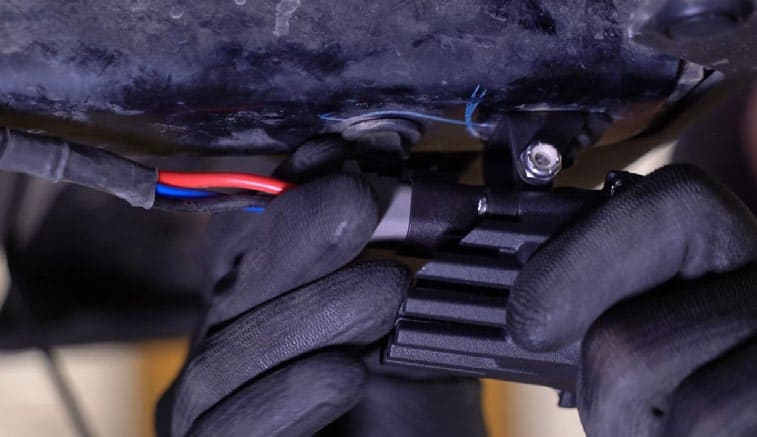
14. Connect the pods and signal adapter
Connect the DT plugs to the rear of each pod and join the AMP connection from the taillight adapter to the universal harness.
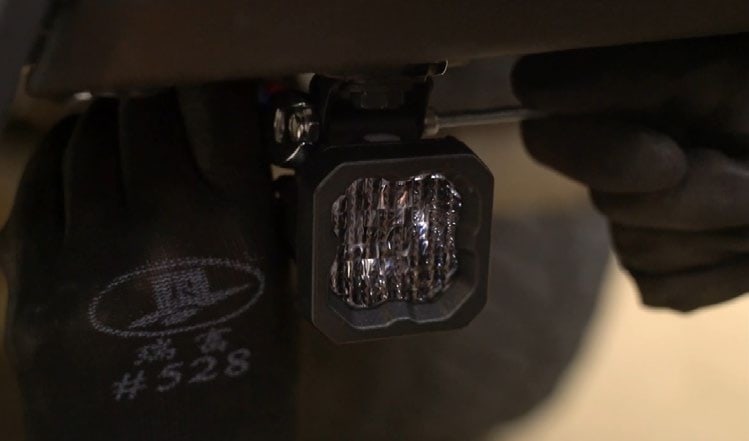
15. Aim and secure the pair
Set the beam direction with the lamps still installed. Tighten the pivot hardware using the 5/32-inch Allen key and 3/8-inch wrench. Test reverse-triggered operation, OFF, manual override if installed, and the separate red accent. Aim the white Flood beams away from other road users.
Choose the kit or replacement adapter
C1 Sport / Pro kits · C2 2.0 Sport / Pro kits · DD7158 adapter