

BTS installation guide
Install H11 SL2 and SL2 Pro bulbs
Seat the bulb, align the emitters and check the beam. These steps cover the H11-style SL2 and SL2 Pro bulbs; vehicle access and approval requirements remain application-specific.
Confirm the original lamp and allow it to cool
Switch the lamps off. Confirm the original replaceable halogen socket and read the vehicle’s lamp-access procedure. Do not use these steps to open a sealed factory LED or HID assembly. Gather the appropriate hand tools; H11 SL2 Pro uses the supplied hex tool for collar adjustment.
The manufacturer identifies these LED replacements as not DOT/FMVSS108 compliant for on-road headlight use in the USA. Physical fit does not establish road-use approval; check the requirements where the vehicle will be used.
Original manufacturer bulb-installation video. Access to the socket varies by vehicle.
Remove the original bulb and seat the replacement
- Disconnect the factory plug. Most supported twist-lock bulbs turn counterclockwise to release; use the vehicle’s procedure.
- Align the replacement’s tabs and insert it straight. Seat the seal evenly and twist to lock.
- If it will not seat, verify the bulb size and tab alignment. Do not force a crooked bulb or damage the housing.
- Check that the emitters face horizontally to the sides before reconnecting.
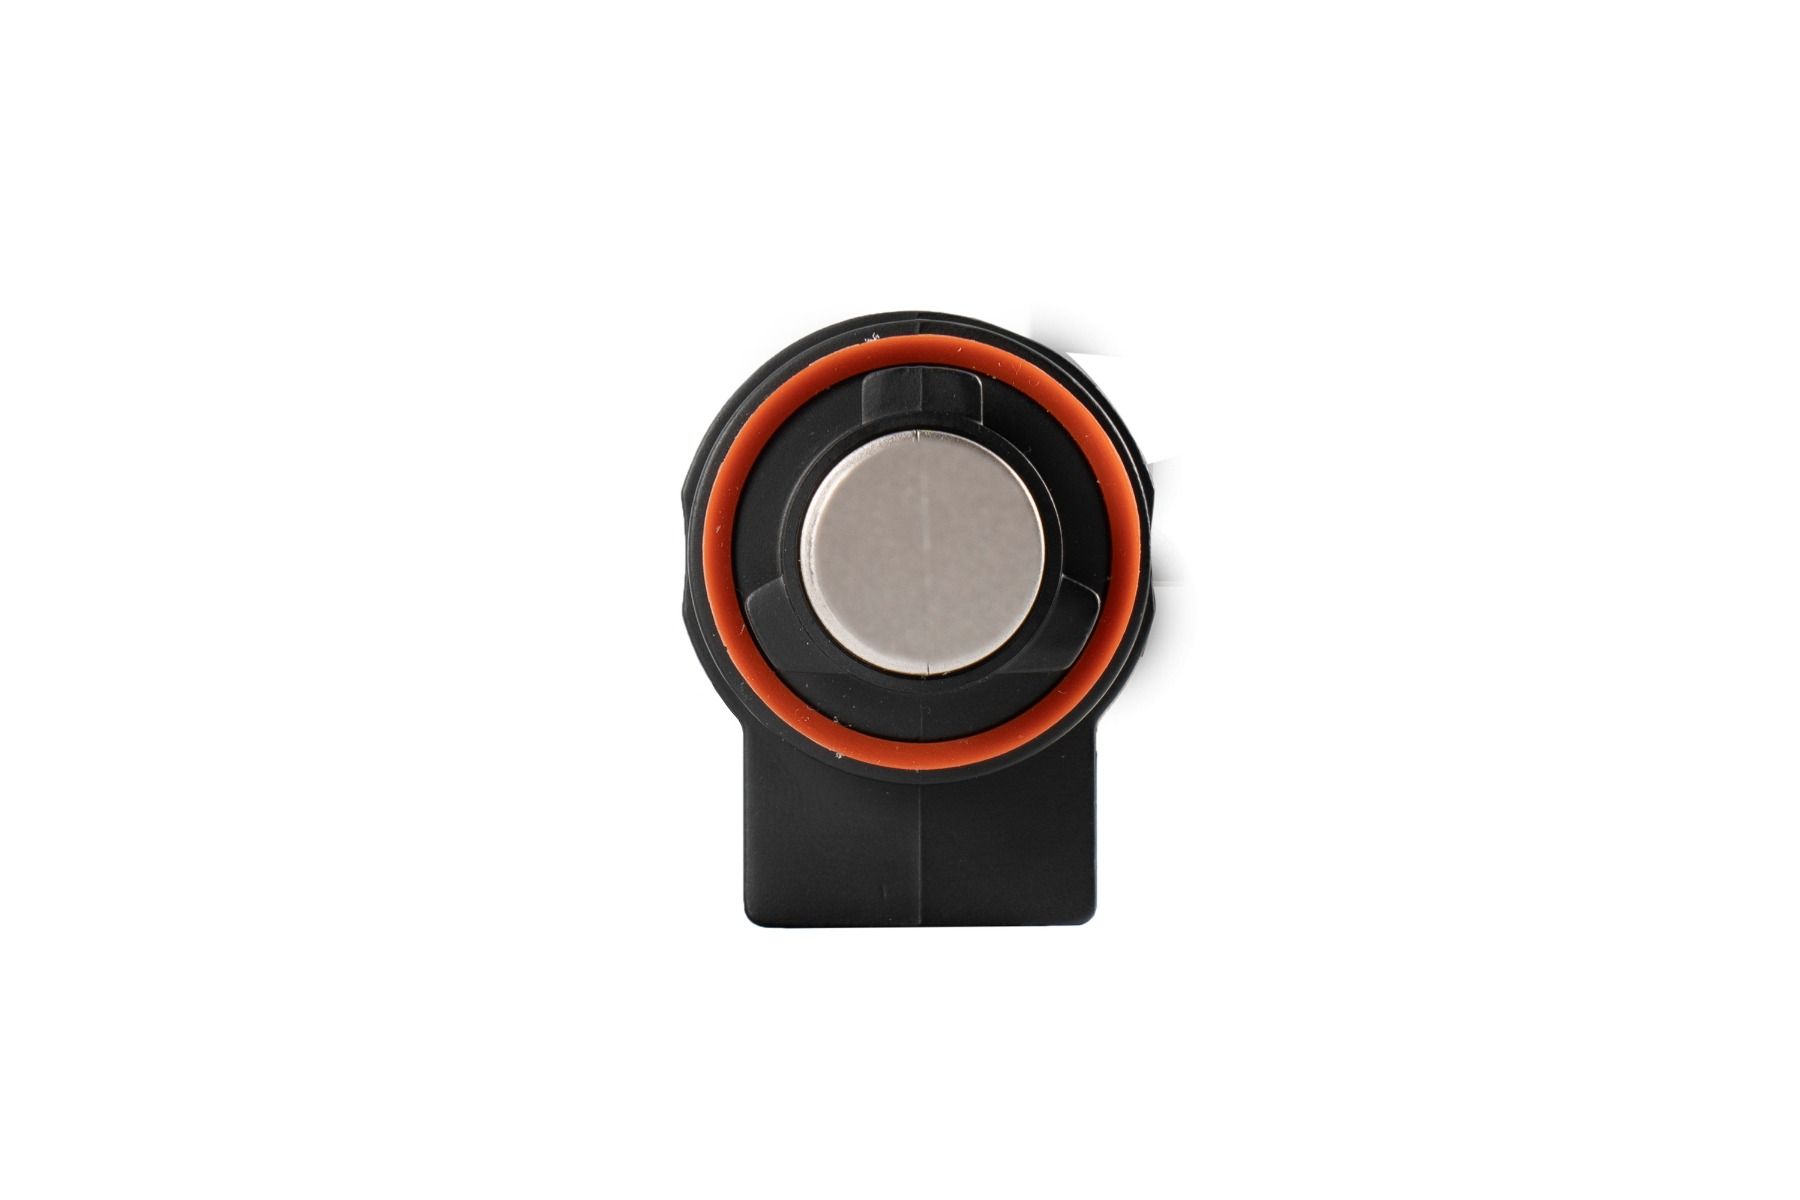
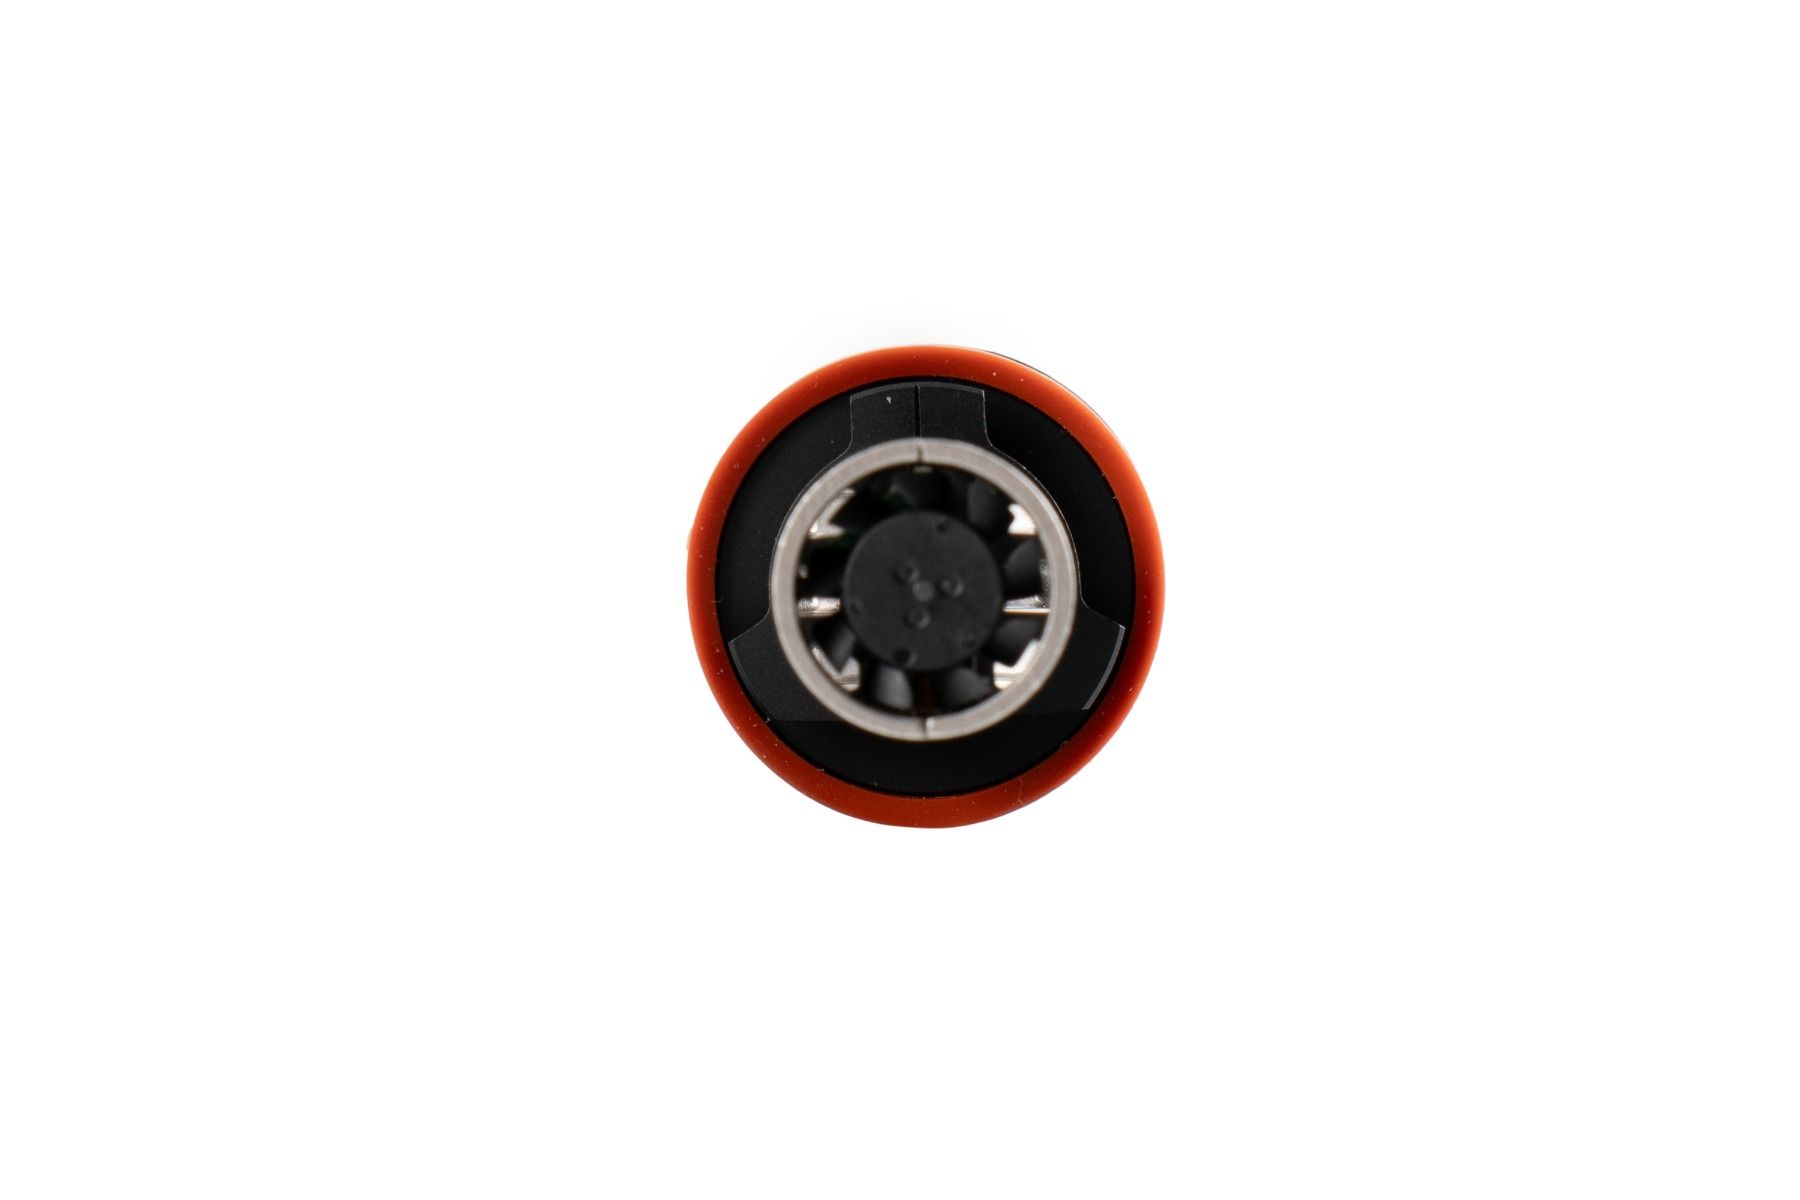
Use the correct collar adjustment
| Bulb | Adjustment |
|---|---|
| H11 SL2 | Rotate the tabs by hand to align the emitters horizontally at 9 and 3 o’clock. |
| H11 SL2 Pro | Loosen the two collar screws with the supplied hex tool; do not remove them. Rotate the collar, check alignment, then secure both screws. |
The H4,H13 and H7 SL2 Proversions have fixed collars and are outside this H11 procedure. Do not attempt to rotate those fixed designs.
Original manufacturer procedure for the adjustable collar.
Reconnect, test and restore the covers
- Reconnect the original plug. If a vehicle-specific Anti-Flicker module is required and supplied, connect it between the factory plug and bulb; these generic pairs do not imply a module is included.
- Test both lamps. For no output, switch the lamps off, disconnect and check the manufacturer’s polarity instructions; do not force a keyed connector.
- Check beam pattern and seating. Correct a tilted bulb before aiming the lamp.
- Confirm the housing and dust cover close without pinching wires or blocking the fan. Refit all removed components.
For flicker or a bulb-out warning, stop and identify the vehicle’s electrical requirements before buying a module. If the fit is unusually tight, the manufacturer describes inspecting/repositioning the O-ring or using the original seal; contact support before leaving a lamp with an inadequate seal.
Bulbs and original instructions
More Tacoma lighting help
Shop the Tacoma lighting range · Read the lighting buying guide