

BTS fog-light installation
Install and aim Elite Type M or MR fog lamps
Replace the matching factory fog housings, connect the main beam and amber accent, then set the cutoff with the integrated adjusters.
Match the bumper before removing parts
Type M uses the non-Sport plastic-bumper mount; Type MR uses the matching factory steel-bumper mount. These are not the JL Sport Type MS mounts. Identify the actual bumper and lamp bracket, especially on a modified Jeep. The same lamp types also cover other vehicles listed on their product pages.
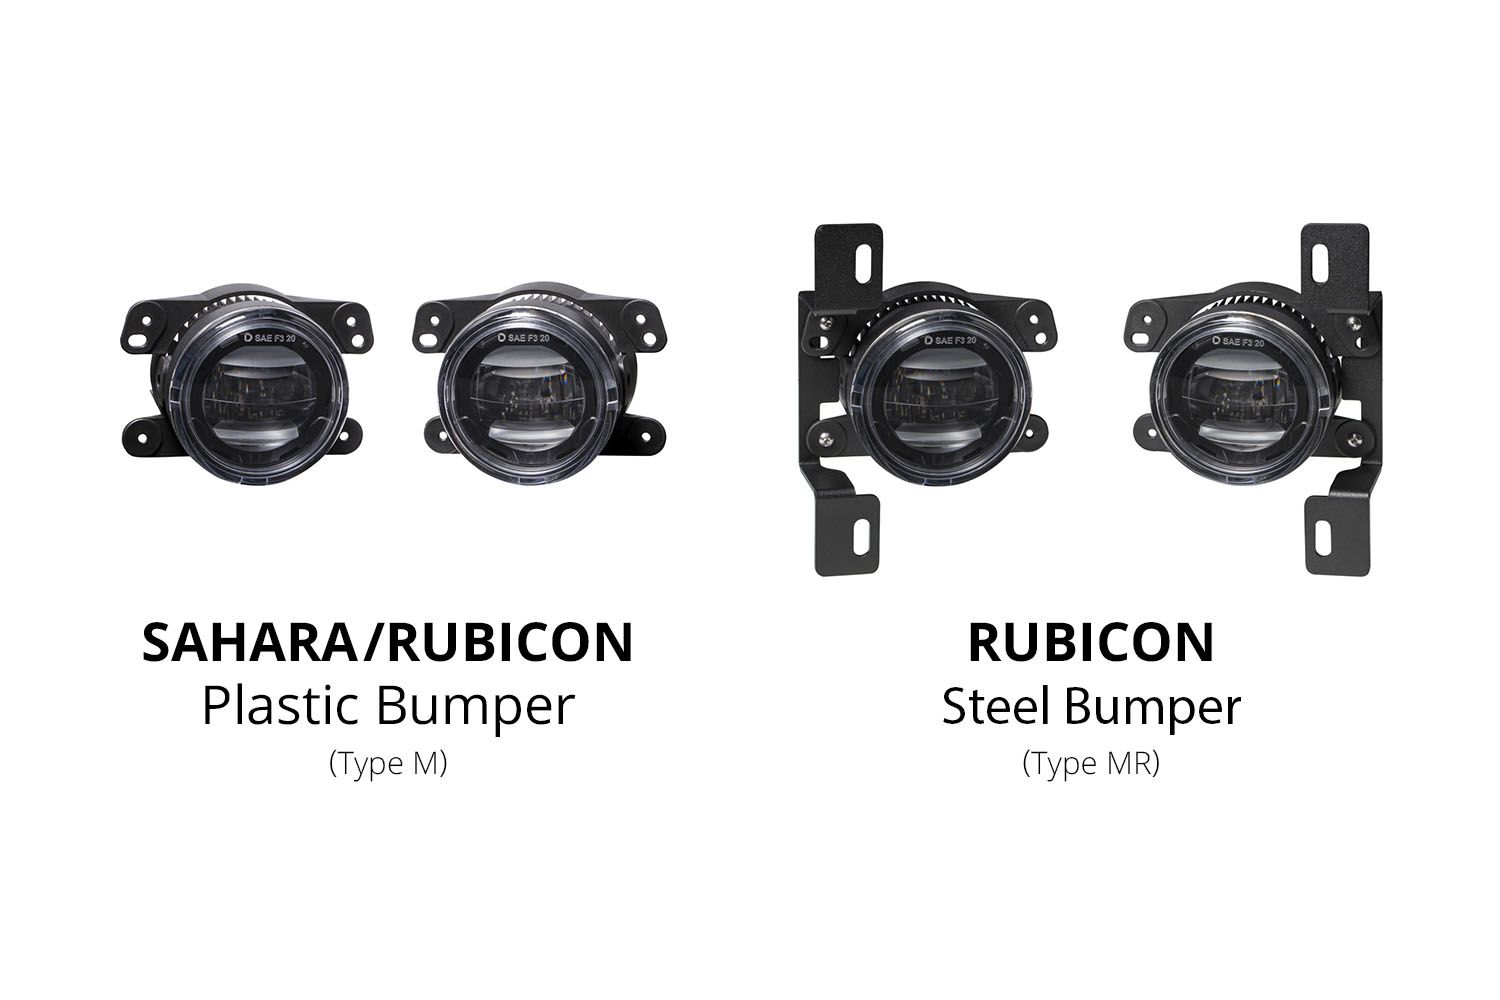
Use appropriate hand tools and a trim tool if access requires moving the wheel liner. Keep the factory mounting hardware for reuse. Access differs between vehicles and bumpers.
Replace the factory fog pair
1. Reach behind the bumper or move the wheel-well liner as required for access. Disconnect the factory fog connector.
2. Remove the original lamp and keep its hardware. Fit the Elite lamp at the factory mounting points; observe left/right labels where provided and align the mounting tabs before tightening.
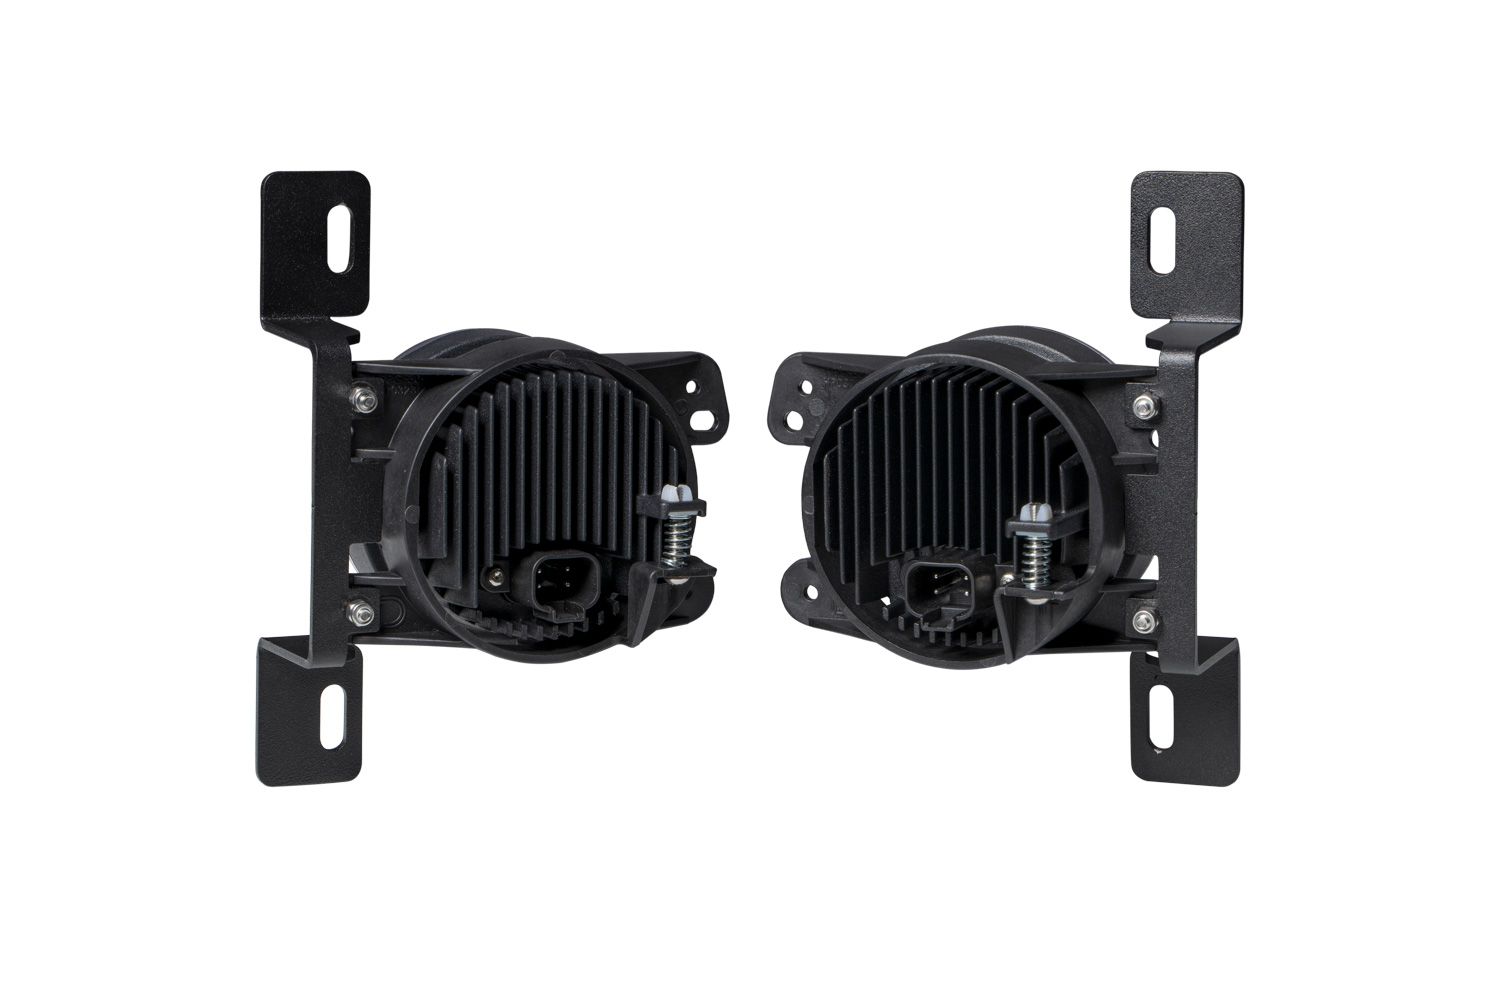
3. Connect the supplied wire adapter and test operation. If the compatible connection does not power the lamp, follow the adapter instructions and reverse it 180 degrees where applicable.
4. Connect the separate backlight lead to a suitable fused 12V parking-light or sidemarker circuit using the supplied connection parts. Do not connect this lead directly to the battery. Check local rules for accent-light use.
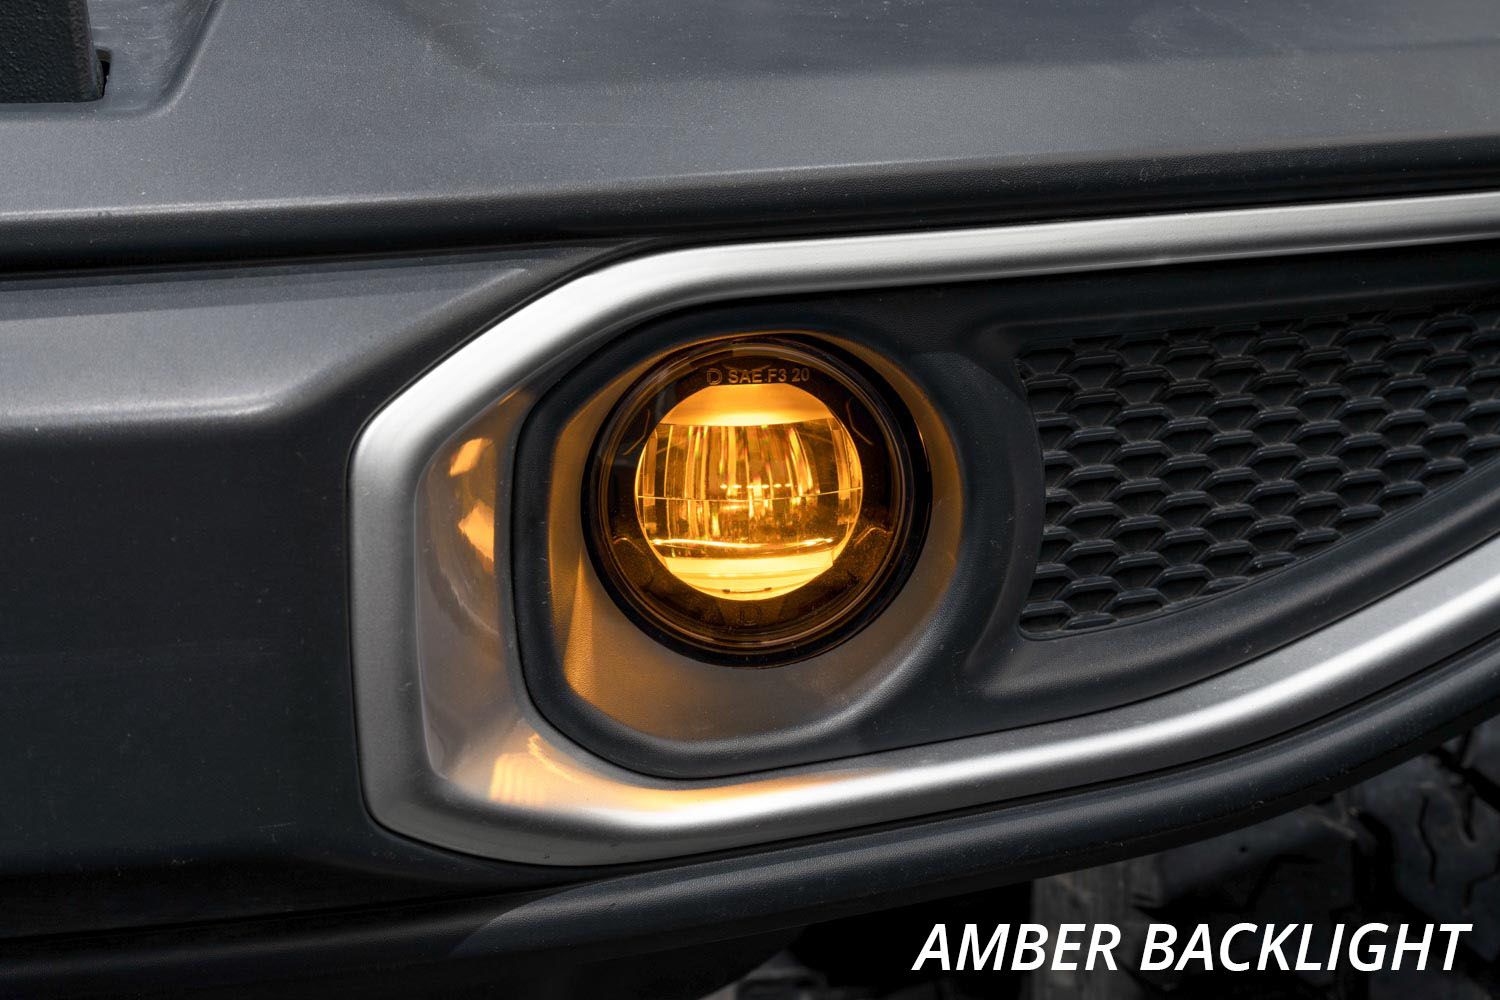
5. Repeat on the other side. Secure wiring away from heat, sharp edges and moving parts. The Elite amber backlight turns off automatically while its main beam operates.
Original manufacturer demonstration for the Type M/MR replacement; select the correct mount for your bumper.
Use the integrated adjustment screw
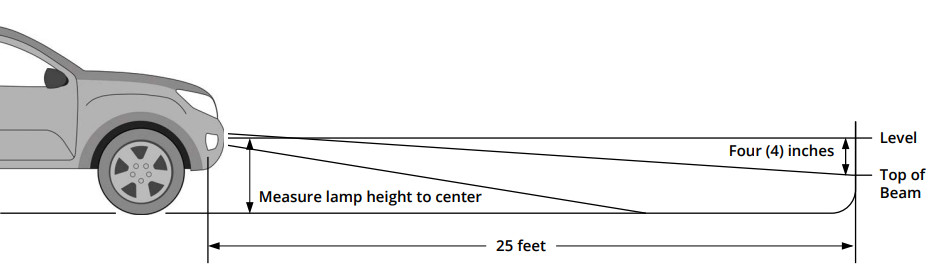
Park on level ground 25 feet from a wall. Measure the height to each lamp centre and mark it on the wall. Make a second mark four inches below that height. Use the integrated adjustment screw to bring the top of each fog beam to the lower cutoff line. Recheck both sides before driving.
Program only the Dual Color versions
DD5184P Type M and DD5187P Type MR use SmartSelect for the White/Yellow main beam. Single-colour lamps do not. Open the complete SmartSelect programming guide for the precise ON/OFF entry sequence, saving a colour and resetting. The amber backlight is a separate accent function.
Product choices and original guidance
Shop Elite Type M · Shop Elite Type MR
Manufacturer Jeep JL application · Original Elite installation article