

BTS installation guide
Install SS5 bumper pods or a grille bar on a JK
The two-pod bumper kit and four-pod CrossLink grille kit share the frame brackets. Complete the rivnut work first, then follow the correct lamp-mounting branch.
Allow for the frame-hole work
For 2007–2018 Jeep Wrangler JK. A 2018 Wrangler may be JK or JL; identify the generation before ordering. Aftermarket bumpers, body hardware and other accessories need a separate clearance and mounting check.
The current manufacturer guide requires a drill and 10 mm (25/64-inch) bit to enlarge existing frame-rail holes. Prepare a trim tool, ratchet, 10 mm socket and wrench, and 4 mm and 5 mm Allen tools. The bumper trim panel removed below is not reused.
Step 1
Open the front mounting area
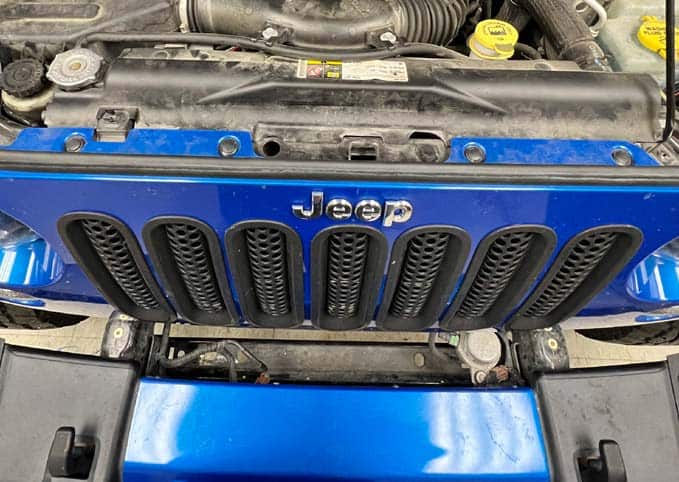
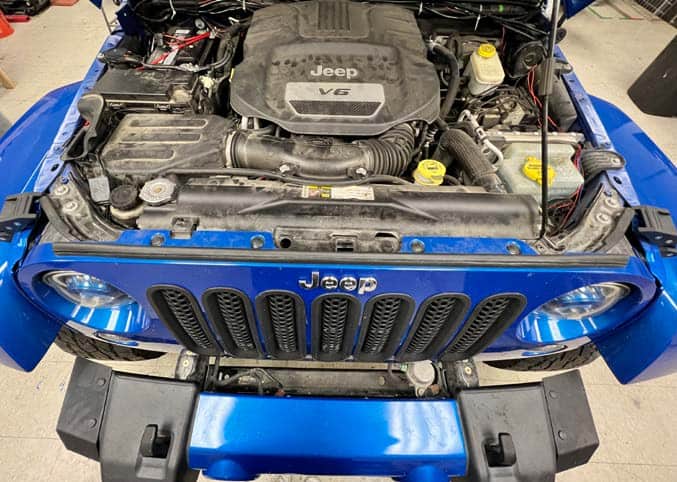
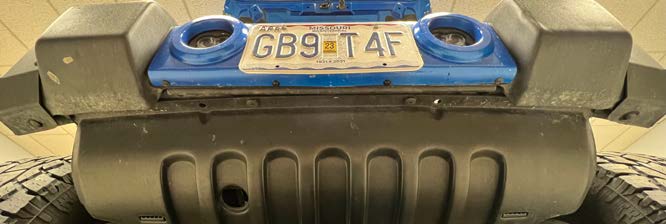
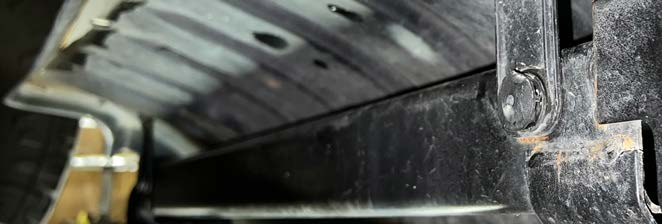
Release the bumper trim panel’s two push-rivets and remove that panel. Remove six upper grille push-rivets, lift its top, pull the grille straight forward at each side and unplug the turn signal. Remove the underbody cladding using its four front and two rear rivets.
Step 2
Set the rivnuts
Enlarge the existing top frame-rail hole on each side to 10 mm. Assemble the 40 mm M6 setting screw, nut, washer and rivnut through the base bracket as shown. Position the rivnut in the enlarged hole and secure the bracket’s lower attachment with the supplied 20 mm M6 flange bolt, oversized square washer and flange nut.
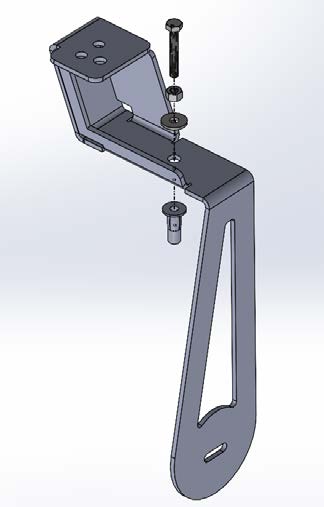
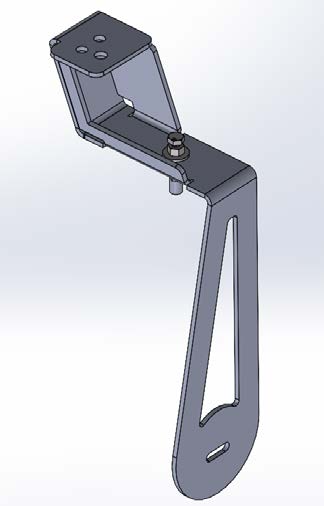
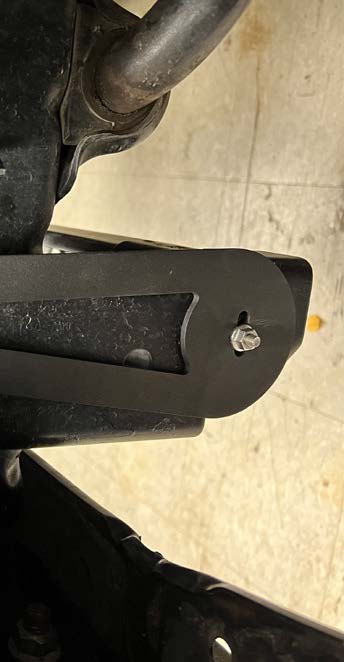
Looking down at the bracket, hold the setting screw stationary and turn the nut clockwise down the screw to pull the rivnut tight. When the nut will no longer turn, remove the setting hardware and bracket. Thread the screw loosely into the rivnut and pull outward to check retention. If it comes loose, repeat the setting procedure. Complete both sides.
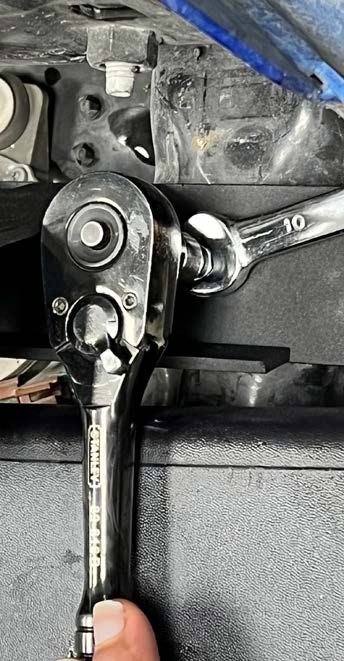
Step 3
Refit the grille and secure the base brackets
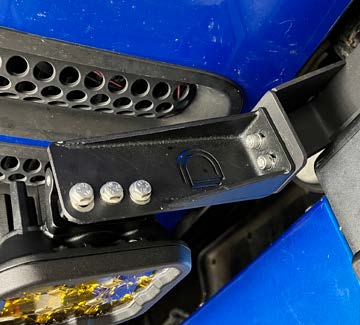
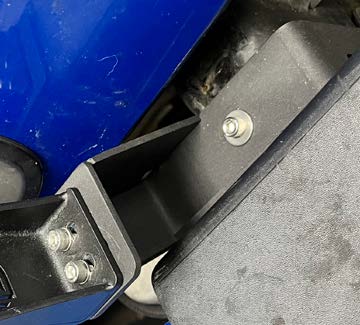
Reconnect the turn signals and reinstall the grille in reverse order. Fasten each base bracket with the supplied 20 mm M6 flange bolt and oversized washer at the rivnut, plus the lower M6 hardware. Reinstall the underbody cladding.
Step 4
Choose the correct mounting branch
Two-pod bumper kit: mount one SS5 pod on each base bracket using the universal pod mounts and hardware. These lamps remain separate.
Four-pod grille kit: install the CrossLink universal brackets with the supplied 16 mm M6 screws. Assemble the linked bar following the SS5 CrossLink assembly, wiring and backlight guide, then fit it using the M6 hardware, leaving room for adjustment.
Connect and finish
Connect the lamps to the supplied harness. Route the fused power harness to the battery and connect its positive and negative ring terminals correctly. Route the included switch into the cabin. Keep wiring secure and clear of heat, edges and moving parts. Test the lamps, adjust the mount and finish tightening the hardware.
White-lens SS5 backlights have eight selectable colours; Yellow-lens lamps allow Amber only. The SS5 CrossLink assembly, wiring and backlight guide covers the shared programming and reset procedure.
Use the illustrated drill and rivnut steps in this guide.
Select the kit and retain the original guide
Shop the two-pod bumper kit · Shop the four-pod grille kit · Original manufacturer guide