

BTS illustrated installation guide
Toyota Tacoma Interior LED Bulb Installation and Size Checks
Plan the bulb sizes before removing the lenses. This guide combines the current Tacoma application notes with Diode Dynamics' original interior-installation photographs. The photographs demonstrate general lamp techniques; they do not establish the exact clip position on every Tacoma trim.
Before you start
Park securely, switch the lamps off and let incandescent bulbs cool. Have a plastic trim tool, a clean cloth and, where useful, bulb-removal pliers or tape ready. Keep the original bulbs until the replacements are tested. The complete DD0505/DD0506 kit includes two trim tools; individual bulbs do not automatically include them.
1. Check each location and the actual dome size
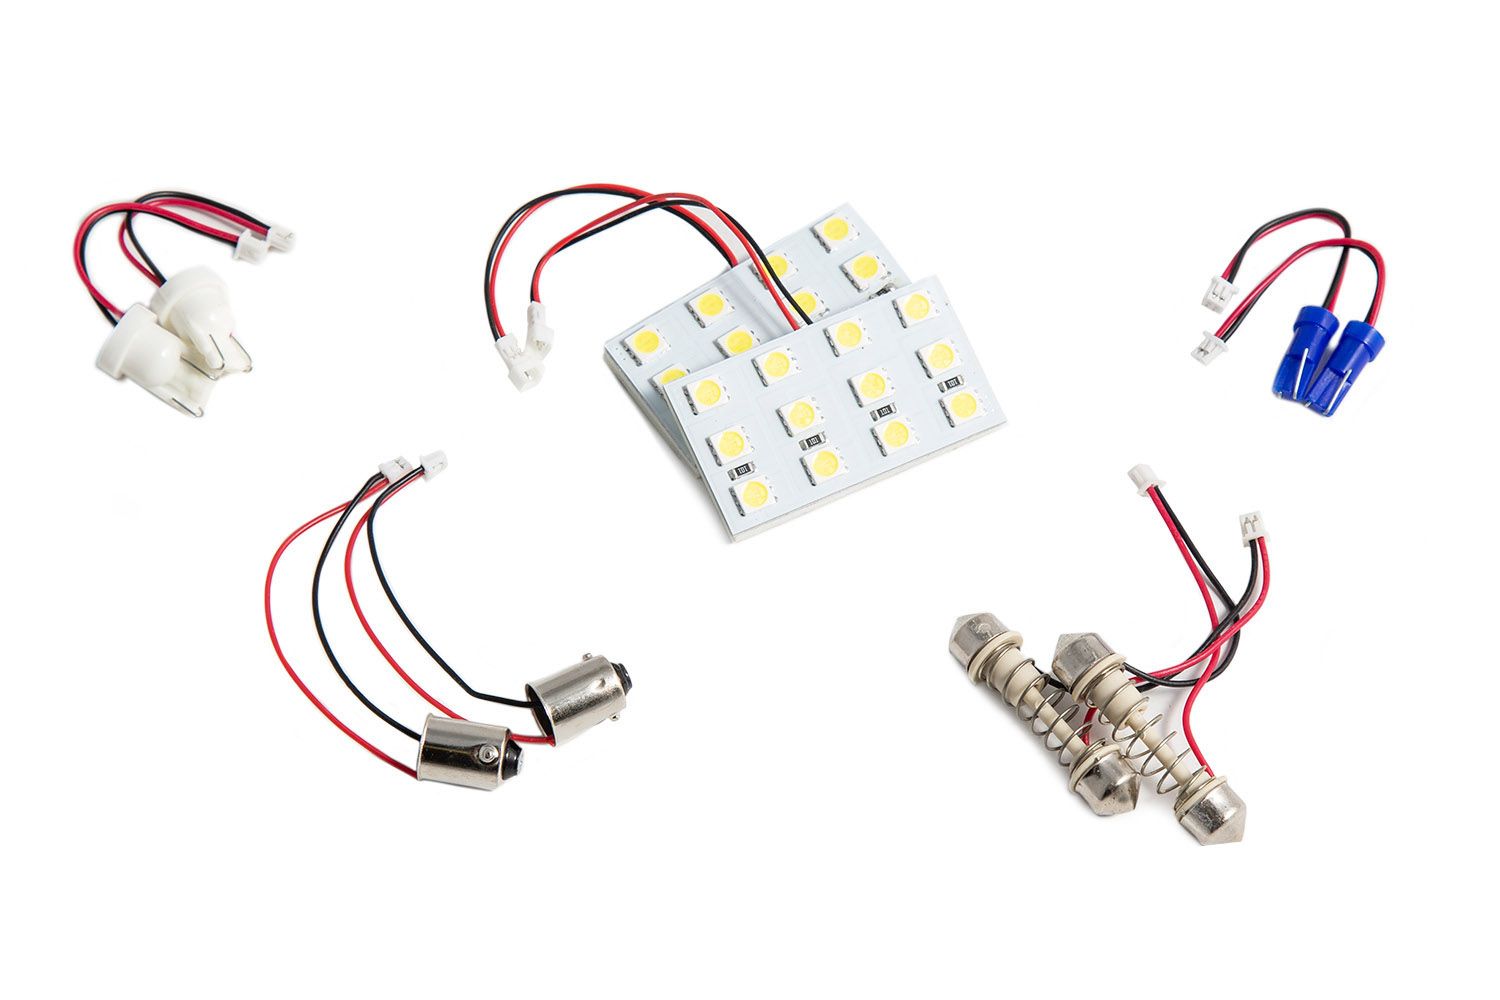
The complete 2016–2023 kit supplies two plate bulbs, two map bulbs, one 29 mm dome bulb and four 28 mm vanity bulbs. Individual 29 mm and 31 mm dome listings both require checking the original bulb. Measure the end-to-end length and compare the holder; do not use the year alone to choose between them. The SMD12 panel is a different shape and requires space for its board, adapter and lead.
2. Release a lens-pressing switch gently
For a lamp whose lens is also the switch, Diode's reference procedure presses the switch while inserting the slim trim-tool edge on the opposite side. Identify the release geometry on your lamp first and work slowly to avoid marking the lens or housing.
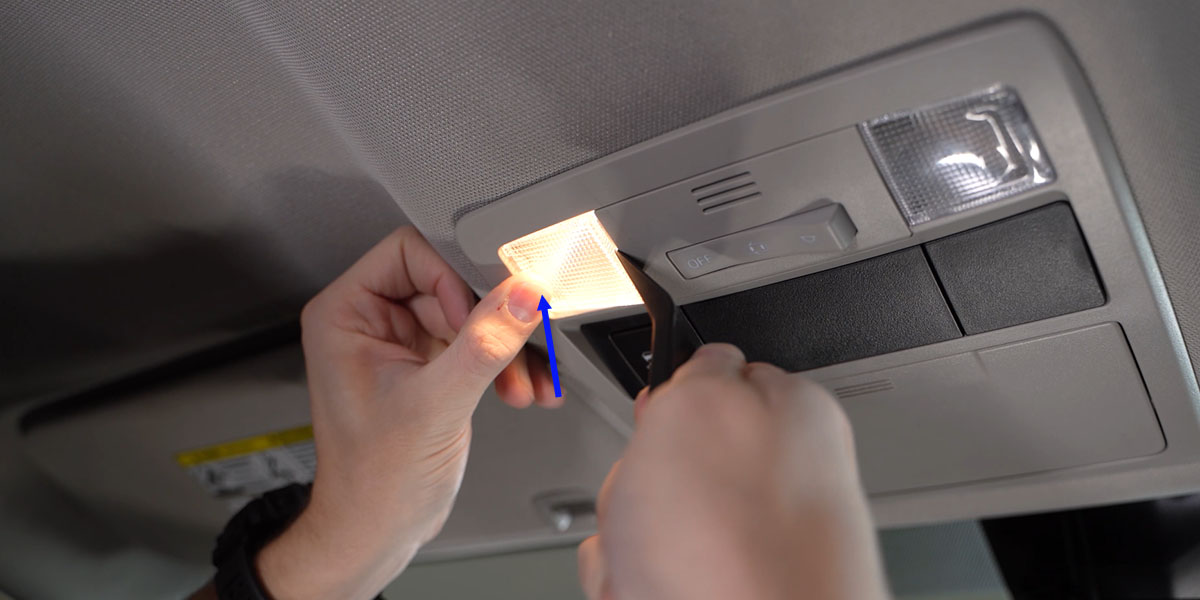
3. Use the intended release tabs
Look for an indentation at the lens edge or housing. Use the trim tool at that release point instead of prying indiscriminately around the trim. The source photograph shows one vanity-light example; your housing may differ.
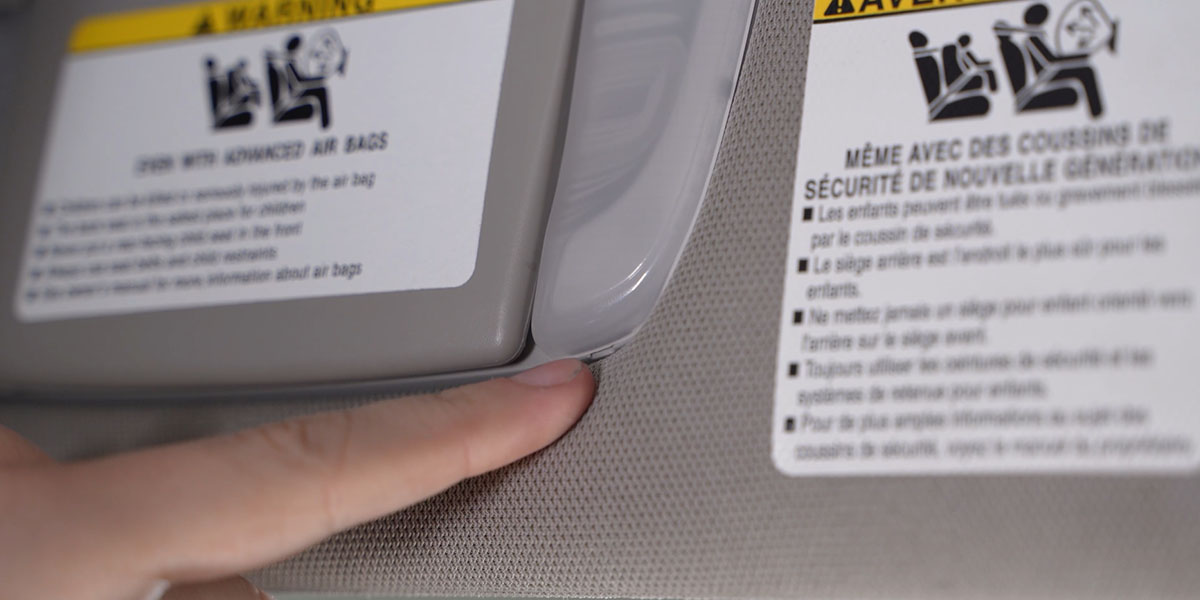
4. Remove a difficult wedge bulb straight from the socket
Use bulb-removal pliers if access is restricted. The second original photo shows the alternative tape method: wrap tape around the cooled bulb and pull directly away from the socket. Do not lever a metal tool against live contacts.
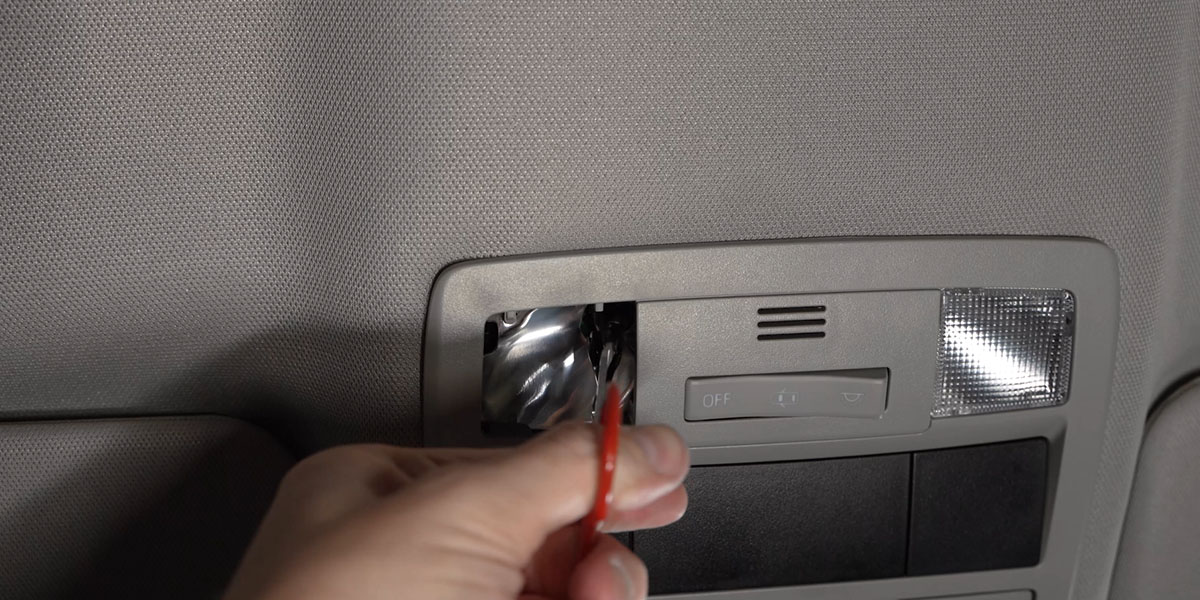
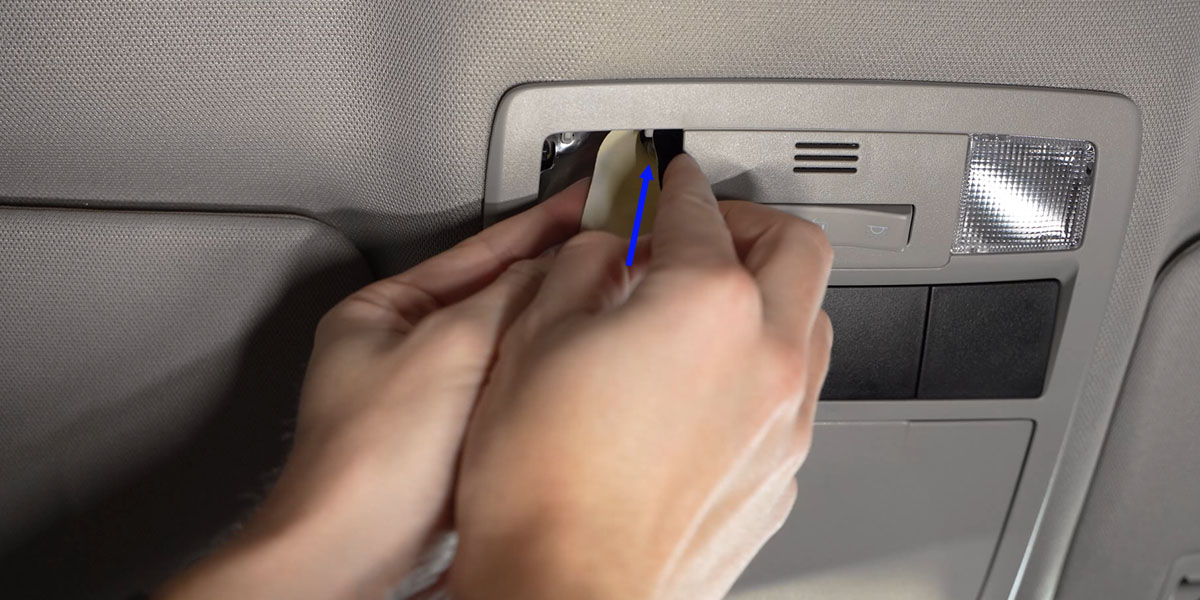
5. Test orientation before closing the lamp
Seat the correct replacement and test it. If a polarity-sensitive bulb does not light, switch the lamp off, rotate the bulb 180 degrees and reinstall it. Recheck operation before clipping the lens back into place.
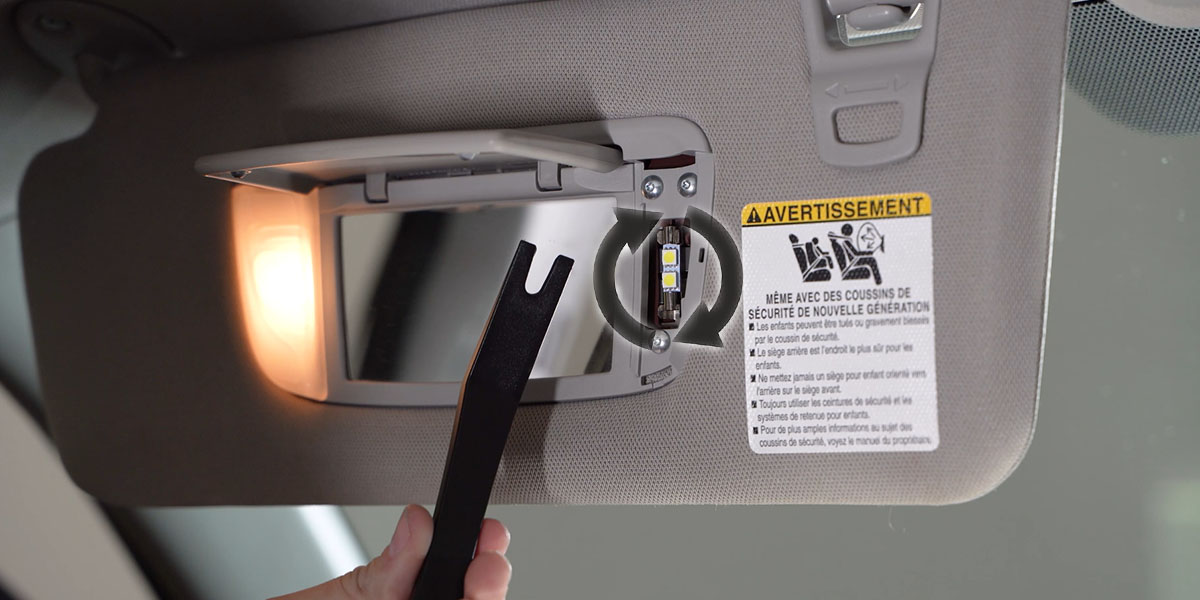
6. Check festoon retention without forcing the wrong size
The original guide permits a small inward adjustment of a loose holder terminal. It also warns that repeated bending weakens the terminals and that a loose bulb may be the wrong size. Confirm the bulb length first; do not use terminal bending to make a 29 mm bulb substitute for a 31 mm fit.
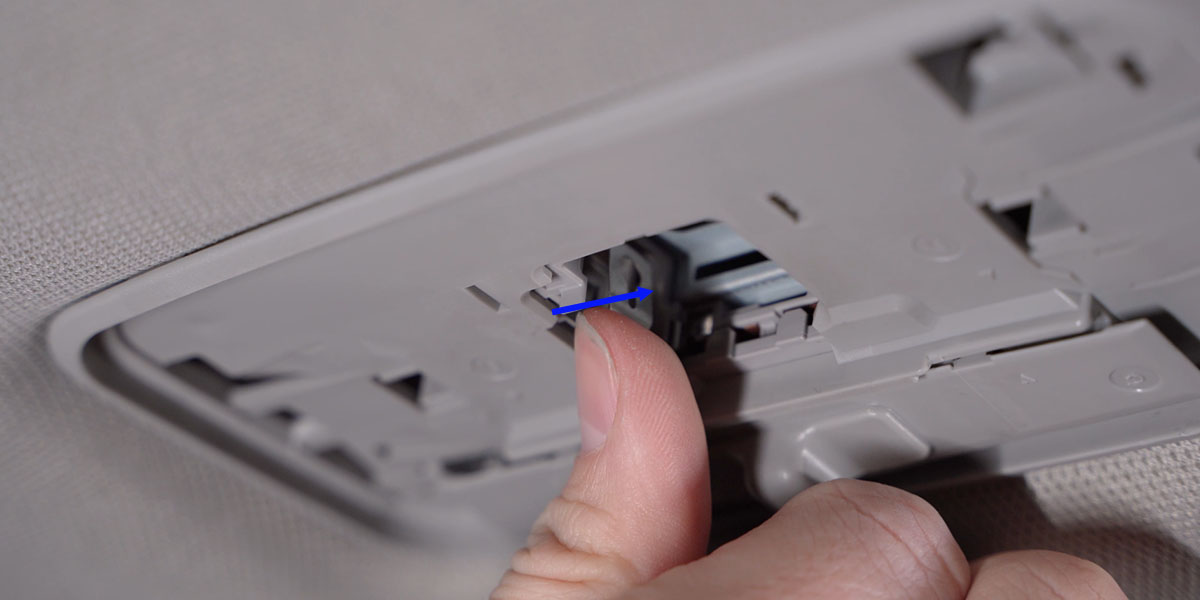
7. Recognize the separate cargo-housing example
This original photograph illustrates withdrawing a bulb from a trunk or cargo lamp using a trim tool. It is a generic manufacturer example, not a Tacoma bed-light removal instruction or proof that this bulb belongs in the exterior bed-light assembly.
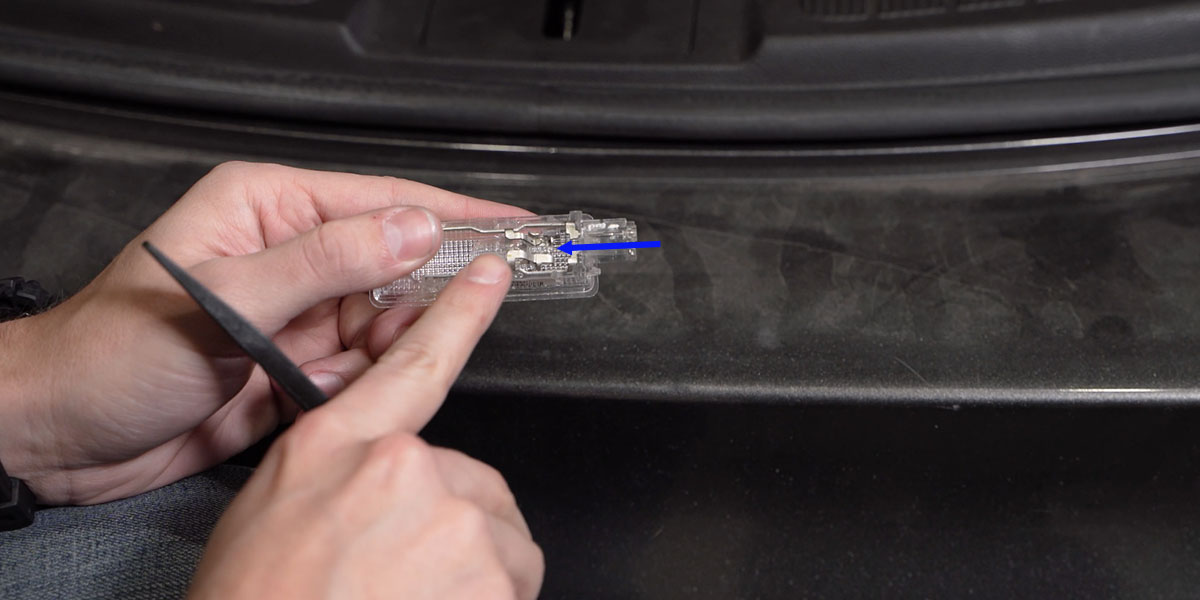
8. Resolve a loose 194 contact
If a correctly seated 194 bulb flickers, switch the lamp off and inspect the contacts. Diode's illustrated technique gently angles the bulb's contact wires outward to improve engagement, approximately 45 degrees. Do not bridge the contacts or force a damaged socket; recheck fit and operation before reassembly.
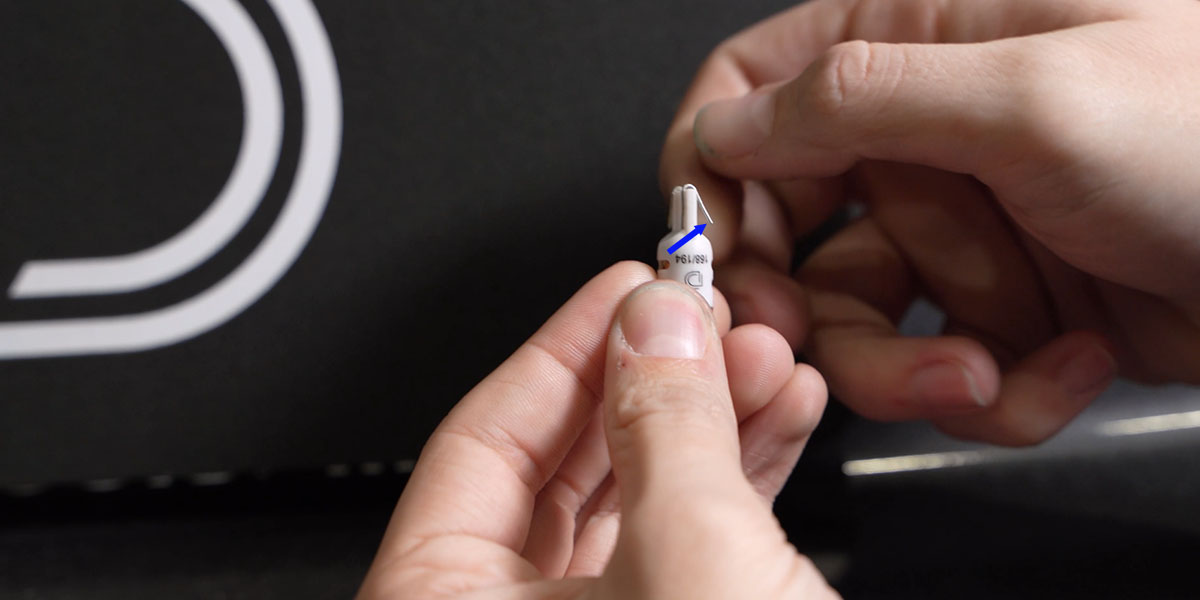
9. Fit an SMD12 board only after a clearance check
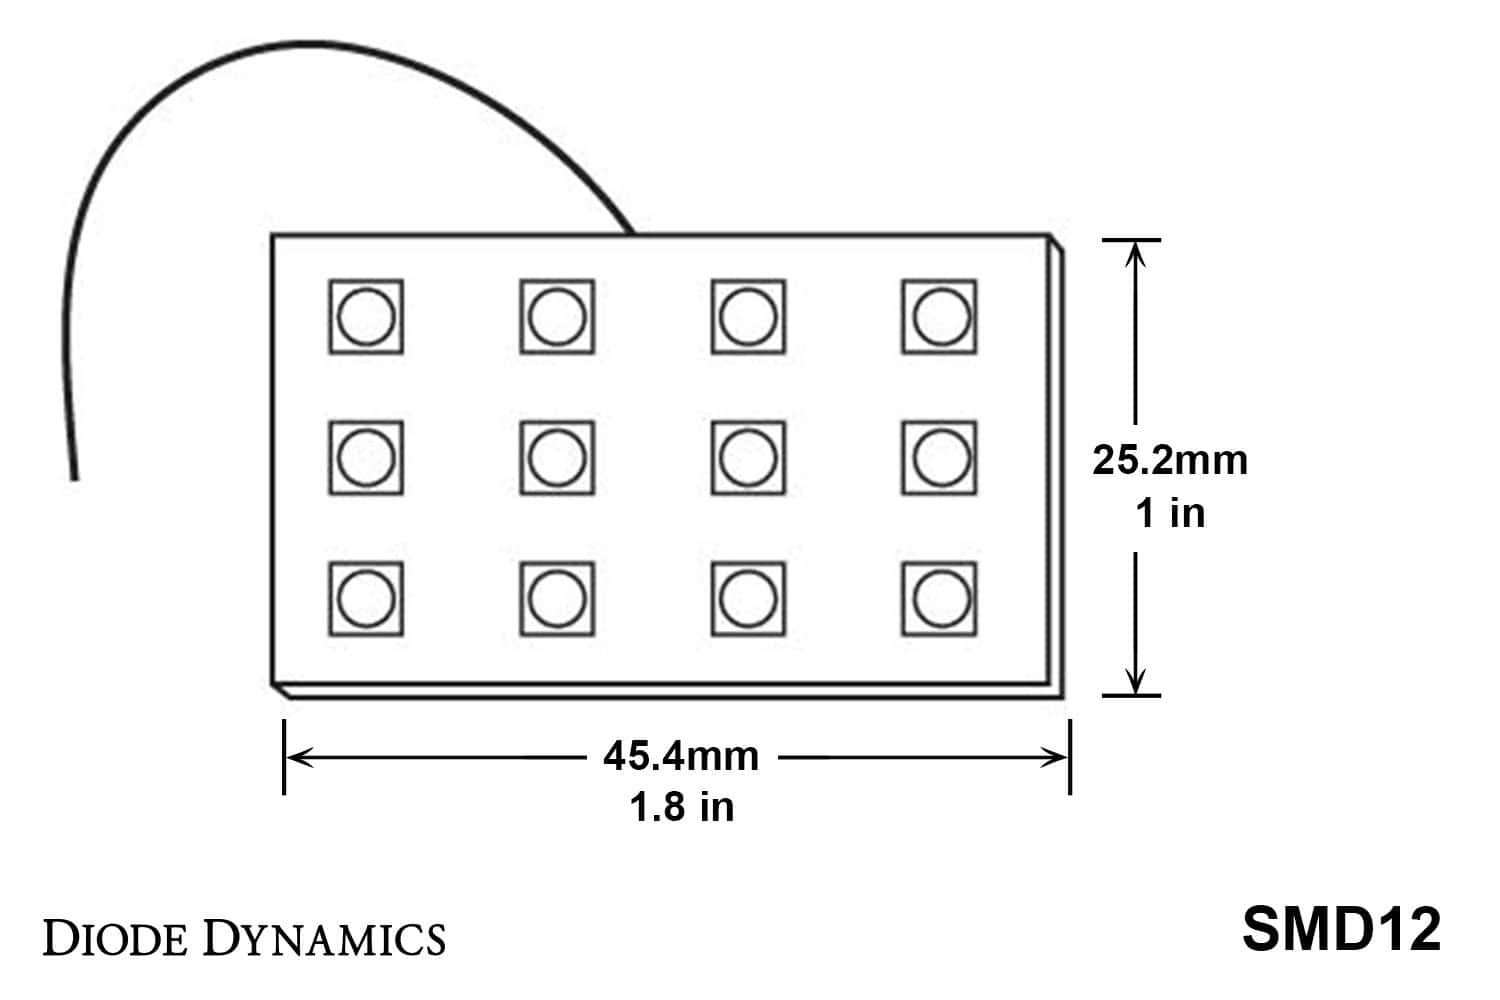
The original drawing shows a 45.4 × 25.2 mm board footprint. Match the supplied adapter to the socket, keep wiring clear of the lens and clips, and test polarity before attaching the adhesive-backed panel. The included adapters do not guarantee panel clearance in every housing.
10. Complete the function check
Check all replaced map, dome and vanity lamps, normal switch operation and the plate lights where included. Refit lenses without pressure on the bulbs. Retain the correct original parts if anything fails, flickers or prevents the cover from seating.
Manufacturer installation videos
Manufacturer general techniques; reference lamp housings may differ from your Tacoma.
Linked by the manufacturer from its Tacoma map/dome listings; verify the original size and trim before applying the demonstrated steps.
Keep the original miniature-bulb sheet
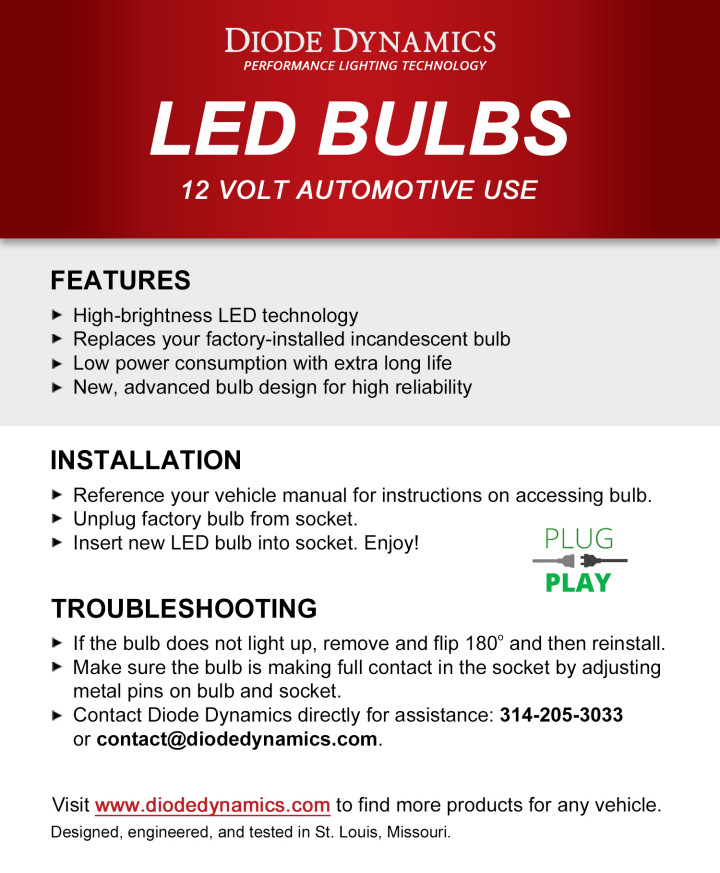
Open the original Diode Dynamics miniature-bulb PDF. This is generic 12 V installation technique, not Tacoma trim-removal instructions.
Related bulbs and fitment help
- Diode Dynamics Interior LED Conversion Kit for 2016–2023 Toyota Tacoma
- Diode Dynamics 29 mm HP6 LED Festoon Bulb (Single)
- Diode Dynamics 31 mm SMF2 or HP6 LED Festoon Bulb (Single)
- Diode Dynamics SMD12 Interior LED Board with Socket Adapters (Single)
- Diode Dynamics 194 Blue or Green Interior LED Bulbs (Pair)
- Diode Dynamics 28 mm Vanity LED Bulbs (Four-Pack)
- Check the existing Tacoma bulb-size guide